Mini Baked Turkey Meatballs
Mini Baked Turkey Meatballs  |  Lemon & Mocha

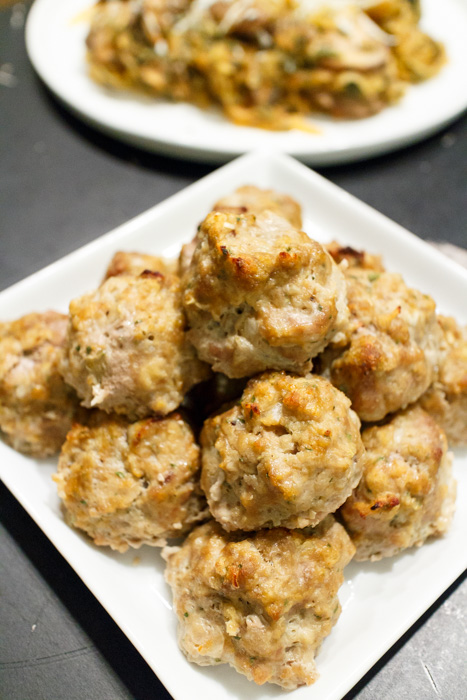
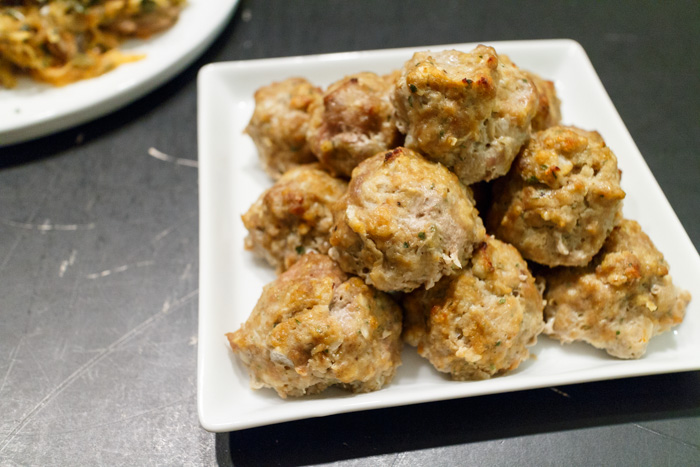
Have you ever had a dish or ingredient that you just can’t ever seem to get right? That sums up my relationship with ground turkey, well at least until I tried these baked turkey meatballs. Meatballs made with ground turkey that are juicy, moist and mouthwatering delicious? Yes folks, I promise you it exists!
Mini Baked Turkey Meatballs  |  Lemon & Mocha

After dry turkey burgers and tasteless turkey meatloaf I was ready to give up on this healthy protein. I wanted something healthy to go along with my spaghetti squash with spinach and mushroom marinara so I decided I would give it one more shot and was met with great success! And deliciousness. They were also easy enough to whip up on a weeknight, which is always a huge bonus.
Mini Baked Turkey Meatballs  |  Lemon & Mocha

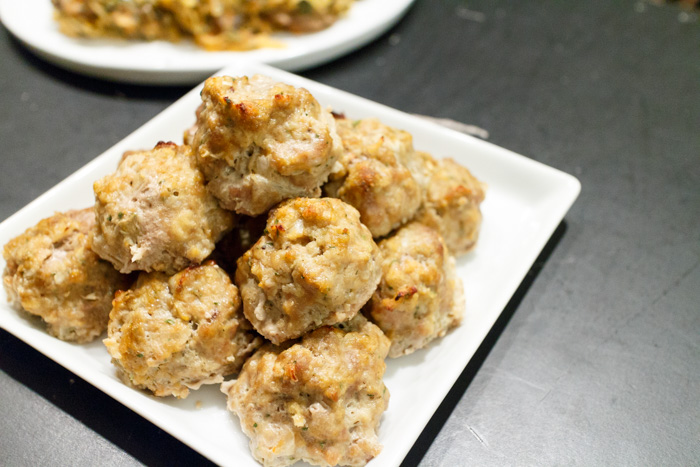
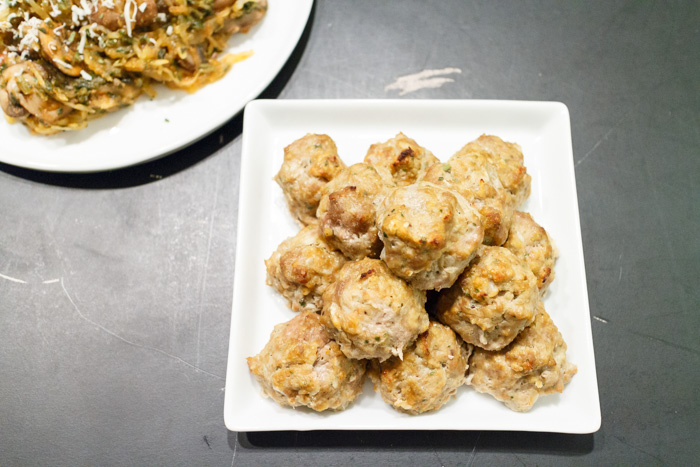
This recipe makes enough meatballs to have freezable leftovers so you can have meatballs all week long. Everyone tends to just think of meatballs with spaghetti, but there are endless possibilities with these tasty cuties. Add some melted provolone and have meatballs sliders. Serve them with brown rice & stir fried vegetables for a quick and healthy meal. Heat a few in tomato soup for some added protein. Eat a couple on top of a Greek salad. Or just enjoy them on a big pile of spaghetti with loads of Parmesan.
Mini Baked Turkey Meatballs  |  Lemon & Mocha

Mini Baked Turkey Meatballs
 
Yield: 40 mini meatballs
Ingredients
  • 1 small onion, grated
  • 3 cloves garlic, minced
  • 1 large egg
  • ¼ cup bread crumbs
  • 3 tablespoons ketchup
  • ¼ cup chopped fresh parsley or 2 tablespoons dried parsley
  • ½ cup grated fresh Parmesan
  • 1 teaspoon salt
  • ¼ teaspoon ground black pepper
  • 1 pound ground turkey (look for ground turkey that isn't all turkey breast meat)
Directions
  1. Preheat oven to 400 degrees F. Line a baking sheet with parchment paper and set aside.
  2. In a large mixing combine all the ingredients except the turkey. Add the ground turkey and mix until just combined.
  3. Form the meatballs with a diameter of 1½" and place evenly on the prepared baking sheet. Bake for 20 minutes.
Notes
To freeze, place the cooled meatballs so they aren't touching on a baking sheet small enough to fit in your freezer lined with parchment paper. Once the meatballs feel frozen, store in a freezer bag. To reheat, place in sauce while warming up. To heat in the microwave, cook for 1.5-2 minutes for 3 meatballs; 3 minutes for 6 meatballs.

Recipe slightly adapted from Giada De Laurentiis.

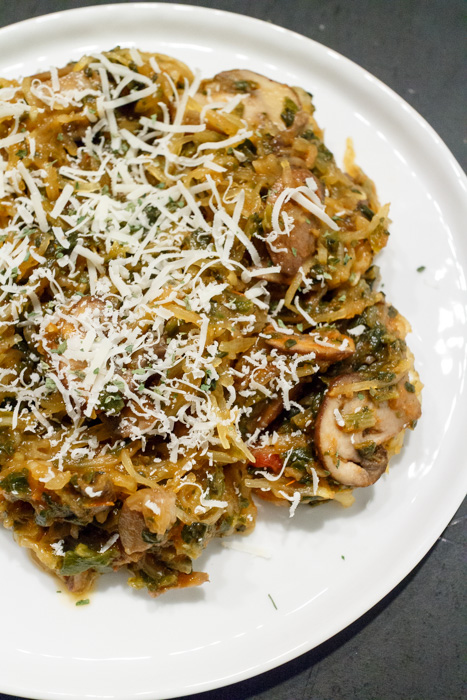
Spaghetti Squash with Spinach & Mushroom Marinara

Spaghetti Squash with Spinach & Mushroom Marinara  |  Lemon & Mocha

Sometimes I’m in the mood to just go to town on a big plate of food. I don’t like feeling guilty about it though so I recently came up with this easy stuff-yourself-silly dish:  spaghetti squash with spinach and mushroom marinara. Are you familiar with spaghetti squash? When baked the squash’s strands resemble angel hair pasta in appearance and texture. The taste is pretty mild and is a great pasta substitute. Plus one cup of cooked spaghetti squash has only 42 calories. Yes I typed that number accurately.

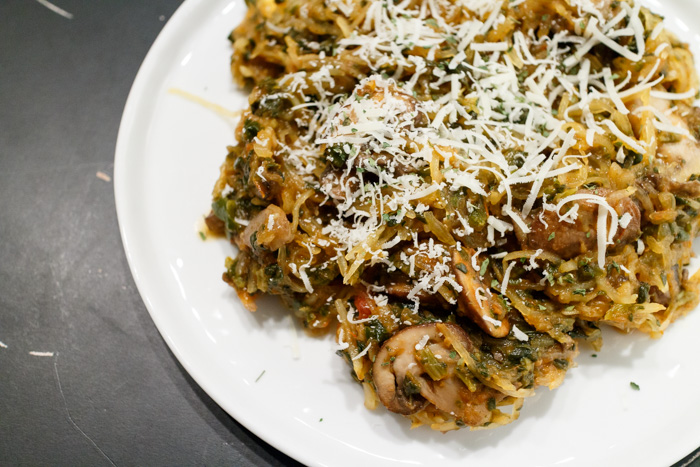
Spaghetti Squash with Spinach & Mushroom Marinara  |  Lemon & Mocha

When you get home from the grocery store with this huge oblong squash your first challenge will be breaking the sucker open. Do not underestimate this task! You will need a large sharp knife and a level cutting surface. It may take a few tries and certainly will not be perfect, unless of course you are skilled in the art of slicing large hard objects in half lengthwise, but try your best.

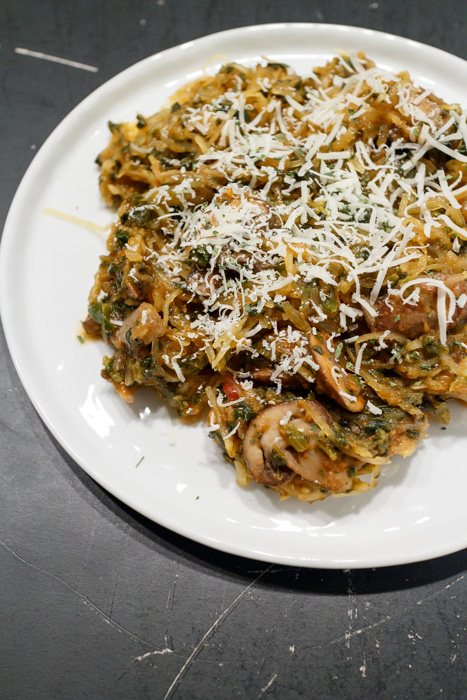
Spaghetti Squash with Spinach & Mushroom Marinara  |  Lemon & Mocha

Once the spaghetti squash is cut in half you will shake your head and think I’m playing an early April Fool’s Day joke on you as you wonder how in the world is that solid hunk of squash ever going to resemble spaghetti strands. Well you just have to trust me on this! It is purely amazing food magic. Scoop out the seeds then bake the squash until tender. Once it’s cool enough to handle a simple scraping with a fork transforms the squash into thin strands. Mix with some marinara, cooked spinach, sautéed mushrooms and fresh Parmesan and you’re ready to indulge!

Spaghetti Squash with Spinach & Mushroom Marinara
 
Yield: 6 servings
Ingredients
  • 1 spaghetti squash, cut in half lengthwise and seeds removed
  • 1 tablespoon olive oil
  • 1 clove garlic, minced
  • 1 package sliced cremini mushrooms, about 5 ounces
  • 1½ cups preferred marinara sauce
  • 8 ounces frozen spinach, prepared according to package instructions
  • Salt and pepper
  • Freshly grated Parmesan, for serving
Directions
  1. Preheat oven to 400 degrees F.
  2. Place the spaghetti squash on a baking sheet flesh side up. Season with salt and pepper. Roast for 35-40 minutes. Remove from the oven and let cool for 10 minutes.
  3. Scrape the tines of a fork along the cooked squash to create the strands. It sounds weird, but as soon as you do it you will understand what I mean. Continue scraping until you reach the skin and all the flesh has been turned into strands.
  4. Meanwhile heat the olive oil in a large saucepan over medium-high heat. Sauté the garlic for 30 seconds then add the sliced mushrooms. Season with salt and pepper. Sauté, stirring occasionally, until the mushrooms are cooked then add the marinara and prepared spinach.
  5. Add the spaghetti squash strands and toss well with tongs until well combined with the sauce and spinach. Season with salt and pepper to taste. Serve hot topped with the Parmesan.


Sautéed Snow Peas with Cranberries & Walnuts

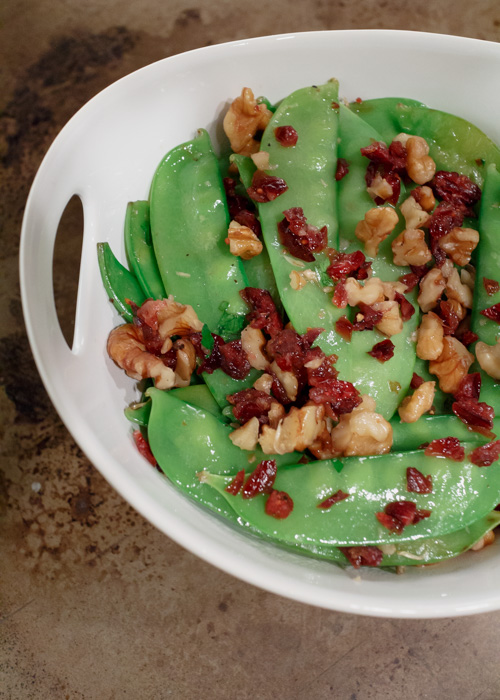
Sautéed Snow Peas with Cranberries & Walnuts  |  Lemon & Mocha

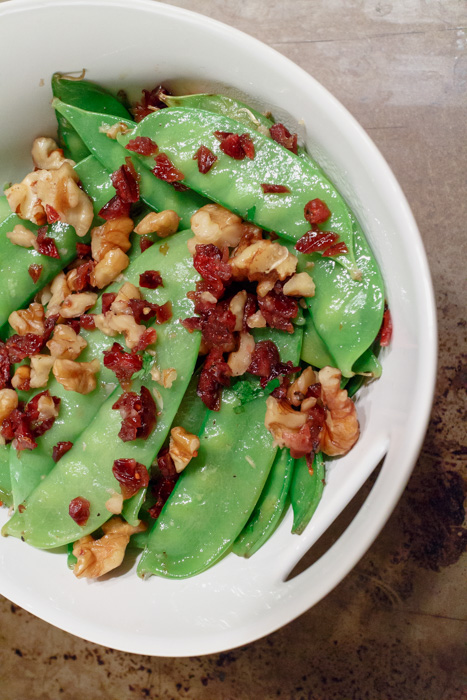
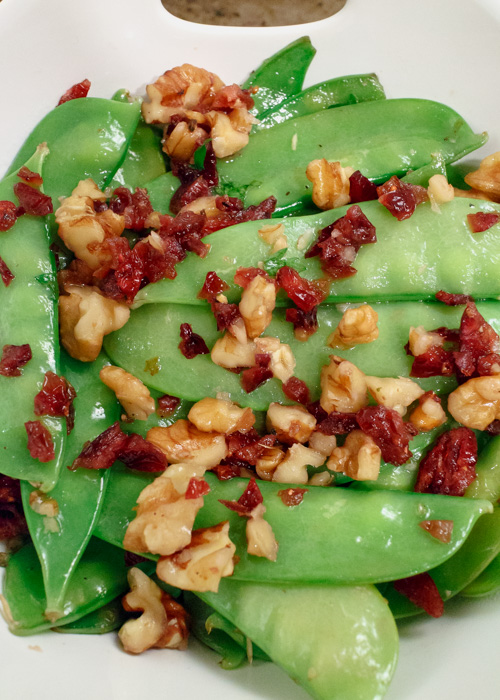
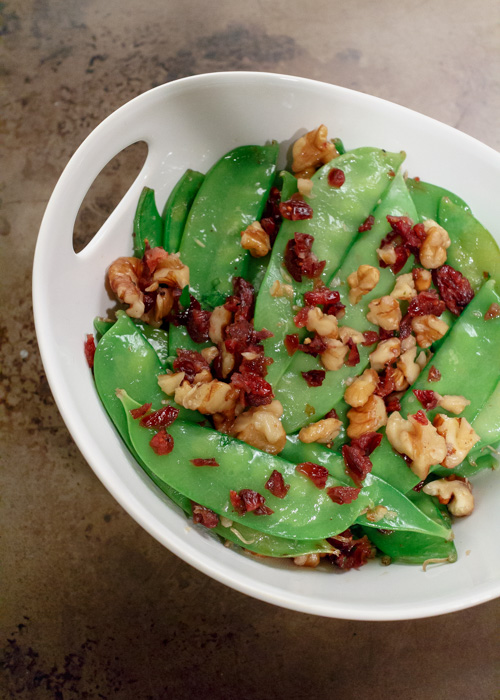
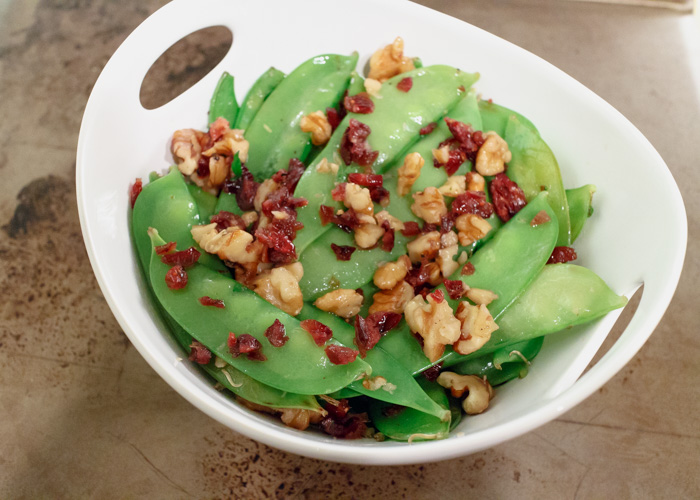
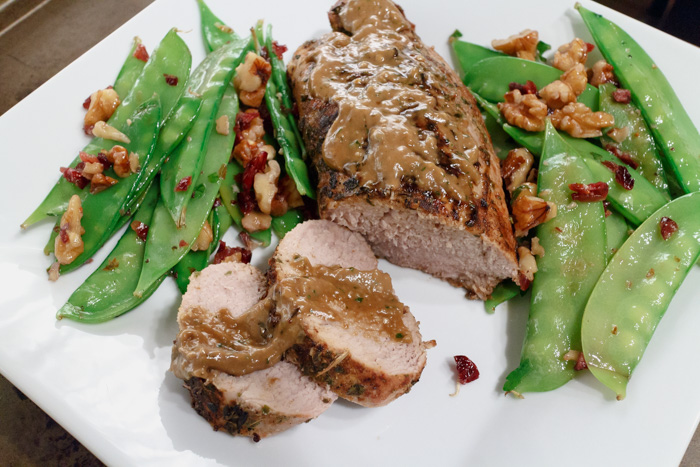
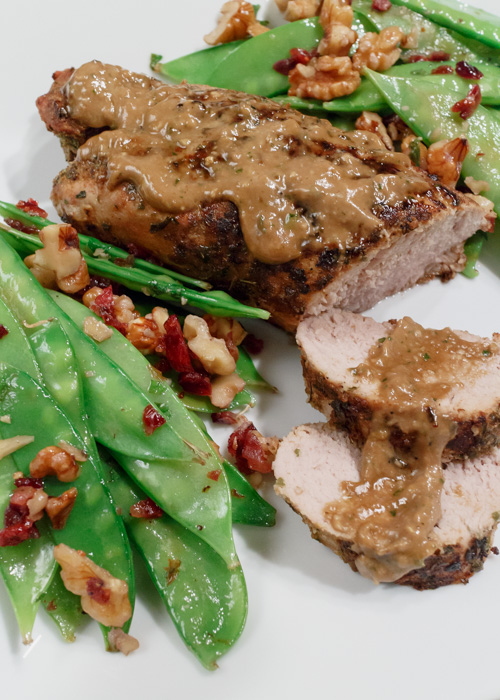
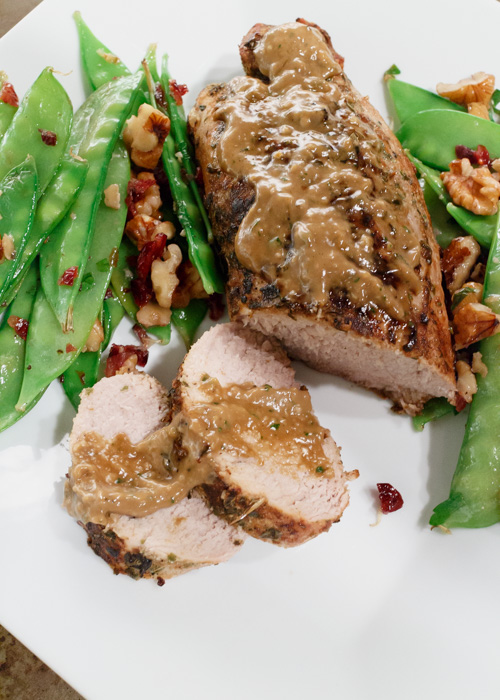
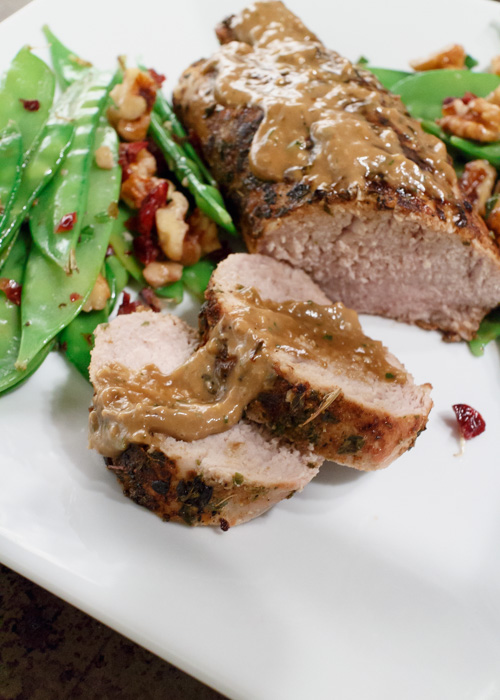
I love discovering new ways to cook up my favorite vegetables instead of my usual steaming or roasting methods. When I came across these snow peas with toasted walnuts and dried cranberries I knew I had to make them. The flavor profile screams fall and nicely complements the dry rubbed roast pork tenderloin I posted last week.

Sautéed Snow Peas with Cranberries & Walnuts  |  Lemon & Mocha

I like to cook the snow peas until they are just tender, but still have plenty of crunch so the little peas pop out of the pods when you bite into them. It’s the little things, folks. This side dish can be made in less than 10 minutes making it a huge keeper in my book.

Sautéed Snow Peas with Cranberries & Walnuts  |  Lemon & Mocha

The tartness of the dried cranberries and lemon juice pairs well with the nutty earthiness of the toasted walnuts.

Sautéed Snow Peas with Cranberries & Walnuts  |  Lemon & Mocha

I used the same dried orange cranberries I bought from Trader Joe’s that I used in my fall trail mix and that hint of orange seemed to make the dish even more flavorful. If you aren’t able to find orange cranberries you could try substituting half the lemon juice for orange juice or adding just the faintest amount of orange zest to the finished peas.

Sautéed Snow Peas with Cranberries & Walnuts  |  Lemon & Mocha

 
Yield: 4-6 servings
Ingredients
  • 1 tablespoon olive oil
  • 12 ounces snow peas
  • ½ teaspoon salt
  • Juice of ½ lemon
  • ⅓ cup walnut halves, toasted and chopped
  • 1 tablespoon chopped dried cranberries
  • 1 tablespoon chopped fresh parsley
  • Salt and pepper
Directions
  1. Heat the olive oil in a large pan over medium-high heat. Add the snow peas and sauté until bright green, but not floppy, about 5 minutes.
  2. Add the rest of the ingredients and season with salt and pepper to taste. Serve hot.

Recipe from Vegetarian for a New Generation:  Seasonal Vegetable Dishes for Vegetarians, Vegans, and the Rest of Us.

Dry Rubbed Roast Pork Tenderloin with a Roasted Garlic & Balsamic Sauce

Dry Rubbed Roast Pork Tenderloin with a Roasted Garlic & Balsamic Sauce  |  Lemon & Mocha

Today I have a simple and healthy dinner for you. Well, a dinner recipe. I am not standing at your front door with this dish, unfortunately, or fortunately if you don’t personally know me and me standing at your door would be creepy. Well I guess even if you do know me suddenly having me on your doorstep would be creepy even then, but I digress.

Dry Rubbed Roast Pork Tenderloin with a Roasted Garlic & Balsamic Sauce  |  Lemon & Mocha

This roasted pork loin is what we’re here for! And it is delicious! A basic dry rub is pressed onto the meat before being seared in a pan to lock in the flavor and juices. The meat finishes roasting in the oven then topped with a creamy and tangy roasted garlic balsamic sauce and it’s ready to be served.

Dry Rubbed Roast Pork Tenderloin with a Roasted Garlic & Balsamic Sauce  |  Lemon & Mocha

Matt and I usually eat fairly healthy, but I was unsure of where pork lies. After some thorough Googling I have deemed this dish a winner. Although there are certainly some cuts of pork that are not doctor recommended, hello delicious bacon and pork belly, a cut like pork loin is lean if you make sure to remove the excess fat. Additionally, it is a great source of protein and vitamin B! Yay vitamins!

Dry Rubbed Roast Pork Tenderloin with a Roasted Garlic & Balsamic Sauce  |  Lemon & Mocha

Dry Rubbed Roast Pork Tenderloin with a Roasted Garlic & Balsamic Sauce
 
Yield: 4 servings
Ingredients
for the pork
  • 1 teaspoon garlic powder
  • 1 teaspoon dried oregano
  • 1 teaspoon ground cumin
  • 1 teaspoon dried parsley
  • ½ teaspoon onion powder
  • ½ teaspoon ground coriander
  • ¼ teaspoon salt
  • 1 pound pork tenderloin
  • 1 tablespoon olive oil
for the sauce
  • 1 head garlic
  • ⅓ cup olive oil
  • ¼ cup balsamic vinegar
  • ½ teaspoon sugar
  • 1 tablespoon chopped fresh parsley
  • ½ teaspoon Dijon mustard
  • Salt and pepper
Directions
for the pork
  1. Preheat the oven to 450 degrees F.
  2. In a small bowl mix together all the dry seasonings until well combined. Place the tenderloin on a cutting board and sprinkle the rub all over. Rub and gently press the seasoning onto the pork.
  3. Heat the olive oil in a large skillet over medium-high heat. Cook the tenderloin in the pan for 10 minutes, using tongs to turn the pork and sear each side.
  4. Transfer the pork to the rack of a roasting pan and bake for 20 minutes or until it reaches an internal temperature of 150-155 degrees F. Slice then top with the sauce before serving.
for the sauce
  1. Cut the top off the head of garlic so that almost all the cloves are exposed. Place the head of garlic in a little square of tinfoil and curve up the sides. Lightly drizzle the garlic with olive oil then season with salt and pepper. Seal up the tinfoil to make a little packet. Roast for 35 minutes then let cool. Once it's cool enough to handle, squeeze out the roasted garlic cloves.
  2. Blend the roasted garlic cloves and the rest of the ingredients in a small food processor or with an immersion blender until smooth.
Notes
Make sure you note the first step in the sauce recipe (roasting the garlic) before starting the pork.

Pork recipe from The Food Network.
Sauce recipe from For the Love of Cooking.

How to Blanch Almonds

How to Blanch Almonds  |  Lemon & Mocha

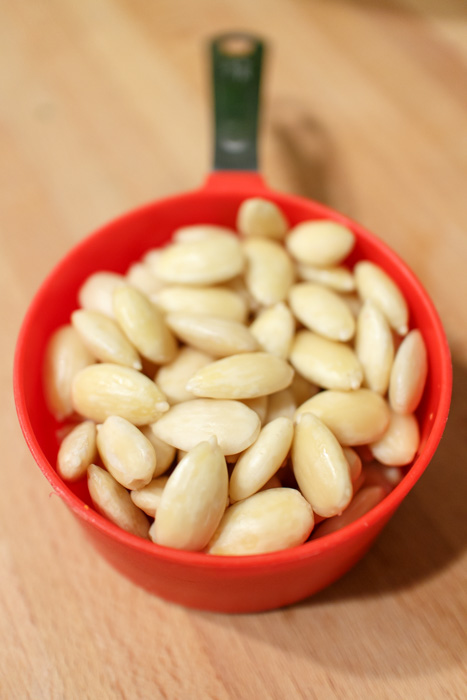
Blanched almonds are almonds with the brown skins removed and one of the ingredients in last week’s fall trail mix with pumpkin spiced pepitas. I prefer blanched almonds for texture reasons, but they also have a lot of other uses. Skinless almonds provide a smoother texture in baked goods, homemade almond butter and almond flour. Also when cooking with raw almonds, such as in a rice dish, the heat can cause the skins to fall off leaving them loose in your dish, but using blanched almonds solves this dilemma. I am constantly Googling kitchen tricks, tips and substitutes so I thought I would continue to share my favorites on Lemon & Mocha like I did with the homemade brown sugar.

How to Blanch Almonds  |  Lemon & Mocha

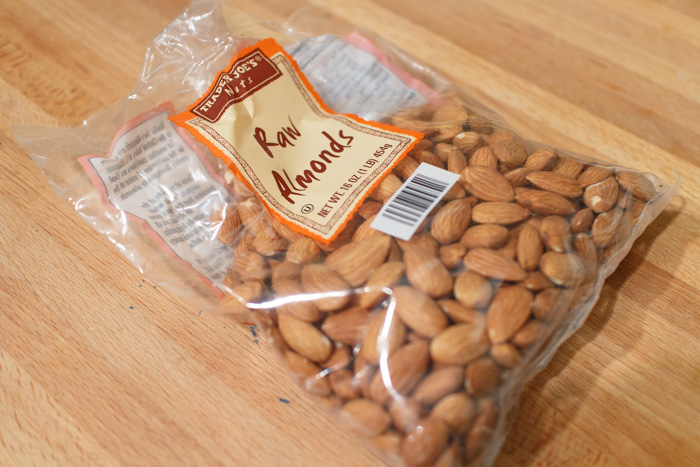
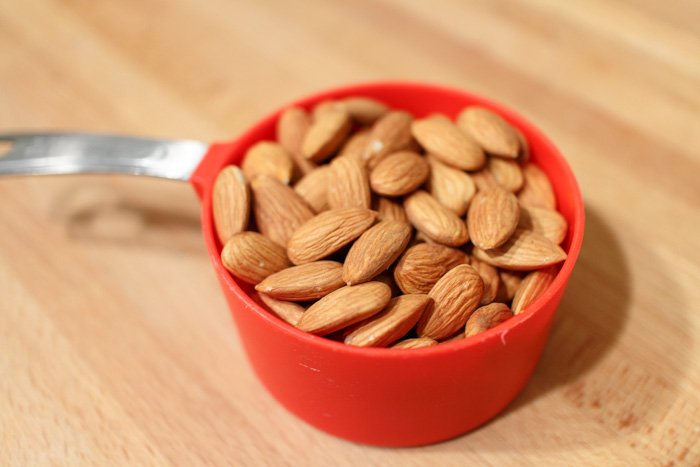
Start with some skin-on almonds, usually called raw almonds. You don’t want roasted or salted almonds because you’re going to be removing the skins anyways.

How to Blanch Almonds  |  Lemon & Mocha

Measure out however many blanched almonds you want or that your recipe calls for then bring a pot of water to a boil. Pour the raw almonds into the boiling water and let boil for one minute. Make sure they don’t boil any longer or they might start to get soft.

How to Blanch Almonds  |  Lemon & Mocha

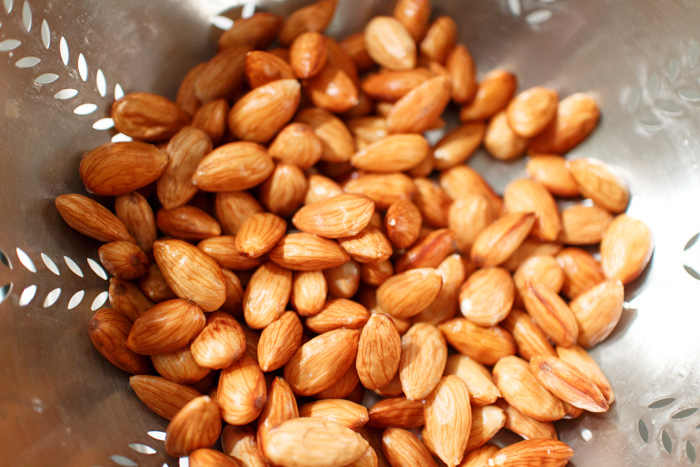
Immediately remove and drain in a colander before rinsing with cold water. You will notice that the skins are slightly shriveled.

How to Blanch Almonds  |  Lemon & Mocha

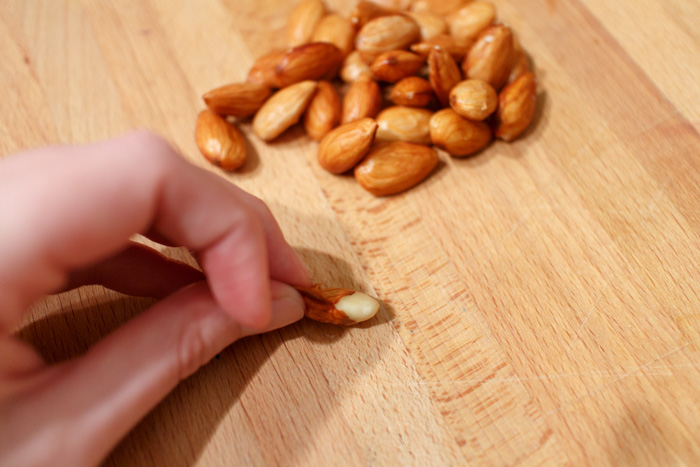
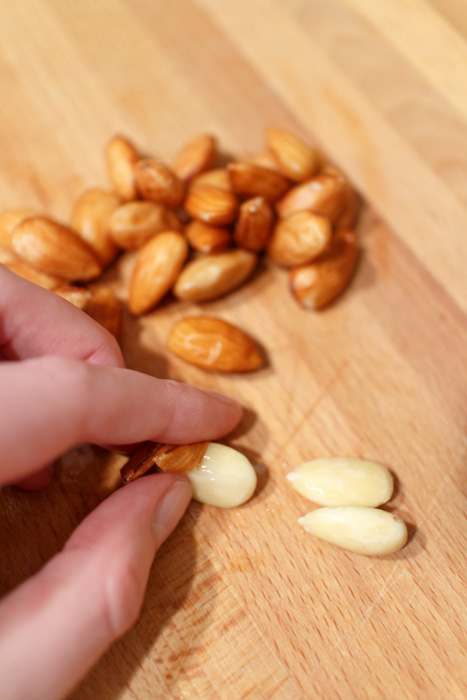
Working on a clean surface, gently press on the almonds to pop them out of their skins.

How to Blanch Almonds  |  Lemon & Mocha

I used my hand that wasn’t holding the almond to act as a barrier because sometimes the almonds get some force behind them as they’re being popped out of the skins and decide to go flying across your kitchen!

How to Blanch Almonds  |  Lemon & Mocha

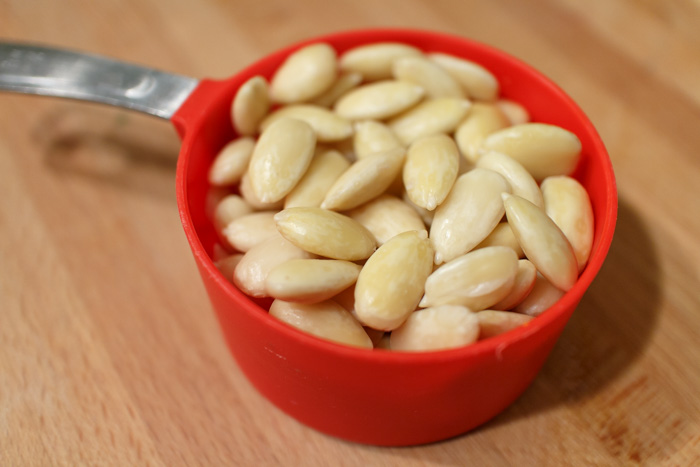
Now you have blanched almonds! They will be a little wet and will need to dry or be dried off before using in any recipes.

How to Blanch Almonds
 
Ingredients
  • Raw, skin-on almonds
Directions
  1. Bring a small pot of water to a boil. Add the raw almonds and boil for exactly 1 minute.
  2. Remove from the heat and drain in a colander. Rinse with cold water.
  3. Working on a clean surface, press on the almonds to pop them out of their skins. Make sure they don't go flying across the kitchen!
  4. Let them dry before using.