How to Make Homemade Key Lime Curd
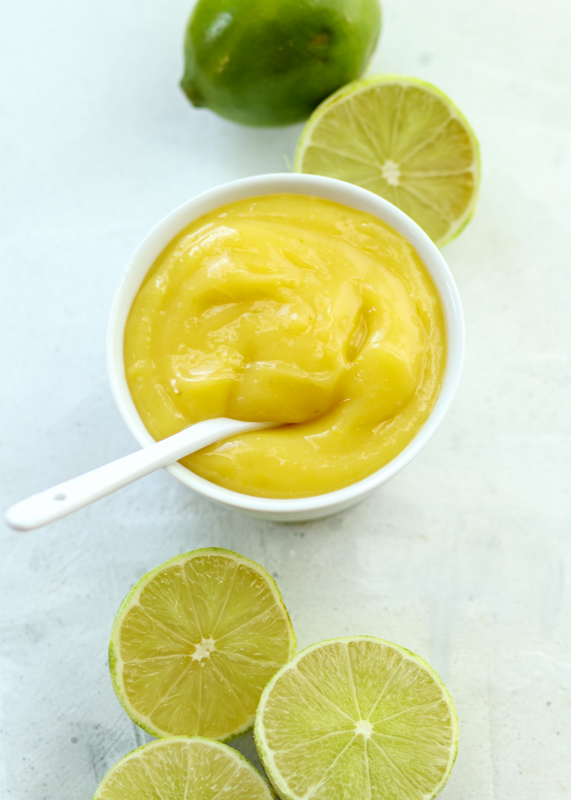
How to Make Homemade Key Lime Curd  |  Lemon & Mocha

I had no idea that I had a deep love for citrus desserts until I met Matt. When we first started dating we decided to grab some desserts on campus and eat them on the quad. We went up to the Chocolate Bar, which, first, if you’ve been to Boston College recently it’s not like it used to be and second, it was as amazing as it sounds. I am a chocoholic so I would always get the Oreo frappe or the chocolate croissant. I picked out a chocolate dessert, probably a chocolate croissant, and Matt got a lemon tart. We went outside with a couple forks for our little dessert picnic and I could not believe how much I loved the lemon tart! As our relationship went on, the more citrus desserts Matt ordered, the more I would love them until next thing I knew I was full-on citrus dessert obsessed.
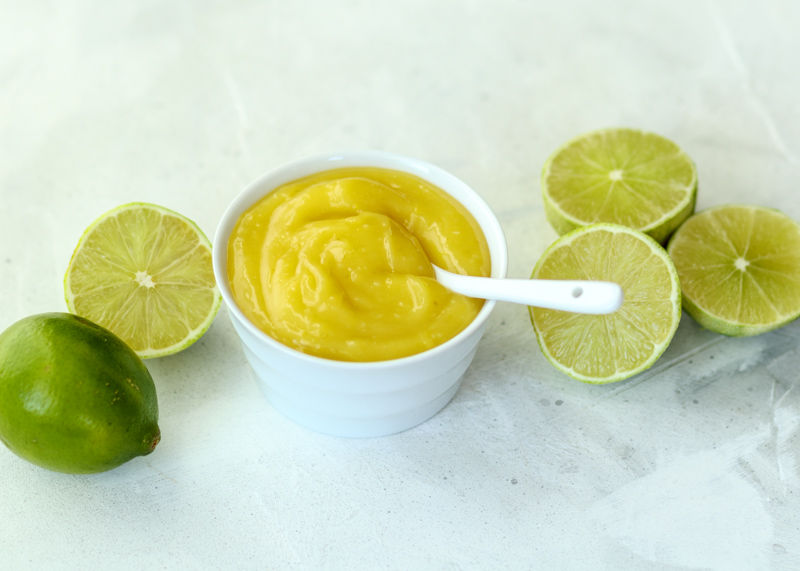
How to Make Homemade Key Lime Curd  |  Lemon & Mocha

One of my favorite citrus treats to drizzle on waffles or stuff inside cupcakes is homemade lemon curd. I’ve been making it for a few years now and I figured it was time I branched out and tried the recipe with a different citrus flavor. Key limes have a bright punch to them that pairs well with subtle sweet flavors, like graham crackers or angel food cake.
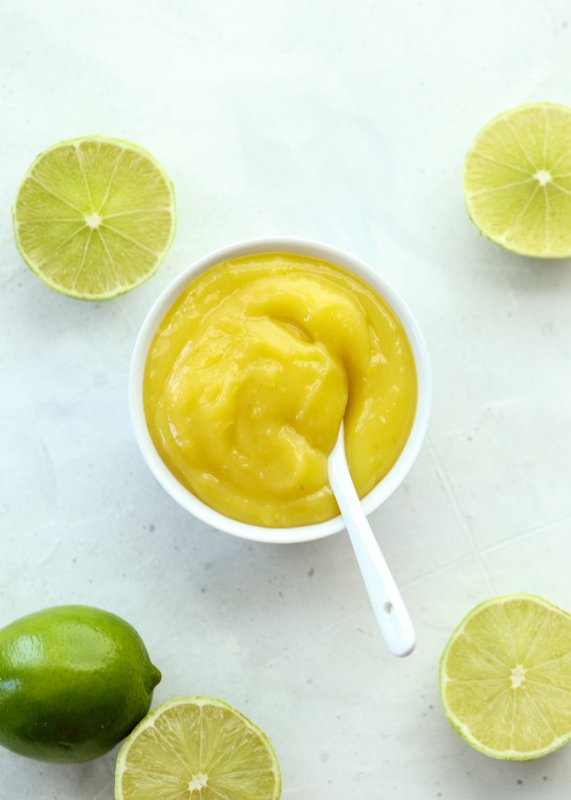
How to Make Homemade Key Lime Curd  |  Lemon & Mocha

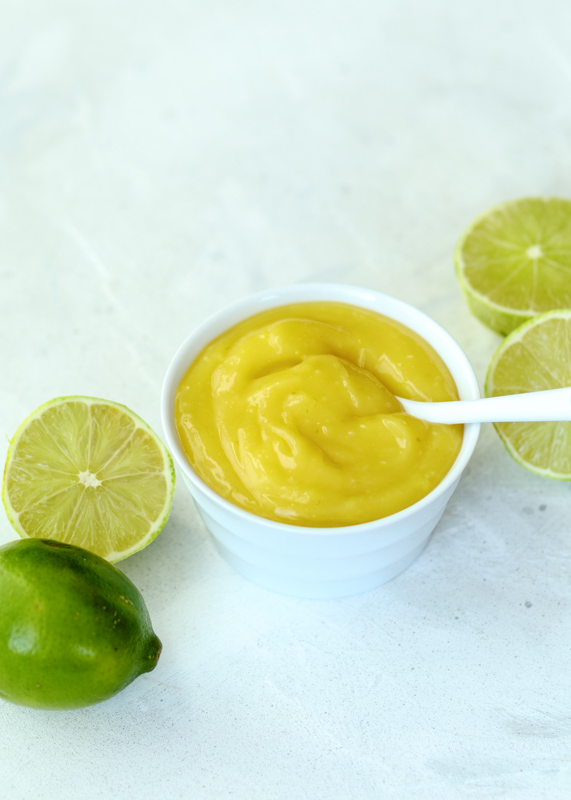
Just like the lemon curd, this key lime curd is smooth and decadent. In addition to be slathered on cookies, spread over cheesecake or generally just eaten with a spoon, I think it tastes particularly delicious stirred into some plain Greek yogurt. Whatever you do with it, make sure you keep some for Wednesday’s post! I can’t wait to show you how I used up my batch of key lime curd.
How to Make Homemade Key Lime Curd  |  Lemon & Mocha

Key Lime Curd
 
Yield: 1½ cups
Ingredients
  • ½ cup key lime juice
  • Zest of 3 key limes
  • ⅔ cup sugar
  • 3 large eggs
  • 4 tablespoons unsalted butter, diced into small pieces
Directions
  1. In a medium saucepan, whisk together the key lime juice, key lime zest, sugar and eggs. Place the saucepan over medium-low heat and stir in the pieces of butter. Whisk the curd frequently until the curd is thick enough that it keeps the mark of the whisk when you touch it to the curd in the saucepan. It takes a bit of time for it to thicken, but just keep whisking!
  2. Strain the key lime curd through a fine mesh strainer into a small bowl to get rid of any egg lumps. Cover the surface of the key lime curd with a piece of plastic wrap so that it’s completely touching the curd. Place in the fridge to cool. After cooled, if not using right away store in an airtight container in the fridge for 1-2 weeks.


Lemon Poppy Seed Zucchini Muffins

Lemon Poppy Seed Zucchini Muffins  |  Lemon & Mocha

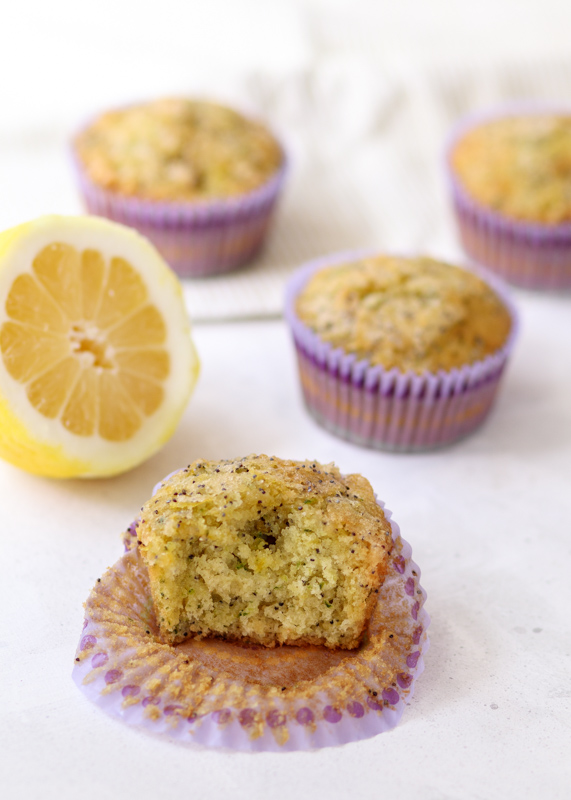
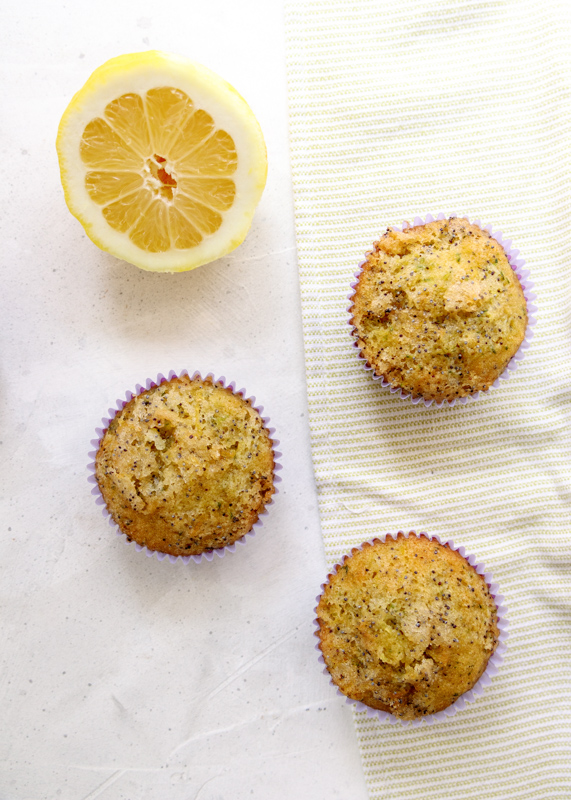
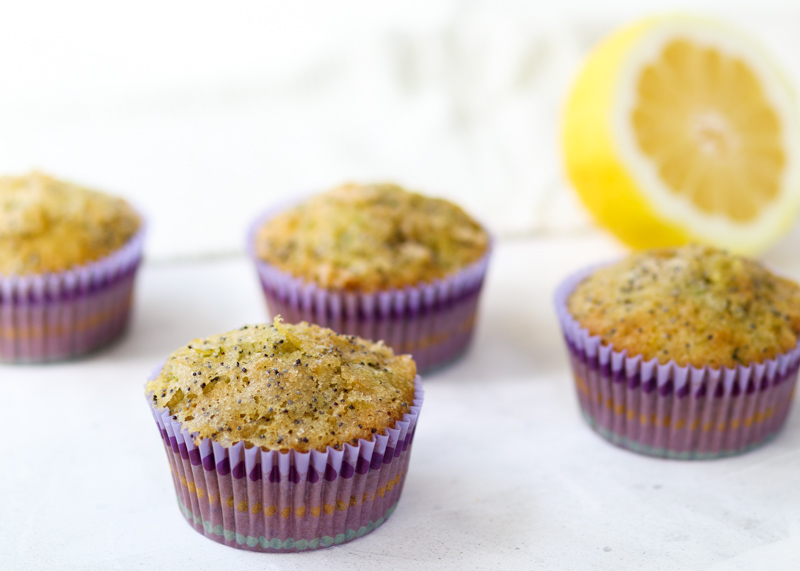
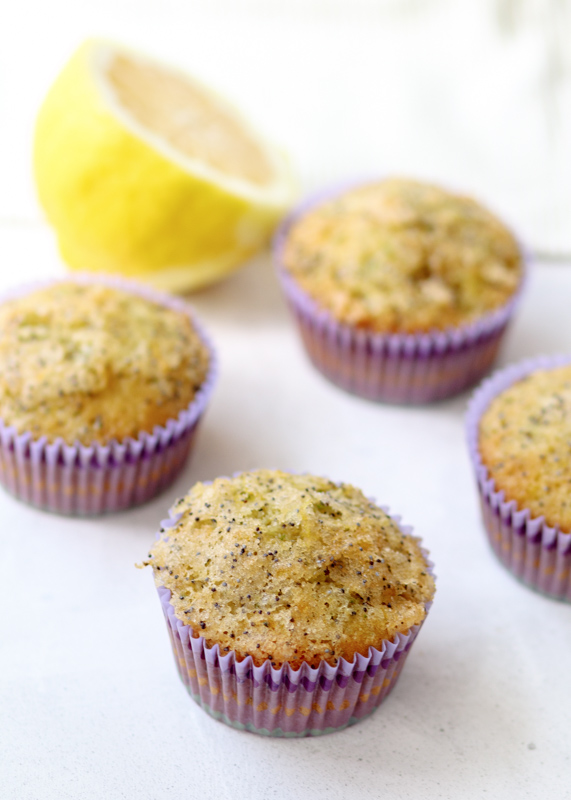
I told you I would make it back to the July muffins in August! The Blueberry Nectarine Muffins were too good not to share early, but today we’re talking all about these Lemon Poppy Seed Zucchini Muffins the Food Network Magazine selected for the July muffins. I was really excited for these muffins because I know zucchini can help make baked goods extra moist, just like my Double Chocolate Zucchini Bread. I also love lemon desserts – Lemon Cookie Butter Cheesecake Parfaits or Lemon Curd Tart with Fresh Berries, anyone?

Lemon Poppy Seed Zucchini Muffins  |  Lemon & Mocha

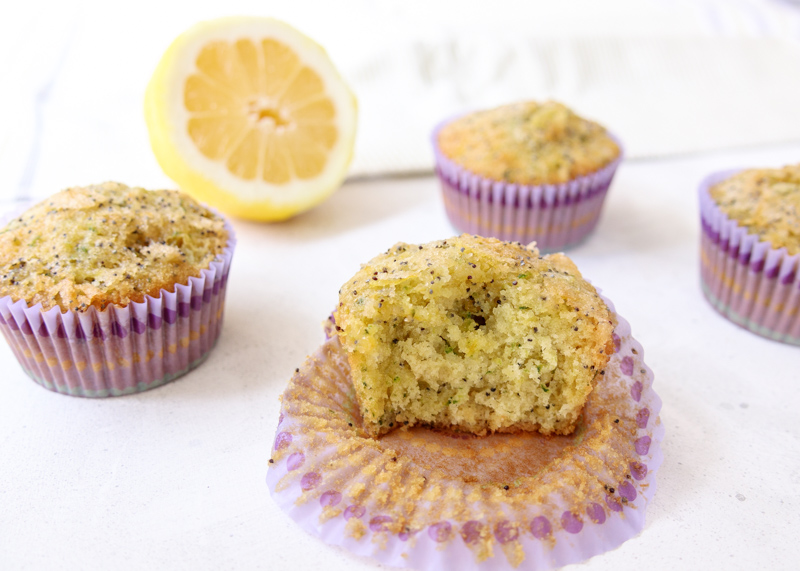
Especially after how amazing the August Blueberry Nectarine Muffins came out my expectations were very high for these Lemon Poppy Seed Zucchini Muffins. I can’t say they completely met my expectations. They were really great muffins, though. The grated zucchini and the buttermilk helped make them very moist. The sugary crackly top of the lemon-poppy seed sugar was on point.

Lemon Poppy Seed Zucchini Muffins  |  Lemon & Mocha

Even still, I felt like they were missing a little something. The topping was full of lemon flavor, but I think the lemon flavor of the actual muffins was a bit more subdued and I prefer lemon to really punch my taste buds. Since it is more subtle, maybe these muffins would be more universally appealing in case someone isn’t obsessed with lemon. I think if my expectations weren’t so high I would have liked these muffins even more. I did, however, like them a lot better the second day after they had completely cooled and the flavors had a chance to meld than when I first tried them warm out of the oven.

Lemon Poppy Seed Zucchini Muffins  |  Lemon & Mocha

I would still recommend them though because the flavor and the texture was good, although if you really want them to scream lemon I would experiment with adding some more zest or some lemon juice to the batter. You could even try adding lemon yogurt instead of the plain yogurt or buttermilk. I will definitely be giving them a second shot in the future with some added lemony goodness.

Lemon Poppy Seed Zucchini Muffins  |  Lemon & Mocha

Lemon Poppy Seed Zucchini Muffins
 
Yield: 12 muffins
Ingredients
  • 1 lemon, zested
  • 1 cup sugar
  • 2 teaspoons poppy seeds
  • 1½ cups all-purpose flour
  • ½ teaspoon baking soda
  • ½ teaspoon baking powder
  • ½ teaspoon salt
  • ½ cup vegetable oil
  • ¼ cup buttermilk or plain yogurt (not Greek)
  • ½ teaspoon vanilla extract
  • 2 large eggs
  • 1 cup packed grated zucchini (about 1 zucchini)
Directions
  1. Preheat the oven to 350 degrees F then line a 12-cup muffin pan with paper liners and set aside.
  2. In a medium mixing bowl, combine the lemon zest, sugar and poppy seeds. Measure out 3 tablespoons of the lemon-poppy seed sugar and set aside in a small bowl.
  3. In a large mixing bowl, sift together the flour, baking soda, baking powder and salt.
  4. In the medium bowl with the remaining lemon-poppy seed sugar, add the vegetable oil, buttermilk (or yogurt), vanilla and eggs. Whisk to combine then stir into the flour mixture until just combined. Mix in the grated zucchini.
  5. Divide the batter between the prepared muffin cups. Fill the liners about ¾ full then sprinkle the tops of the muffins with the 3 tablespoons of lemon-poppy seed sugar. Bake for 23-25 minutes or until the muffin edges are golden brown and a toothpick inserted in the center of the muffin comes out clean. Cool the muffins for 5 minutes in the pan then transfer to a wire cooling rack to cool completely.

Recipe from January/February 2018 issue of Food Network Magazine.

Some of the links above are affiliate links, which means I may receive a small commission for my referral. This does not affect the retail cost of the item. Thank you for supporting Lemon & Mocha!

Raspberry Peach Turnovers with a Fresh Raspberry Glaze

Raspberry Peach Turnovers with a Fresh Raspberry Glaze  |  Lemon & Mocha

I have a huge dessert obsession, except when it comes to fruit pies. I love key lime pie, pumpkin pie, pecan pie and definitely ice cream pie, but I’m fairly indifferent when it comes to fruit pies. Matt, on the other hand, has a huge fruit pie obsession, specifically cherry pie. Usually if there’s a fruit pie I might take a bite, but that will be the extent of it. However, a few years ago, Matt’s parents came to visit and brought a Raspberry Peach Pie from an orchard near their house. Raspberry is one of Matt’s favorite fruits, but it definitely isn’t mine. I figured I would try a bite and that would be the end of it. Instead, I couldn’t stop eating the Raspberry Peach Pie! The tartness of the raspberries mixed with the rich sweetness of the in-season peaches had me hooked.

Raspberry Peach Turnovers with a Fresh Raspberry Glaze  |  Lemon & Mocha

I’ve been wanting to recreate that pie for years, but I haven’t been adventurous enough in the kitchen with pie making. I’ve also been all about simple recipes this summer so I brainstormed how I could still get that same mouthwatering combination in an easier manner than test-baking pies all summer. The answer was easy – Raspberry and Peach Turnovers! I love working with store-bought puff pastry because it’s ready to use as soon as you thaw it. If you’ve never bought puff pastry before you can find it in the freezer section of your grocery store, usually near the other frozen desserts and fruit.

Raspberry Peach Turnovers with a Fresh Raspberry Glaze  |  Lemon & Mocha

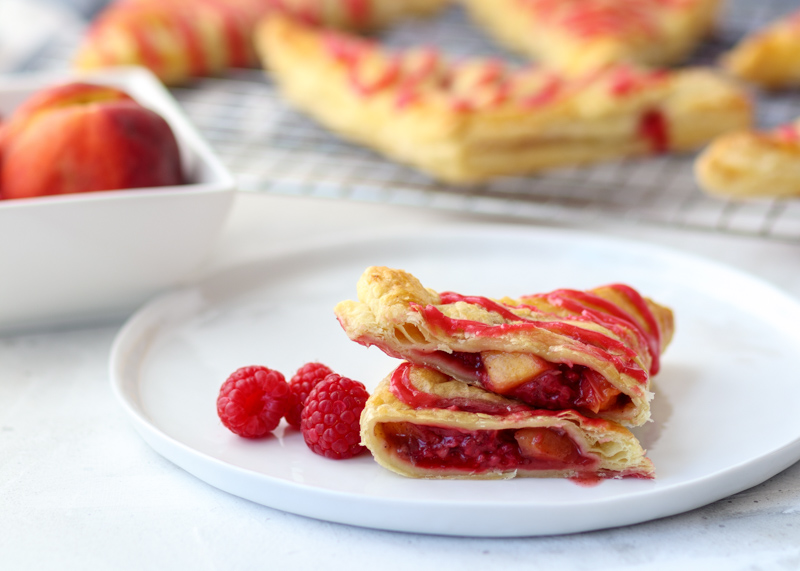
Peaches are in peak season right now and I’ve been getting some super sweet and juicy ones at the store. I tossed the fresh peaches with raspberries, cinnamon and a little brown sugar for some added sweetness. The fruit mixture gets stuffed in the puff pastry before being topped with an egg wash and baked until golden brown. The heat of the oven reduced the raspberries to an almost jam-like texture in the turnovers, which paired really well with the sweet peaches and cinnamon flavoring. Pie crust is good, but for me, puff pastry takes the cake pie. It’s light, flaky and definitely buttery.

Raspberry Peach Turnovers with a Fresh Raspberry Glaze  |  Lemon & Mocha

Since the Raspberry Peach Turnovers are so simple on their own I decided to give them a little something extra. You could top them with powdered sugar OR you could drizzle them with this easy fresh raspberry glaze. Look how pretty the glaze looks on the turnovers! The glaze also helps bring in some additional raspberry flavoring and sweetness. Don’t be shy with the glaze; after I took these photos I smothered the turnovers with all the rest of the glaze!

Raspberry Peach Turnovers with a Fresh Raspberry Glaze  |  Lemon & Mocha

One bite of these turnovers brought me right back to that raspberry peach pie, but I love how easy then puff pastry turnovers are. These are perfect to make for a brunch treat, a fruity dessert or simply because you have fresh raspberries and peaches to use. The bulk of the turnover is the fruit so make sure your fruit is ripe and bursting with fresh summer flavor!

Raspberry Peach Turnovers with a Fresh Raspberry Glaze  |  Lemon & Mocha

Raspberry Peach Turnovers with a Fresh Raspberry Glaze
 
Yield: 8 turnovers
Ingredients
for the pastries
  • 1 package frozen puff pastry (2 sheets - 17.3 ounce package), thawed according to manufacturer’s instructions (see note)
  • 1 cup fresh raspberries
  • 2 cups diced ripe peaches, skin on
  • ¼ teaspoon ground cinnamon
  • 1½ tablespoons brown sugar
  • 1 egg
for the glaze
  • ⅔ cup fresh raspberries
  • 1 ½ tablespoons water
  • 1 tablespoon sugar
  • 1 teaspoon lemon juice
  • ½ teaspoon vanilla extract
  • ¾ cup powdered sugar
  • 1 tablespoon milk
Directions
for the pastries
  1. Preheat the oven to 400 degrees F. Line a baking sheet with parchment paper or coat with nonstick spray and set aside.
  2. In a medium bowl, combine the raspberries, diced peaches, cinnamon and brown sugar.
  3. Roll each sheet of puff pastry into a 12” square. Divide each 12” square into 4 squares.
  4. Scoop some raspberry and peach filling onto the center of each puff pastry square. I found about ⅓ cup was the perfect amount for not over-filling them. Fold one corner of the puff pastry square to the opposite corner to make a triangle. Press the edges together with your fingers and then press down with a fork to seal the turnover. Cut a couple slits in the top of the turnover so it doesn’t puff up too much while it is baking. Repeat for the remaining turnovers.
  5. Beat the egg with a teaspoon of water then brush over the tops of the turnovers. Bake for 14-16 minutes, or until they are golden brown. Let cool before topping with the glaze.
for the glaze
  1. Combine the raspberries, water, sugar and lemon juice in a small saucepan over medium heat. Cook for about 10 minutes, stirring and mashing the raspberries frequently. Remove from the heat and stir in the vanilla extract. Strain over a fine mesh colander into a bowl to remove the seeds then let cool. Once cool, whisk in the powdered sugar and milk. If your glaze is too thick, add some more milk. If your glaze is too thin, add some more powdered sugar. Drizzle over the cooled turnovers.
Notes
You want to try to touch and work with the puff pastry the least amount of time possible because touching it makes the pastry warm, which means less of a rise during the baking. I leave the second roll of puff pastry in the fridge until I’m done working with the first one.
The amount of brown sugar you want to use may depend on how sweet or tart your fruit is. I found 1½ tablespoons to be the perfect amount of sweetness for us when we used in-season raspberries and peaches.


Triple Berry Waffles

Triple Berry Waffles  |  Lemon & Mocha

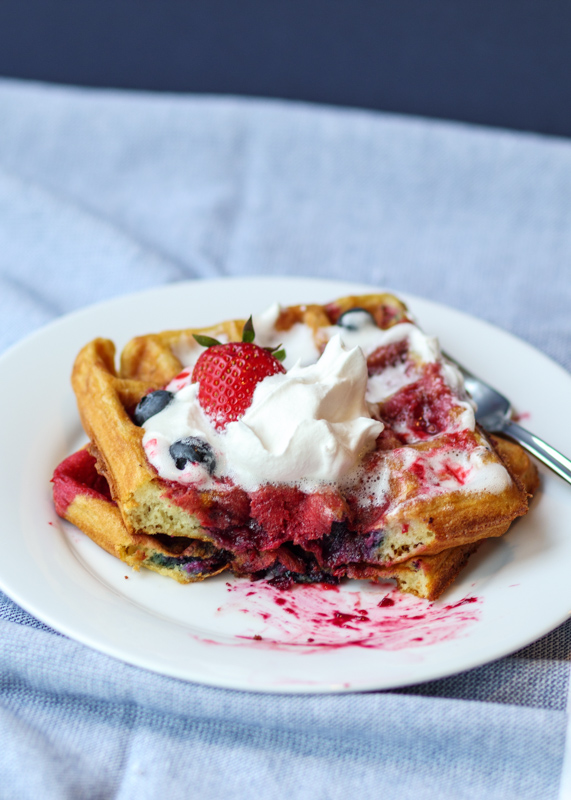
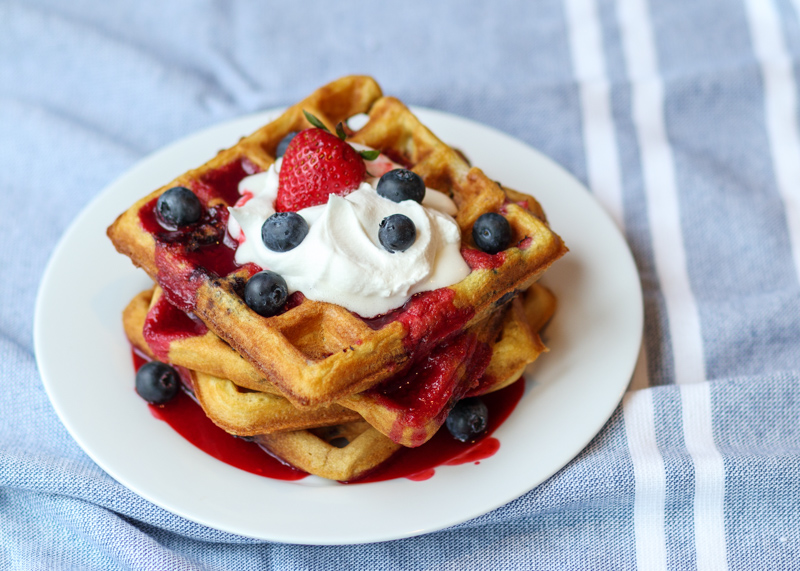
My Dad’s birthday was this past weekend and whenever I think about my Dad I think about waffles. Or maybe it’s whenever I think about waffles I think about my Dad. Either way, this morning we’re doing Triple Berry Waffles in honor of my Dad.

Triple Berry Waffles  |  Lemon & Mocha

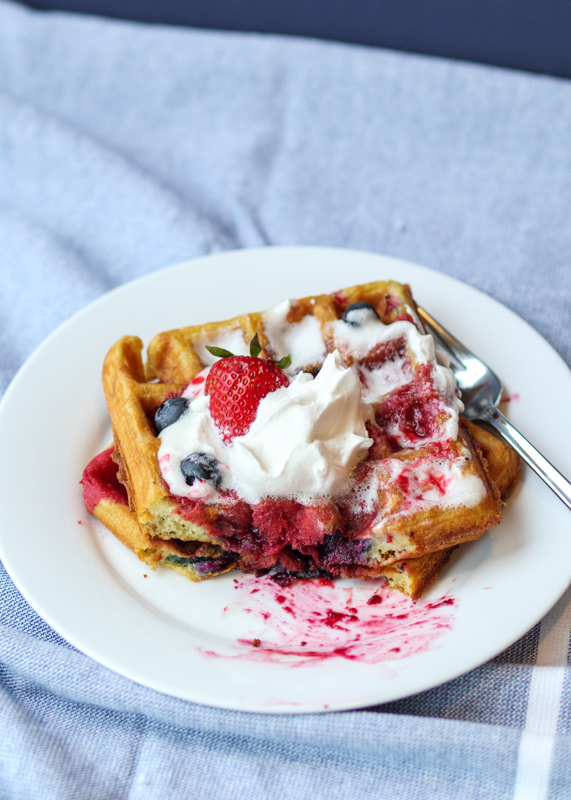
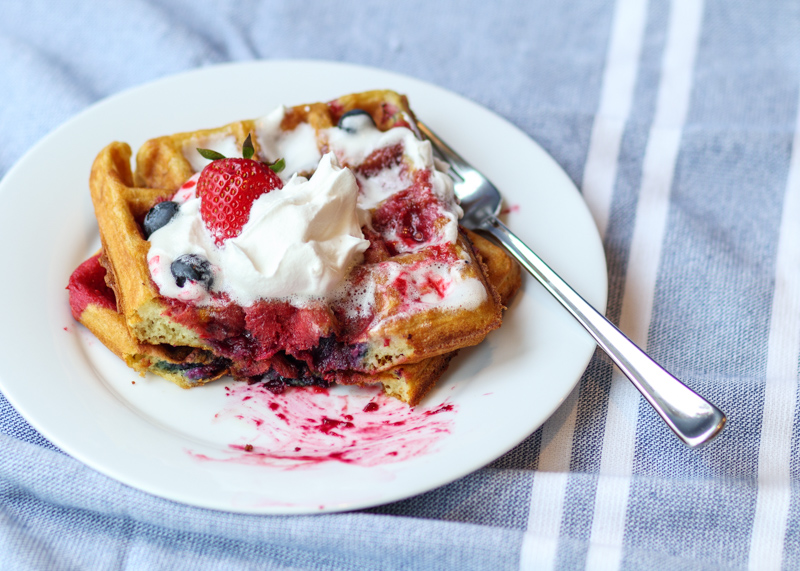
Now, not to make it confusing, but we’re doing triple berries two ways. The first way is that we are using three types of berries. I went with a classic strawberry, blueberry and raspberry combination. The second way is that we are using the berries three different ways in this recipe. We have berries in the waffle batter, we have fresh berries on the waffles and then we have a berry sauce drizzled on top! So they’re really like Double Triple Berry Waffles, but that doesn’t make much sense so Triple Berry Waffles it is. Have I confused you yet? I hope not, I’m just really excited about all these berries!

Triple Berry Waffles  |  Lemon & Mocha

I used my Perfect Buttermilk Waffles as the base before loading them with the strawberries and blueberries. I used raspberries for the sauce only, but you could substitute raspberries for some of the strawberries or blueberries that are inside the waffle batter or fresh on top.

Triple Berry Waffles  |  Lemon & Mocha

As always, if you don’t have a waffle maker you could thin the batter with a little milk and make them into pancakes, but waffles are so fun! So definitely think about getting a waffle maker if you don’t have one. This is the one we have.

Triple Berry Waffles  |  Lemon & Mocha

In addition to the Perfect Buttermilk Waffles and the Churro Waffles with Raspberry Sauce, I also have a recipe for savory waffles. Remember the Cheddar Scallion Waffles I made into an epic eggs benedict? Yum! I need to make that one again soon! If you’re in the mood for something sweet this week though I highly recommend these Triple Berry Waffles that are bursting with fresh berry flavor and were inspired by my Dad. Do waffles make you think of anyone special? Other than Donkey from Shrek, of course!

Triple Berry Waffles  |  Lemon & Mocha

Triple Berry Waffles
 
Yield: 8-10 waffles and ¾ cup raspberry sauce
Ingredients
for the waffles
  • ½ cup unsalted butter, melted and cooled in a medium mixing bowl
  • 1¾ cups all-purpose flour
  • 2 teaspoons baking powder
  • 1 teaspoon baking soda
  • 1 teaspoon sugar
  • ½ teaspoon salt
  • 3 large eggs, room temperature
  • 1½ cups buttermilk, room temperature
  • 1 teaspoon vanilla extract
  • ½ cup chopped fresh strawberries, plus more for topping
  • ½ cup blueberries, plus more for topping
for the raspberry sauce
  • 12 ounces frozen unsweetened raspberries
  • ¼ cup sugar
  • ½ teaspoon lemon juice
Directions
for the waffles
  1. Turn on the waffle iron to get it hot and spray with nonstick cooking spray, depending on manufacturer’s instructions.
  2. Sift the flour, baking powder, baking soda, sugar and salt into a large mixing bowl. Stir to combine then create a well in the center for the liquid ingredients.
  3. Add the eggs to the cooled butter mixing bowl and beat until frothy. Add the buttermilk and vanilla extract. Beat again until well-combined.
  4. Pour the buttermilk mixture into the well in the dry ingredients. Stir with a wooden spoon until just combined. The buttermilk and leavening will create a batter full of air bubbles. Lightly fold in the chopped strawberries and blueberries.
  5. Pour the batter onto your waffle iron in batches and cook according to manufacturer’s instructions. If working in batches, let waffles rest on a cooling rack after they are cooked, or place them directly on the rack of your oven or toaster oven on a low heat to stay warm. Top with the raspberry sauce, fresh berries and whipped cream.
for the raspberry sauce
  1. Thaw the raspberries in the microwave or on the stovetop. Once thawed, place a fine mesh strainer over a small saucepan. Press the raspberries through the strainer by pressing with the back of a spoon. Scoop the seeds off the strainer as needed. When all the raspberries have been pushed through and left only the seeds, all the sugar and lemon juice to the sauce pan. Heat over medium-low heat and stir until the sugar has dissolved and the raspberry sauce is heated through. Serve warm.
Notes
If you don’t have buttermilk handy, you can use the following substitution. Put 1 tablespoon of lemon juice in a liquid measuring cup. Fill the measuring cup with milk (I use skim, any milk-fat percentage should work) until it equals 1½ cups. Let sit for 5 minutes before using in the recipe.

Waffle recipe slightly adapted from Food.com.
Raspberry sauce recipe from Joy of Baking.

Some of the links above are affiliate links, which means I may receive a small commission for my referral. This does not affect the retail cost of the item. Thank you for supporting Lemon & Mocha!

Hot Fudge Brownie Sundae Ice Cream Pie

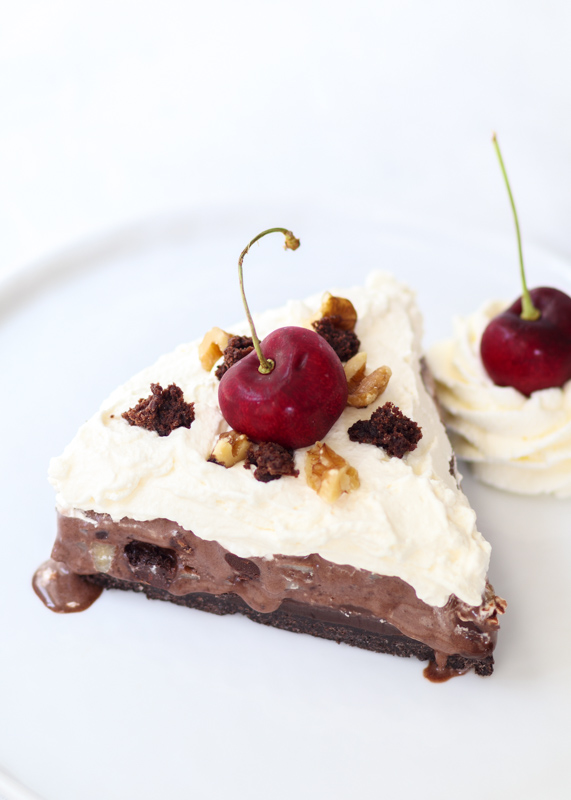
Hot Fudge Brownie Sundae Ice Cream Pie  |  Lemon & Mocha

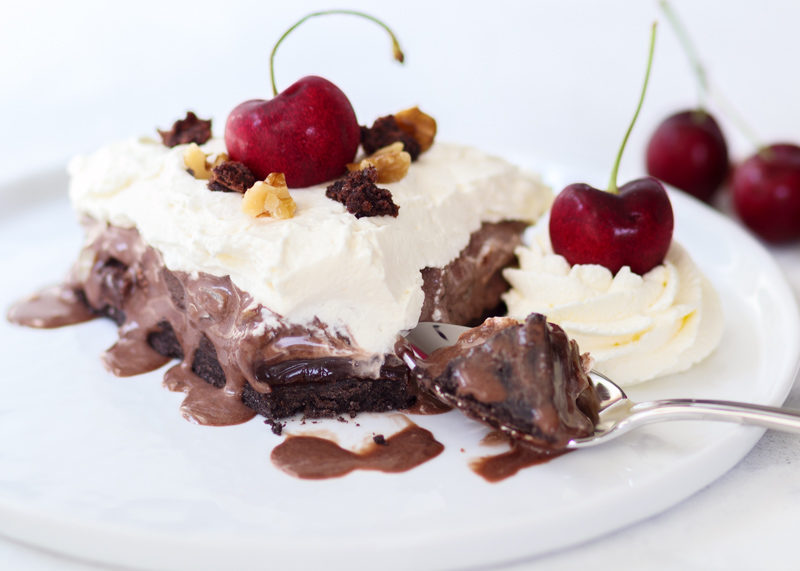
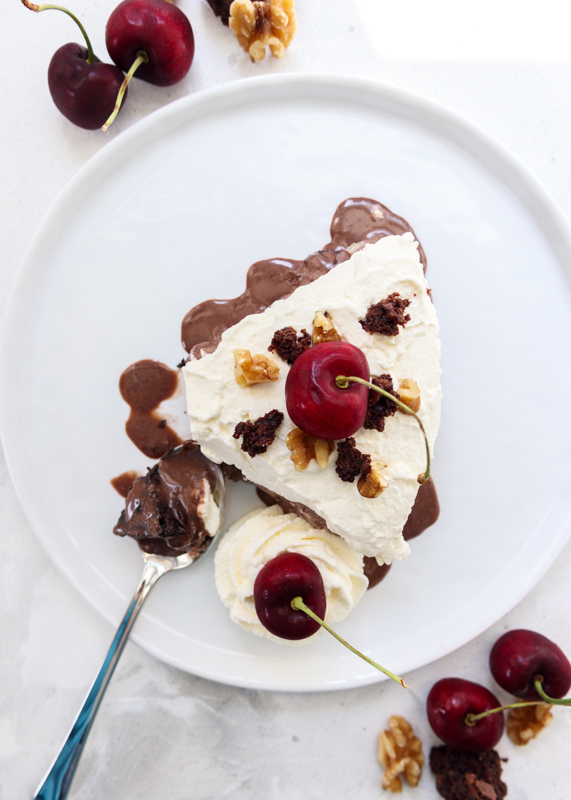
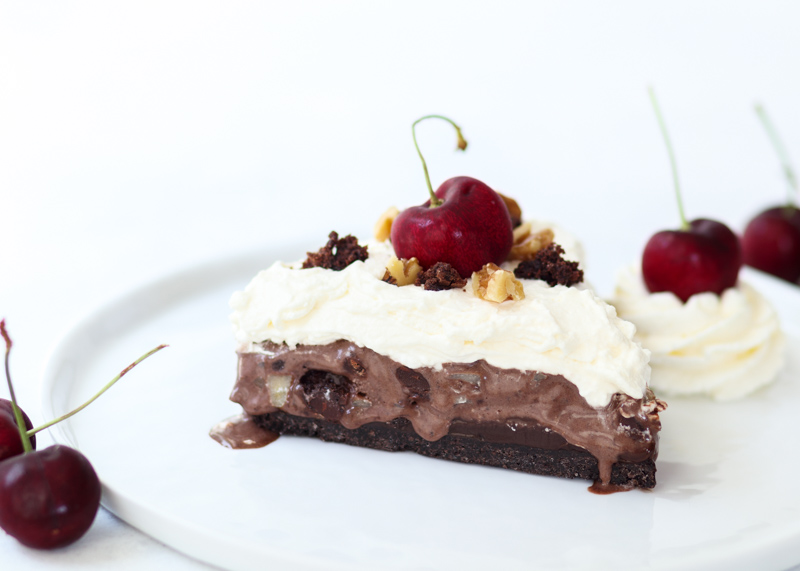
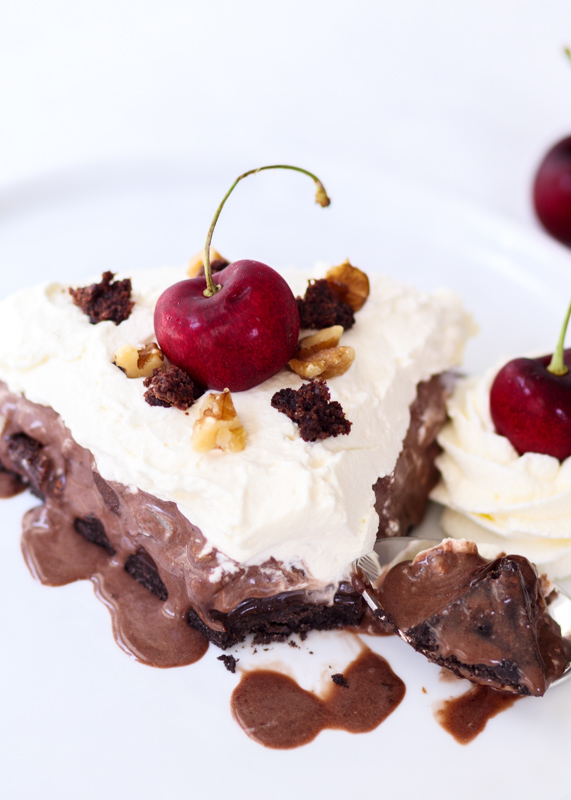
Happy Friday, friends! It is the last day of my self-proclaimed ice cream week and I have an epic grand finale for you. Hot Fudge Brownie Sundae Ice Cream Pie! I’ve turned the classic dessert into an ice cream pie because everyone needs more ice cream pie in their lives. Especially during the summer time. I love making ice cream pies year round though; it is my go-to dessert to make for someone’s birthday or any type of celebration. Usually my ice cream pies have four major components: cookie or graham base, ice cream, some sort of decadent topping and whipped cream. Well, five components if you include the cherries, candy or other goodies that get sprinkled on top.

Hot Fudge Brownie Sundae Ice Cream Pie  |  Lemon & Mocha

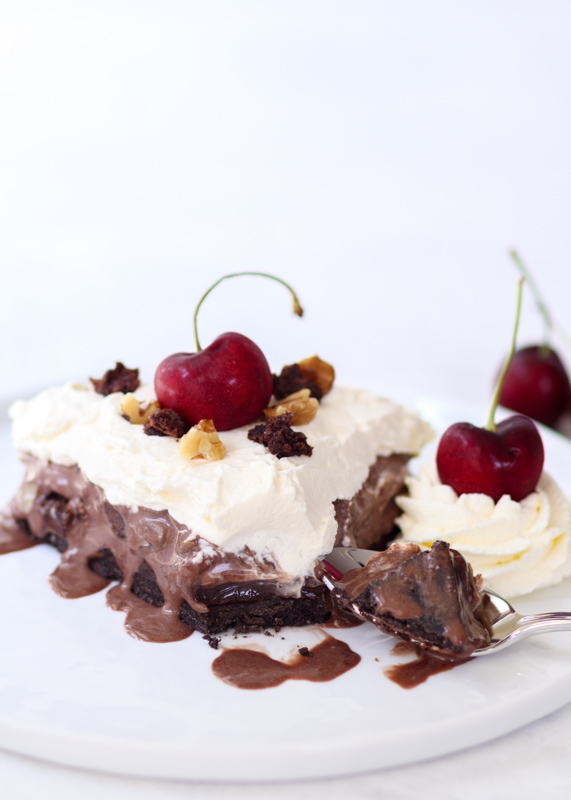
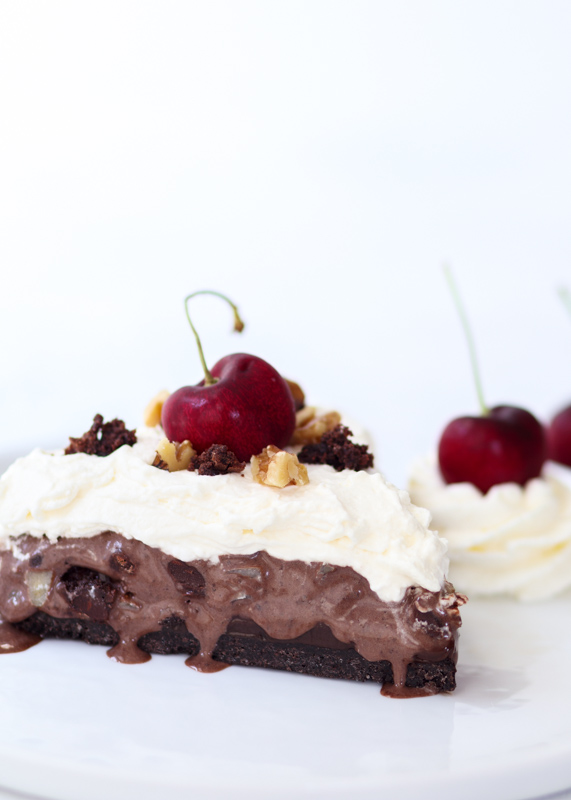
This pie uses Monday’s Chocolate Brownie Walnut Ice Cream in an unbelievable way. Or a criminal way, as my Dad said when he tried it. As in, “that ice cream pie was criminal – it should be outlawed!” Direct quote right there. The first layer of this pie is your standard no-bake Oreo crust. On top of the crust we have a layer of hot fudge, since we are trying to replicate the hot fudge brownie sundae after all. I was making so many other components of this pie that I went with store bought hot fudge, but you could definitely make your own if you have a go-to recipe. I don’t have a hot fudge recipe on Lemon & Mocha, but I’m adding it to my list to test for you all!

Hot Fudge Brownie Sundae Ice Cream Pie  |  Lemon & Mocha

Next we have the Chocolate Brownie Walnut Ice Cream. I debated whether I wanted to have an entire brownie layer or to put the brownie chunks in the ice cream, but I went with the latter. There’s just the right amount of brownie chunks and walnuts that you get some in every bite, adding the perfect fudgy and crunchy texture.

Hot Fudge Brownie Sundae Ice Cream Pie  |  Lemon & Mocha

I used a chocolate ice cream base because more chocolate makes everything better, but you could certainly use vanilla ice cream before folding in the brownies and walnuts. Simply follow my Vanilla Bean Ice Cream recipe up until the step where you’re about to put it in the ice cream maker, then follow the Chocolate Brownie Walnut Ice Cream recipe for brownie and walnut mix-in directions. Or, if you’re using the shortcut version I talked about in Monday’s post you would just mix the brownies and walnuts into your favorite store-bought vanilla ice cream. Finally, pile on the quick homemade whipped cream followed by plenty of cherries.

Hot Fudge Brownie Sundae Ice Cream Pie  |  Lemon & Mocha

Obviously I love eating ice cream pies because I’m ice cream obsessed, but the reason I love making them is because of the flexibility of the components. Feeling ambitious and like you want to show-off? Go full-on homemade with everything. Short on time? Pick up everything you need at the store. I usually fall somewhere in between. I like to have one or two components I can impress with and then take shortcuts on the rest to save time.

Hot Fudge Brownie Sundae Ice Cream Pie  |  Lemon & Mocha

I can’t wait for you all to try this Hot Fudge Brownie Sundae Pie soon since it is so crazy criminally delicious. I have been trying to eat really well, but I could not avoid this one when it was sitting in the freezer! So be sure to make it soon, especially if you feel like living dangerously! Ha!

Hot Fudge Brownie Sundae Ice Cream Pie  |  Lemon & Mocha

Brownie Fudge Sundae Ice Cream Pie
 
Yield: 8-12 servings
Ingredients
  • 24 Oreo cookies
  • 5 tablespoons melted unsalted butter
  • 1 tablespoon sugar
  • ¼ teaspoon salt
  • 1 cup hot fudge
  • 1 batch chocolate brownie walnut ice cream
  • 1 cup heavy cream
  • 2 tablespoons sugar
  • Cherries, for topping
Directions
  1. Line a pie dish or a springform pan with plastic wrap. Make sure plastic wrap is hanging over the sides. When the pie is done you will want to remove it from the pan so you can get a clean cut. If you don’t care about getting a clean cut, you can make the pie directly in the pie dish without any plastic wrap, but it will be hard to get out the first piece or two.
  2. Crush the Oreo cookies (filling and all) in a food processor or in a plastic bag with a rolling pin until they resemble fine crumbs. Add the melted butter, sugar and salt then pulse in the food processor until combined or stir together until combined in a mixing bowl. Press the cookie crumb mixture into the bottom of the prepared pie dish and chill in the refrigerator for at least 1 hour.
  3. Heat the hot fudge if it’s not pourable. Pour the hot fudge into the bottom of the chilled Oreo crust and put in the freezer until chilled.
  4. If you are using homemade ice cream, you can pour the ice cream straight from the ice cream machine into the chilled hot fudge Oreo crust. If you are using semi-homemade ice cream (see note), pour the softened ice cream with the walnuts and brownie pieces mixed in right into the chilled hot fudge Oreo crust. Lightly cover and freeze until firm, about 6-8 hours.
  5. Place the metal stand mixer bowl or a metal mixing bowl and the metal beater of your stand mixer or the metal beaters of your hand mixer in the freezer to chill for at least 15 minutes. Pour the cold heavy cream and the sugar into the chilled bowl then beat until you see stiff peaks form. Spread the whipped cream over the top of the ice cream pie. Top with the cherries before serving.
Notes
The pie will be best if you add the fresh whipped cream right before serving. Fresh whipped cream will also be okay in the fridge for a few hours so you could make the whipped cream and keep it in the fridge until you are ready to top and serve the pie. If you do freeze the pie with the whipped cream (we did this with the leftover pie) it will still be good, but it won’t be a light whipped cream topping; it will be frozen.
If you would prefer to use store-bought whipped topping, you will need 2 cups.

Get the Brownie Walnut Ice Cream recipe here.