Sauces

Salsa Verde

Salsa Verde  |  Lemon & Mocha

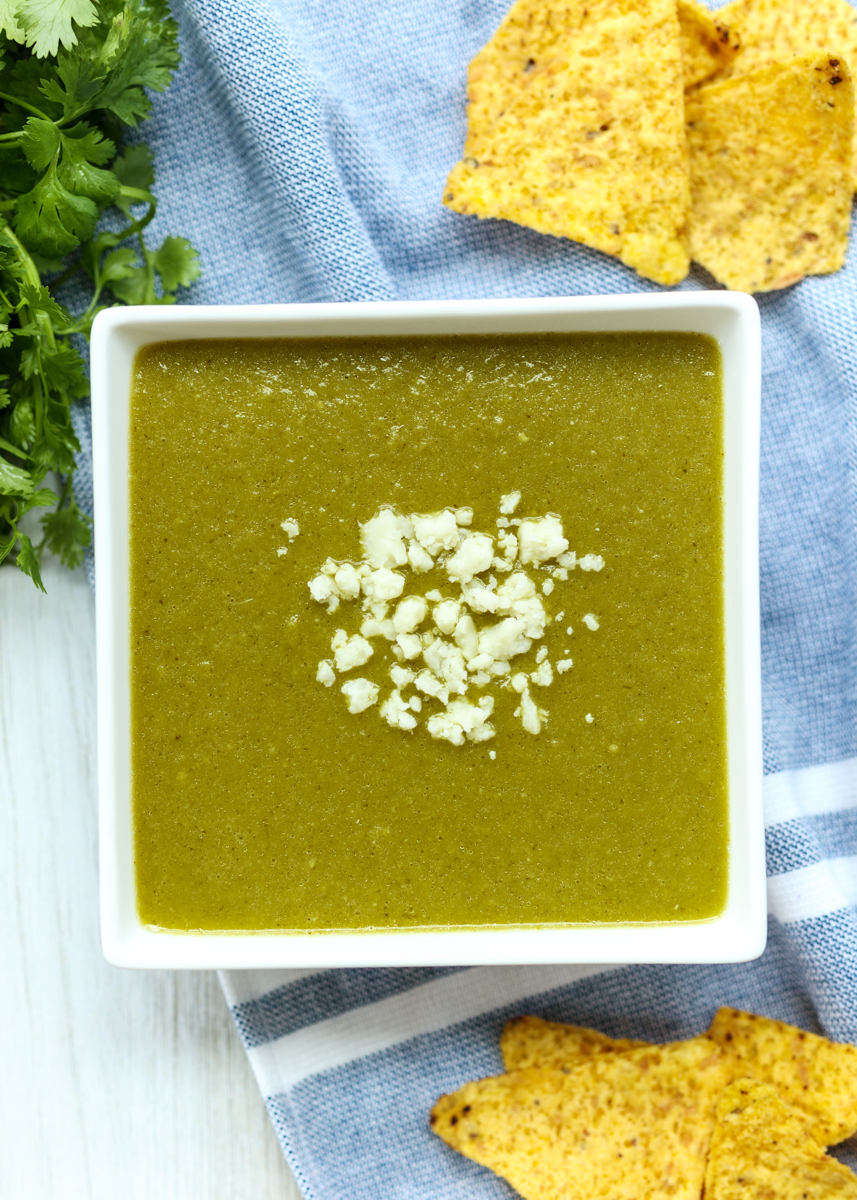
I find it so interesting how your tastebuds evolve over time. If you had told me when I first started this blog back in 2013 that I would be all jazzed up about a Salsa Verde with jalapeños, tomatillos and cilantro I’m sure I would have wrinkled my nose and shook my head at you.
Salsa Verde  |  Lemon & Mocha

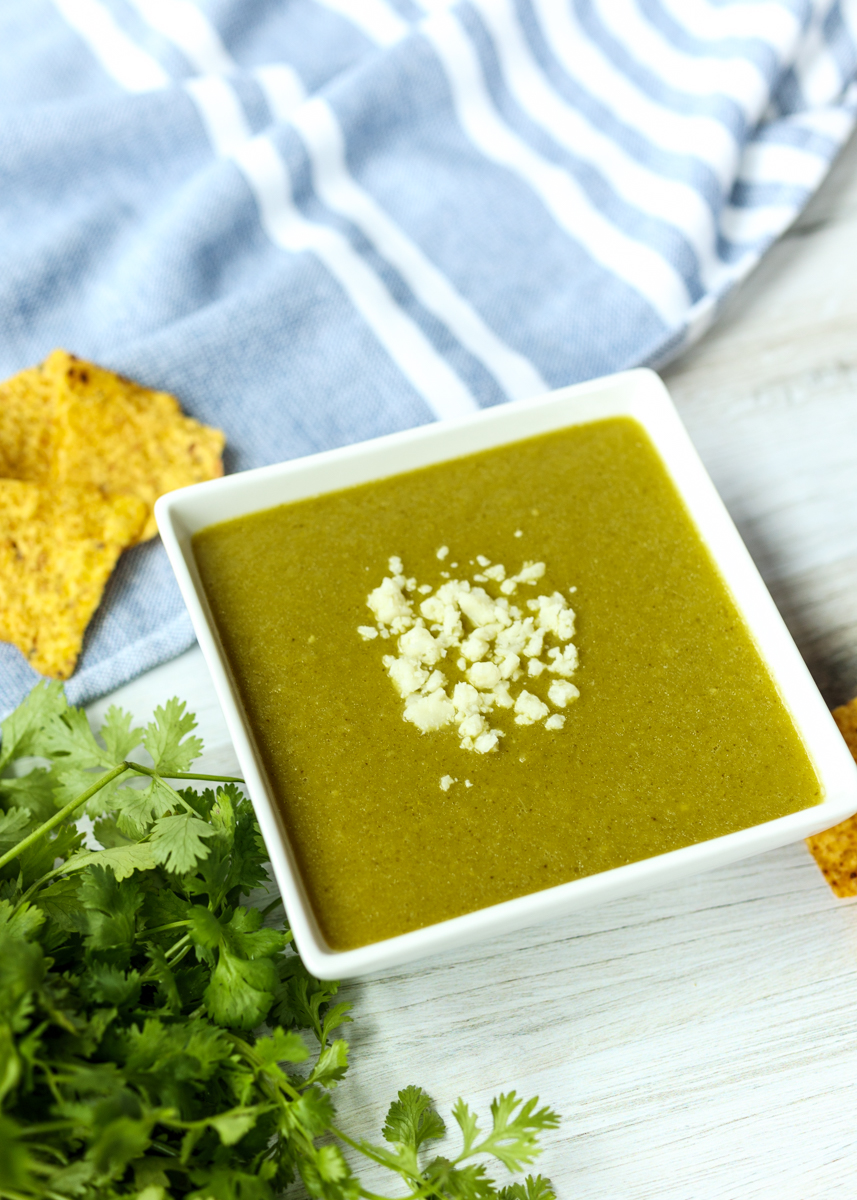
Fast forward to Matt’s Cinco de Mayo themed birthday a couple years ago where I made a whole bunch of recipes from a now favorite cookbook of mine, Pati’s Mexican Table. I decided to make the roasted salsa and the Salsa Verde, mostly for Matt and my brother-in-law, Nick, rather than myself. Little did I know how obsessed with it I was going to be!
Salsa Verde  |  Lemon & Mocha

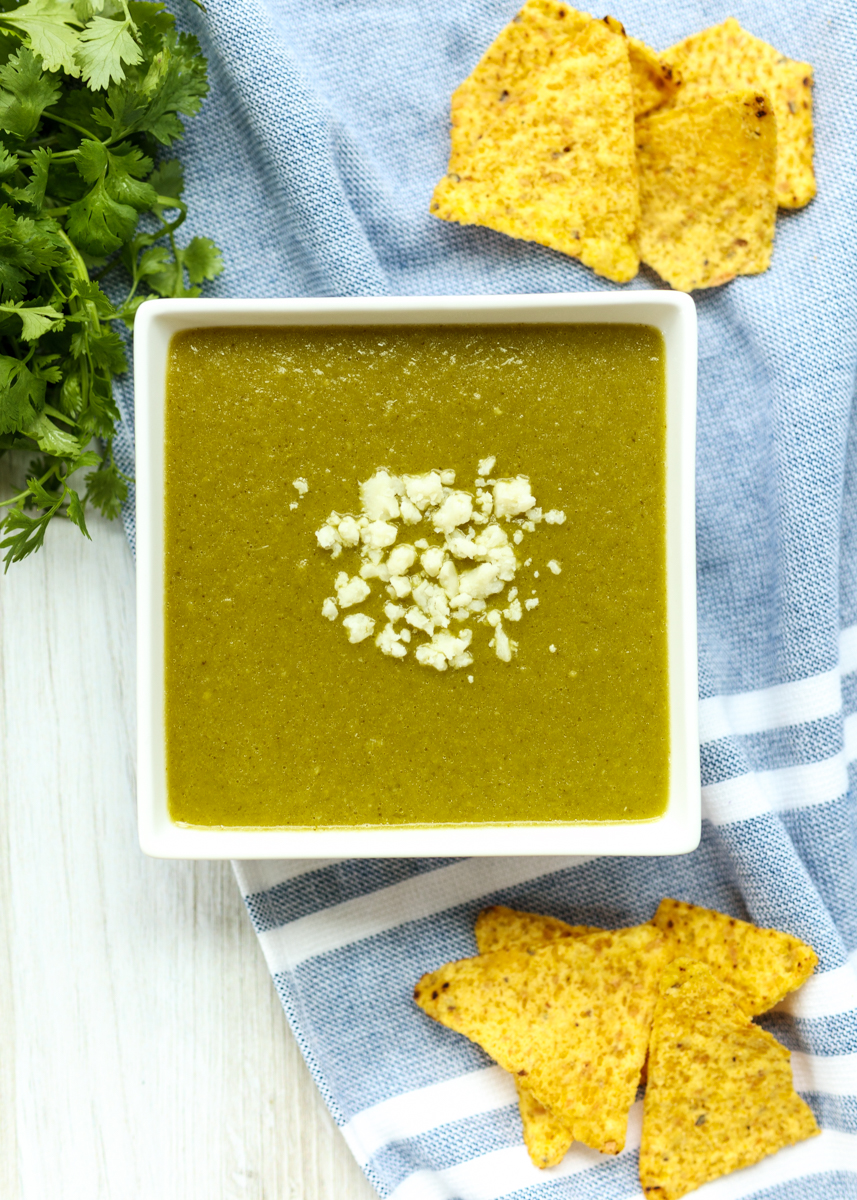
When I’ve made salsas in the past I’ve been disappointed in their blandness, but both these salsas had such depth of flavor I couldn’t stop digging in for more! It’s especially surprising for the Salsa Verde considering we are just boiling everything for a little, pureeing together then quickly warming on the stove-top. The layering of zesty tomatillos with fresh cilantro, lime, onion, garlic and salt is pure magic. I love that you can completely control the heat level of this salsa by what parts of the jalapeño you use. I don’t like any spiciness so I leave the seeds and pith completely out. The jalapeño flesh alone does not make it spicy, but adds to that flavor punch.
Salsa Verde  |  Lemon & Mocha

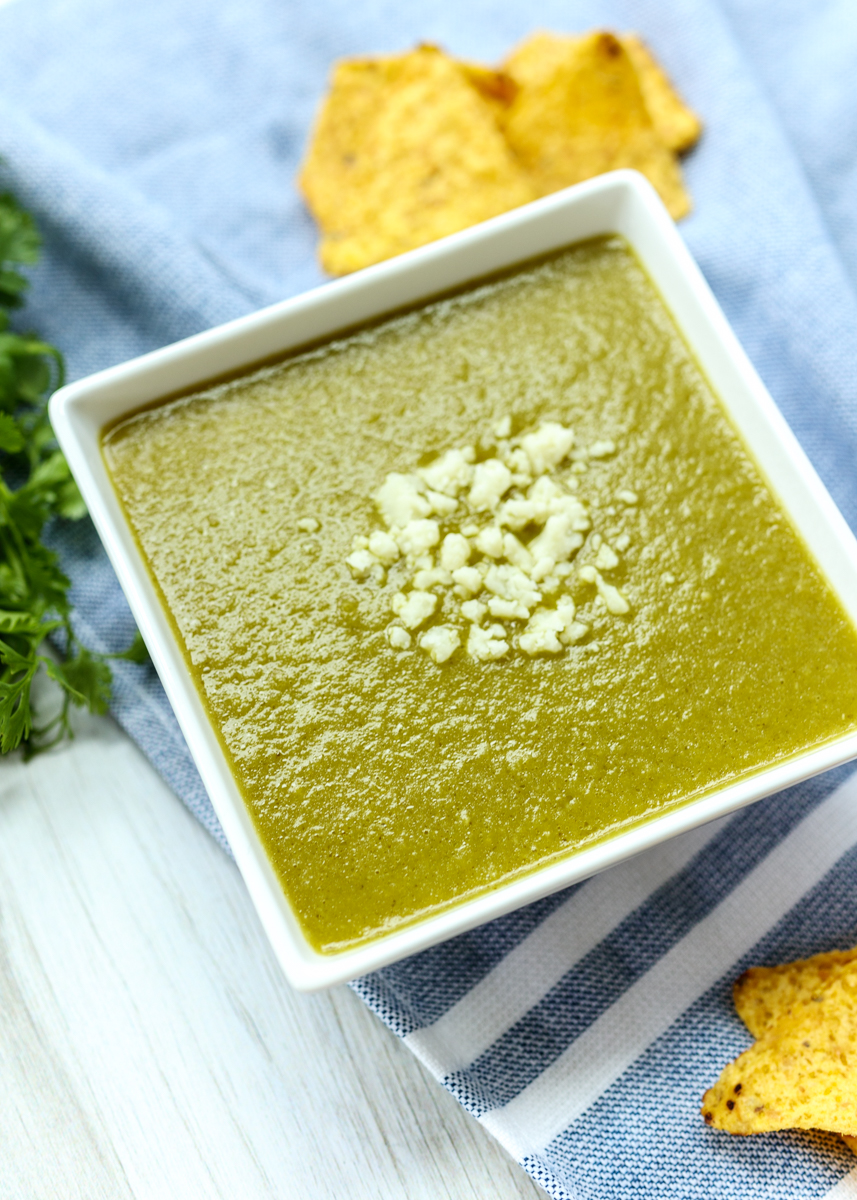
I’ve never been a fan of cilantro so the first time I made this Salsa Verde I used half cilantro and half parsley. My cilantro tastebuds must be evolving because when I just made it again I used all cilantro and I was still just as hooked. If you can’t stand cilantro please, please don’t just skip over this recipe! Try making it with all parsley because it is too good not to try. You could even try adding in the tiniest bit of cilantro; you might surprise yourself!
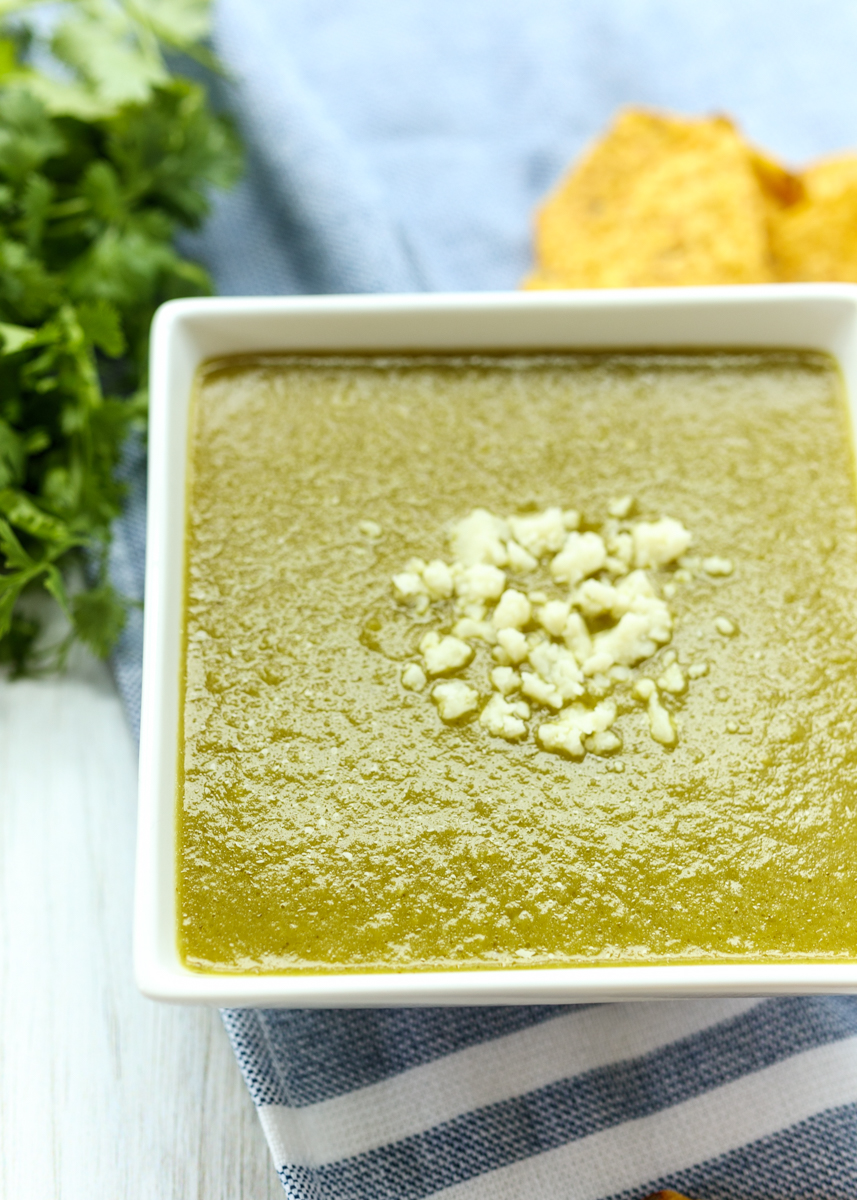
Salsa Verde  |  Lemon & Mocha

Salsa Verde
 
Yield: About 2 cups
Ingredients
  • 1 pound tomatillos, husks removed and rinsed
  • 1 clove garlic
  • 1-2 jalapeños, see note
  • ⅓ cup roughly chopped white onion
  • 1 cup cilantro leaves (can include top parts of stems)
  • 1 teaspoon salt
  • 3 tablespoons vegetable oil
Directions
  1. Add the tomatillos, garlic and jalapeño to a medium saucepan and then cover with water. Bring to a boil then reduce to low and simmer covered for 10 minutes. The tomatillos should become pale green and should be soft, but not falling apart.
  2. Use a slotted spoon to transfer the tomatillos, garlic and jalapeño to a high-speed blender or food processor. Add the onion, cilantro and salt then puree until smooth.
  3. Heat the vegetable oil in a medium saucepan over medium heat. Once hot, add the salsa and cook until thickened slightly, about 6-8 minutes, stirring occasionally. Serve warm or refrigerate for later and serve cold or at room temperature.
Notes
If you don’t want your salsa spicy only use 1 jalapeño and remove all the seeds and pith before putting in the blender. If you like it spicy try 1 jalapeño with the seeds and pith and if you want it even more spicy you could add a second jalapeño.

Recipe from Pati’s Mexican Table.
Some of the links above are affiliate links, which means I may receive a small commission for my referral. This does not affect the retail cost of the item. Thank you for supporting Lemon & Mocha!

Homemade Basil Pesto

Homemade Basil Pesto  |  Lemon & Mocha

A couple years ago, Matt and I got a raised garden bed to grow vegetables and herbs. We have yet to discover the best combination for the garden bed, mostly because we I get overexcited by the prospect of having fresh produce in our backyard and over-do it. The first year we did starters, mostly lettuce and some herbs, and everything grew fairly well. Except for the random bell pepper plant I threw in there that never came to be.

Homemade Basil Pesto  |  Lemon & Mocha

The next year we tried seeds and it did not go well. I was worried not all the seeds would take so to be sure I poured the whole packet into the little trench. FYI – do not do this. I tried to grow lettuce, radishes, broccoli and beets all in our little raised garden bed. When the radish seeds started to sprout it looked like a thick mohawk in the dirt. Definitely too many seeds! Basically, nothing grew that year.

Homemade Basil Pesto  |  Lemon & Mocha

This year, we went back to starters and for the most part it’s been our best year yet! We have basil, parsley, thyme and mint that are all thriving. We have a grape tomato plant that was probably not a good idea for our raised bed since, not even kidding, it’s over five feet tall now, but at least it’s growing tomatoes. We also added a cucumber starter without doing any research and every day it is trying to take over the whole garden bed with its little tendrils.

Homemade Basil Pesto  |  Lemon & Mocha

If you’ve never seen a cucumber plant grow it spreads out these little tendrils that wrap around whatever they can get attached to – stakes, netting, other plants – and then continue growing from there. There’s been a few times the cucumber tendrils have almost yanked over our entire stake and netting set up, but at least we almost have some mature cucumbers! Do any of you grow your own vegetables or herbs?

Homemade Basil Pesto  |  Lemon & Mocha

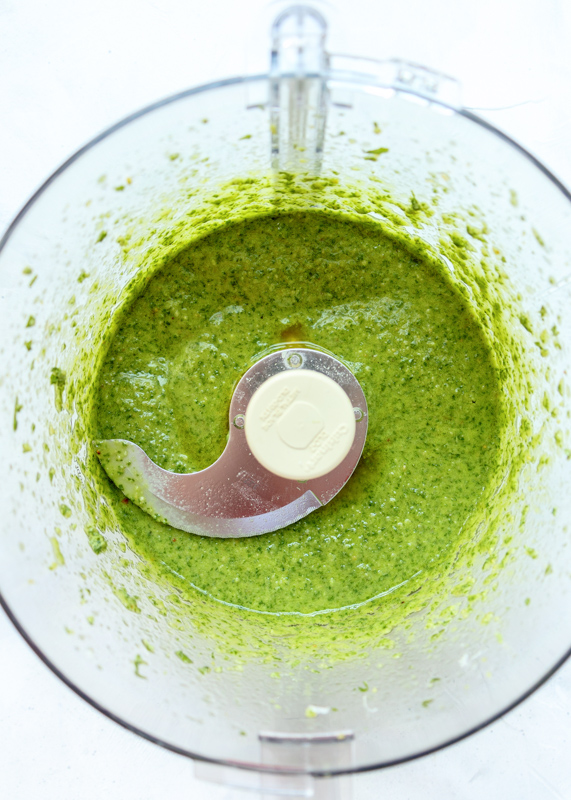
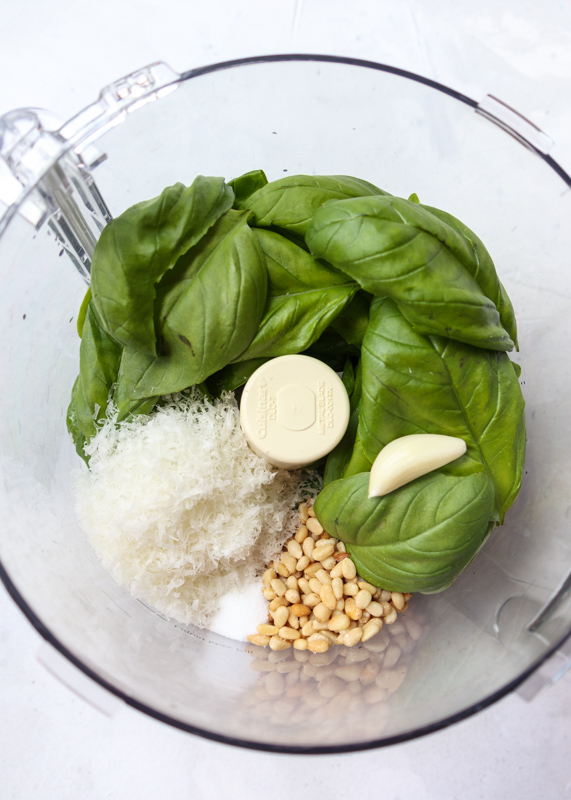
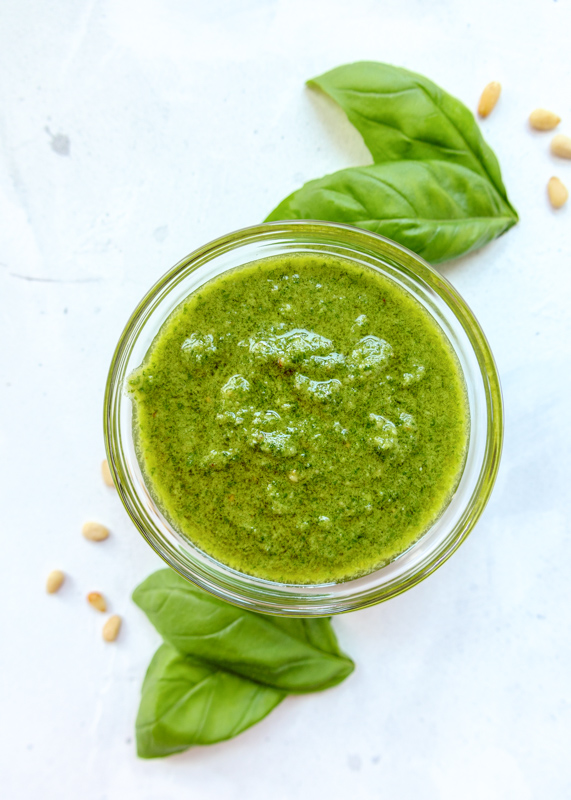
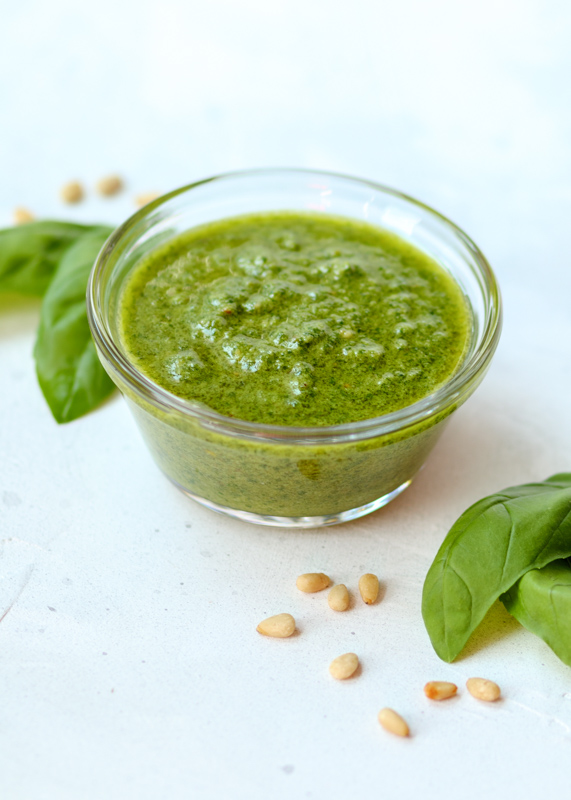
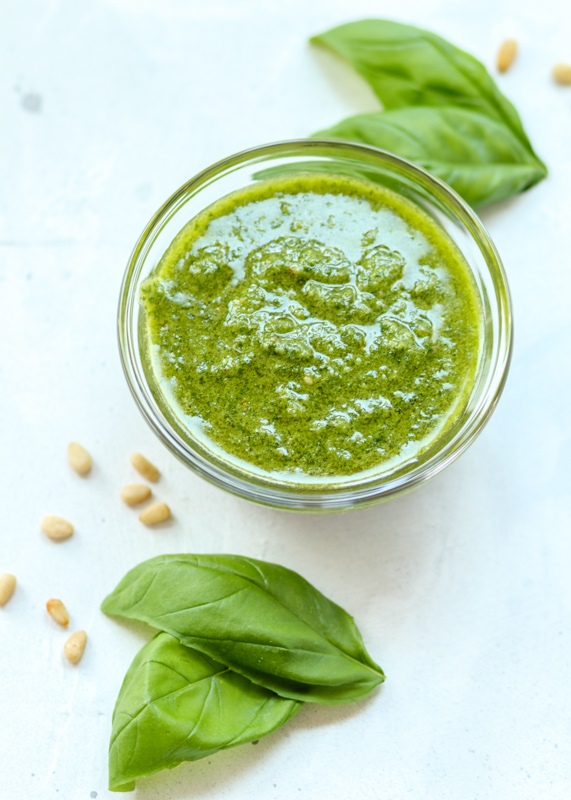
So back to the thriving herbs. Our basil plant was really full so I decided to whip up a batch of pesto. My basil pesto only requires basil, pine nuts, garlic, salt, Parmesan or pecorino cheese and some olive oil. The ingredients and the recipe are so simple, but there are few foods that rival the taste of fresh pesto. There are hundreds of ways to use pesto, but the two recipes I’m posting on Wednesday and Friday will show you how I chose to use ours. Our basil plant is already full again so looks like I need to make another batch! What is your favorite way to use pesto?

Homemade Basil Pesto  |  Lemon & Mocha

Homemade Basil Pesto
 
Yield: About 1¼ cups
Ingredients
  • 4 cups fresh basil
  • ½ cup grated Parmesan or pecorino cheese
  • ⅓ cup toasted pine nuts
  • 1 garlic clove
  • ½ teaspoon salt
  • ½ cup extra virgin olive oil
Directions
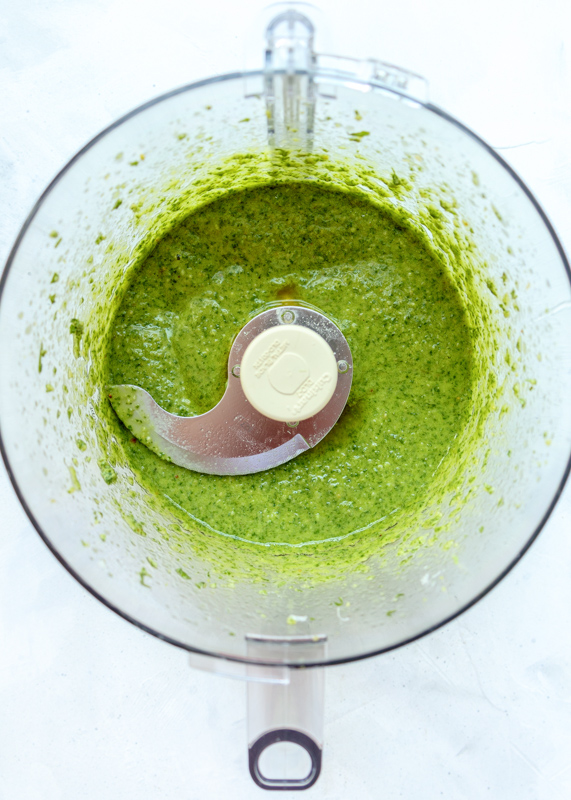
  1. In a food processor, pulse together the basil, pine nuts, garlic, salt and pecorino until finely chopped. Add the olive oil and pulse until smooth. Use immediately or store in the fridge in an airtight container for a week. My favorite way to freeze is in a small freezer bag. I lay it flat to freeze; then it doesn’t take up much space in the freezer and it’s easy to break off a piece when you need it.


Lemon Cheesecake with Cranberry Raspberry Compote

Lemon Cheesecake with a Cranberry Raspberry Compote  |  Lemon & Mocha

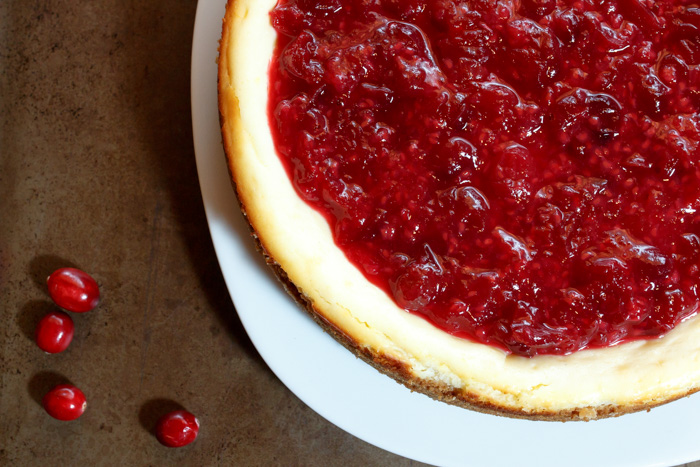
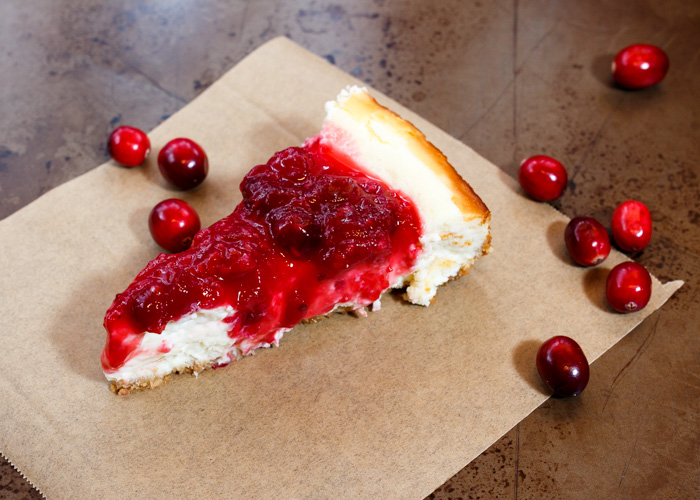
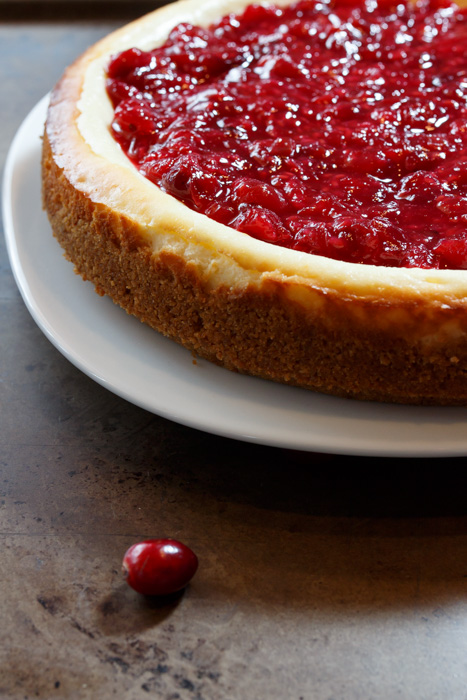
The lemon cheesecake that serves as the base of this recipe is the first cheesecake I ever baked from scratch. Matt had gotten me my stand mixer for my birthday (lucky girl!) and I wanted to christen my new kitchen toy with an epic recipe. After days of sifting through cookbooks and blog posts to pick the perfect recipe we decided on a lemon cheesecake with lemon curd.

Lemon Cheesecake with a Cranberry Raspberry Compote  |  Lemon & Mocha

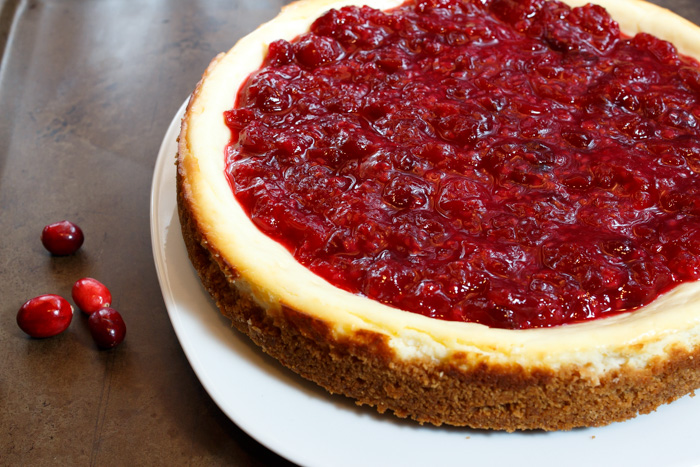
My, oh my, was it outrageous. I have since made the lemon curd many times over for all sorts of recipes and occasions, but had yet to revisit the fluffy and tart lemon cheesecake. Four years later I decided it was finally time to make it again. I told you it takes me a long time to remake recipes! I thought the lemon would pair perfectly with cranberry for the holiday season because of the flavors and beautiful color.

Lemon Cheesecake with a Cranberry Raspberry Compote  |  Lemon & Mocha

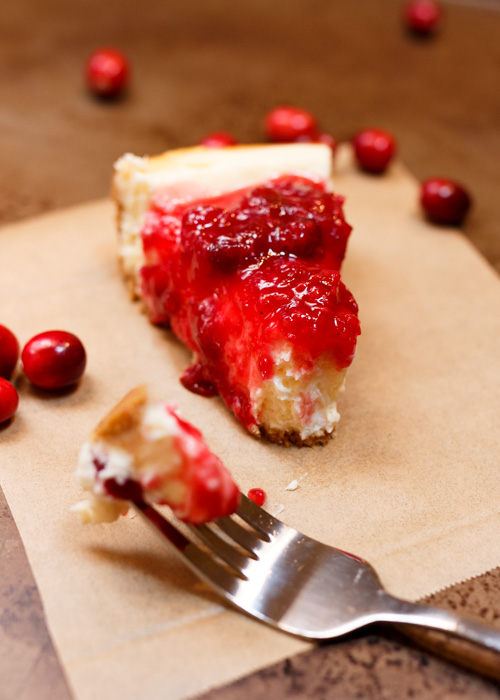
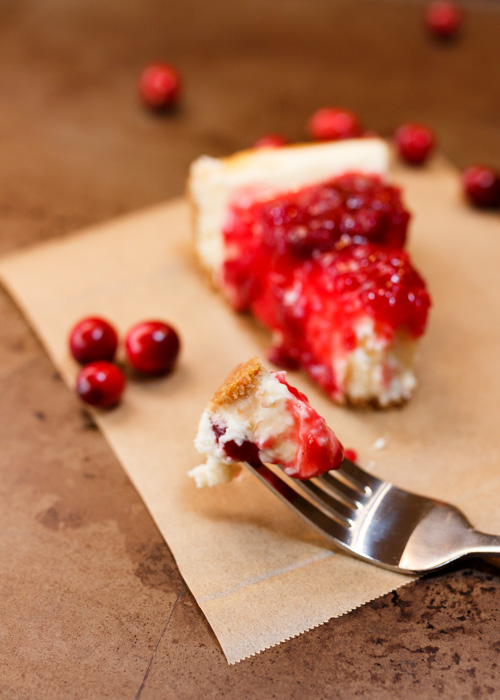
This cranberry raspberry compote is simply made with cranberries, raspberries, orange juice and sugar. It is sweet, tart, fruity and a great cheesecake topping.

Lemon Cheesecake with a Cranberry Raspberry Compote  |  Lemon & Mocha

If you have never made a cheesecake before I urge you to give it a shot. You will feel so impressed with yourself when you’re done and your tastebuds will thank you. Although it may seem intimidating, homemade cheesecake is rather simple.

Lemon Cheesecake with a Cranberry Raspberry Compote  |  Lemon & Mocha

The key to an extra light and fluffy texture is to keep beating the cream cheese past when you normally think you should stop. If the cream cheese is extra airy before you pour it into the crust you will have an unbelievable texture once it is baked.

Lemon Cheesecake with a Cranberry Raspberry Compote  |  Lemon & Mocha

Lemon Cheesecake with Cranberry Raspberry Compote
 
Yield: 12 servings
Ingredients
for the crust
  • 16 graham cracker squares
  • 4 tablespoons unsalted butter, melted
for the filling
  • 3 8-ounce packages cream cheese, room temperature
  • 3 eggs
  • 1 cup sugar
  • ¼ cup lemon juice
  • Zest of 1 lemon
for the compote
  • ½ cup orange juice
  • ½ cup sugar
  • 6 ounces fresh cranberries
  • 1 cup fresh raspberries
Directions
for the crust
  1. Preheat oven to 350 degrees F. Line a 9" springform pan with parchment paper and set aside.
  2. Pulse the graham crackers in a food processor to create crumbs. Add the melted butter and pulse until the graham cracker crumbs are coated. Evenly press into the bottom and ½" up the sides of the prepared pan. Bake the crust for 10 minutes. Remove and let cool.
for the filling
  1. Beat the cream cheese until very fluffy. It should almost have a satiny quality to it. Add the sugar then beat until smooth. Add 1 egg then beat for 30 seconds. Repeat with the remaining 2 eggs. Stir in the lemon juice and zest.
  2. Pour the filling into the prepared crust. Bake for 45 minutes or until the top is set, except for the center which should look almost just set and glossy. Let cool to room temperature on a cooling rack then cover the pan and chill in the fridge overnight.
for the compote
  1. Combine the orange juice and sugar in a medium saucepan over medium heat, stirring occasionally. After 5 minutes, add the cranberries and bring to a boil, stirring occasionally.
  2. Once the mixture comes to a boil and most of the cranberries have started to burst, add the raspberries then reduce the heat to low. Simmer for 10-15 minutes. Let cool in the fridge. Pour over the top of the cheesecake.

Cheesecake slightly adapted from Sketches and Scribbles.
Compote from Allrecipes.

Dallas Burger with Barbecue Sauce and Coleslaw

One of my first cookbooks I purchased was Bobby Flay’s Burgers, Fries, and Shakes. As soon as I saw the title I knew I had to have it. I like burgers! I love fries! I would bathe in milkshakes!

Unfortunately I haven’t tried nearly enough of the mouthwatering recipes by now, but everything I have tried has been mmm-don’t-talk-to-me-right-now-I’m-busy-eating good.

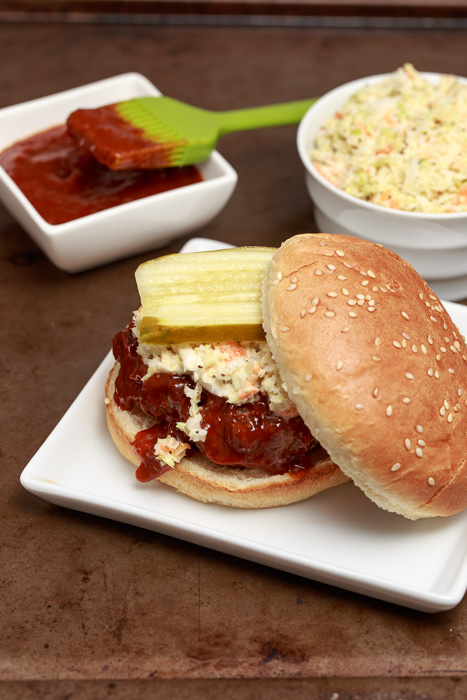
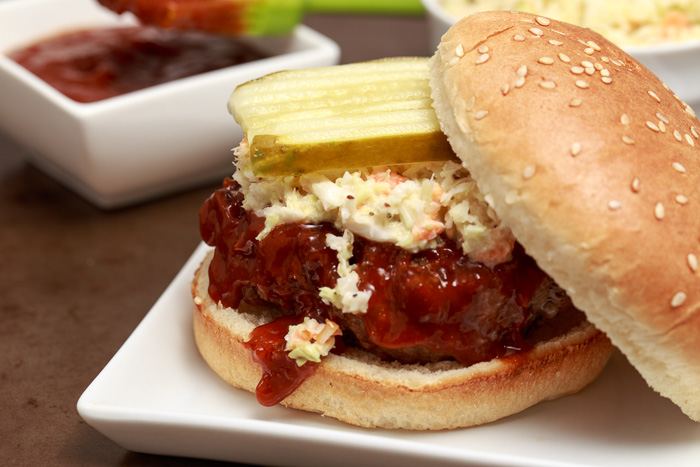
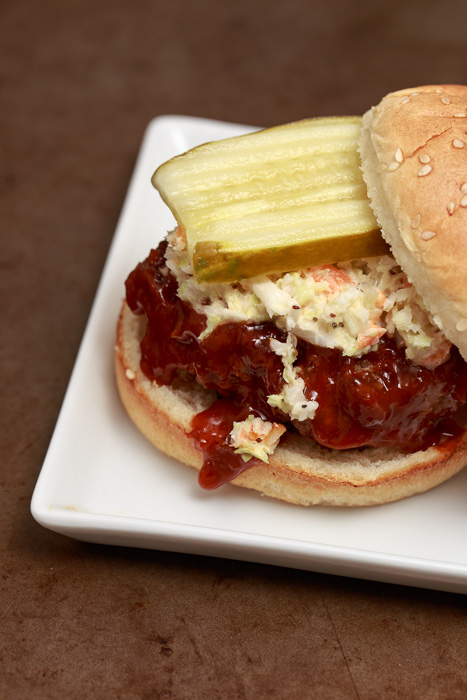
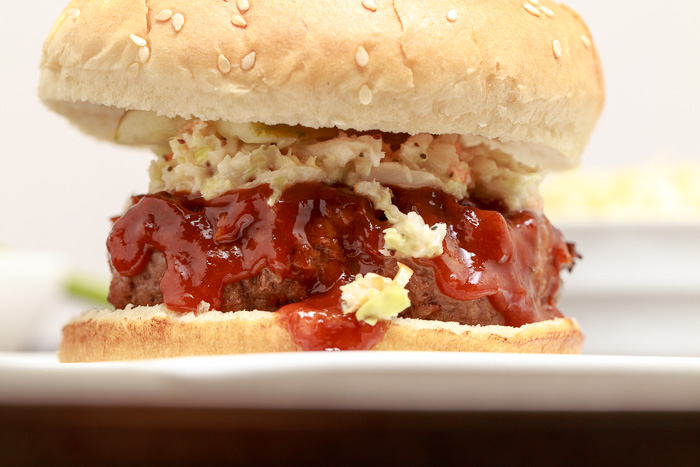
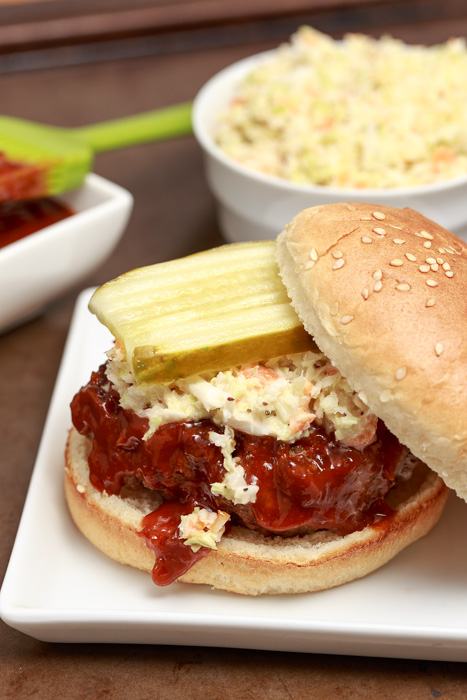
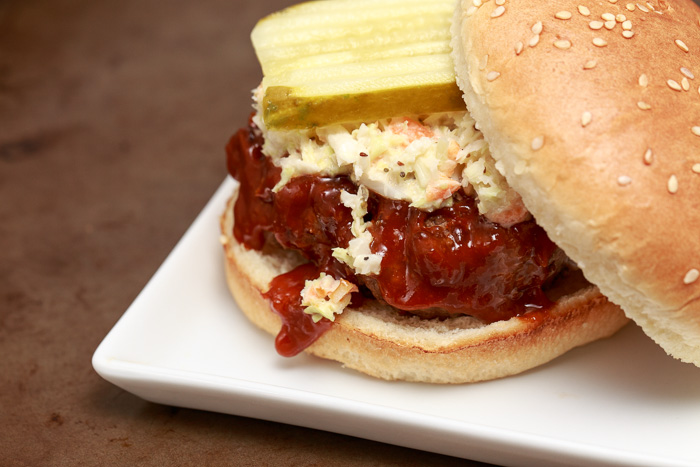
One of those is the Dallas burger. Complete with creamy coleslaw, pickles and a sweet and spicy sauce, this burger is a barbecue lover’s dream. All the components add an extra flair to your average backyard burger, but this finger-lickin’ amazing sauce needs to get a special mention.

Sautéed onions, molasses and ancho chiles are just a few of the ingredients that add layer upon layer of flavor to this pourable gold. The ultimate proof for how good this sauce is? I am a cheese addict and never eat a burger without cheese. Notice something? This is a burger recipe, not a cheeseburger recipe. Now that is the delicious power of this sauce.

Impress your guests this Fourth of July and serve up these extreme barbecue burgers. They will not only thank you, but might randomly show up at your house all summer long with a six-pack of beer just hoping you’ll have an impromptu barbecue featuring these burgers. Don’t worry, you’ll want one too.

Dallas Burger with Barbecue Sauce and Coleslaw
 
Yield: 4 burgers, 2 cups barbecue sauce
Ingredients
for the barbecue sauce
  • 2 tablespoons canola oil
  • 1 Spanish onion, chopped
  • 3 cloves garlic, chopped
  • 1 cup ketchup
  • 1 tablespoon paprika
  • 1 tablespoon dijon mustard
  • 1 tablespoon red wine vinegar
  • 1 tablespoon Worcestershire sauce
  • 1 chipotle chile in adobo, chopped
  • 2 tablespoons dark brown sugar
  • 1 tablespoon honey
  • 1 tablespoon molasses
  • Salt and pepper
for the burger
  • 1 teaspoon salt
  • ½ teaspoon pepper
  • 1 pound 80% lean ground beef
  • 2 tablespoons canola oil
for assembly
  • 4 burger buns
  • 1 cup coleslaw
  • Dill pickles
Directions
for the barbecue sauce
  1. Heat the oil in a medium saucepan over medium-high heat. Cook the chopped onion until softened, about 3-4 minutes, stirring occasionally. Add the garlic and cook until fragrant, about 1 minute.
  2. Add ⅓ cup water and the ketchup and stir. Bring to a boil then let simmer for 5 minutes. Add the remaining ingredients, except the salt and pepper, and simmer until thickened, about 10 minutes, stirring occasionally.
  3. Remove from the heat and puree until smooth in a food processor. Season with salt and pepper to taste. Pour into a bowl and let cool to room temperature.
for the burger
  1. Preheat a grill or grill pan to medium-high heat.
  2. Divide the ground beef into four equal parts and create 4 uniform burgers. Make an impression with your thumb in the middle of each burger patty so it doesn’t bulge in the middle when it cooks. Season both sides of the burgers with salt and pepper.
  3. Lightly brush the seasoned patties with the prepared barbecue sauce as they cook and grill until cooked the way you prefer, turning once. For medium cook for 8 minutes total.
for assembly
  1. Lightly toast the burger buns then top with the cooked patties, some barbecue sauce, coleslaw and dill pickles.

Recipe adapted from Bobby Flay’s Burgers, Fries, and Shakes.

Beef Bolognese Sauce

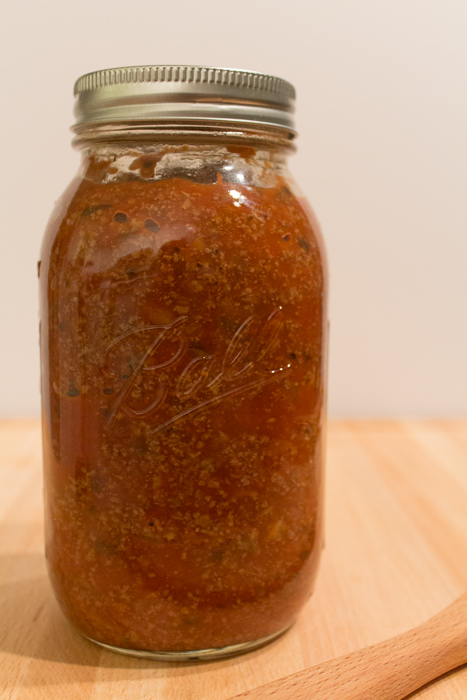
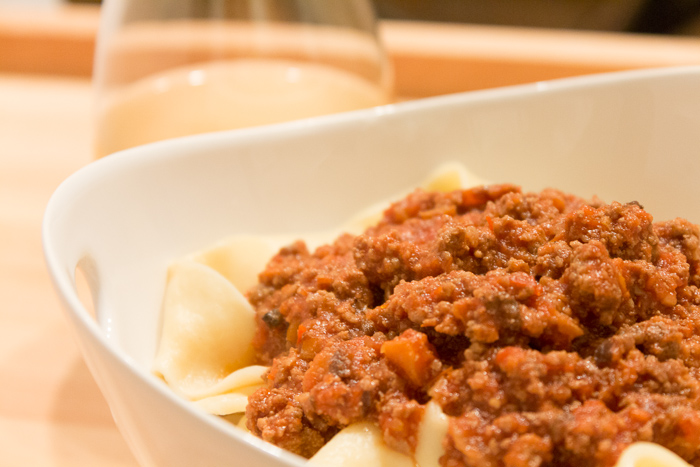
This is not your momma’s meat sauce. Well it might be, but the possibility of that is highly unlikely. This is certainly not a marinara sauce with some meat casually tossed in. This is a rich, creamy and satisfying beef bolognese sauce. There are a couple differences between this deliciousness and your average meat sauce. The beef bolognese here before you includes rehydrated porcini mushrooms along with their soaking liquid, which becomes a light mushroom stock. We learned from the mushroom overload cheddar burgers posted earlier this week that these babies are mushroom gold when adding a decadent earthiness to beef.

Second is that the milk added cuts the acid of the tomato base and brings a great creaminess to the sauce without overloading it with fat like a traditional cream sauce. Finally, all the different steps- the processing, the sauteing, the eating-with-a-spoon-but-someone-needs-to-taste-test-it-ing- may seem like a lot of work, but once you ravishingly start into that first bite of bolognese coated pasta it will all be worth it. The original recipe calls for using a meatball mixture, typically consisting of beef, pork and veal, but feel free to use whatever you prefer. Or is readily available in your grocery store as was my case.

Beef Bolognese Sauce
 
Yield: 6 servings
Ingredients
  • ½ cup water
  • ½ ounce dried porcini mushrooms
  • 1¼ cups white wine
  • 1 small carrot, peeled and cut into ½ inch pieces
  • ⅓ cup finely chopped onion
  • 1 tablespoon unsalted butter
  • 1 teaspoon sugar
  • 1 garlic clove, minced
  • 1¼ pounds ground beef
  • 1½ cups whole milk
  • 2 tablespoons tomato paste
  • 1 28-ounce can crushed tomatoes
  • Salt and pepper
Directions
  1. Microwave the water until hot. Add the dried mushrooms and let rehydrate for 10 minutes. Using a fine mesh strainer set over a small bowl drain the mushrooms making sure to reserve the liquid. Set aside.
  2. In a small skillet over medium heat cook the wine until it has reduced to about 2 tablespoons, about 20 minutes. Set aside.
  3. While the wine is reducing use a food processor to finely grind the rehydrated porcini mushrooms. Add the carrot and pulse until the carrot pieces are smaller than a chop, but larger than a mince. Add the onion and pulse until combined.
  4. Heat a large pot over medium high heat. Melt the butter then stir in the mushroom, carrot and onion mixture. Cook until the vegetables are soft.
  5. Add the sugar and minced garlic and cook for 30 seconds. Add the ground beef and cook for 1 minute, making sure to break apart the meat with a wooden spoon. Stir in the milk and continue breaking apart the meat. Once the milk begins to bubble, reduce to medium low heat.
  6. Continue to cook the ground meat, making sure to break up the meat often, for 20 minutes. Once the meat has begun to sizzle, stir in the tomato paste to combine. Add the can of crushed tomatoes, reserved mushroom liquid, ¼ teaspoon salt and ⅛ teaspoon pepper.
  7. Cook for another 15 minutes then stir in the reduced wine. Cook for a couple more minutes then remove from the heat. Serve hot over pasta or store in the fridge for 2 days or the freezer for 2 months.