Recipes

Crispy Prosciutto Wrapped Asparagus
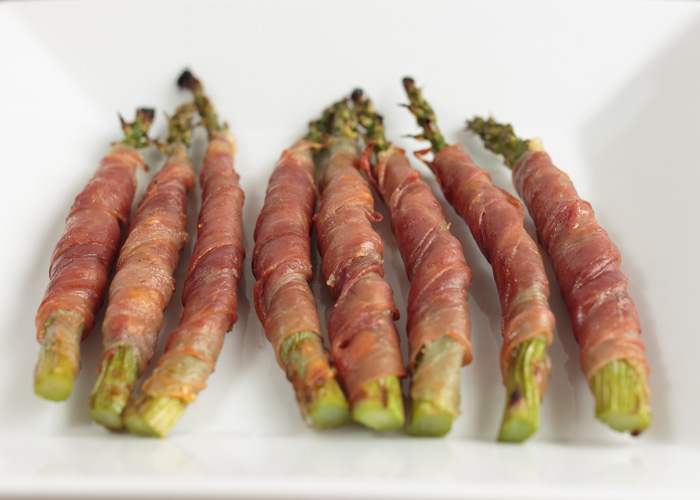
Asparagus has always been one of my favorite vegetables, even when I was a picky little kid. Everyone always loves the tops, which for some reason are my least favorite part. My dad doesn’t like the stems so sometimes we swap. Just like how Matt’s favorite Starburst are the red and orange, while mine are the yellow and pink. You can’t force these things. Only fate can cause the food stars to perfectly align.
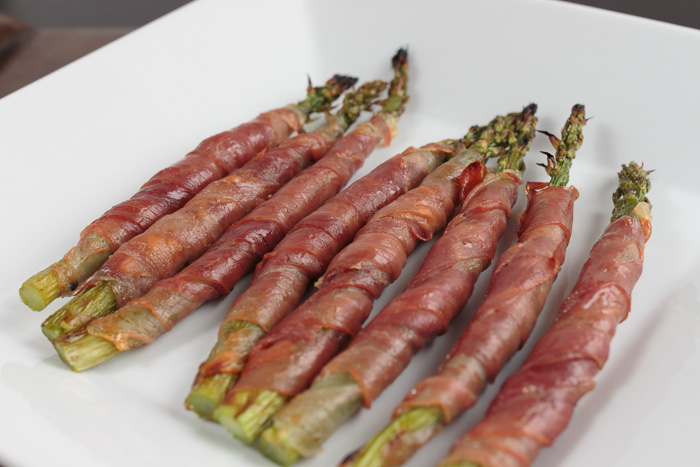
My favorite way to cook asparagus is to roast them. It is incredibly simple and I am all about ease of preparation, especially on weeknights, but more importantly roast asparagus are delicious. They are tender, yet crunchy, have a slight char, and they soak up all the flavor from the olive oil and seasonings.

You might be nodding your head and thinking, “Yeah, roast asparagus are the best! They are so tasty there’s nothing in the world that could make them taste even more awesome!” But, my friends, you need to go one step further.

Prosciutto. Salty, delicate prosciutto makes everything better. Especially when it’s blanketing a spear of roast asparagus. I’ve had prosciutto wrapped asparagus a variety of ways, but I’m really digging this crispy version. The prosciutto is wrapped on the raw asparagus before being broiled to crispy perfection.
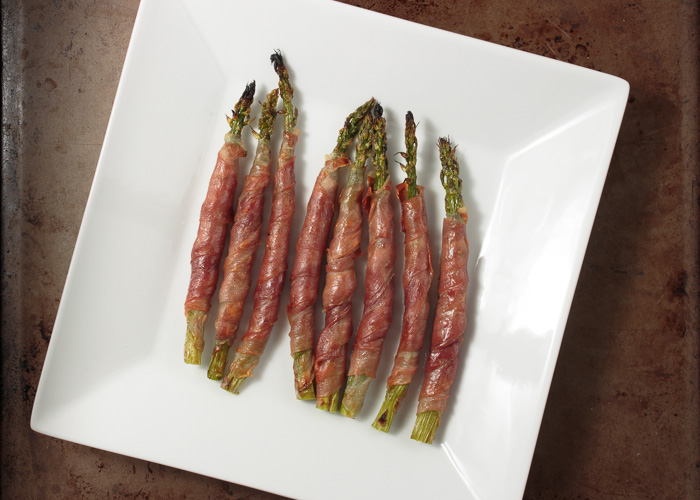
Served warm or cold, these are right on par for your next gathering this spring. Easy to make and so tasty everyone will be fighting over vegetables. What’s better than that?
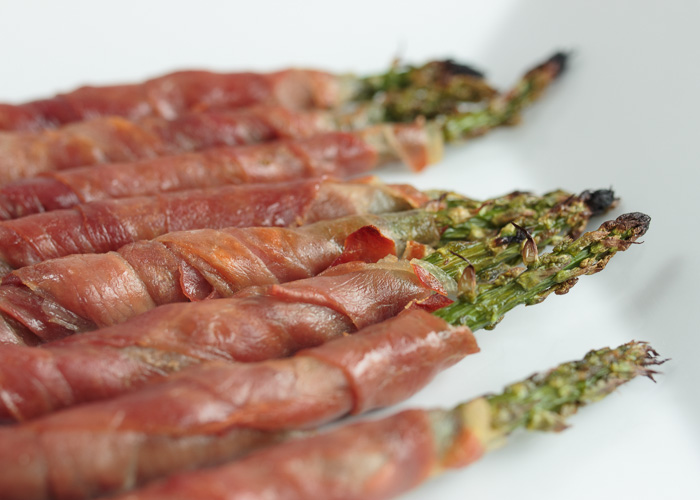
Crispy Prosciutto Wrapped Asparagus
 
Yield: 4 servings
Ingredients
  • 1 pound asparagus, ends trimmed
  • 1 tablespoon olive oil
  • 6 ounces thinly sliced prosciutto
  • Salt and pepper
Directions
  1. Place an oven rack about 5-6 inches below the heating element then preheat the oven to broil.
  2. Lay the asparagus on a baking sheet then toss with the olive oil. Season with salt and pepper.
  3. Wrap each stalk of asparagus with a slice of prosciutto. Take 1 piece of prosciutto and wrap it tightly around the asparagus stalk in an upward spiral starting at the bottom of the stalk. Repeat for the rest of the asparagus.
  4. Spread the wrapped asparagus out on the baking sheet so that none of them are touching each other. Broil the asparagus for 3 minutes, flip the asparagus, then broil for 3 more minutes. The prosciutto should be crisped and lightly browned.

Recipe from CHOW.

Pineapple Bread Pudding

This post was originally published on 4/10/2014. It was updated with new photos and content on 4/19/2019.

Pineapple Bread Pudding  |  Lemon & Mocha

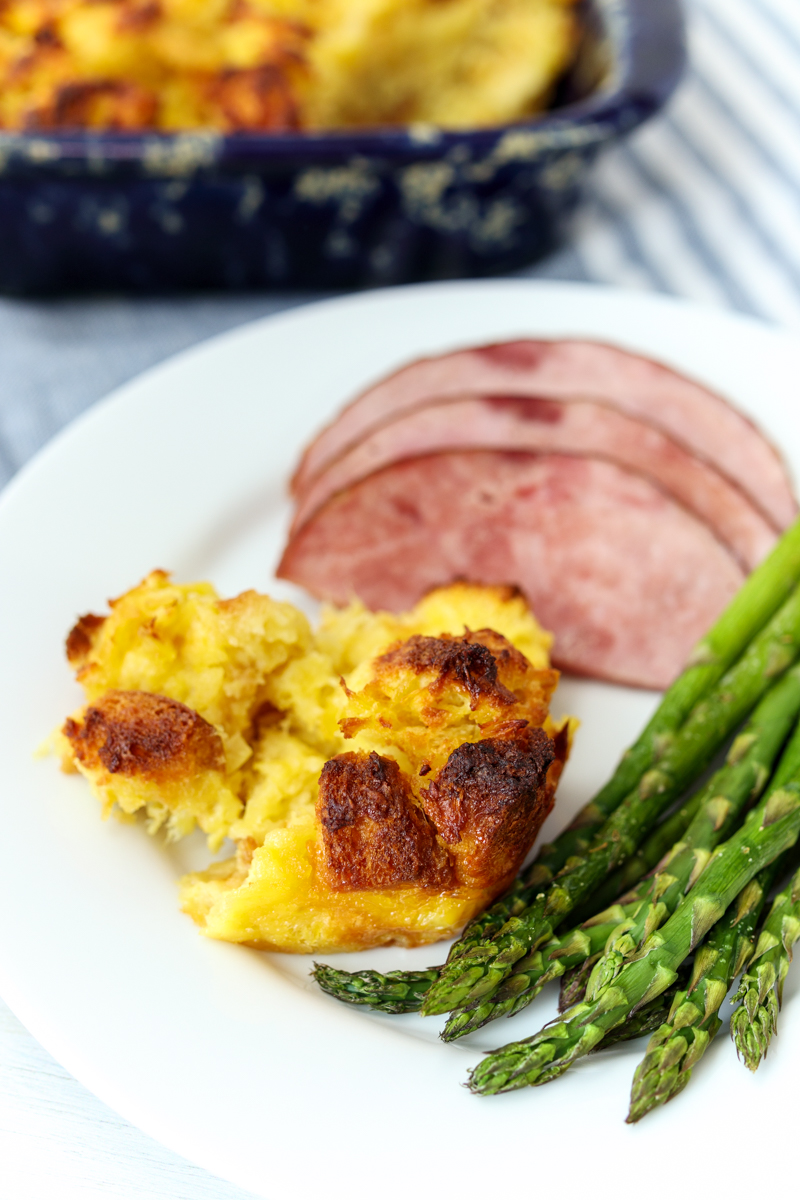
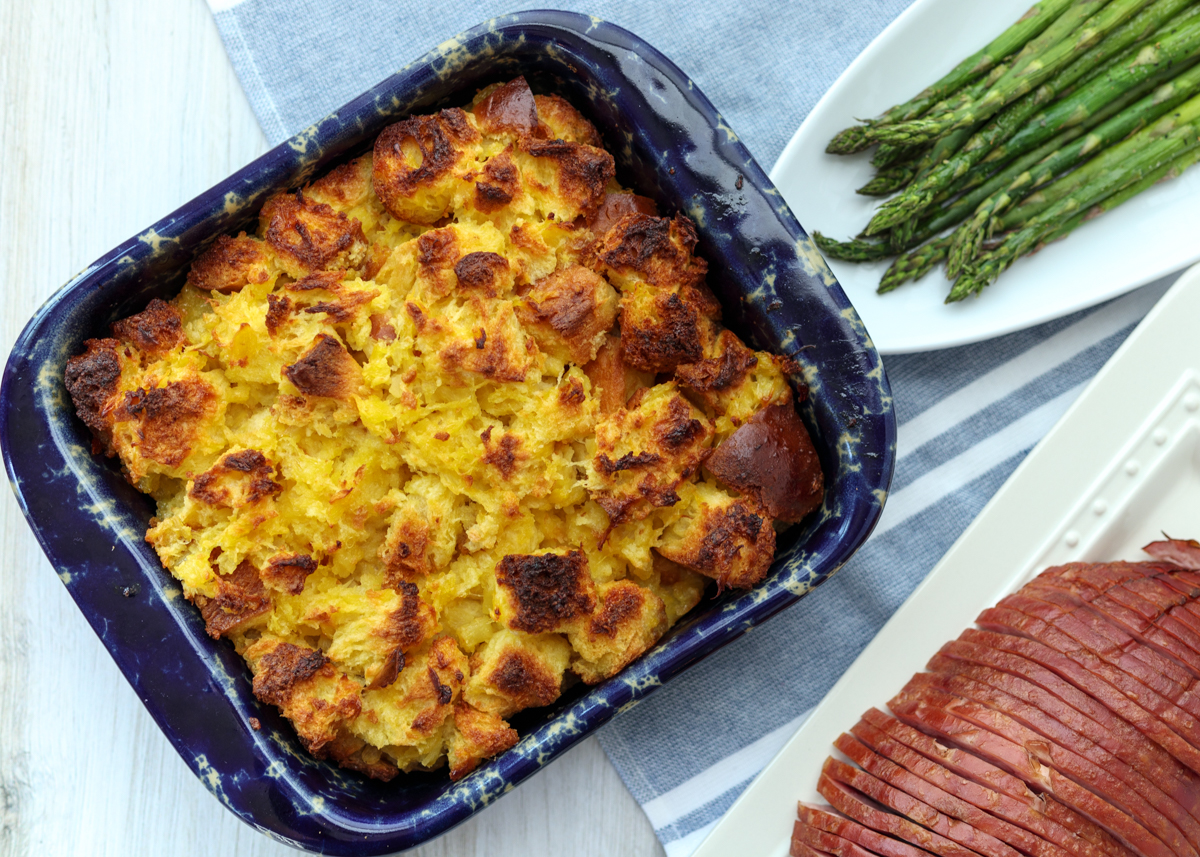
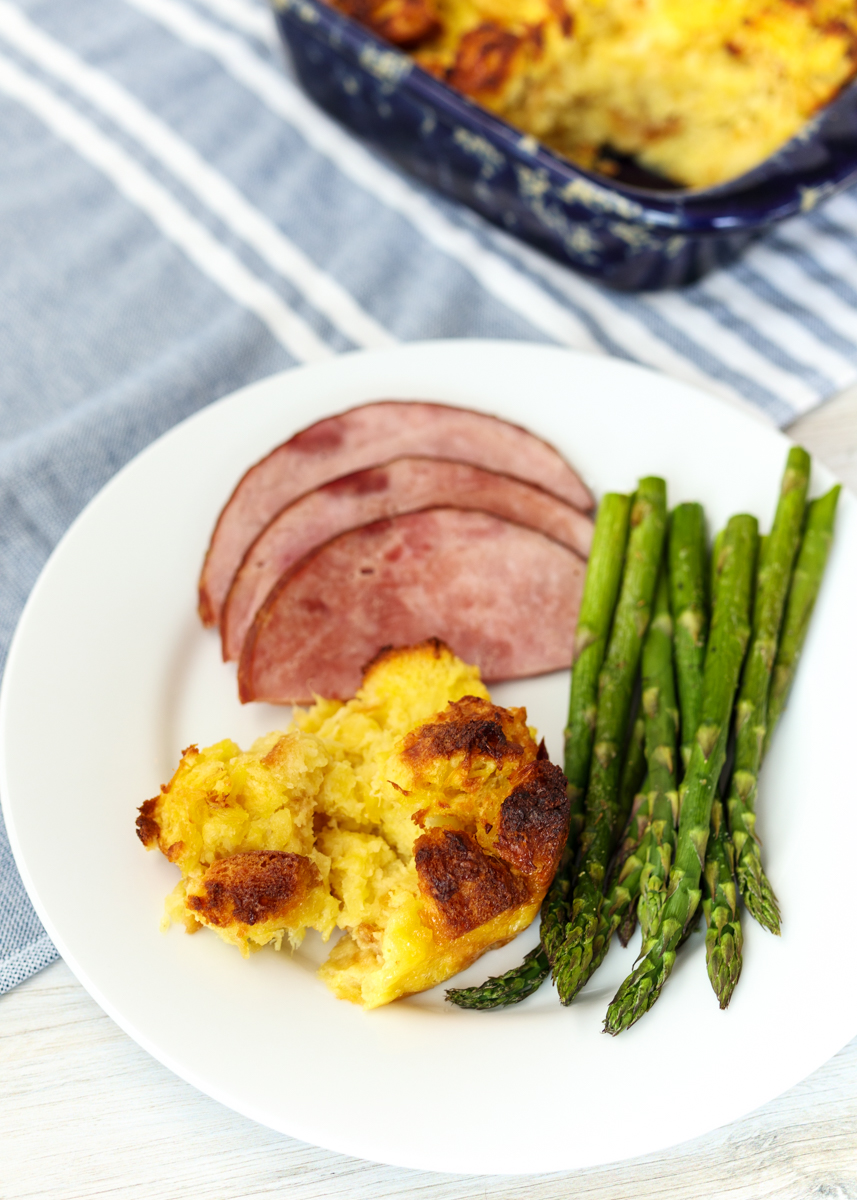
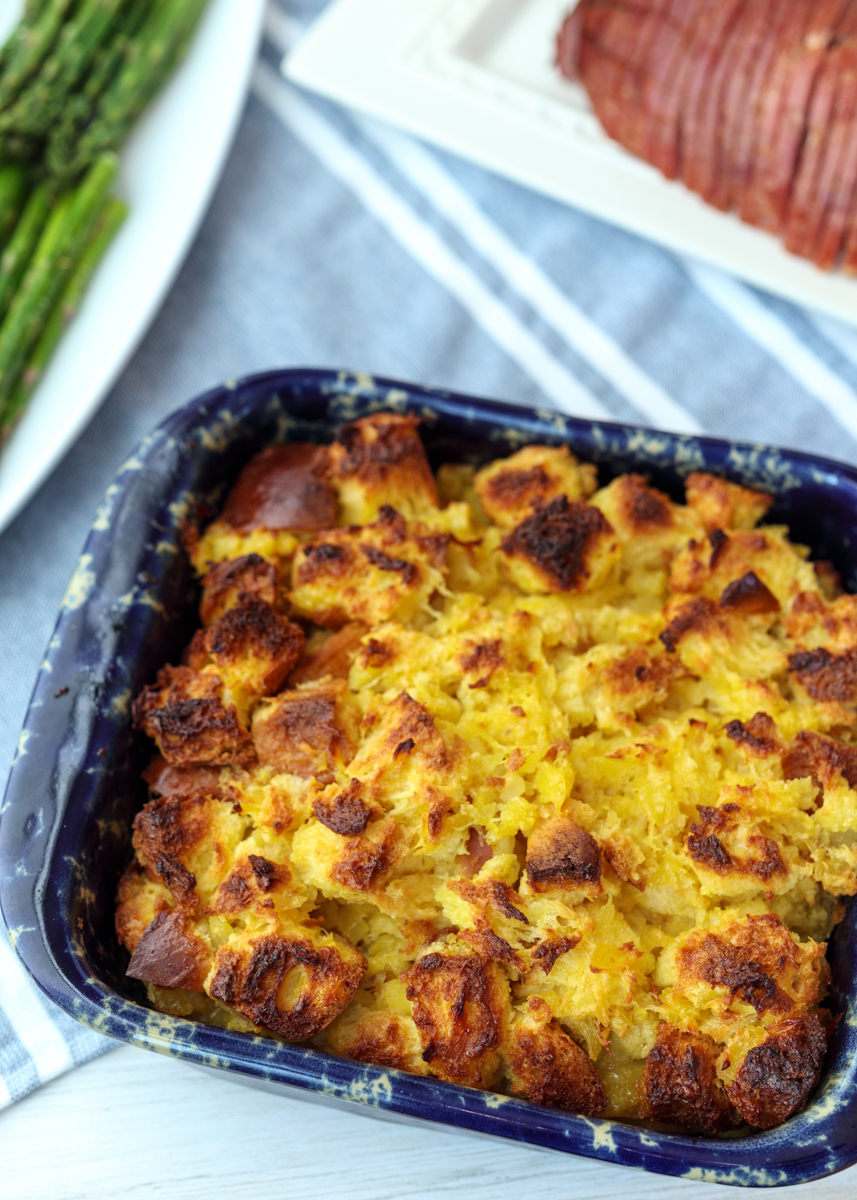
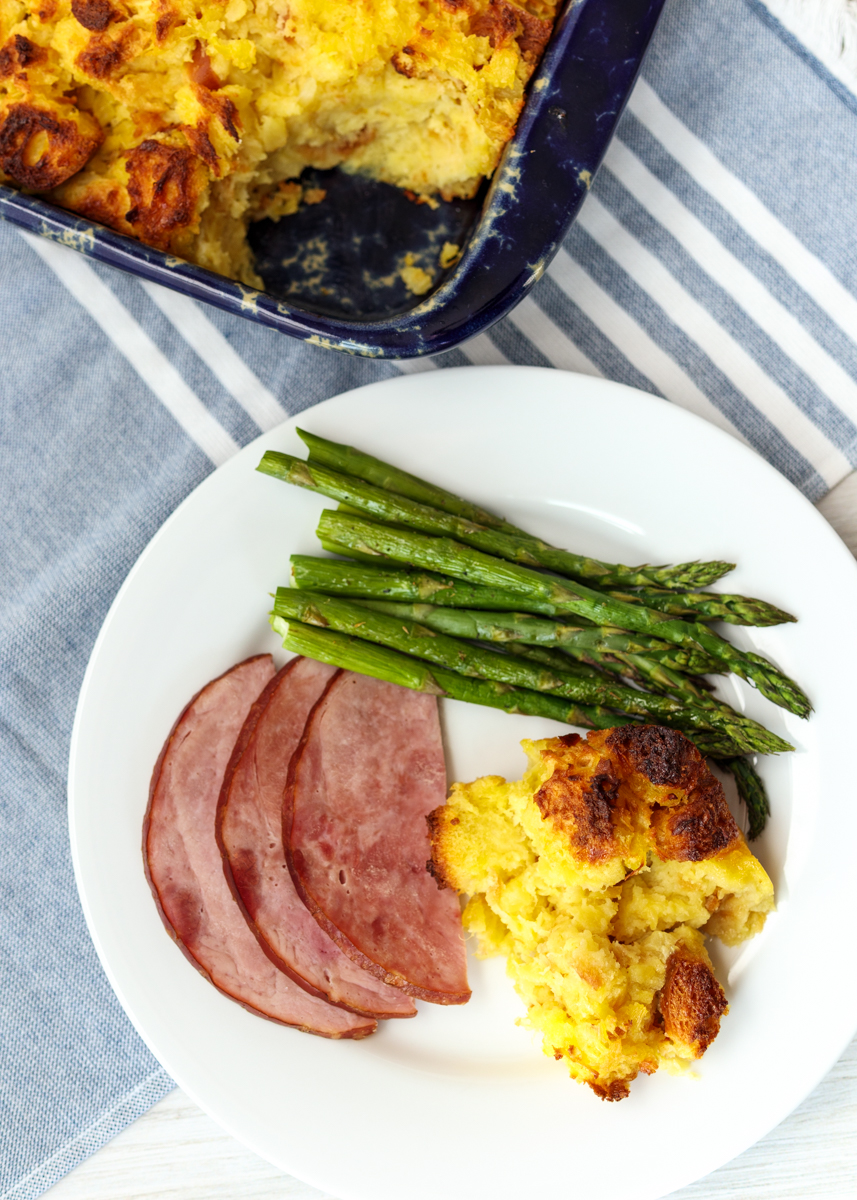
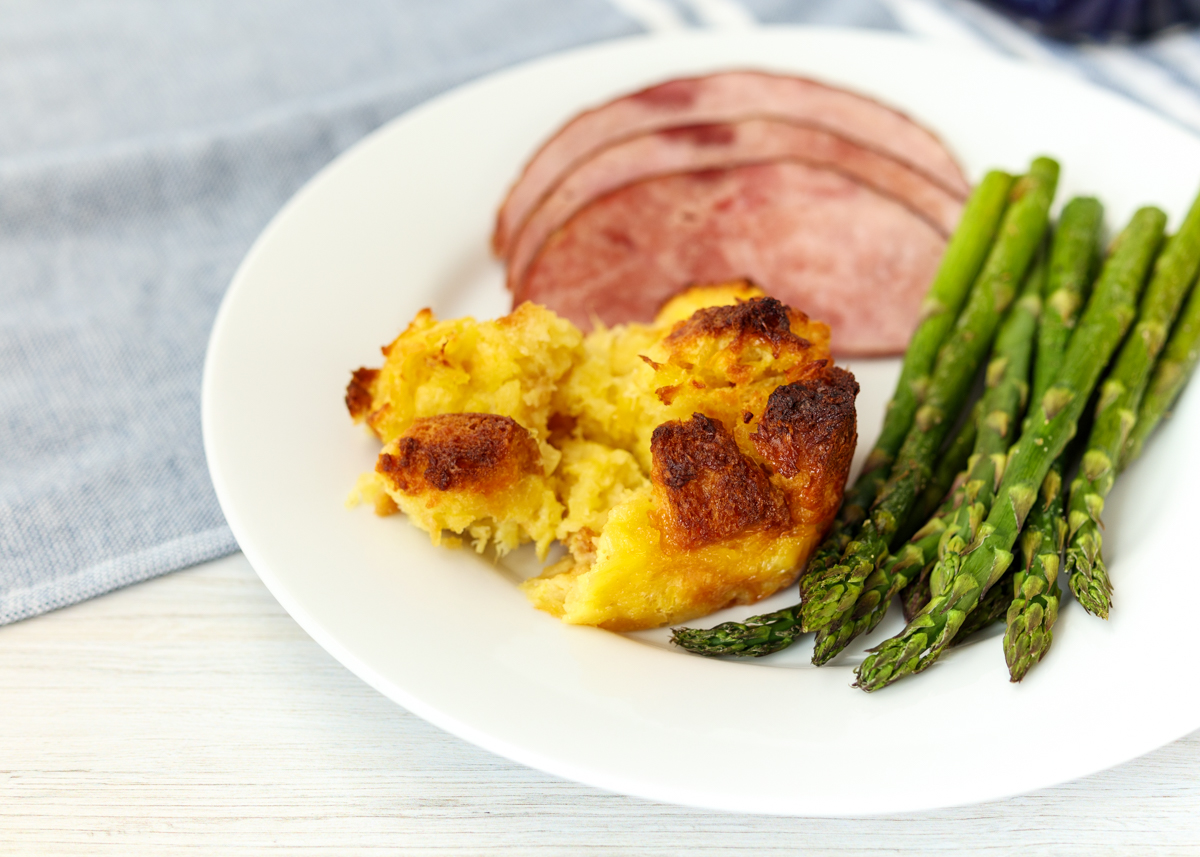
At Thanksgiving a while back there was a baked spiral ham that was served alongside Pineapple Bread Pudding. At first I was nervous as I’ve always had bread pudding exclusively as a dessert. Two servings later I was completely hooked. Fast forward to five years later and this is hands-down still my absolute favorite dish to eat with baked ham.

Pineapple Bread Pudding  |  Lemon & Mocha

Bread pudding as a side dish? Sure it sounds strange, but after one bite you will be saying, “I can’t believe I ever ate baked ham without this!” Except it will sound like, “Om nom nom nom,” because when something is this delicious you don’t have time for things like manners and not talking with your mouth full. But try to keep it classy, you don’t want grandma giving you the stink eye at the dinner table.

Pineapple Bread Pudding  |  Lemon & Mocha

As a lover of sweetness, carbs and all things delicious this Pineapple Bread Pudding is right up my alley. I chose to use challah bread because there is a richness and subtle sweetness about challah bread that is a result of its higher egg and butter content, which stands up perfectly with the pineapple. My favorite part about making this recipe is that there’s only five ingredients. Five! It can’t get more simple or easy to make than that.

Pineapple Bread Pudding  |  Lemon & Mocha

I am at a loss as to how else to describe this amazing dish because just thinking about this pineapple bread pudding is making my head cloudy with desire. So let’s just get right to it.

Pineapple Bread Pudding  |  Lemon & Mocha

I could eat this Pineapple Bread Pudding every night of the week. I can’t think of anything I would rather eat with baked ham. I think it also might be good as dessert with a scoop of vanilla ice cream. Go make this now.

Pineapple Bread Pudding  |  Lemon & Mocha

Pineapple Bread Pudding
 
Yield: 6 servings
Ingredients
  • ½ loaf challah bread, about 5 thick slices
  • 4 large eggs
  • 1 20-ounce can crushed pineapple
  • ½ cup butter, melted
  • ¾ cup sugar
Directions
  1. Cube the challah bread into 1” pieces. You should have enough pieces to fill a 9” x 9” baking dish. Place the bread in a large bowl and let sit uncovered for at least an hour. You want the bread to get a little stale so that it stays firm when you add the liquid.
  2. Preheat the oven to 325 degrees F. Lightly spray a 2 quart baking dish and set aside.
  3. In a large bowl, beat the eggs and then combine with the can of crushed pineapple, melted butter and sugar. Once combined carefully mix in the bread cubes until coated. Spoon the entire contents of the bowl into the prepared baking dish.
  4. Bake for 1 hour or until golden brown.

Recipe slightly adapted from All Recipes.

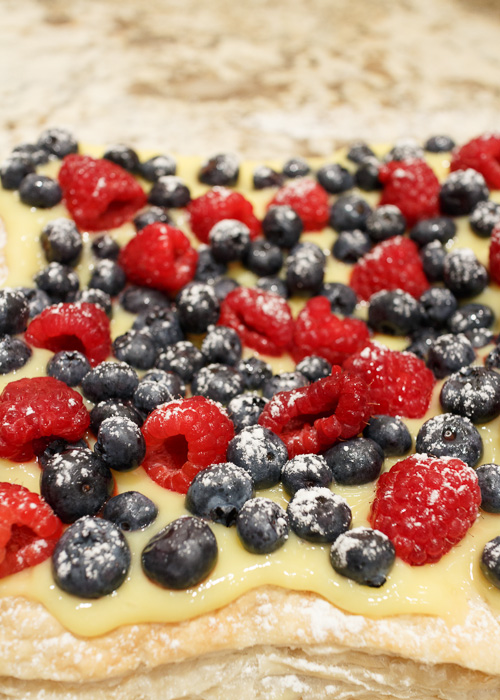
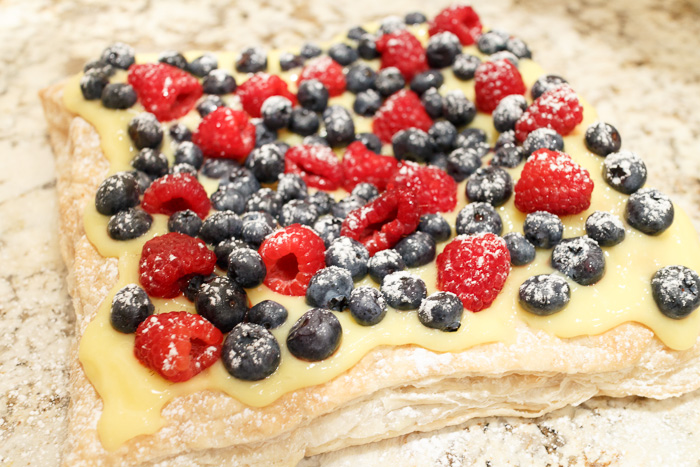
Lemon Curd Tart with Fresh Berries

I have made a terrible mistake. Truly awful, really. You probably already noticed and have been secretly scolding me, but I will confess anyway. I have been posting on Lemon & Mocha for six months and have yet to post a full-blown fresh lemon recipe. Whew, ok, now that the elephant in the blogosphere has been addressed I already feel a lot better. I know I was moments away from protest forums and lemon-lover blog trollers taking over so this recipe was posted just in time.

And I know once you taste this lemon curd tart with fresh berries you will forgive me because your mind will be so overloaded with delicious and joyful thoughts that you will forget I kept this recipe from you for so long. Lemon, like many other ingredients and flavors, took a while for me to cozy up to, but once I did, I fell madly in love. A romantic my-eyes-light-up-at-the-mention-of-its-name love, not an obsessive have-its-name-tattooed-on-my-chest-and-we-aren’t-even-exclusive love, just to clarify.

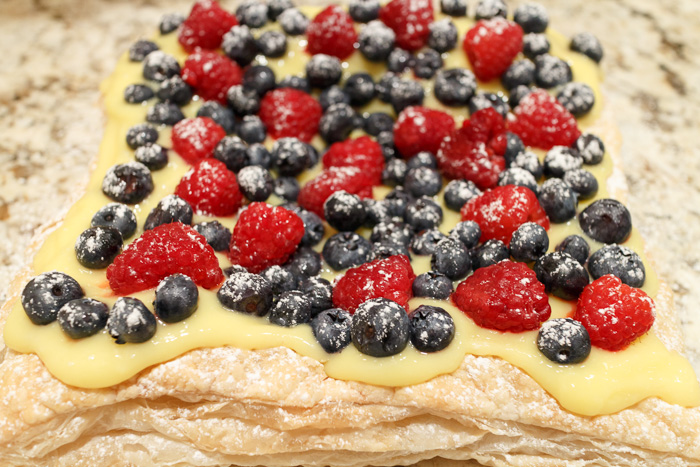
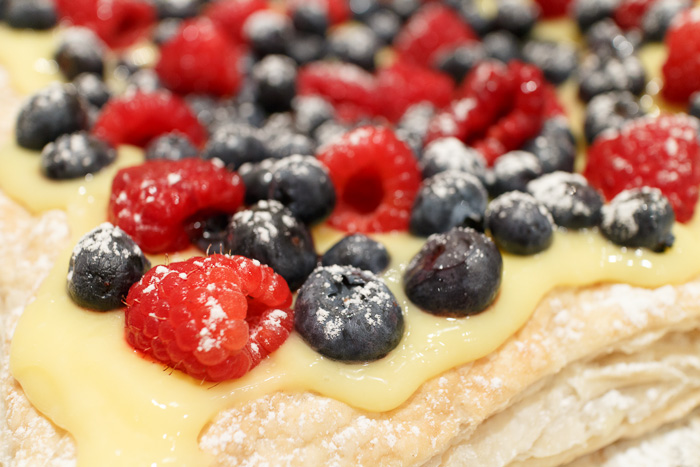
This tart is not only stunning, but incredibly easy, amazingly fresh and positively simple! If you’ve never had lemon curd, don’t let the name scare you away. It has the texture of pudding and will make you want to eat it with a spoon in the pantry closet so you don’t have to share. The lemon curd is sweet, but the tartness of the lemon flavor definitely pushes through to the forefront of your tastebuds. Paired with the flaky puff pastry, the sweetness of the berries and the light dusting of powdered sugar, this treat is the perfect fresh ending to a big holiday meal.

Lemon Curd Tart with Fresh Berries
 
Yield: 12 servings
Ingredients
for the lemon curd
  • ½ cup lemon juice
  • 1 tablespoon lemon zest
  • ½ cup sugar
  • 3 large eggs
  • 4 tablespoons unsalted butter, diced into small pieces
for the tart
  • 1 sheet of puff pastry, defrosted according to package instructions
  • ¾ cup blueberries
  • ½ cup raspberries
  • Powdered sugar, for dusting
Directions
for the lemon curd
  1. In a medium saucepan, whisk together the lemon juice, lemon zest, sugar and eggs. Place the saucepan over medium-low heat and stir in the pieces of butter. Whisk the curd frequently until the curd is thick enough that it keeps the mark of the whisk when you touch it to the curd in the saucepan.
  2. Transfer the lemon curd to a small bowl to cool. If there are small lumps of egg you can push the curd through a fine mesh sieve, but I typically skip this step. Cover the surface of the lemon curd with a piece of plastic wrap so that it’s completely touching the curd. Place in the fridge to cool.
for the tart
  1. Preheat the oven to 400 degrees. Line a baking sheet with parchment paper and set aside.
  2. Unfold the sheet of puff pastry and lay on the prepared baking sheet. Bake for 20 minutes or until the top is golden brown.
  3. Let the baked puff pastry cool. Once the puff pastry is cool top generously with the lemon curd. Place the berries on top of the lemon curd then lightly dust with powdered sugar. To serve, cut into squares.

Lemon Curd from Sketches and Scribbles.

Sun-dried Tomato and Smoked Paprika Deviled Eggs with Crispy Shallots

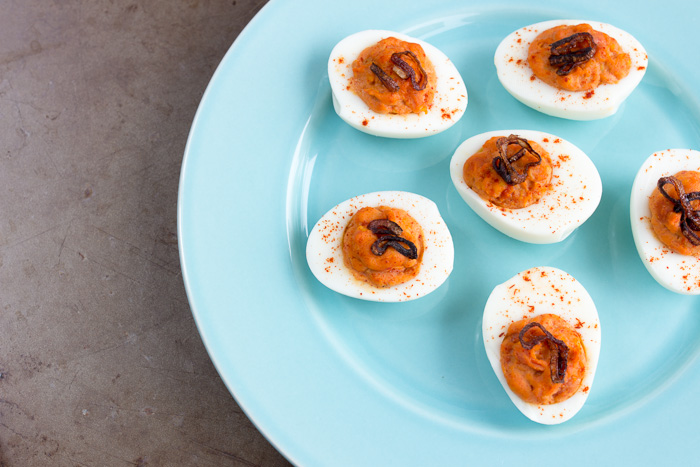
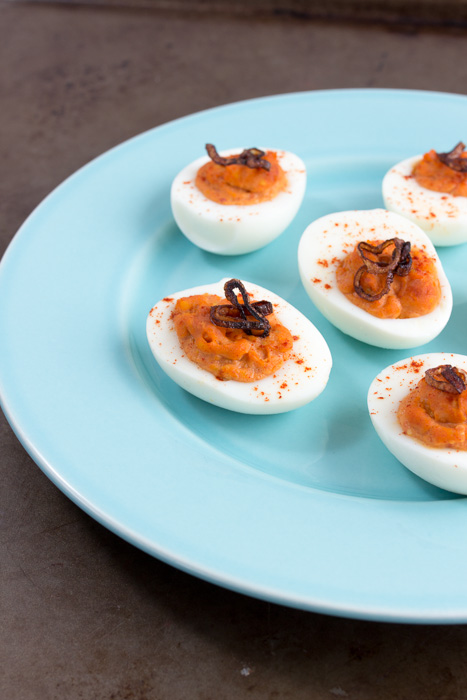
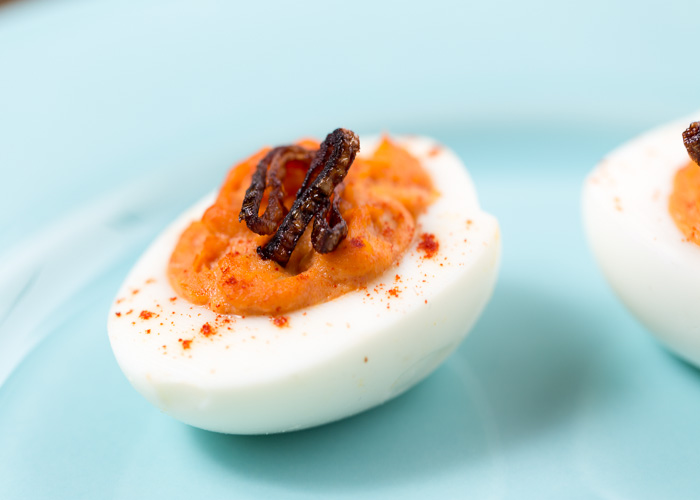
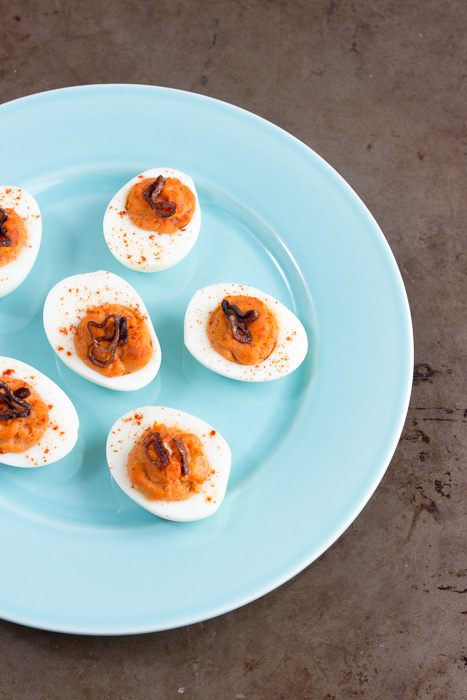
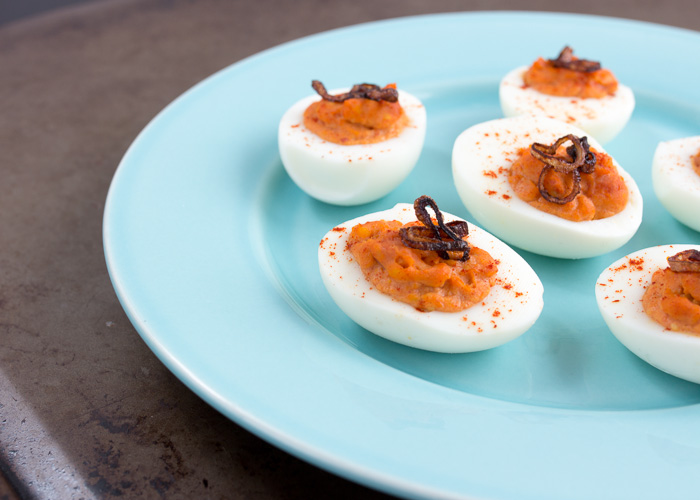
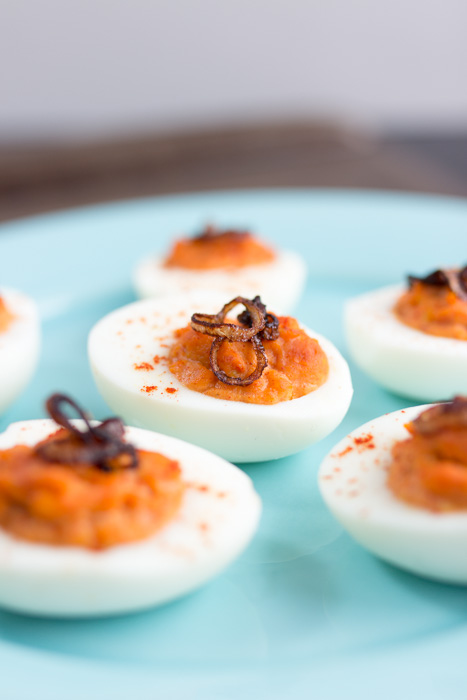
Deviled eggs have long been one of my favorite snacks for a gathering. They are perfect for every occasion: Christmas, Fourth of July, birthdays… who doesn’t like birthday eggs? However they seem to be most closely associated with Easter because of all the extra hard boiled eggs people tend to have after dyeing them, so I thought it was only fitting to post a deviled egg recipe in time for the holiday. These aren’t any old plain Jane deviled eggs. No, sir, these are jazzed up and pack a punch. Who knew deviled eggs could smack your tastebuds so hard? These are sun-dried tomato and smoked paprika deviled eggs with crispy shallots.

I knew I wanted to post a variation of deviled eggs for Easter, but I didn’t know which way to lean. Smoked salmon or bacon? Avocado or goat cheese? The possibilities went on and you all know how I feel about possibilities. Hint: I love them! The answer came to me in the form of a little plastic baggie. No it’s not what you think… I was high on excitement over the little sample of smoked paprika my friend brought me one morning. I had never cooked with smoked paprika before, but I could smell it from four feet away and was tingling with anticipation.

If you haven’t experienced smoked paprika before, it’s like regular paprika on steroids with an injection of smoke flavor. I tried thinking about what additional flavors would pair well and came across one of my favorite ingredient combinations in my pantry: sun-dried tomatoes and shallots. I had made a delicious sun-dried tomato mayonnaise a few months ago, which I will hopefully be sharing on Lemon & Mocha soon, and thought the technique would work perfectly for the deviled eggs.

Well it did and they were so tasty that I didn’t even share any. Except with Matt, he was all over these bad boys. Oh, and I almost forgot the crispy shallots! They are such an easy addition, but make a world of difference with their added texture. Lightly frying them up mellows their flavor and I definitely made extras to nibble on while I was cooking.

So if you’re looking for something full of flavor to liven up your traditional Easter brunch, your plain Jane birthday eggs or your late night rager snack spread, these deviled eggs will have everyone asking for more.

Sun-dried Tomato Deviled Eggs with Crispy Shallots
 
Yield: 12 deviled eggs
Ingredients
  • 1 small shallot
  • 2 tablespoons vegetable oil
  • ¾ cup boiling water
  • 3 tablespoons julienned sun-dried tomatoes
  • 3 tablespoons mayonnaise
  • 6 hardboiled eggs, peeled
  • 1 teaspoon smoked paprika, plus additional for garnish
  • Salt and pepper
Directions
  1. Slice the shallot into very thin rings.
  2. Heat the vegetable oil in a small sauté pan over medium-high heat. Once the oil is hot place a small handful of the sliced shallots into the sauté pan and let fry. Once the shallots are crispy, but not burned, about 2-3 minutes, remove with a slotted spoon and place on a paper towel. Repeat until all the shallot slices are crispy.
  3. Combine the boiling water and sun-dried tomatoes and let them soak for 5-10 minutes. Meanwhile, carefully slice the hardboiled eggs lengthwise and place the egg yolks in a food processor. When the sun-dried tomatoes are done soaking drain them and place them in the food processor with the egg yolks. Add the mayonnaise and smoked paprika. Puree the mixture until smooth then season with salt and pepper to taste.
  4. Evenly spoon the mixture into the empty egg whites or fill a pastry bag with the egg mixture and pipe evenly into the empty egg whites. Dust with some additional smoked paprika before serving.


April Fool’s Pumpkin Cupcakes with Cream Cheese Frosting and Salted Butter Caramel Sauce

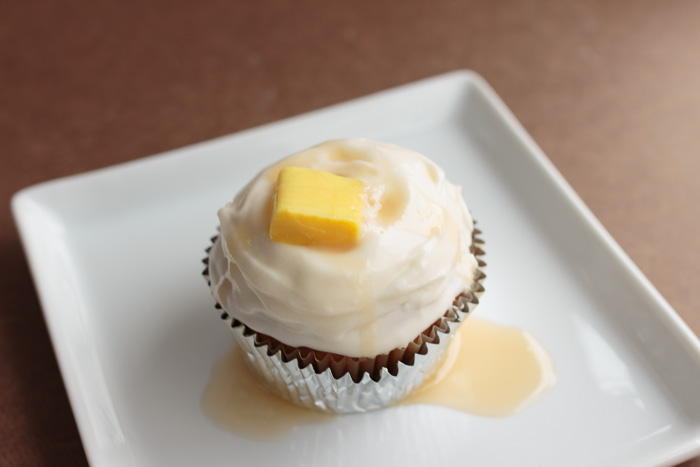
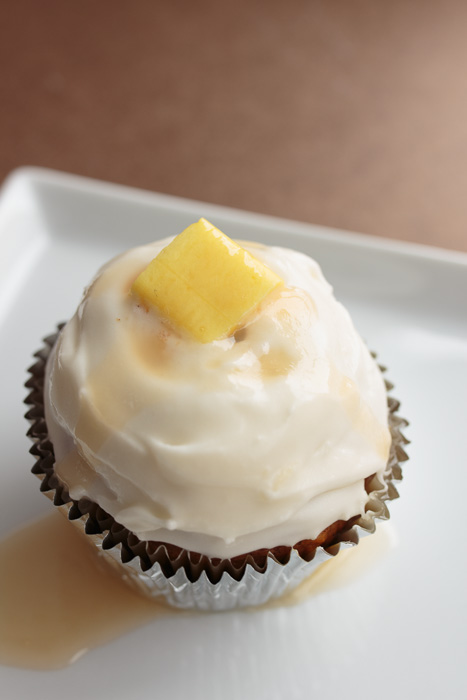
What can you say about the humble potato? They are a starchy vegetable, inexpensive and abundant. They may seem plain and boring, but once transformed into french fries, latkes, scalloped potatoes and gnocchi, well you know where I’m headed with this. Of course we can’t forget mashed potatoes. Imagine the most perfect mashed potatoes you’ve ever eaten. A creamy and smooth texture, a buttery and rich flavor and the perfect combination of seasonings. I bet 98% of people could eat a whole plate of those perfect mashed potatoes. The other 2% are either allergic to potatoes or delicious things. Now imagine those perfect mashed potatoes in a little individual serving to have all to yourself. Now imagine those perfect mashed potatoes are actually cupcakes. Wait, what?

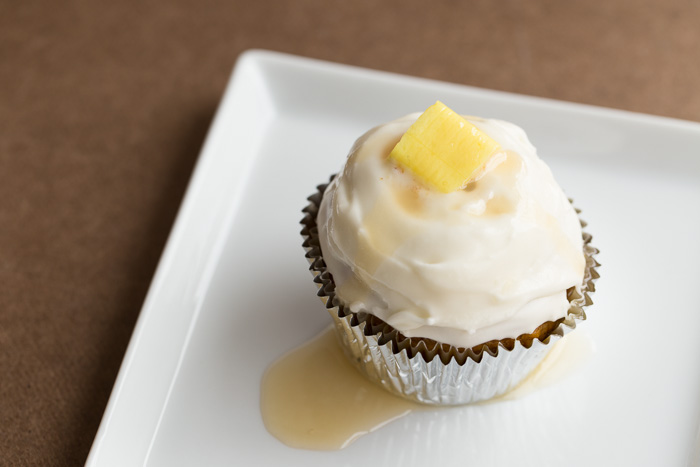
Did I trick you? Maybe the title gave it away. Happy April Fool’s! These aren’t mashed potatoes at all, but pumpkin cupcakes with a cream cheese frosting and salted butter caramel sauce. Although now I kind of want mashed potatoes.

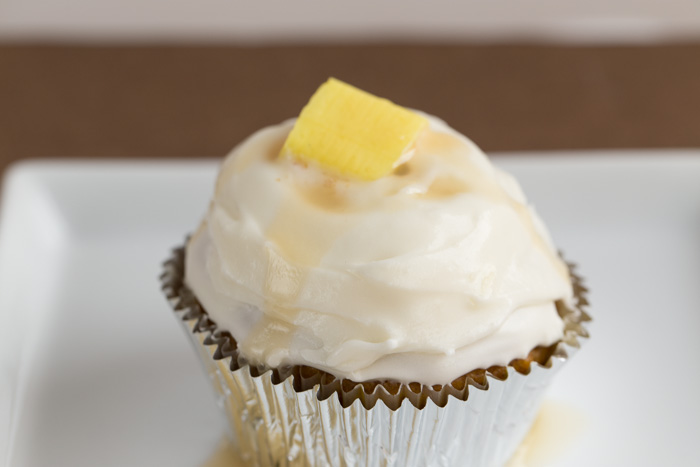
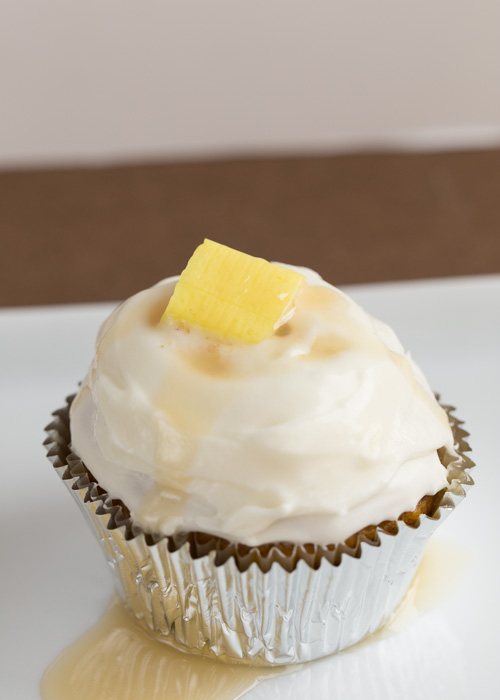
But put that thought out of your mind and switch gears to dessert. A perfectly spiced and moist dessert that will have you swooning. And your mind reeling because you thought it was a cup of mashed potatoes. That’s a melted yellow Starburst on top, not butter!

Even if you aren’t that into April Fool’s and silly pranks aren’t your thing, you still have to make these cupcakes. If you continue to frolic about your days without tasting this exact combination of pumpkin, cream cheese and caramel, I’ll have to weep for you every night. And I dislike crying, especially when I’m trying to eat cupcakes. So go ahead and make these sneaky treats!

April Fool's Pumpkin Cupcakes with Cream Cheese Frosting and Salted Caramel Sauce
 
Yield: 14 cupcakes
Ingredients
for the cupcakes
  • 1¾ cups all-purpose flour
  • 1 teaspoon baking powder
  • 1 teaspoon baking soda
  • ½ teaspoon salt
  • 1½ teaspoons ground cinnamon
  • ¼ teaspoon ground nutmeg
  • ¼ teaspoon ground cloves
  • ½ cup dark brown sugar
  • 2 large eggs
  • 1 cup pure pumpkin
  • ½ cup vegetable oil
  • ⅓ cup milk
  • 1 teaspoon vanilla extract
for the frosting
  • 5 ounces cream cheese
  • 3 tablespoons unsalted butter, room temperature
  • 1½ cups powdered sugar, plus 2 tablespoons
  • 2 teaspoons clear vanilla extract
for the caramel sauce
  • 6 tablespoons unsalted butter
  • ¾ cups sugar
  • 1 cup heavy cream, divided
  • ½ teaspoon vanilla extract
  • 1¼ teaspoons coarse salt
for assembly
  • 14 yellow Starbursts
Directions
for the cupcakes
  1. Preheat oven to 350 degrees F. Completely line one 12-cup muffin pan with foil cupcake liners and two cups of a second 12-cup muffin pan. Set aside.
  2. In a large bowl sift together the flour, baking powder, baking soda, salt, cinnamon, nutmeg and cloves. Set aside.
  3. Whisk together the brown sugar and eggs until combined. Add the pumpkin, milk, vegetable oil and vanilla and stir until combined.
  4. Stir the wet ingredients into the dry ingredients until just combined, making sure not to over-mix.
  5. Evenly spoon the batter into the lined cups. Bake for 18 minutes, or until a toothpick inserted into the center of a cupcake comes out clean. Let cool completely on a wire rack until frosting.
for the frosting
  1. Beat the cream cheese and the butter in the bowl of an electric mixer on medium-high speed until fluffy, about 2-3 minutes.
  2. Add the powdered sugar and beat on low speed until combined. Increase the speed to medium-high and beat for another 2-3 minutes.
  3. Add the vanilla and beat until combined.
for the caramel sauce
  1. In a large saucepan melt the butter over medium heat. Add the sugar and cook until the sugar is a rich golden brown, making sure to stir often.
  2. Remove from the heat and whisk in half of the cream. Be careful as the mixture may splatter.
  3. Once combined stir in the rest of the cream, the vanilla and the salt. If any lumps form slowly whisk the caramel sauce over low heat.
for assembly
  1. Spread the cream cheese frosting on the cupcakes, slightly mounding the frosting. Create a well in the center of the frosting with a small spoon. Place 1 Starburst at an angle in the well.
  2. Drizzle warm caramel into the frosting well until it fills up and spills over like gravy.
Notes
Leftover caramel sauce can be kept in the fridge for 2 weeks and reheated slowly in the microwave or in a saucepan over low heat.

Pumpkin cupcakes from Sally’s Baking Addiction.
Cream cheese frosting slightly adapted from Annie’s Eats.
Salted butter caramel sauce from The Perfect Scoop.
Cupcake assembly from Hello, Cupcake!