Main Dishes

Homemade Goat Cheese Gnocchi
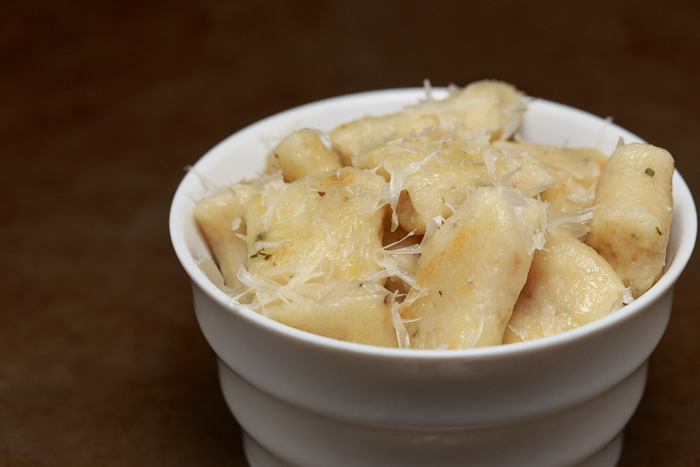
Making homemade gnocchi had been on my bucket list of things to conquer in the kitchen for quite some time now. These delicate pillows of pasta are one of Matt’s and my go-to orders while out to eat, but I was putting off making them from scratch.
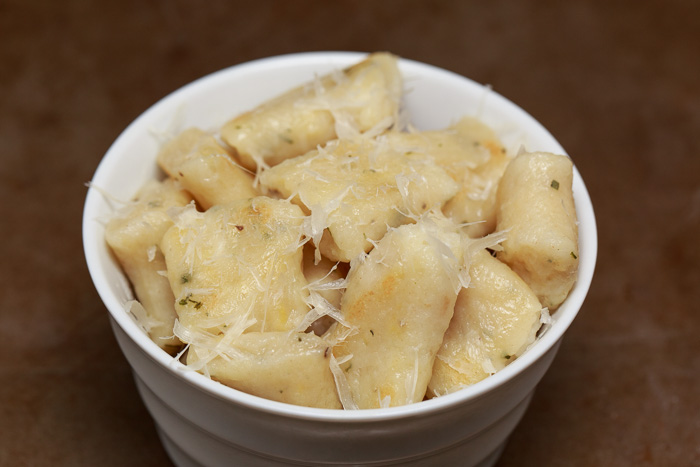
Giada had assured me countless times how simple gnocchi are to create. I would watch Giada quickly whip up a perfect batch in her gorgeous, sunny kitchen and think to myself, “Giada even pronounces gnocchi perfectly, of course she thinks it’s simple!”
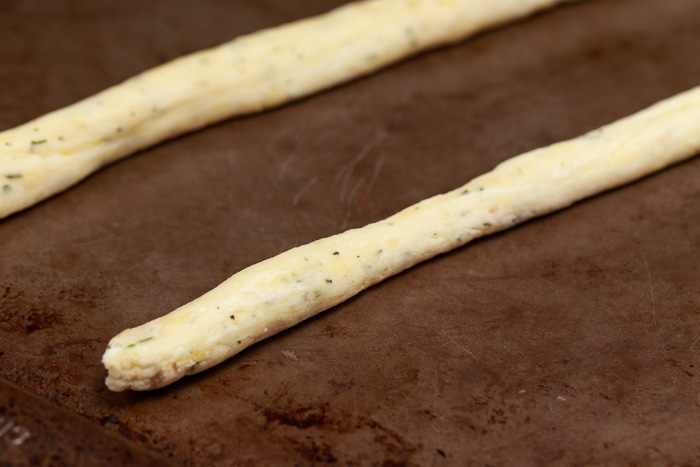
Well, my friends, I am here as a novice gnocchi-pronouncer and gnocchi-creator to let you know that in fact it is that simple. Sure there are fair amount of steps between the boiling, mashing, cooling, kneading and what-not, but once you have the process down you’ll have fresh gnocchi on the table in no time.
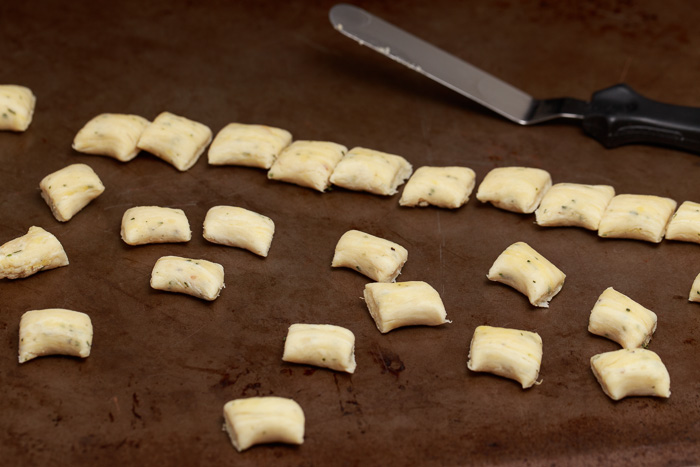
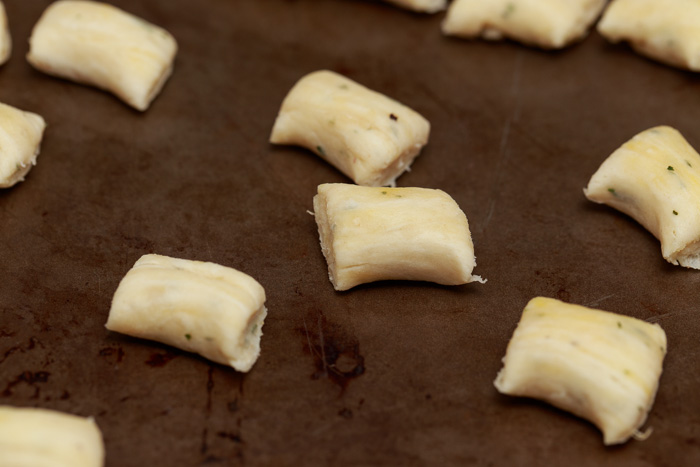
The most difficult part was the shaping with the fork tines, but I never have much patience for beautifying foods so I decided to leave them as is. I’m here to eat it not take a picture! Actually, I am, but I much prefer the eating part.
So conquer your kitchen fears and give homemade gnocchi a try! What are some things on your kitchen bucket list?
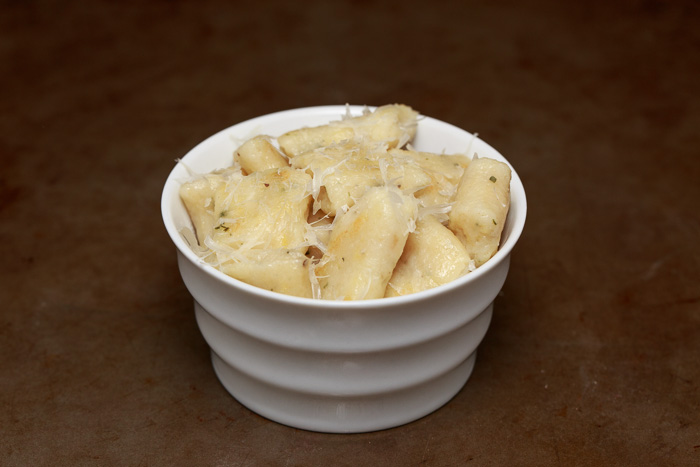
Homemade Goat Cheese Gnocchi
 
Yield: 8 servings
Ingredients
  • 2 pounds potatoes, preferably Russets
  • 11 ounces goat cheese
  • ½ cup Parmesan, grated
  • 2 tablespoons dried oregano (or ½ cup fresh, chopped)
  • 3 eggs
  • 6 cups cake flour
  • 2 tablespoons salt
  • 1 tablespoon ground black pepper
Directions
  1. Preheat the oven to 425 degrees F. Line a baking sheet with foil and set aside.
  2. Scrub and dry the potatoes then pierce each potato with a fork 5-6 times. Place on the prepared baking sheet. Bake for 45-60 minutes. The potatoes are done when you can easily pierce with a fork or knife. Remove from the oven and let cool slightly. Once the potatoes are cool enough to handle, peel then grate them into a large mixing bowl. Alternatively, you can accomplish this with a potato ricer.
  3. Add the goat cheese, Parmesan, oregano, eggs, flour, salt and pepper to the large mixing bowl and mix until the dough starts to come together.
  4. Lightly flour a cutting board or smooth surface and knead the dough until it is smooth. Shape the dough into a large ball or mound and place a kitchen towel overtop. Let rest for 30 minutes.
  5. Bring a large pot of salted water to a boil. Meanwhile start shaping the gnocchi. Using about ¼ cup of dough at a time, and leaving the kitchen towel over the rest, shape the dough into a long rope about ½” thick, as pictured above. Using a sharp non-serrated knife or an icing spatula, cut the dough rope into 1” pieces. Place the pieces on a lightly floured baking sheet.
  6. When you have a small batch ready to be boiled (I boiled about ½ cookie sheet worth at a time), carefully place the gnocchi into the prepared boiling water. When they float to the top, about 3-5 minutes, remove with a large slotted spoon and serve.
Notes
*If you don’t have cake flour, for each cup you measure out of all-purpose flour remove 2 tablespoons before putting in the recipe.
*I simply pressed the gnocchi instead of the traditional ridge shape, but a quick Google search of shaping gnocchi will lead you to plenty of videos showing the traditional technique.
*If you are not eating the gnocchi right away, follow these instructions after placing in the boiling water:
1. When they float to the top, about 3-5 minutes, remove with a large slotted spoon and place in a bowl of cold water. Drain into a colander and let cold water run over the gnocchi in the colander. Let drain.
2. Remove to a large container and lightly toss with olive oil to keep them from sticking together. Repeat with the rest of the gnocchi until they are all cooked. Keep in the fridge until ready to serve.

Recipe from Spring 2008 issue of Edible Aspen.

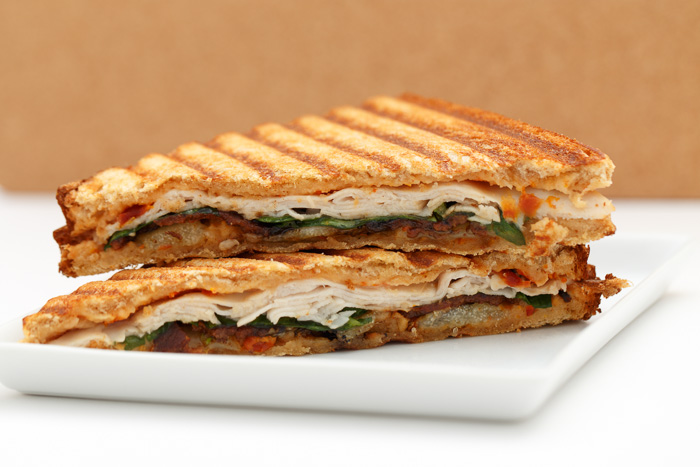
Turkey and Manchego Panini with Sun-dried Tomato Mayo

Sometimes I find myself craving a sandwich. There’s something so satisfying about a fresh deli sandwich loaded with meat, cheese, lettuce, tomatoes and of course mayonnaise. Recently, to conquer my craving I decided to take it one step further and make a panini. While still a sandwich, a panini takes it to a whole new level with a crunchy exterior and gooey melted cheese. The panini is the queen diva of sandwiches and this one certainly stands up with the best of them.

There are many stars of this panini and one is the Manchego cheese. Manchego is a firm Spanish cheese that tastes similar to monterey jack with an added nutty flavor. It complements the roast turkey, salty crunchy bacon and the delicious sun-dried tomato mayo. I don’t have a fancy panini contraption and it was still a cinch to make. All you need is a grill pan and another heavy pan to press the sandwich. If you don’t have a grill pan a regular frying pan will do the trick as well. Now please excuse me while I make another one and continue conquering my craving, which is now for this panini.

 
Yield: 1 sandwich
Ingredients
  • 2 slices bread
  • 2 tablespoons sun-dried tomato mayonnaise
  • 2 ounces deli turkey breast, about 2-3 slices
  • 1 thin slice Manchego cheese
  • 2 strips cooked bacon
  • ¼ cup fresh spinach leaves
Directions
  1. Heat a grill pan or skillet to medium heat and lightly coat with olive oil cooking spray, or heat 2 teaspoons olive oil.
  2. Make your sandwich by spreading 1 tablespoon of sun-dried tomato on each slice of bread. Add the turkey slices, Manchego cheese, bacon and spinach then close your sandwich. Place your sandwich on the grill pan or skillet and place a heavy pan on top of the sandwich to weigh it down.
  3. Cook the panini 3-4 minutes per side or until the bread is crispy and the cheese is melted.


Chicken Cacciatore with Mushrooms and Artichokes

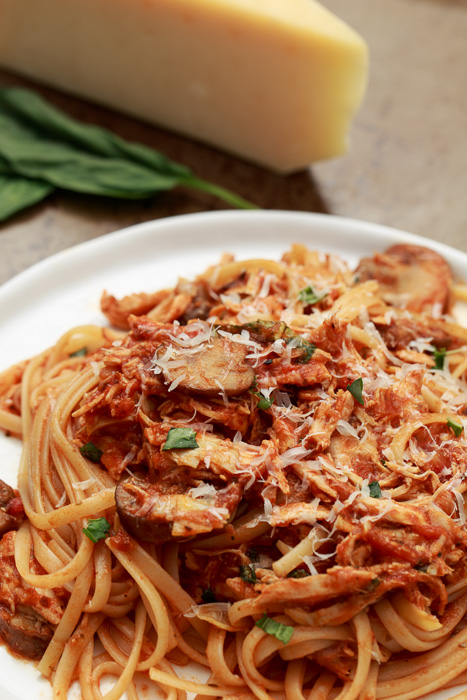
I am shocked and I hope you are utterly disappointed in me. This is only the third pasta recipe that has been posted on Lemon & Mocha. The nerve of me! Pasta is one of my all-time favorite foods. I certainly can’t pick a single favorite because that would be like choosing between children or classic Nickelodeon shows, but pasta is way high up there on the list. So it is only fitting that this post featuring Lemon & Mocha’s second ever pasta recipe is also commemorating another special day: Mother’s Day.

Mother’s Day is this Sunday and I wanted to do something special. I am a firm believer in thinking positive, looking for the good in the bad and trusting life’s course. So I can only say that I am both lucky and blessed to have, and have had, three amazing mothers in my life.

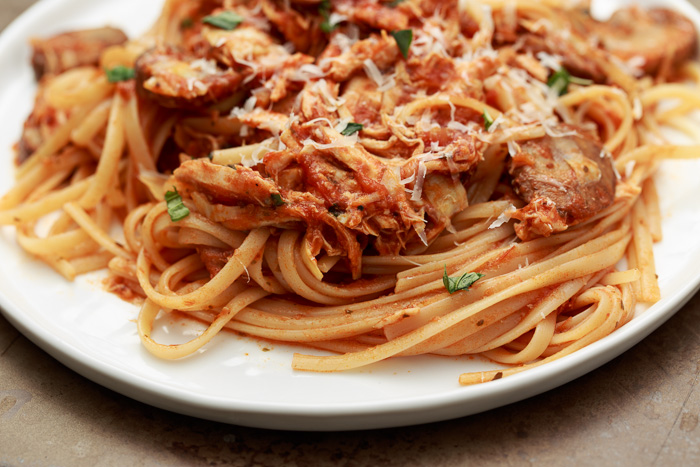
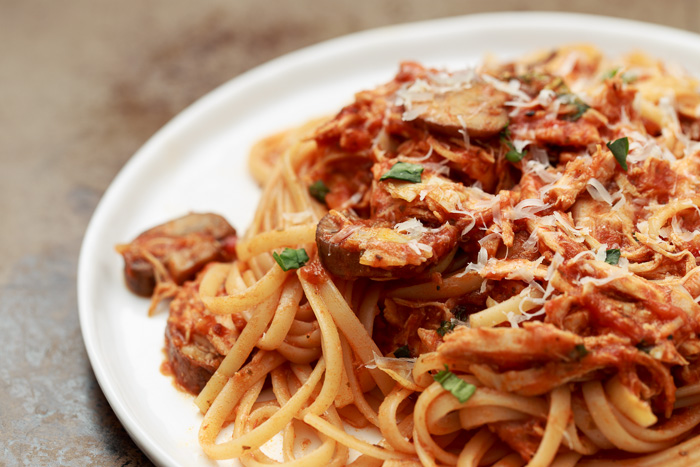
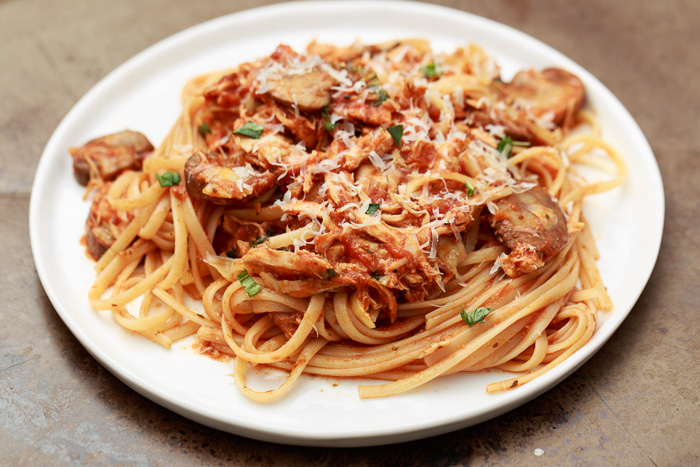
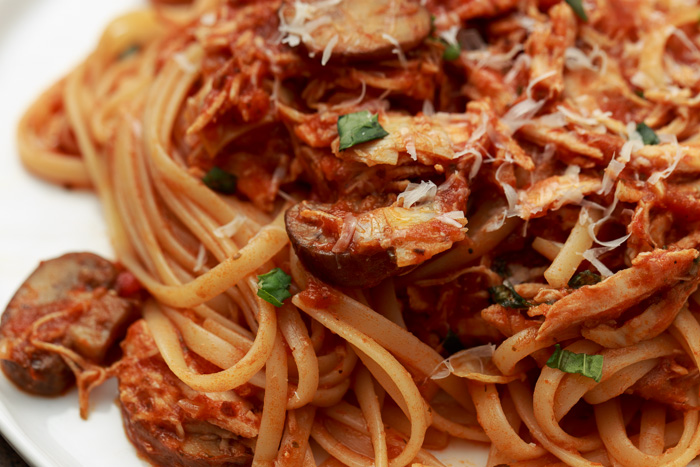
Today I am posting this savory linguine with chicken, mushrooms and artichokes dish to celebrate my wonderful stepmom. As you learned back on her birthday, many of my favorite foods and ingredients are the result of my stepmom and her determination to have me eat something other than macaroni and fish sticks for the rest of my life.

This dish is my interpretation of one she used to make to get us to try new things. I know you probably think I’m being ridiculous, but my dad, brother and I were not initially familiar with shredded chicken in pasta and mushrooms on our plate. The original dish had olives, but I substituted artichokes, another food my stepmom opened my eyes to. I am so thankful to have such a great supporter, caring person and friend in my life. Sometimes the best mothers in your life are the ones that don’t go by “mom”, but love you just the same.

Chicken Cacciatore with Mushrooms and Artichokes
 
Yield: 4-6 servings
Ingredients
  • 1 pound split skinless chicken breasts, bone-in
  • 2 tablespoons olive oil
  • 2 garlic cloves, minced
  • 1 shallot, minced
  • 12 ounces sliced cremini mushrooms
  • 1 26-ounce jar of tomato sauce
  • 1 tablespoon sugar
  • ½ cup artichoke hearts, chopped
  • 3 tablespoons chopped fresh basil leaves, about 4 leaves
  • ⅓ cup freshly grated Parmesan, plus more for serving
  • ½ pound cooked linguine
Directions
  1. Season both sides of the chicken with salt and pepper. Heat 1 tablespoon of the olive oil in a large stockpot over medium-high heat. Add the chicken and brown it, about 5 minutes per side. Remove the chicken from the pot and set aside.
  2. Reduce the heat to medium on the stockpot and add the remaining olive oil. Add the garlic and shallots and sauté for 3 minutes. Add the mushrooms and sauté until browned, about 6 minutes, stirring occasionally. Push the mushrooms to the side so that there’s room on the bottom of the stockpot and return the chicken to the pot.
  3. Add the tomato sauce and sugar. Lightly stir then bring the pot to a boil before covering and reducing to a simmer on medium-low heat. Simmer for 30 minutes or until the chicken reaches an internal temperature of 165 degrees F.
  4. Keeping the sauce warm, remove the chicken, shred off the bone with 2 forks, then return to the sauce. Add the artichokes, basil and Parmesan to the sauce. Add the linguine and stir to coat. Serve topped with fresh Parmesan, if desired.


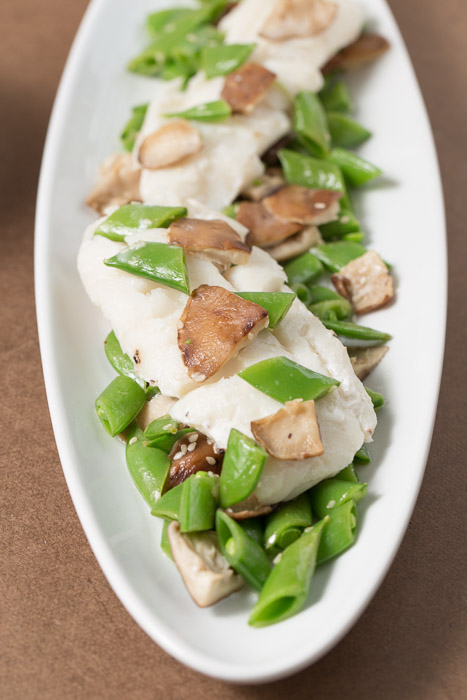
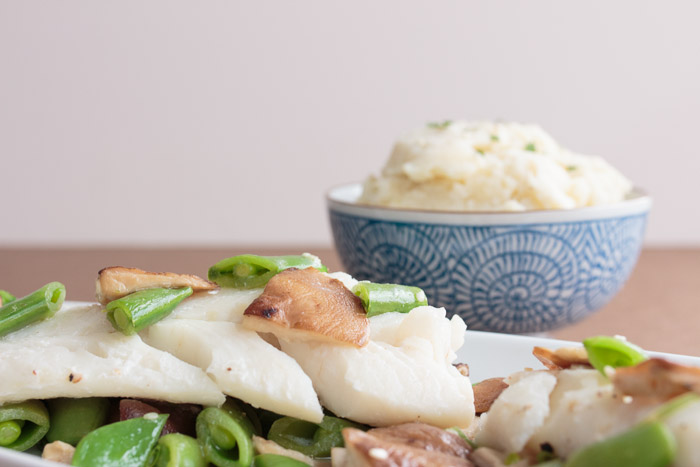
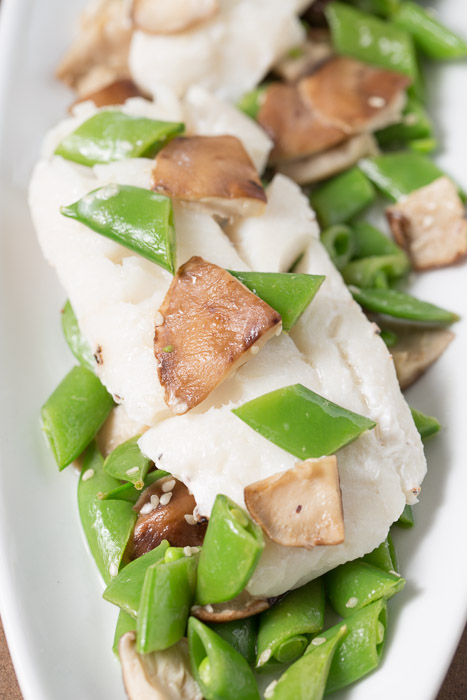
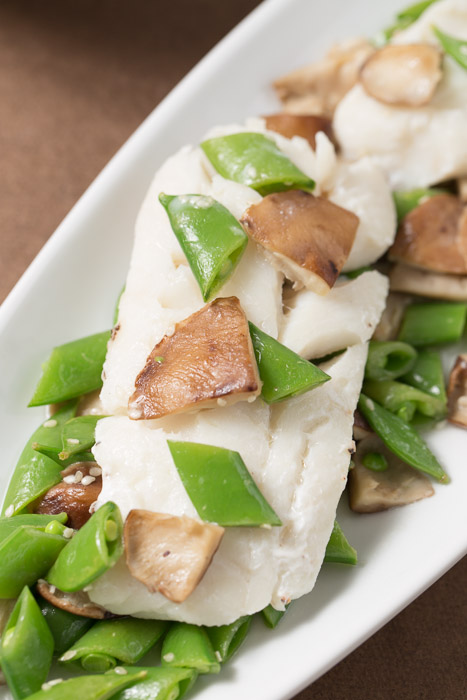
Pacific Halibut Foil Packets with Shiitakes & Snap Peas

Today is Earth Day! While I was brainstorming how Lemon & Mocha would celebrate Earth Day I determined that as delicious as cookies made to look like our green and blue planet might be they wouldn’t really capture the spirit of this environmental holiday. So, as cheesy as it sounds, I decided to make and share something that will have a minor impact on our environment. Certainly a very teeny minor impact, but an impact nonetheless.

It is rare that I cook fish in our house, mostly due to cost and Matt’s unfortunate high school homecoming incident with a salmon-scented outfit, but that’s a story for another day. Since I do not purchase much seafood I had never given the information about trying to purchase sustainable seafood much thought. When Matt and I were in Seattle last year we went on a food tour during which one segment the famous “fish guys” at Pike Place Market talked to the group about the importance of sustainable seafood.

Not all seafood is created equal. There are some seafood that are sourced from oceans or farms in a way that is negatively impacting the ecosystem and is not a viable long-term method for obtaining that seafood. By contrast, seafood that has been deemed sustainable is coming from sources that are not harming the seafood’s environment and they have the ability to maintain or even increase production of the seafood.

Would I want to live in a world where I couldn’t have a fresh rainbow roll, grilled salmon or shrimp scampi? No thank you! Not to mention the disastrous effect it could have on the surrounding ecosystems if more seafood were to become extinct. Now I’m not suggesting we all write letters to unsustainable fish farms and boycott restaurants that aren’t serving sustainable seafood. But if, as consumers, we all made some easy swaps during our weekly grocery trips from an overfished seafood to a good sustainable option then our individual very teeny minor impacts would grow into much stronger impacts.

You can discover what are the best sustainable seafood options for your region using these handy printable sustainable guides published by Seafood Watch.

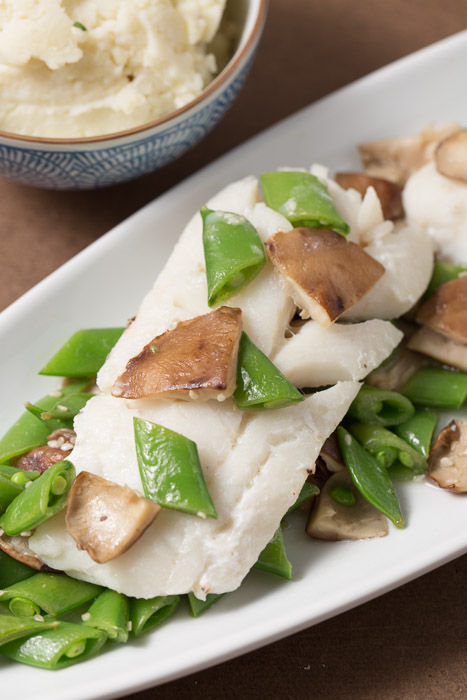
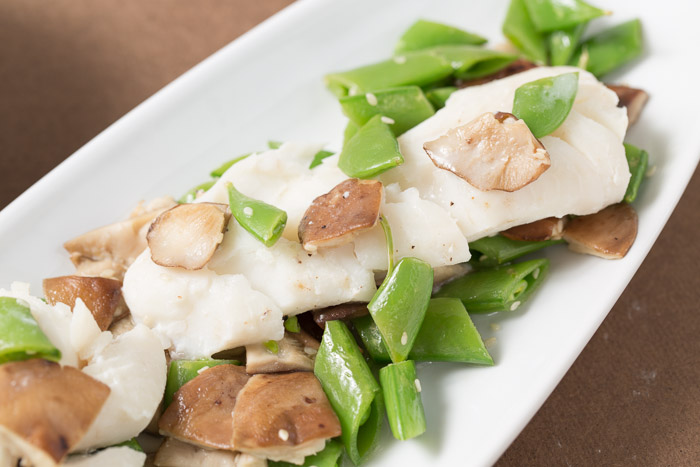
Pacific Halibut Foil Packets with Shiitakes & Snap Peas
 
Yield: 2 servings
Ingredients
  • 2 4-ounce skinless pacific halibut fillets, or whatever light fish is sustainable for your region
  • 4 tablespoons unsalted butter, divided
  • 6 thin lemon slices
  • 4 ounces shiitake mushrooms
  • 4 ounces sugar snap peas, strings removed and sliced on the diagonal about three or four times each.
  • ½ teaspoon toasted sesame seeds
  • Salt and pepper
Directions
  1. Preheat the oven to 400 degrees F.
  2. Tear off two large pieces of tin foil that will easily encase each fillet of fish. If you aren’t using non-stick foil, lightly spray the foil with cooking spray before laying down the piece of fish. Season both sides with salt and pepper. Spread 1 tablespoon of butter onto each fillet then top each fillet with three slices of lemon. Turn in the sides of the foil then close the top before tightly sealing it into a little foil packet. Place the foil packets on a baking dish and bake in the oven for 20 minutes or until the fish flakes easily.
  3. Meanwhile heat the remaining two tablespoons of butter over medium heat, swirling frequently, until it turns golden brown in color, about 6 minutes. Add the mushrooms and cook for 5 minutes, stirring often.
  4. Add the sliced peas, as well as 1 tablespoon of water, and cook for about 4 minutes. The peas should be bright green.
  5. Remove from the heat, season with salt and pepper, then add the toasted sesame seeds.
  6. To serve, lay the halibut fillets on a serving dish or individual plates, top with some of the liquid from the foil packet, then top with the shiitake and pea stir-fry.

Recipe adapted from Fine Cooking.

Pumpkin Risotto with Roast Asparagus

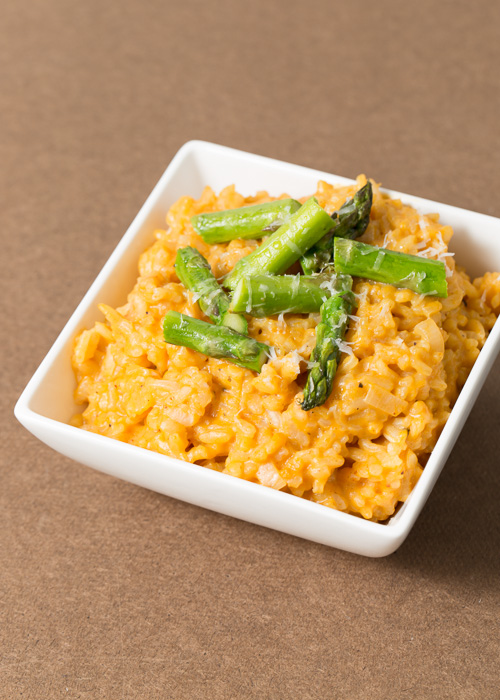
As excited as I am for the light and fresh ingredients of spring, I will definitely miss the cozy meals and rich flavors of winter. I decided to create a dish that would be a farewell to winter, as well as a welcoming hello to spring, if it ever decides to show itself up here in New England.

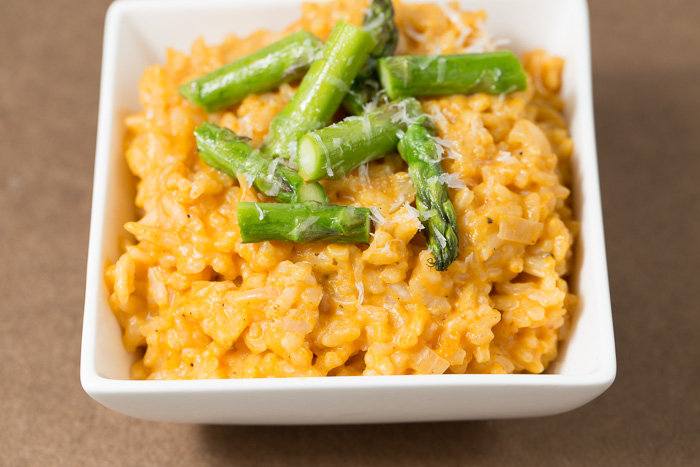
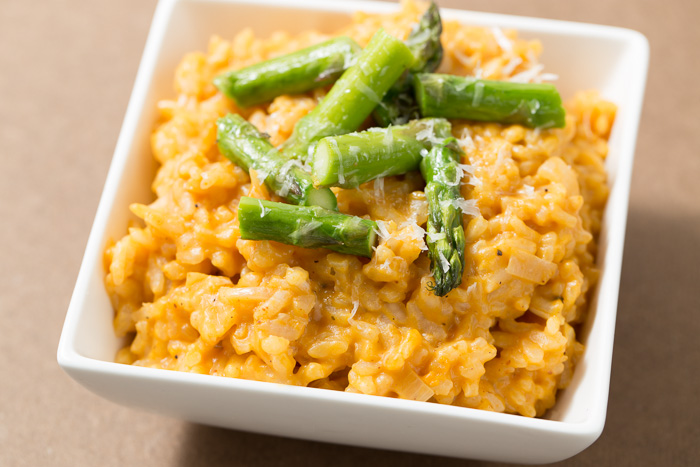
This pumpkin risotto with roast asparagus is creamy, robust and bright. The pumpkin flavor makes an appearance without overpowering the dish and the crisp asparagus complements the texture of the risotto. Now I’m about to get all product placement on you, but you’re used to my obsessive ravings by now. It is duly noted and acknowledged that I have an outrageous infatuation with food that has blessed me the ability to spout for hours about the topic. It is not limited to ingredients and meals, but also extends to restaurants, cooking methods, food science and news, appliances, food trucks, tableware and the occasional Costco sample discussion.

One of my absolute favorite appliances, courtesy of my stepmom, is my Breville Risotto Plus. What is this contraption you ask? Well the real question is, what isn’t it? Well actually it’s not a lot of things because an appliance can only be so many things out of the realm of all things, so lets stick to the original question.

This beauty is a slow cooker, rice cooker, steamer, saute-er and a risotto maker. You can cook brown rice while your broccoli is steaming. You can saute onions and garlic for a slow cooker meal without getting a second pan dirty. You can make risotto without constantly adding liquid and stirring. I’ll let that soak in for a second.

So Risotto Plus or no Risotto Plus, you should make this creamy risotto today and experience the flavors of winter and spring coming together.

Pumpkin Risotto with Roast Asparagus
 
Yield: 6 servings
Ingredients
  • 2 tablespoons olive oil, divided
  • 1 tablespoon butter
  • 1 shallot, minced
  • 2 garlic cloves, crushed
  • 1¾ cups Aborio (risotto rice)
  • 2 cups white wine
  • 3 cups hot vegetable stock
  • 1 cup pumpkin puree
  • ½ cup fresh grated Parmesan, plus more for serving
  • 1 pound asparagus
  • ½ teaspoon Italian seasoning
  • Salt and pepper
Directions
  1. reheat the oven to 425 degrees F.
  2. In a large pot over medium heat melt the butter and 1 tablespoon of the olive oil until hot. Add the shallots and crushed garlic. Cook until the shallots have softened, about 4-5 minutes.
  3. Add the rice and cook, stirring occasionally, for 4 minutes. Stir in the white wine, cover and let simmer until the wine has mostly been absorbed, about 5-6 minutes.
  4. Stir in 1 cup of the hot vegetable stock and let simmer until the liquid is mostly absorbed, stirring frequently. Repeat with the second and third cups of hot vegetable stock. When the third cup has been mostly, but not completely absorbed by the rice, stir in the pumpkin puree. Stir in the Parmesan cheese until melted then season with salt and pepper to taste.
  5. While the risotto is cooking, roast the asparagus. Remove the thick ends of the asparagus, cutting or snapping the bottom inch or two off each spear. Lay the asparagus on a baking sheet and drizzle with the other tablespoon of olive, then season with salt, pepper, and the Italian seasoning. Roast until the asparagus are tender, yet still firm, about 10 minutes. Cut each spear into thirds or fourths, depending on the length, for serving.
  6. To serve, top each bowl of risotto with some cut asparagus spears and freshly grated Parmesan.
Notes
*If you are using the Breville Risotto Plus, follow these simple changes. Instead of sautéing the shallots and garlics in a large pot, sauté them in the Risotto Plus on the sauté setting. Then, don’t complete step 4. Instead, after the wine has been absorbed, stir in the vegetable stock, which does not have to be hot, and the pumpkin puree. Cover with the lid and turn the risotto setting on. When it switches to warm, about 20-30 minutes later, stir in the Parmesan cheese, season with salt and pepper to taste, then continue onto step 5.
*Use whatever white wine you have on hand for the recipe. I usually recommend to not use your best white wine, but still one that you wouldn’t mind drinking a glass of.

Recipe adapted from the manual for the Breville Risotto Plus.