Fourth of July

4th of July Tie-Dye White Texas Sheet Cake
4th of July Tie-Dye White Texas Sheet Cake

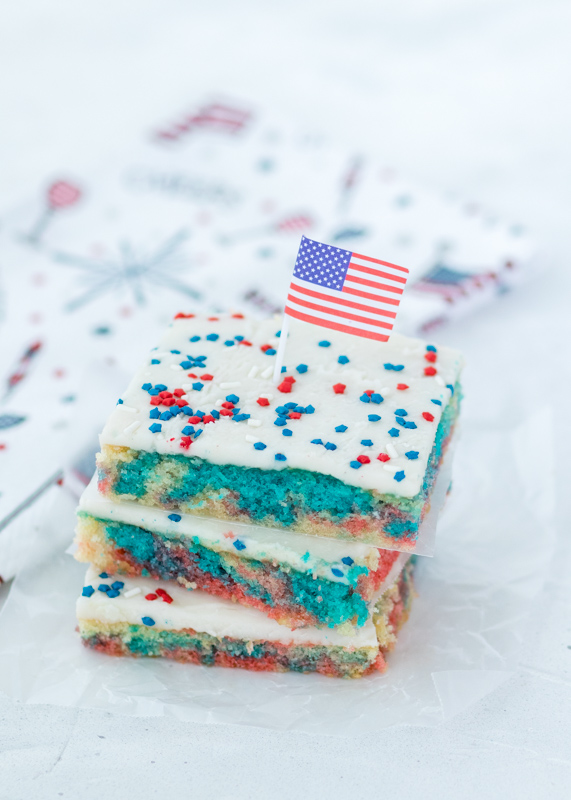
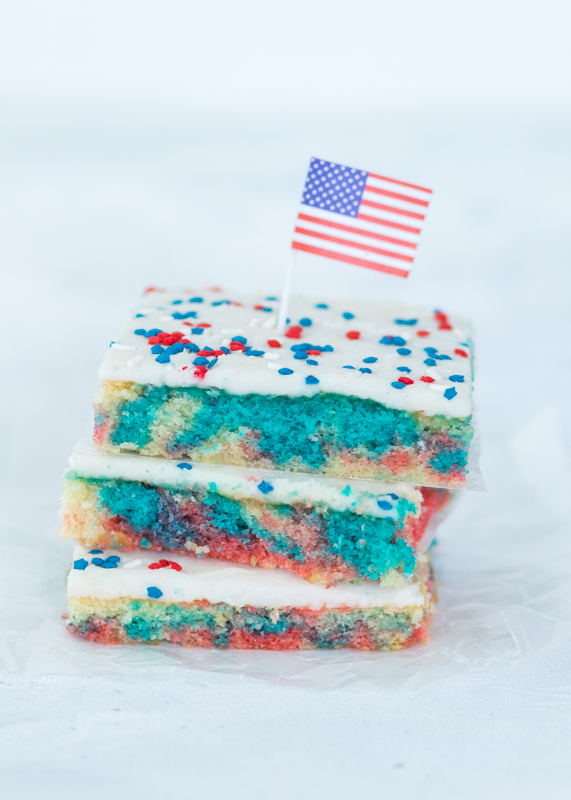
I’m back with my annual 4th of July red, white and blue dessert! This year I decided to switch it up. As much as I love berries, they can get expensive, especially if you are cooking for a crowd. Also, berry desserts can sometimes be tricky to make ahead. Instead, I made a tie-dye white Texas sheet cake loaded with red, white and blue batter and tons of festive sprinkles.
4th of July Tie-Dye White Texas Sheet Cake

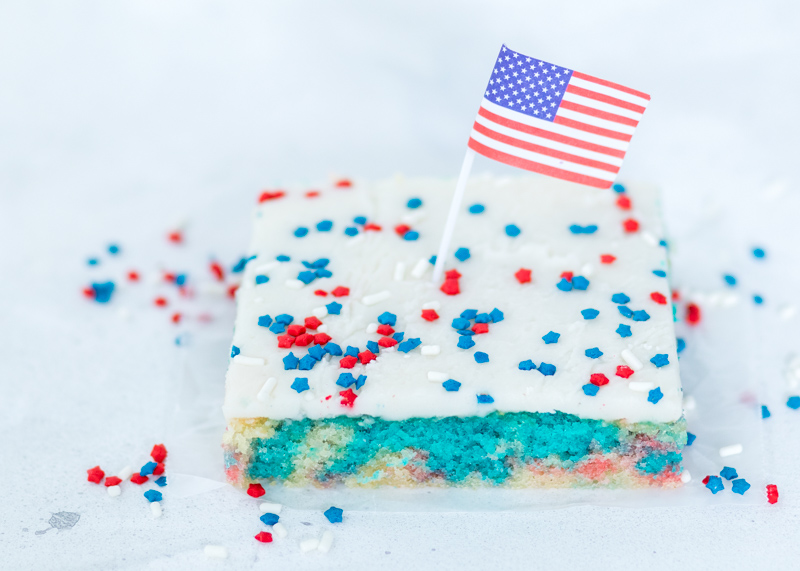
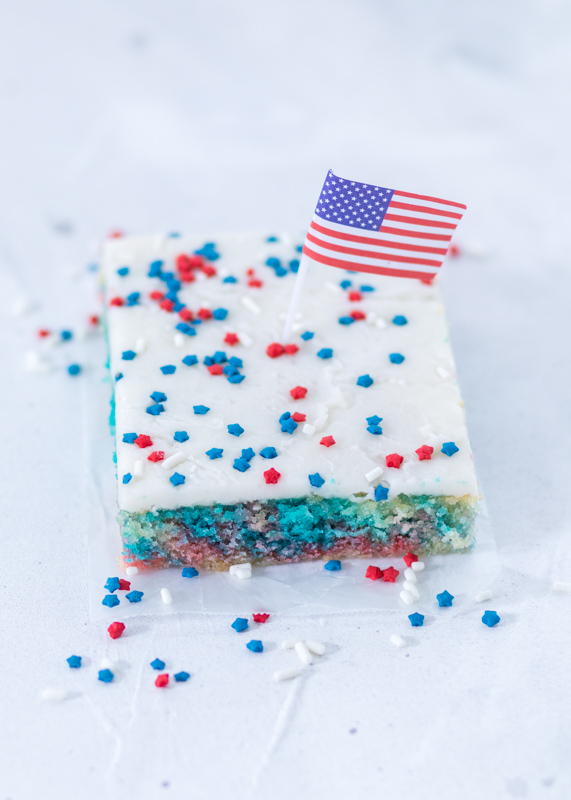
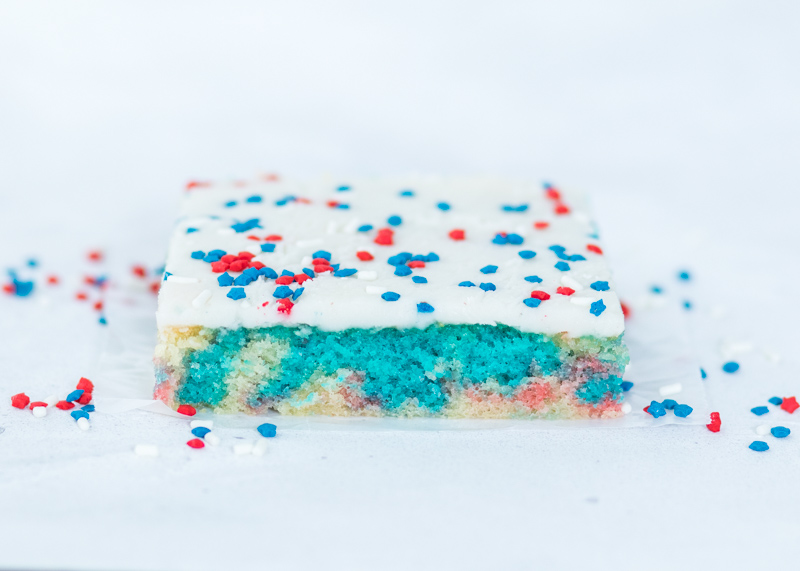
I’m surprised I’ve kept it together this far into my post because I am SO EXCITED about this cake! I will try to explain to you how buttery and moist this vanilla cake is, but I know I won’t be able to do it justice. It tastes like funfetti box mix cakes, but with no box mix involved. Check out the photos and look at those big crumbs! Yum!
4th of July Tie-Dye White Texas Sheet Cake

The vanilla icing slightly hardens on top and the thin layer of icing creates the perfect frosting to cake ratio since the cake is also very thin. The thin layer of icing is also good because it is definitely sweet. This cake is for all the butter and sugar lovers out there! Any baked good is dangerous around me, but this sheet cake was especially addictive.
4th of July Tie-Dye White Texas Sheet Cake

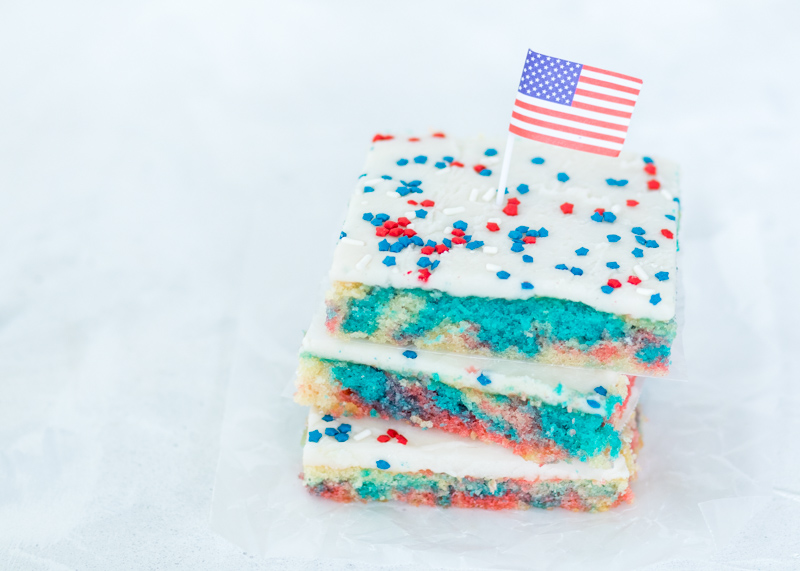
This is the best type of cake to make for a crowd because the cake is the size of a standard jelly roll pan or half sheet pan. Matt and I ate some, then I gave away multiple slices each to six of my girl friends and I STILL had a whole bunch that I packaged for the freezer! If you do have leftovers it does freeze well, but if you bring this cake to a big party I promise you there will be nothing left!
4th of July Tie-Dye White Texas Sheet Cake

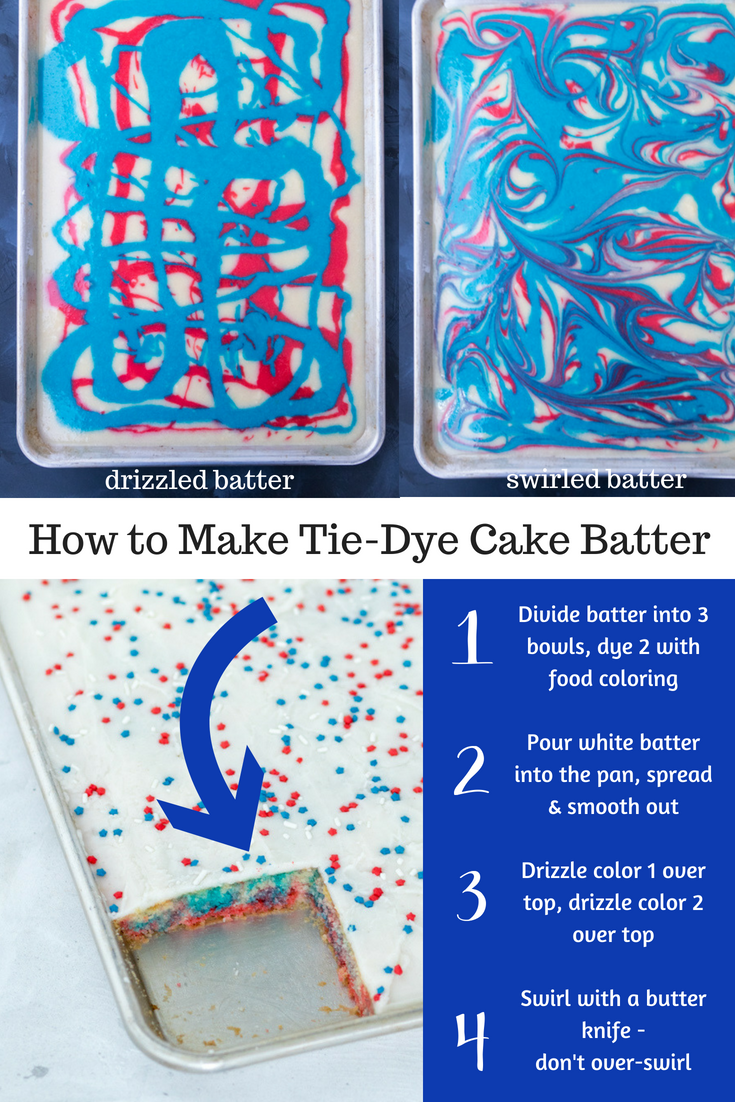
The tie-dye batter was really easy and didn’t add much extra time. I divided the batter into three bowls and left one white while dying the other two red and blue. I then poured the white batter into the prepared sheet pan and smoothed it out. Then I drizzled the red batter followed by the blue batter and swirled it all around with a butter knife. Ta-da! Red, white and blue tie-dye cake batter!
4th of July Tie-Dye White Texas Sheet Cake

The 4th of July sprinkles and mini flags definitely give it that extra patriotic look though – you can find those here and here. I cannot wait for you all to try baking this cake! Make sure to save me a slice ;-).
4th of July Tie-Dye White Texas Sheet Cake

4th of July Tie-Dye White Texas Sheet Cake
 
Yield: 16-20
Ingredients
for the cake
  • 2 cups flour
  • 2 cups sugar
  • 1 teaspoon baking soda
  • 2 large eggs, beaten
  • ½ cup yogurt, see note
  • 1 teaspoon vanilla extract
  • 1 cup unsalted butter
  • 1 cup buttermilk
  • ½ teaspoon salt
  • Red and blue food coloring
for the frosting
  • 4½ cups powdered sugar
  • ¼ teaspoon salt
  • ½ cup unsalted butter
  • ¼ cup milk
  • ½ teaspoon vanilla extract
Directions
for the cake
  1. Preheat the oven to 375 degrees F. Grease a half sheet pan, 13” x 18”. Set aside.
  2. In a large bowl, sift together the flour, sugar and baking soda. Add the beaten eggs, yogurt and vanilla then stir until just combined.
  3. In a small saucepan, melt the 2 sticks of butter over medium heat. Add the buttermilk and salt. Bring to boil, removing from the heat as soon as it starts to boil. Let cool slightly then pour into the flour mixture. Stir until just combined and smooth.
  4. Pour ⅓ of the batter in a bowl, ⅓ of the batter in a second bowl and leave the remaining ⅓ in the original bowl. Use food coloring to dye the batter in one bowl red and the other bowl blue. Leave the third one as is. Pour the batter you didn’t dye into the prepared sheet pan. Smooth into an even layer. Pour the blue batter over the white batter. I zigzagged back and forth. Repeat with the red batter. Using a butter knife, lightly swirl the batters around. Don’t over-mix or they will be one color instead of tie-dye.
  5. Bake for 20-22 minutes, or until a toothpick inserted in the center comes out clean. Let cool in the pan on a wire cooling rack for 20 minutes. Meanwhile, while the cake is cooling make the frosting (the frosting needs to be added when the cake is still a little warm).
for the frosting
  1. Sift the powdered sugar into a medium mixing bowl then mix in the salt.
  2. Melt the butter in a small saucepan over medium heat. Once melted, add the milk and bring to a boil, removing from the heat as soon as it starts to boil. Stir in the vanilla extract. Pour the butter mixture into the bowl with the powdered sugar. Stir until smooth. If it’s too thick, add a little more milk. Pour over the cake as soon as it has cooled for 20 minutes and spread in an even layer. Try to do this quickly as the frosting will start to set as soon as you start spreading it.
Notes
You can use any plain yogurt. Vanilla might also be okay, but I haven’t tried it with that. I used nonfat plain Greek yogurt. If you do not want to use yogurt you could also substitute sour cream.
To make your own buttermilk pour 1 tablespoon of lemon juice or vinegar (I like to use lemon juice) in a liquid measuring cup then add enough milk to equal 1 cup. The fat percentage of the milk does not matter - I use nonfat milk. Let sit for 5-10 minutes before using in the recipe.
The fat percentage of the milk in the frosting does not matter. I used nonfat milk.

Recipe adapted from Genius Kitchen.

Some of the links above are affiliate links, which means I may receive a small commission for my referral. This does not affect the retail cost of the item. Thank you for supporting Lemon & Mocha!

Sweet Potato Salad

Sweet Potato Salad  |  Lemon & Mocha

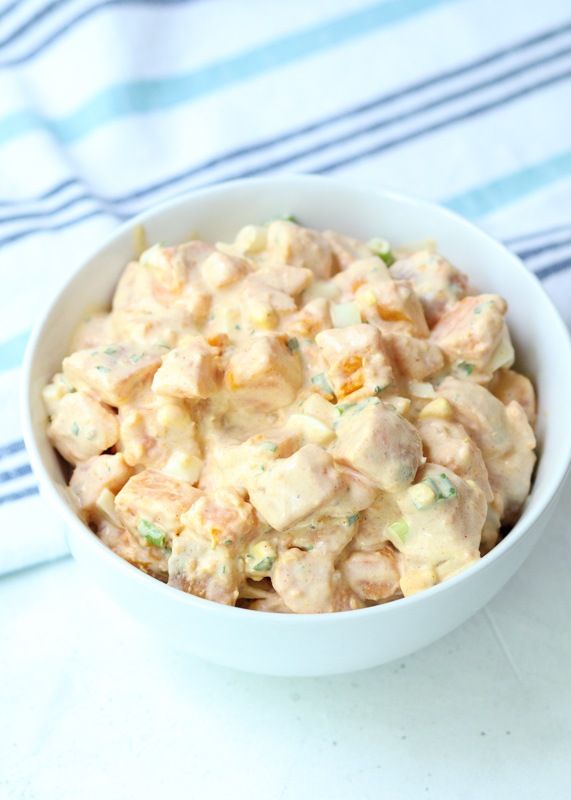
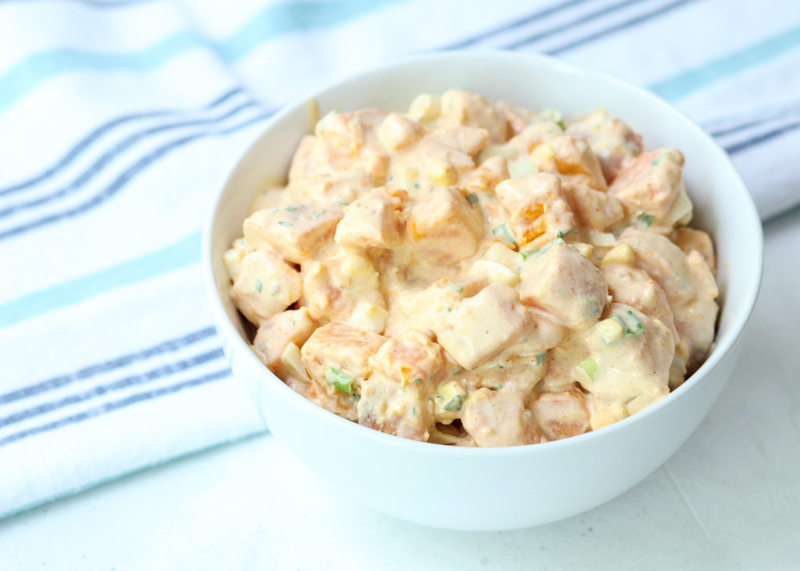
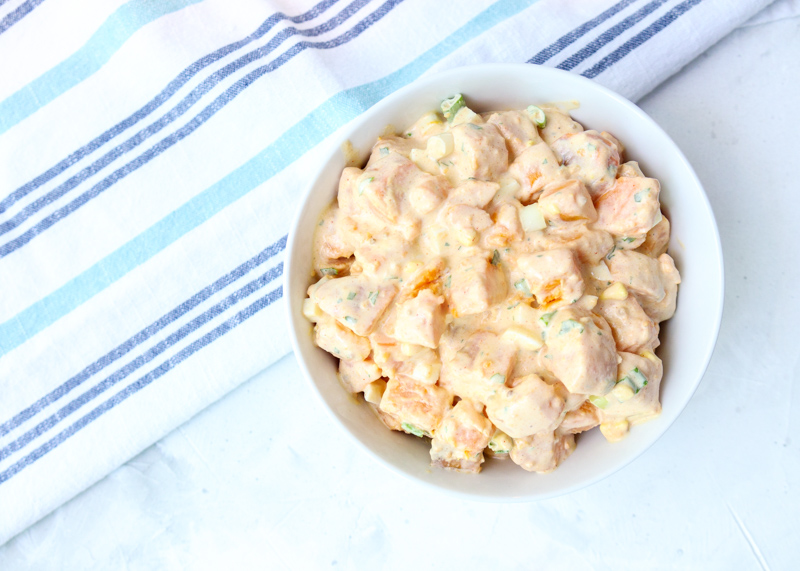
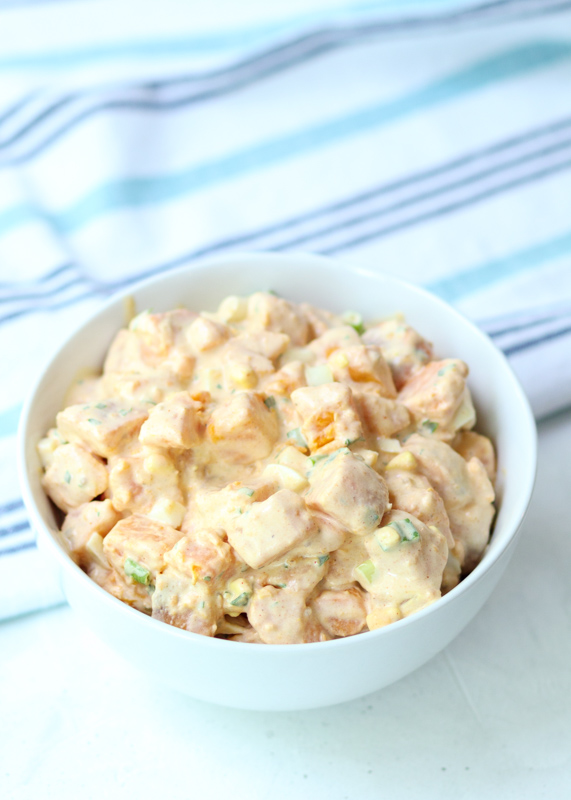
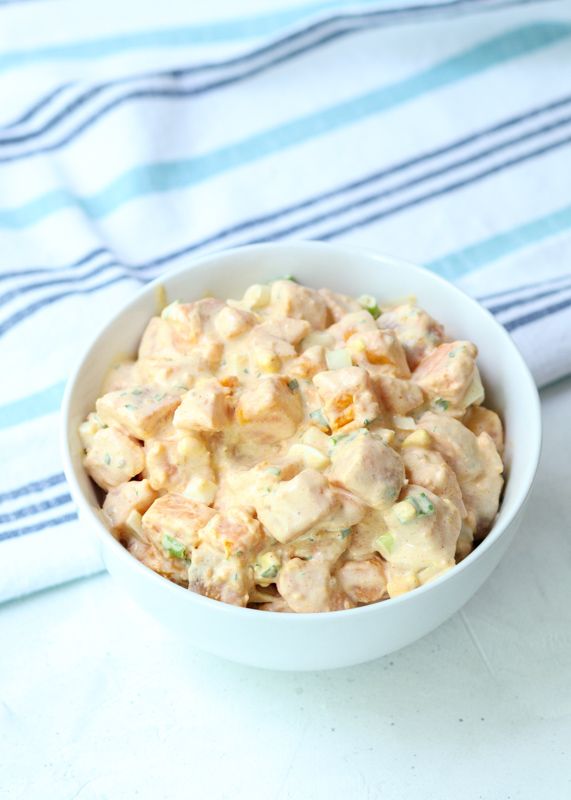
I am a little addicted to this Sweet Potato Salad. This inspiration came from the restaurant chain Not Your Average Joe’s. I’m not sure if you have one in your state, but we have a few here in Massachusetts and Matt and I are hooked. Last summer they had a limited time barbecue menu and one of the sides was a sweet potato salad. When I asked our waitress about the special sides she started raving about the sweet potato salad so I figured I would give it a shot.

Sweet Potato Salad  |  Lemon & Mocha

It was amazing! It was incredibly flavorful, a little tangy, a little sweet and I couldn’t stop eating it! The next day at work I started telling people that they had to go and order it because it was that good. This summer I haven’t seen it back on their menu yet so I set out to recreate the recipe. Just like the one I had at Not Your Average Joe’s, I couldn’t stop eating this potato salad!

Sweet Potato Salad  |  Lemon & Mocha

I knew the base of the dressing wasn’t all mayonnaise since it had a rich tanginess to it, so I added some buttermilk. The mustard seeds give it a great crunch and the celery salt and smoked paprika bring a ton of flavor. I added in hard boiled eggs and scallions because I remembered them from the original dish and I love both those ingredients in my potato salads. I don’t like spicy food so I put in the teeniest tiniest pinch of chili powder, but you can definitely add more if you want a bit of a kick in your salad.

Sweet Potato Salad  |  Lemon & Mocha

One of my favorite parts of this Sweet Potato Salad is that it tastes even better the next day making it the perfect make ahead side dish for 4th of July, potlucks and summer barbecues. I hope you all have a fantastic weekend and enjoy this Sweet Potato Salad!

Sweet Potato Salad  |  Lemon & Mocha

Sweet Potato Salad
 
Yield: 8 servings
Ingredients
  • 2 pounds sweet potatoes, peeled and cubed
  • 2 hard boiled eggs, chopped
  • 3 scallions, sliced
  • ⅓ cup mayonnaise
  • ¼ cup buttermilk
  • 1 tablespoon plus ½ teaspoon apple cider vinegar
  • 1 tablespoon parsley leaves, chopped
  • 2 teaspoons Dijon mustard
  • ¾ teaspoon mustard seeds
  • ½ teaspoon celery salt
  • ¼ teaspoon smoked paprika
  • Pinch of chili powder, optional
Directions
  1. Put the cubed sweet potatoes in a large sauce pan then cover with water. Add 1 teaspoon salt to the water. Bring to a boil over medium high heat then reduce to simmer for 10-15 minutes until the potatoes are cooked through. Drain the potatoes, rinse with cold water, then let drain until dry. Place in a large mixing bowl and let cool. Once cool add the chopped hard boiled eggs and sliced scallions.
  2. Mix together the dressing. In a medium bowl or liquid measuring cup, whisk together the mayonnaise, buttermilk, apple cider vinegar, parsley, Dijon, mustard seeds, celery salt, smoked paprika and chili powder, if using. Pour over the potatoes and carefully stir until coated. Let sit in the fridge for at least 30 minutes. Give it a stir before serving. It tastes even better the next day.
Notes
If you don't want to buy buttermilk you can make your own with regular milk. Put a little less than a teaspoon of lemon juice (or vinegar, but I like to use lemon juice) in a measuring cup then fill with milk until you reach ¼ cup. Let the mixture sit for 5-10 minutes.


Watermelon Caprese Salad

Watermelon Caprese Salad  |  Lemon & Mocha

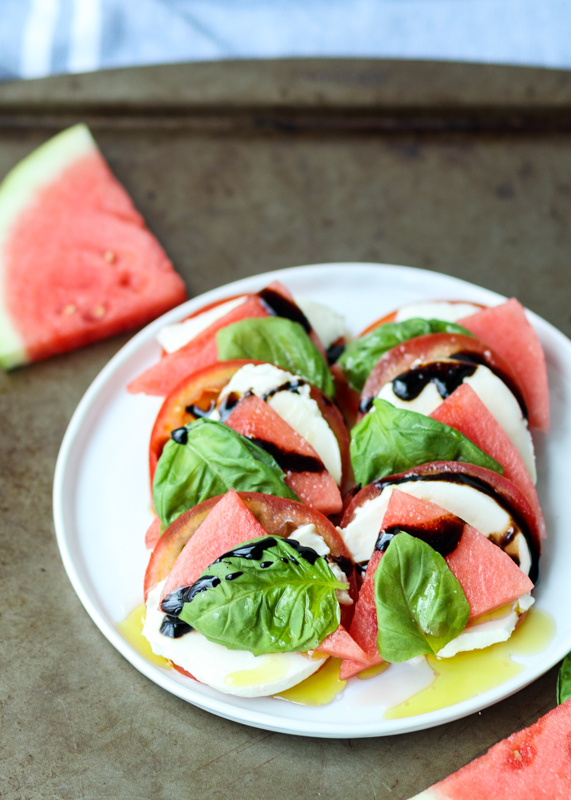
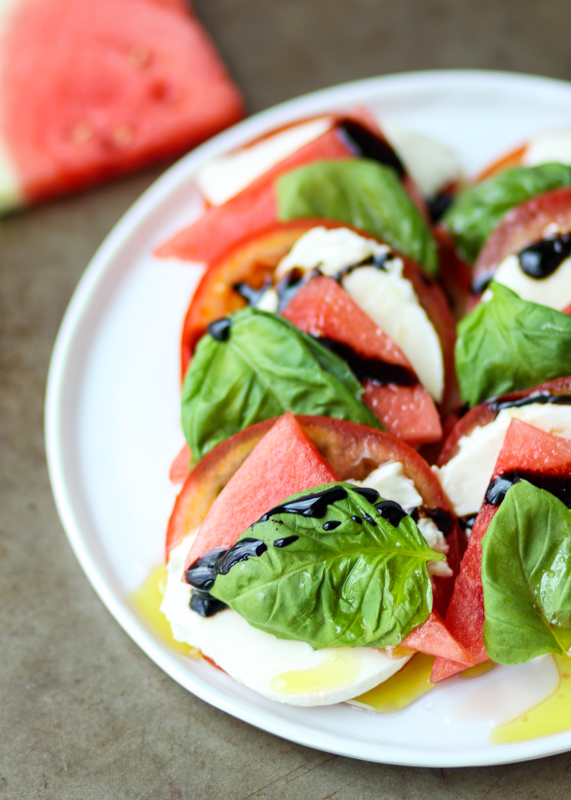
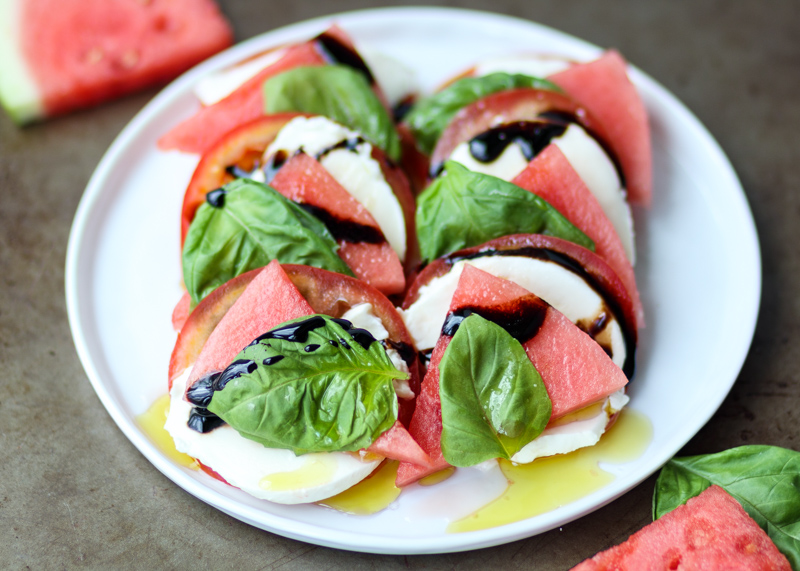
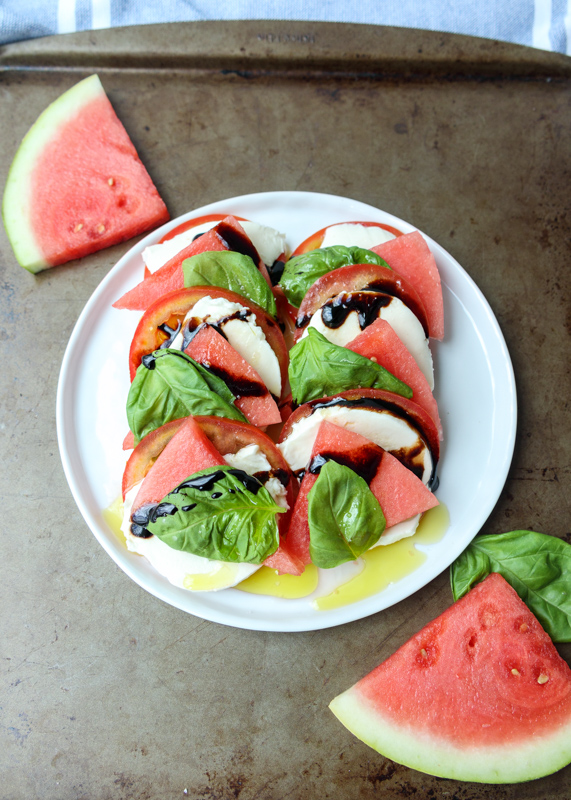
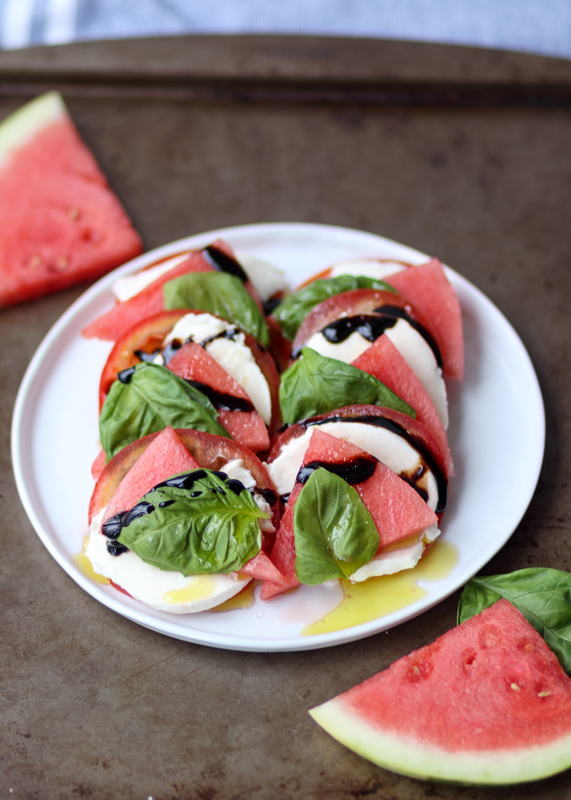
Tomorrow is the first day of summer! I’m posting one of my favorite summer dishes to celebrate – Watermelon Caprese Salad. Even though caprese salad is incredibly simple, when it’s made with fresh peak-season tomatoes it is complete summer perfection. Layers of sweet tomatoes, creamy mozzarella and fresh basil are drizzled with extra virgin olive oil, syrupy balsamic glaze and thick granules of sea salt.

Watermelon Caprese Salad  |  Lemon & Mocha

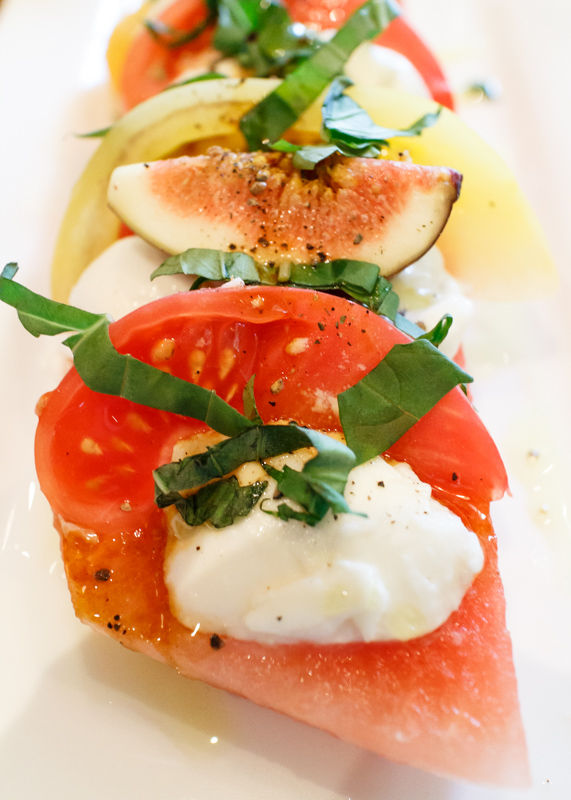
The only addition I’ve ever tasted that has somehow been even better than the classic is juicy watermelon slices. I first had this combination during the summer five years ago with my parents at a restaurant out in Colorado. I even have a picture! Here it is below. Matt had just gotten me my first “real” camera that spring for our trip to Seattle so I was putting it to good use taking pictures of all our dishes.

Watermelon Caprese Salad  |  Lemon & Mocha

It was a special on the menu that night and even though their summer caprese had figs, heirloom tomatoes and burrata, the real standout was the watermelon. Diane and I could not believe how much the crisp sweet watermelon brought to the dish.

Watermelon Caprese Salad  |  Lemon & Mocha

Later that summer we were at our annual family beach week and my aunt was making a caprese salad with some tomatoes she got at the farm stand. Diane suggested that we put some watermelon slices on it like the dish we had in Colorado; just like that we officially converted to religious Watermelon Caprese Salad makers and we haven’t looked back since! Watermelon individually pairs well with all the components of a caprese salad and makes the salad even more refreshing and summery.

Watermelon Caprese Salad  |  Lemon & Mocha

Since there’s only a few ingredients you want them to really shine so make sure you buy the best watermelon, tomatoes, mozzarella and basil your farmer’s market or grocery store has to offer. I promise once you try this version it will be your new summer go-to! Enjoy and happy summer everyone!

Watermelon Caprese Salad  |  Lemon & Mocha

Watermelon Caprese Salad
 
Yield: 6 servings
Ingredients
  • ¼ of a seedless watermelon, sliced into pieces roughly the same size and thickness of the tomato slices
  • 2 ripe tomatoes, sliced
  • 8 ounces fresh mozzarella, sliced
  • Fresh basil leaves
  • Extra virgin olive oil
  • Salt, preferably sea salt or kosher salt
  • Balsamic glaze (see note)
Directions
  1. Layer the caprese salad. I like to do a tomato slice, topped with a mozzarella slice, topped with a watermelon slice, then finally topped with a basil leaf. I usually plan on 2 stacks like this per person, depending on how many other sides there will be. Arrange the stacks so they are layered over one another.
  2. When you are ready to serve, drizzle with olive oil and balsamic glaze. Sprinkle the salt over top then serve.
Notes
You can find balsamic glaze at the grocery store - Trader Joe's has a great one. If you want to make your own: combine ½ cup good quality balsamic vinegar with 2 tablespoons brown sugar in a small saucepan over medium heat. Stir until the sugar has dissolved. Bring to a boil then reduce heat to low and simmer until the mixture is reduced by half, about 10 minutes. The glaze should be thick and syrupy. Let cool before serving. Store in the fridge in an airtight container for up to 2 weeks.


Summer Roasted Veggie Pesto Pasta Salad with Burrata

Summer Roasted Veggie Pesto Pasta Salad with Burrata  |  Lemon & Mocha

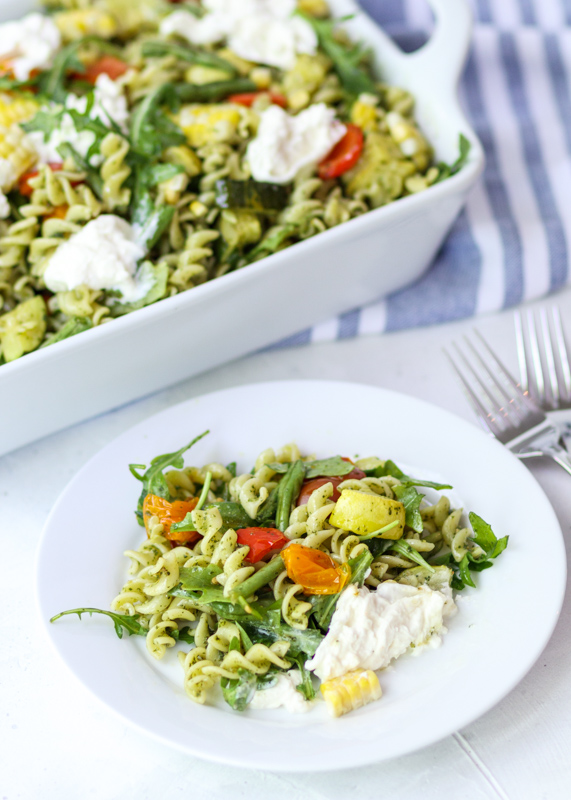
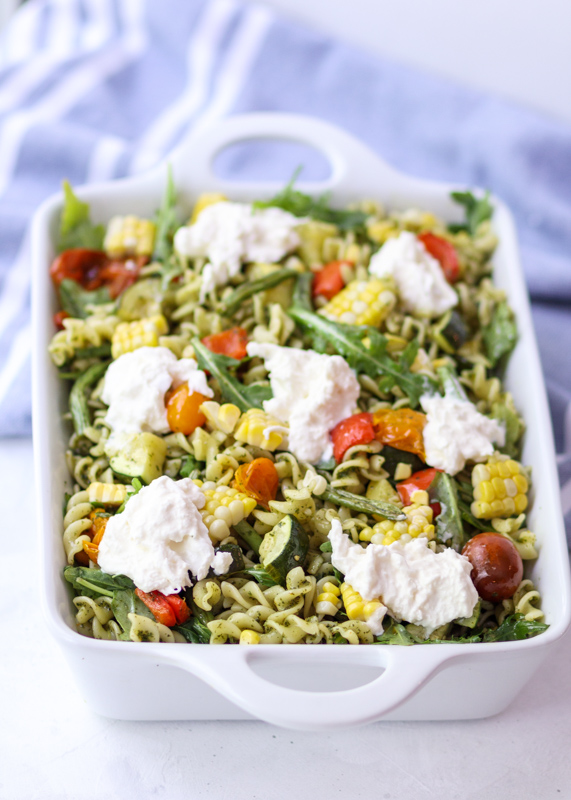
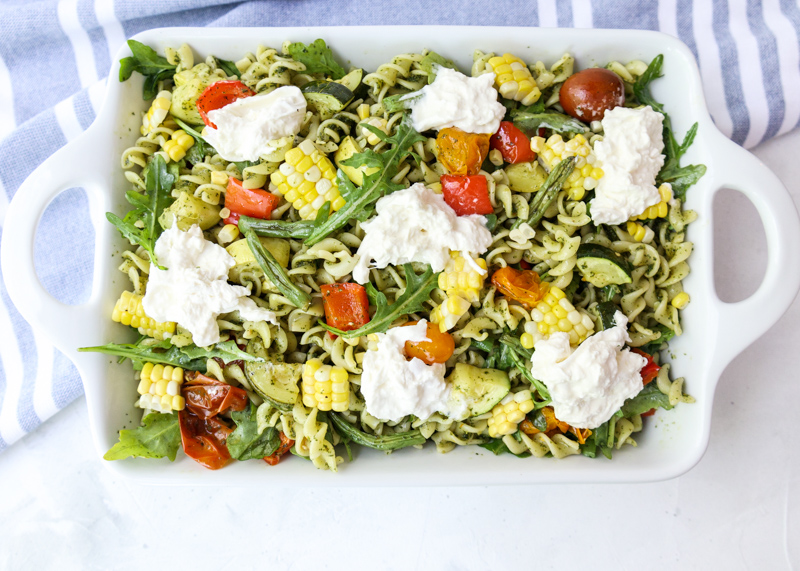
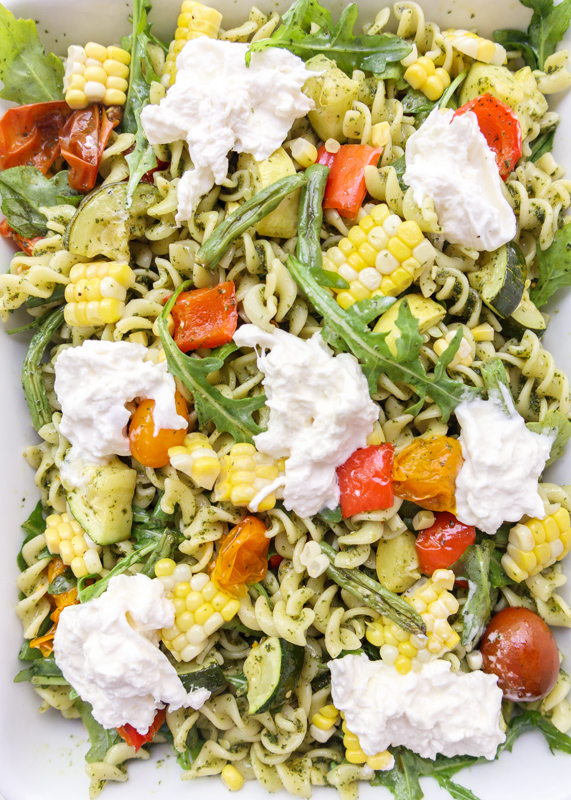
I’m starting my 4th of July recipe posts early so that you can have lots of delicious backyard barbecue inspiration ready to go. Also, summer barbecue season is in full swing and is it really a barbecue if there isn’t pasta salad? I love cooking seasonally so I wanted to pack as many seasonal veggies as I could into this Summer Roasted Veggie Pesto Pasta Salad with Burrata. We have red bell peppers, yellow squash, zucchini, cherry tomatoes, green beans, corn and arugula – like I said, all the veggies!

Summer Roasted Veggie Pesto Pasta Salad with Burrata  |  Lemon & Mocha

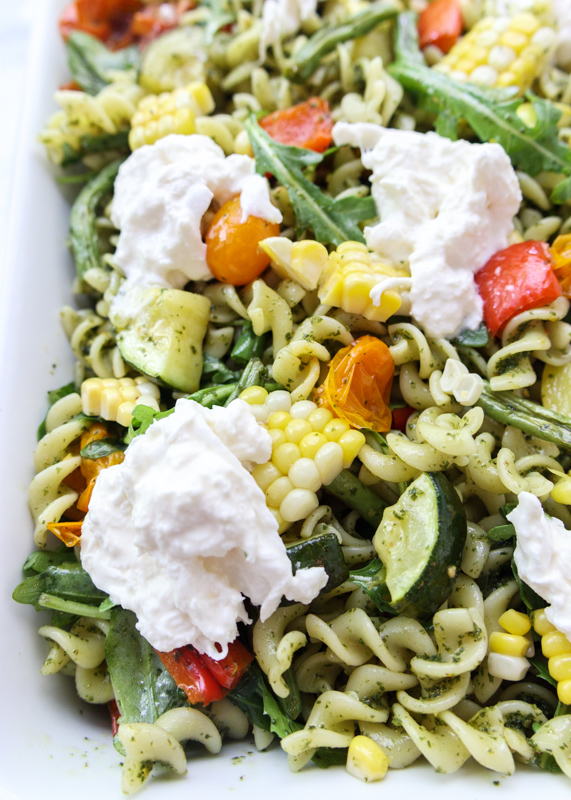
The best part is that all the vegetables, except the arugula, are roasted, which concentrates their flavor and sweetness. It also gives them a nice caramelization taking your pasta salad to the next level. And if you want to be at the top level then you have to toss your pasta salad with a lemony pesto and creamy burrata cheese! How amazing does that sound? If you’ve never had burrata it’s basically mozzarella’s cooler sibling and is soft on the inside. You can find in the grocery store near the fresh mozzarella, but if you can’t find any you could substitute fresh mozzarella or even goat cheese.

Summer Roasted Veggie Pesto Pasta Salad with Burrata  |  Lemon & Mocha

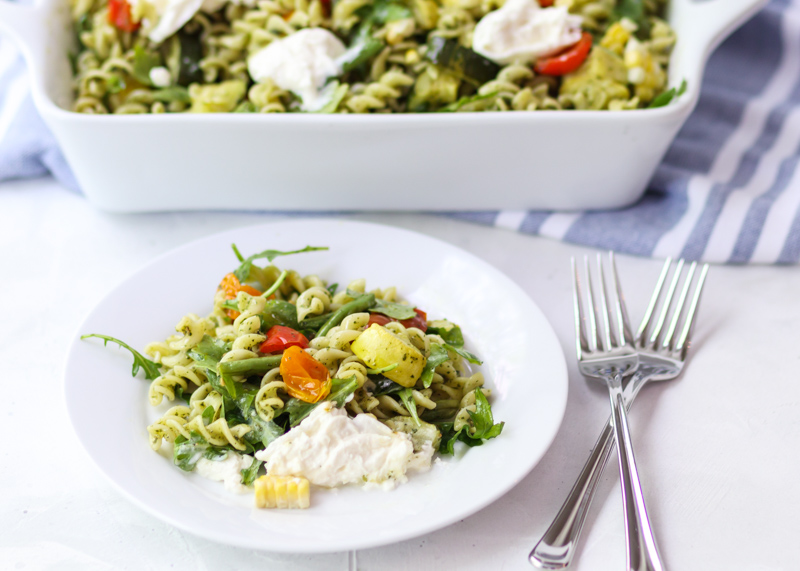
Pasta salads tend to either fall in the creamy macaroni category or the Italian dressing camp, so I love switching it up and using the pesto to dress and flavor the pasta and veggies. I tried to keep this as simple as possible by roasting everything at the same temperature for the same amount of time.

Summer Roasted Veggie Pesto Pasta Salad with Burrata  |  Lemon & Mocha

While making this recipe I also discovered my new favorite way to make corn! I love grilled corn, but it takes a fair amount of prep work, while boiling corn seems to take forever and doesn’t add any flavor. Baking corn is the way to go! I shucked the corn, lightly drizzled with olive oil, seasoned with salt and pepper then wrapped in aluminum foil before popping in the oven along with the other vegetables. The corn came out tender and full of flavor.

Summer Roasted Veggie Pesto Pasta Salad with Burrata  |  Lemon & Mocha

If you are looking for other pasta salad ideas, Diane’s Orzo Pasta Salad is another favorite of mine! How do you like your pasta salad? Are you team creamy macaroni, team Italian dressing, or something completely different?

Summer Roasted Veggie Pesto Pasta Salad with Burrata  |  Lemon & Mocha

Summer Roasted Veggie Pesto Pasta Salad with Burrata
 
Yield: 10-12 servings
Ingredients
  • 1 pound short pasta
  • 1 red pepper
  • 1 yellow squash
  • 1 zucchini
  • 1 cup grape or cherry tomatoes
  • 1 cup halved green beans
  • 1 ear corn
  • 2 cups arugula
  • ¾ cup pesto
  • ⅓ cup olive oil
  • ½ lemon, zested and juiced
  • ¼ teaspoon salt
  • Fresh ground pepper
  • 6 ounces burrata
Directions
  1. Preheat the oven to 400 degrees F.
  2. Prep the veggies. Cut the red pepper into a large dice. Cut thick rounds of the yellow squash and zucchini then quarter. Place the cut red pepper, cut yellow squash, cut zucchini, tomatoes and cut green beans on a full sheet pan (18”x 26”) then lightly drizzle with olive oil. Toss to coat then season with salt and pepper. Spread out the veggies so they aren’t overlapped or on top of each other. Remove the husk and silk from the ear of corn. Get a piece of aluminum foil large enough to wrap the corn in then place the ear of corn in the center slightly turning up the edges. Lightly drizzle with olive oil then season with salt and pepper. Tightly wrap the ear of corn. Place the baking sheet and the wrapped corn on the middle rack of your oven and let cook for 25 minutes, or until the veggies are nicely roasted. Set aside.
  3. While the vegetables are roasted, boil the pasta to al dente according to the package instructions. Once cooked, rinse with cold water and strain. Once cooled slightly and dry, put in a large mixing bowl. When the cooked vegetables have slightly cooled add them to the mixing bowl, using a sharp knife to carefully cut the kernels of corn off the ear.
  4. In a small bowl, whisk together together the pesto, olive oil, lemon zest and juice, salt and some fresh ground pepper. Pour over the pasta and the vegetables. Stir to combine. Taste and adjust salt and pepper according to taste. Place in the serving dish. Top with the burrata, breaking off chunks to spread on top.


Smoked Gouda Beer Burgers

Smoked Gouda Beer Burgers  |  Lemon & Mocha

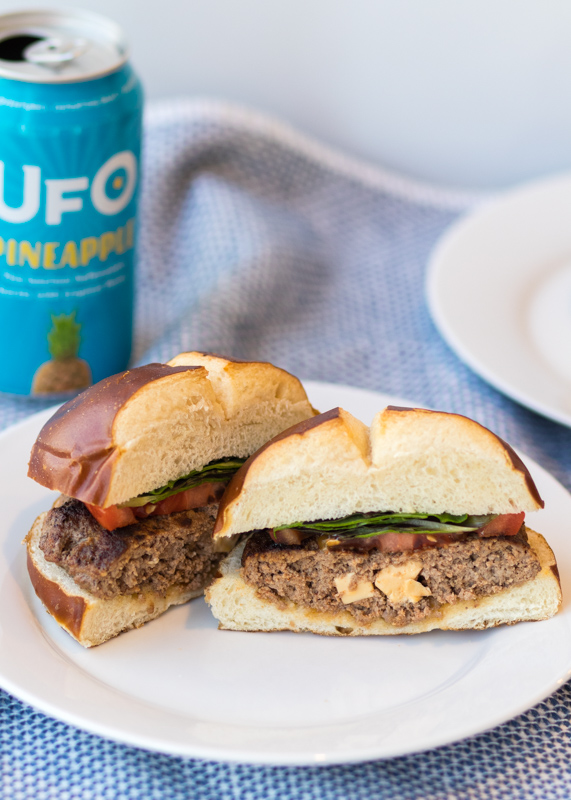
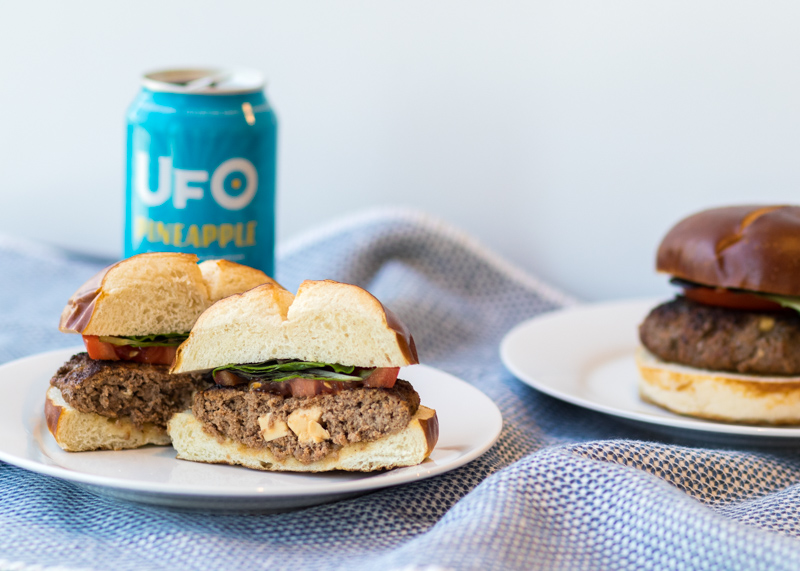
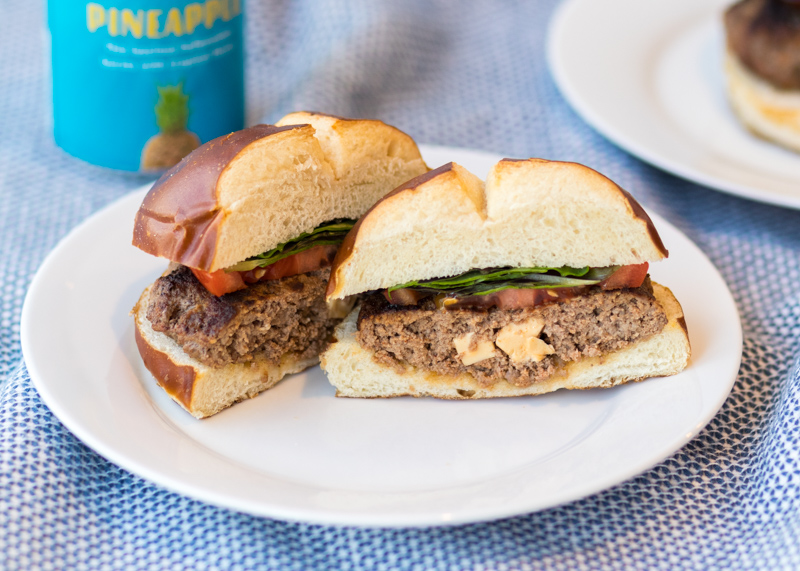
I cannot express to you how juicy, cheesy and flavorful these burgers are! Last week we were talking about tried and true recipes and this is another one I’ve been making since 2008. Although these Smoked Gouda Beer Burgers aren’t in Matt’s and my rotation, that’s only because we try to eat somewhat healthy and don’t want to be eating cheese-stuffed burgers weekly. However, when we’re in the mood for a burger both of us instantly think about these huge smoky burgers. Especially with the beer involved they just scream summertime and standing out by your grill with a drink in hand.

Smoked Gouda Beer Burgers  |  Lemon & Mocha

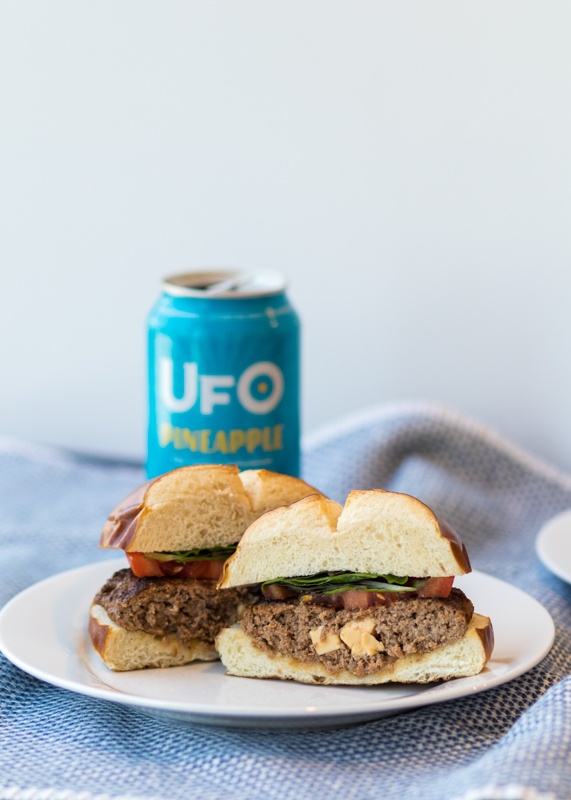
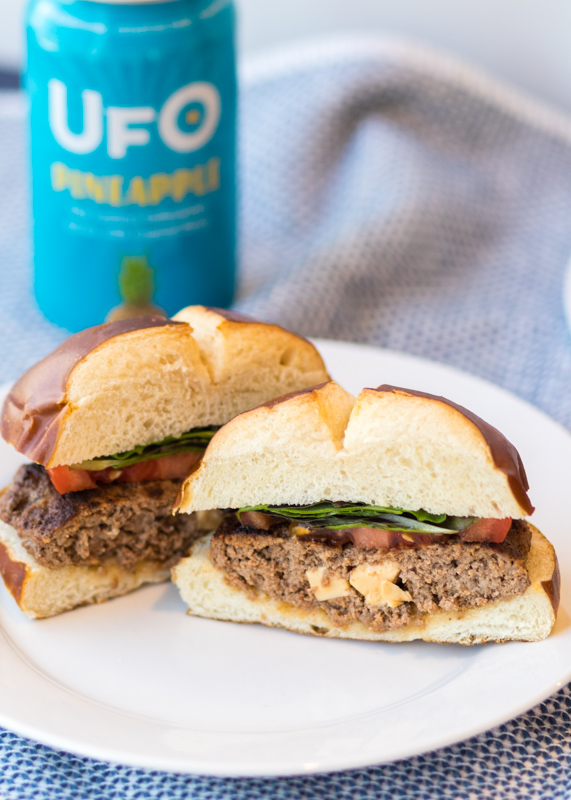
Instead of melting the cheese on top, the burger meat is loaded with chunks of smoked gouda cheese. They create melted and gooey pockets of cheese in the burger, but the chunks are just big enough to not completely melt and still maintain their rich smoky flavor. The smoky flavor gets even more pronounced by the addition of smoked paprika in the burger seasoning. The beer, Worcestershire sauce and other seasonings also add to the richness and depth of flavor in these burgers.

Smoked Gouda Beer Burgers  |  Lemon & Mocha

I suggest letting the burgers firm up a little in the fridge after you make the patties otherwise you risk them falling apart with the cheese and liquid ingredients added to the meat. These ingredients are what make the burger so juicy though so I definitely wouldn’t skip anything! Pretzel buns are perfect for this burger because you want something that’s going to stand up to the bold flavors, just like Uncle Rob’s Tailgate Filet Sandwiches with Whiskey Marinade.

Smoked Gouda Beer Burgers  |  Lemon & Mocha

These Smoked Gouda Beer Burgers would be the ultimate dish for Father’s Day or the burger-lover in your life. I think it’s especially fitting to be posting these Father’s Day burgers today because it is my father-in-law, Floyd’s birthday! In addition to being caring and always willing to go above and beyond to lend a hand, my father-in-law loves burgers. So what better way to celebrate? I hope you enjoy these and make them for someone special this weekend!

Smoked Gouda Beer Burgers  |  Lemon & Mocha

Smoked Gouda Beer Burgers
 
Yield: 6 burgers
Ingredients
  • 2 pounds 85% lean ground sirloin
  • ⅓ pound smoked gouda, cut into ¼-1/2” chunks
  • ¼ cup grated onion, about ⅓ of an onion
  • 1 tablespoon Worcestershire sauce
  • 2 teaspoons dijon mustard
  • 2 teaspoons smoked paprika
  • ½ teaspoon garlic powder
  • ½ teaspoon ground coriander
  • Salt and pepper
  • 4 ounces beer
  • 1½ tablespoons vegetable oil
  • 6 pretzel buns
  • Lettuce and tomato, for serving
Directions
  1. In a large bowl add the ground sirloin, diced gouda, grated onion, Worcestershire sauce, dijon, smoked paprika, garlic powder, ground coriander, salt and pepper. I used about 6 grinds each of our small salt and pepper grinders. Mix with your hands until roughly combined, try not to over-mix. Add the beer and mix into the burger. Form the burger meat into 6 patties. Lightly press your thumb into the center of the burger so the center is thinner than the edges. When burgers cook they bulge into the middle so this ensures an even patty. Place the patties on a plate or platter, cover then refrigerate for about 10 minutes. You can skip this step, but your burgers are more likely to stay together if they have a chance to firm up a little in the fridge.
  2. Heat your grill or grill pan to medium-high heat. Lightly brush the burgers with the vegetable oil then grill for 4-5 minutes on each side for a medium done burger. Do not press down on the burger with your spatula while it is cooking or flip other than the one time. This is how burgers lose their juiciness! Bobby Flay recommends an internal temperature of 145 degrees F for a perfect burger, which comes out medium, although the USDA recommends 160 degrees F for ground beef. We always follow Bobby Flay’s recommendation, but cook to whatever temperature you prefer or are comfortable with.
  3. Remove from the heat and serve on the pretzel buns with the lettuce, tomato and condiment of choice. I recently had these with some pesto mayo and it was SO good!

Recipe slightly adapted from Rachel Ray.