Cupcakes

Halloween Witch Chocolate Cupcakes
Halloween Witch Chocolate Cupcakes  |  Lemon & Mocha

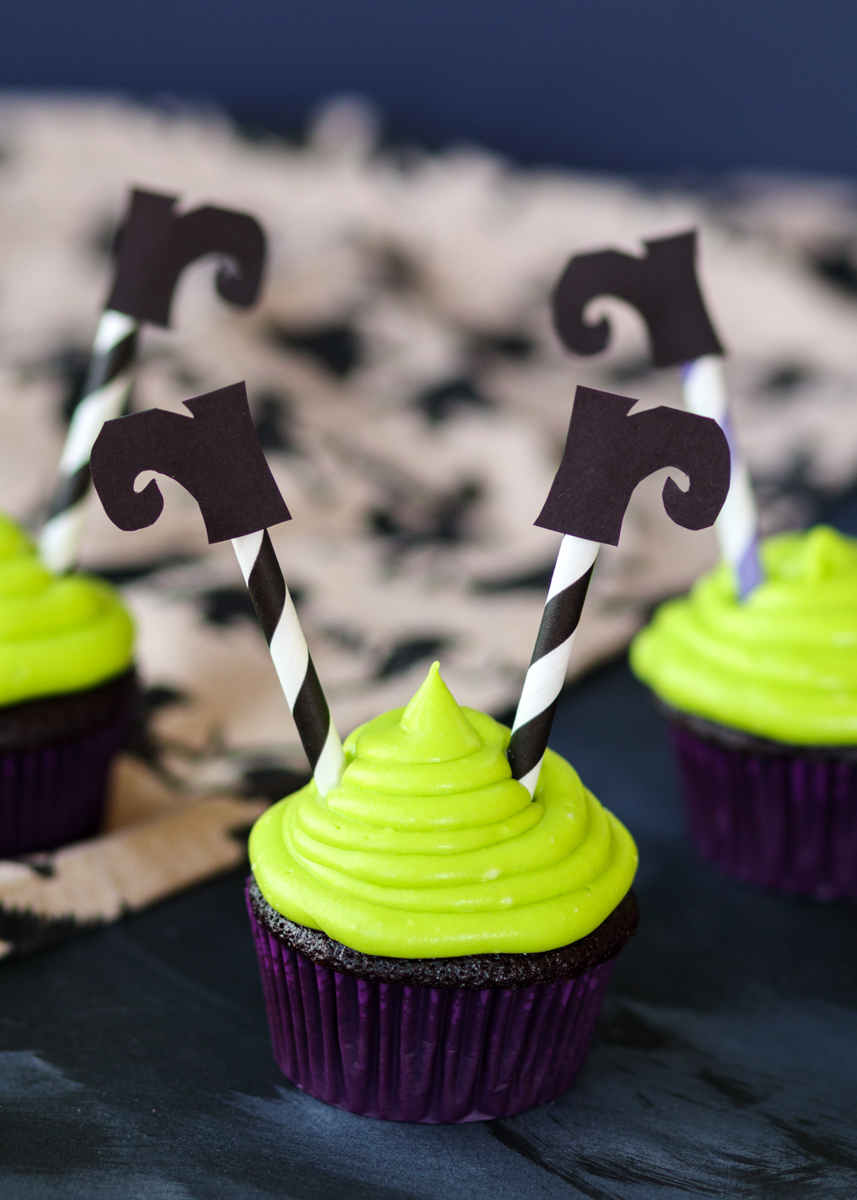
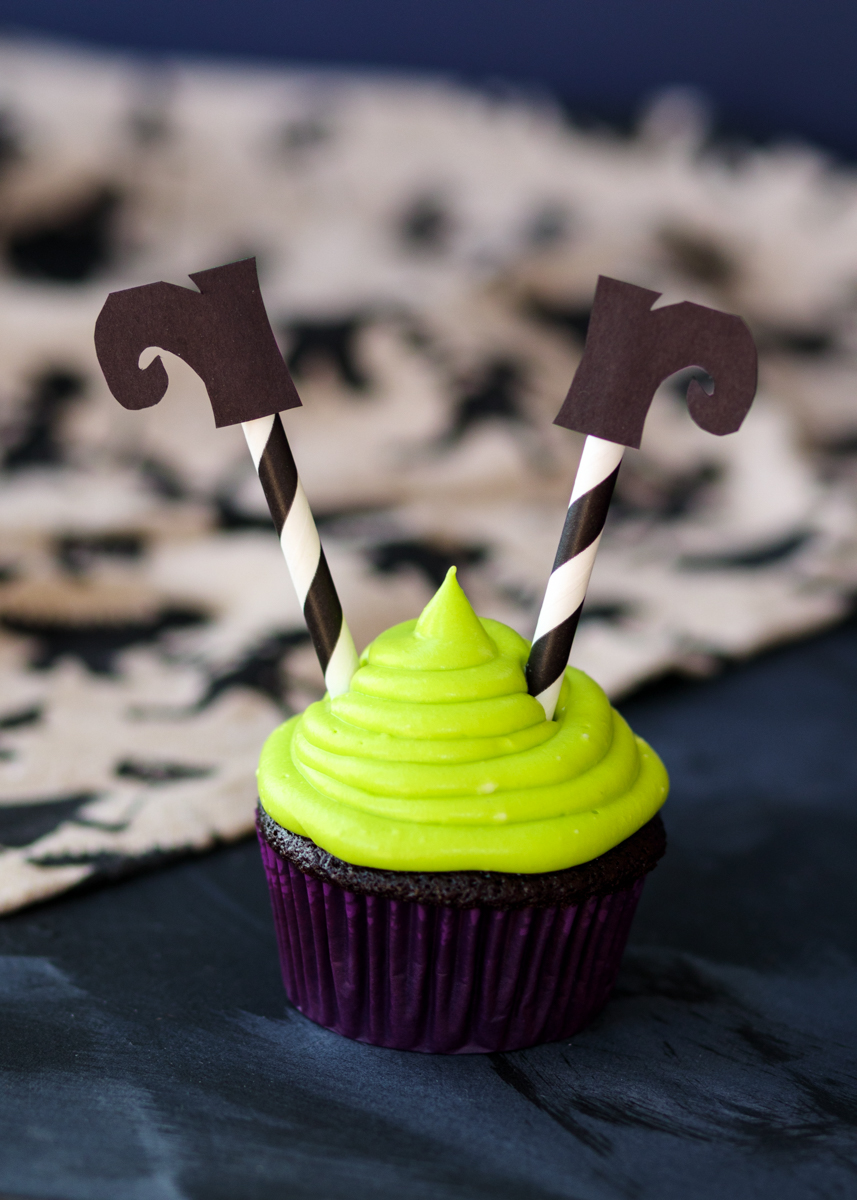
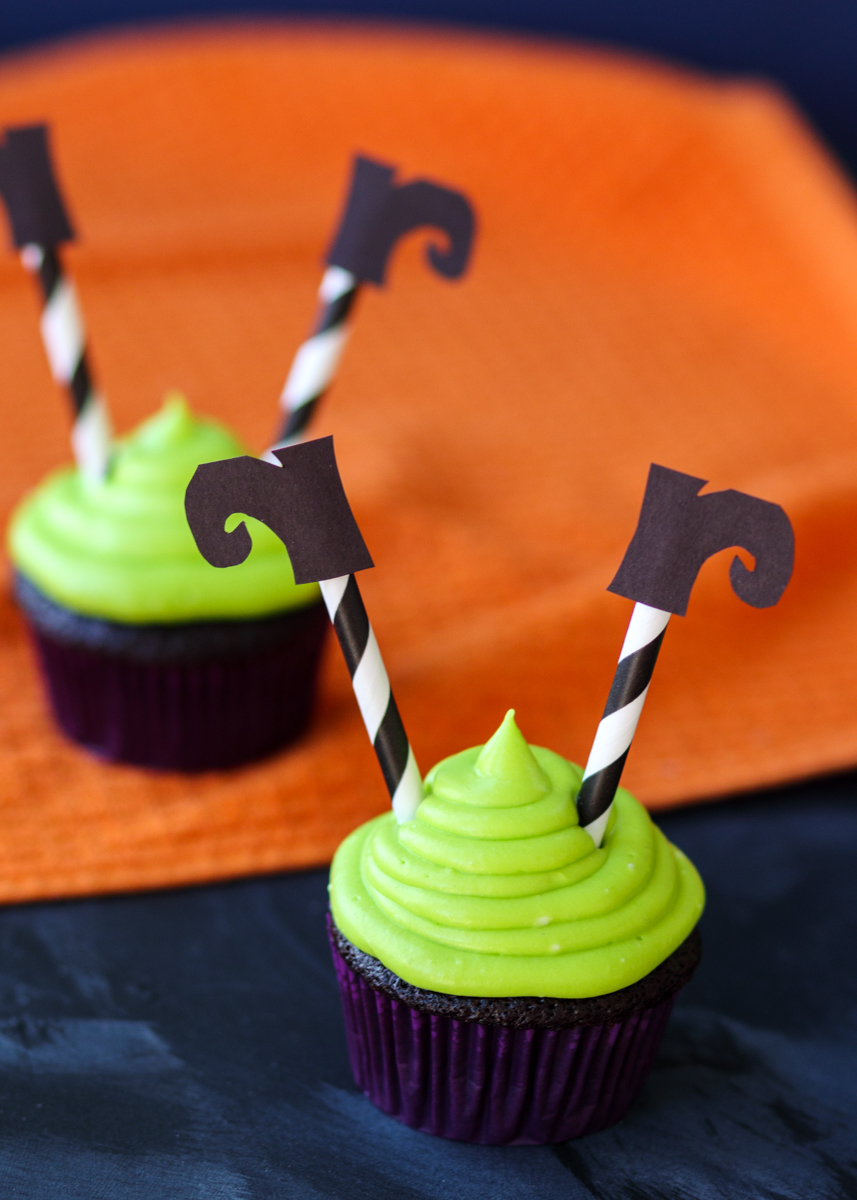
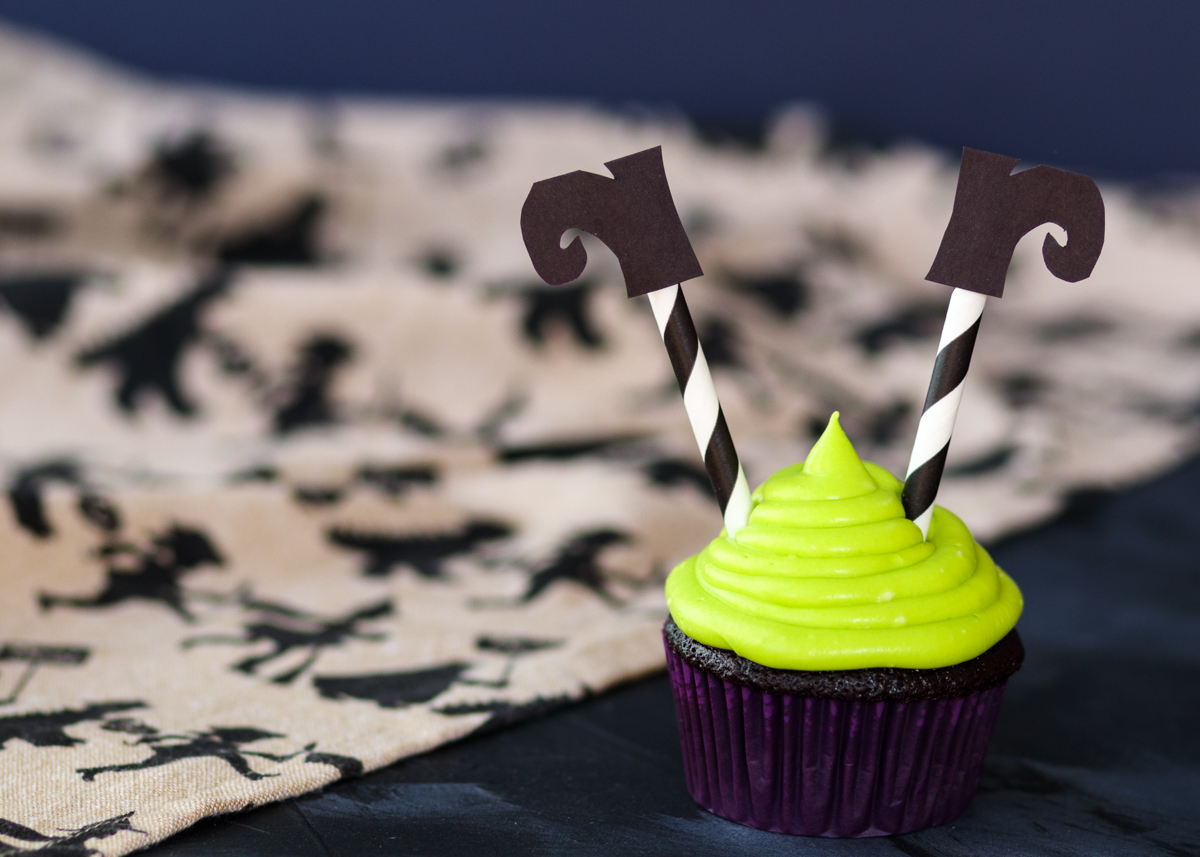
Halloween is next week! I love Halloween and I’m so excited to be sharing another festive Halloween treat with you. Last year I shared the Chocolate Marshmallow Monster Cookie Sandwiches and before that there were some Halloween Witches’ Cauldron Cupcakes. This year, we have Halloween Witch Chocolate Cupcakes. Notice a theme? I’m clearly a chocoholic! These are moist chocolate cupcakes with a cream cheese frosting and easy DIY witch leg cupcake toppers. I saw these all over Pinterest and decided they were too cute not to make. I’ve added a link to download a handy free printable I made for you all to the bottom of this post so all you’ll have to do is print and cut out the little witch boots.
Halloween Witch Chocolate Cupcakes  |  Lemon & Mocha

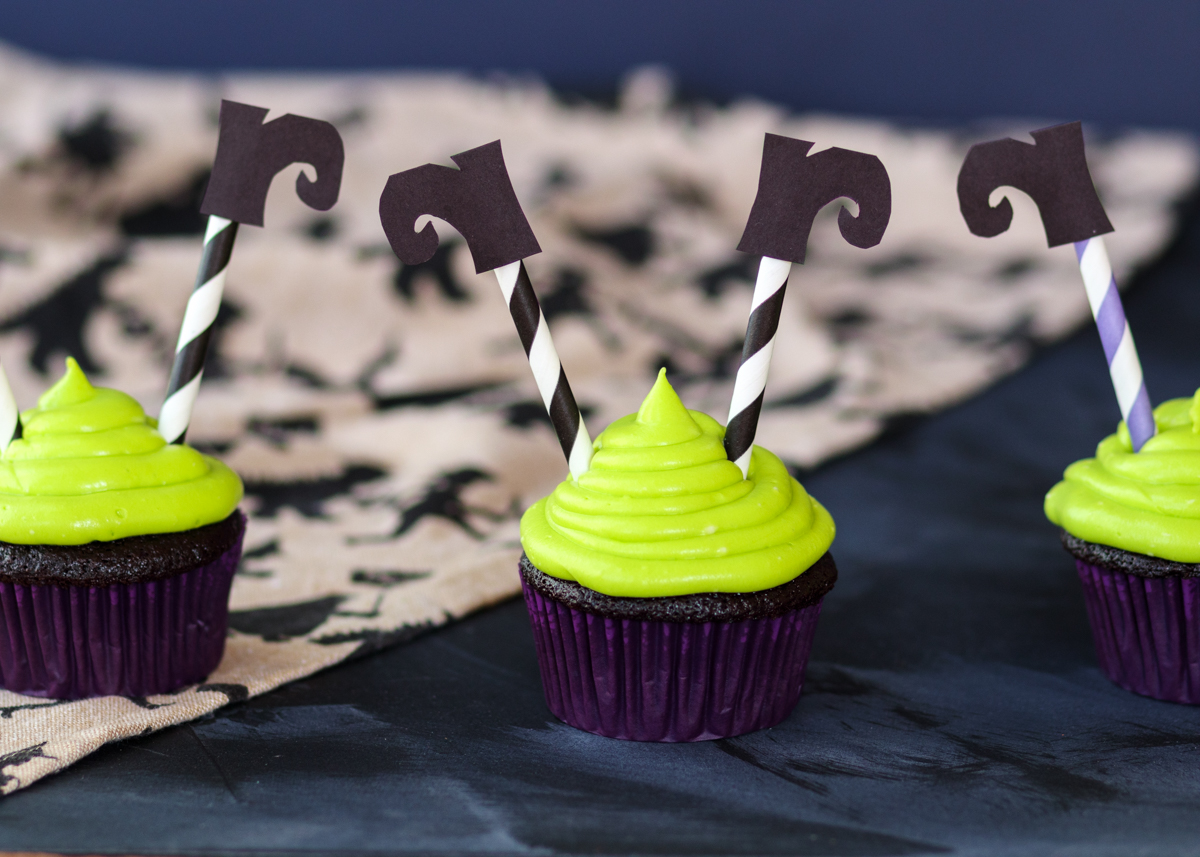
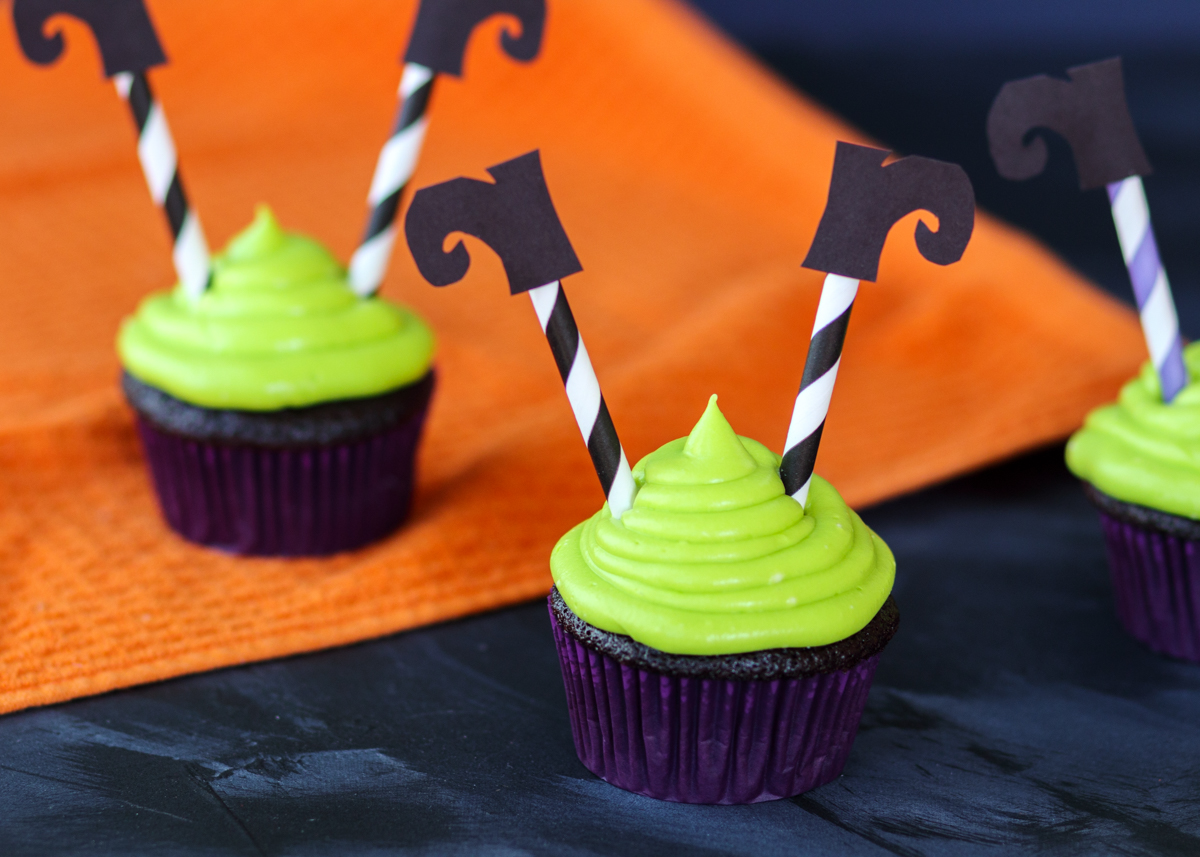
The cupcakes are my Perfect Chocolate Cupcakes and they really are the best chocolate cupcakes. I topped them with a neon green cream cheese frosting that’s not too sweet before adding the witch leg toppers. I’ve linked to the supplies I used below as well.
Halloween Witch Chocolate Cupcakes  |  Lemon & Mocha

When I was growing up, my brother and I loved making haunted houses. If our family was having a party with family friends we would set up the haunted house in the basement. When we got older and no longer went trick-or-treating, my brother and I set up the haunted house in our garage so the trick-or-treaters could walk through it. We would go all out with the decorations and everyone in the family had a role, whether you were supposed to hide under a table and grab people’s legs as they walked by (usually me) or whether you were dressed up like a zombie (usually my brother). My brother was the creative one and my favorite design element was always the soundtrack tapes he would make. One year without my Dad knowing, my brother recorded my Dad bench pressing weights. My Dad’s grunting and the clanking of the metal weights made the best spooky sounds!
Halloween Witch Chocolate Cupcakes  |  Lemon & Mocha

The funny part about all this is that I hate being scared. I don’t like going in haunted houses, going on spooky hay rides or watching scary movies. There is a haunted house ride at the boardwalk where we have our family beach week every summer and my cousin, who is six years younger than me, would try to reassure me during the ride and tell me to open my eyes! Apparently I love everything about haunted houses, except actually going in them! Do you love haunted houses or are they not your thing?
Halloween Witch Chocolate Cupcakes  |  Lemon & Mocha

Matt and I are doing something a little different this year for Halloween – we will be flying to Tokyo, Japan! I’m so excited! Japan has been on our travel bucket list so we are heading to Tokyo, Osaka and Kyoto. Don’t worry; I have plenty of posts scheduled while we’re away, but my access to internet and email will be limited so I may not respond to comments or emails until I return. In the meantime, I have some cozy dinner recipes coming for you this week so stay tuned!
Halloween Witch Chocolate Cupcakes  |  Lemon & Mocha

Printables
Option 1: Print out a pair of witch boots and cut them out. Trace the pair of witch boots onto black construction paper, one pair traced for each cupcake, then cut out the pairs of witch boots. Get that printable here. The boots I made for these photos were made using black construction paper.
Option 2: Print out solid black witch boots with black ink from your printer. Cut them out. Get that printable here (print two copies).

Supplies Used:
Paper straws
Neon gel food dye
Cupcake liners
Round piping tip

Halloween Witch Chocolate Cupcakes
 
Yield: 24 cupcakes
Ingredients
for the witch leg toppers
  • 24 paper straws
  • 24 sets of witch boots, using printable and either black printer ink or black construction paper
  • Tape
for the chocolate cupcakes
  • 2 cups granulated sugar
  • 1¾ cups all-purpose flour
  • ¾ cup cocoa powder
  • 1½ teaspoons baking powder
  • 1 teaspoon baking soda
  • 1 teaspoon salt
  • 2 large eggs
  • 1 cup buttermilk, see note
  • ¼ cup butter, melted
  • ¼ cup vegetable oil
  • 1 tablespoon vanilla extract
  • 1 cup hot coffee, see note
for the cream cheese frosting
  • 12 ounces cream cheese, room temperature
  • 12 tablespoons butter, room temperature
  • 6 cups powdered sugar, sifted
  • 1½ teaspoons vanilla extract
  • Neon gel food dye
Directions
for the witch leg toppers
  1. Cut the straws in half.
  2. Cut out the witch boots. Use a small piece of tape that’s been rolled up to stick each boot to a straw half. Make sure the straw is coming out of the ankle of the boot. Make sure you have a left and right boot pointing out in opposite directions for each cupcake.
for the chocolate cupcakes
  1. Preheat the oven to 350 degrees F. Line two cupcake pans with cupcake liners so you have enough for 24 cupcakes.
  2. In a large mixing bowl or in the bowl of a stand mixer, sift together the sugar, flour, cocoa powder, baking powder, baking soda and salt.
  3. In a medium mixing bowl, whisk together the eggs, buttermilk, melted butter, vegetable oil and vanilla extract. Pour the liquid ingredients into the dry ingredients and mix together until smooth.
  4. Pour the hot coffee into the batter and stir until combined. The batter will be extremely liquidy. Divide the batter between the 24 cupcake liners, filling them slightly more than half full. Bake for 18-20 minutes, or until a toothpick inserted in the center comes back mostly clean. Alternatively, they are done when you gently press your finger on the center of a cupcake and it lightly springs back. I find mine to be done at exactly 19 minutes.
  5. Let cool in the pan for a couple minutes then remove to a wire cooling rack to cool completely before frosting.
for the cream cheese frosting
  1. In the bowl of a stand mixer or in a large mixing bowl with a hand mixer, beat together the cream cheese and butter until fluffy, scraping down the sides as needed. Slowly beat in the powdered sugar and vanilla extract until combined. Add the food dye and mix, continue to add until the desired color is achieved.
  2. Pipe onto the cooled cupcakes and stick a pair of witch legs into each cupcake. Frosted cupcakes require refrigeration since cream cheese frosting has to be refrigerated. You may want to wait to put the toppers in until you are ready to serve them in case they get soggy or the coloring on the straw runs.
Notes
To make your own buttermilk: pour 1 tablespoon of lemon juice or vinegar in a liquid measuring cup. Pour milk, any fat percentage, into the measuring cup until you have 1 cup. Let sit for 5 minutes before using.
If you don’t want to use coffee you can use hot water, but the flavor of the chocolate won’t be as pronounced. You can use decaffeinated coffee if you prefer.
The cupcakes, unfrosted, freeze very well if you want to make them ahead of time.

Some of the links above are affiliate links, which means I may receive a small commission for my referral. This does not affect the retail cost of the item. Thank you for supporting Lemon & Mocha!

Beach Crab Cupcakes

Beach Crab Cupcakes  |  Lemon & Mocha

This past week was my family’s beach week down at the Delaware shore. Every year my Dad’s side of the family gathers together at the beach for a week of lazy beach days, plenty of Leebreezes, and general family shenanigans. As usual, it went by too quickly and we’re already counting down until next summer’s beach week! Do vacations ever seem long enough?

Beach Crab Cupcakes  |  Lemon & Mocha

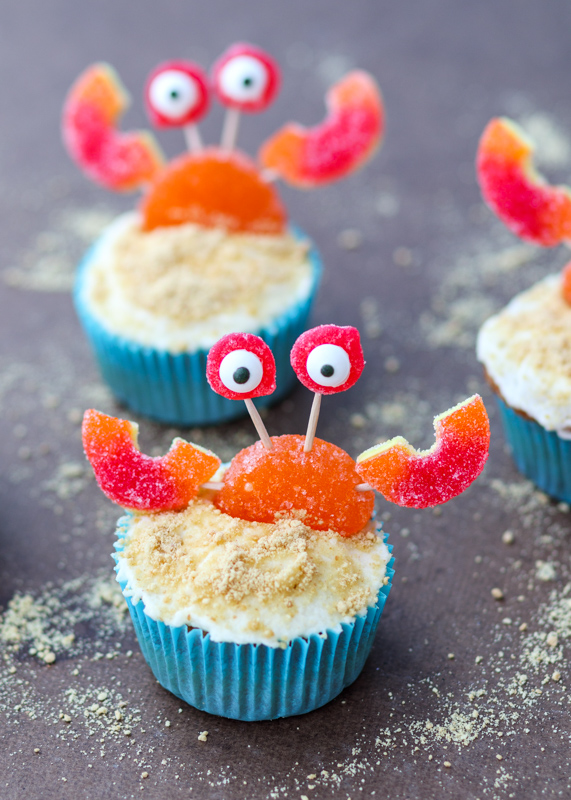
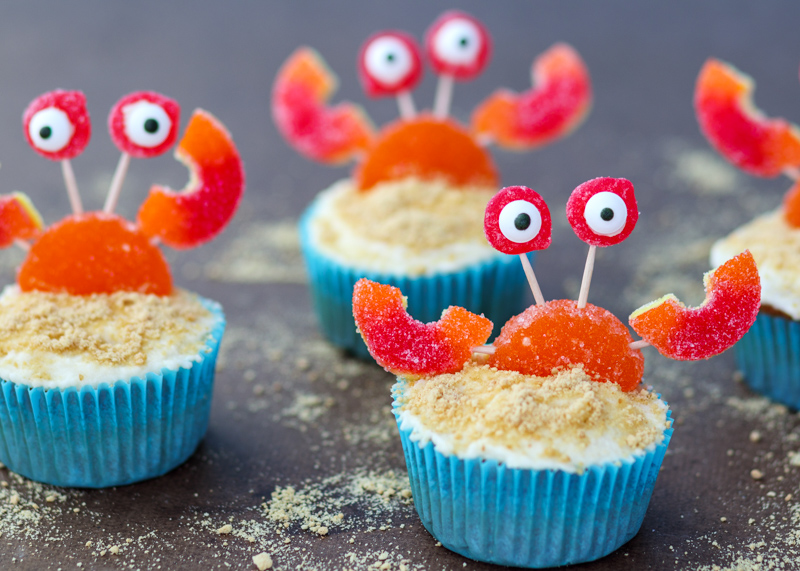
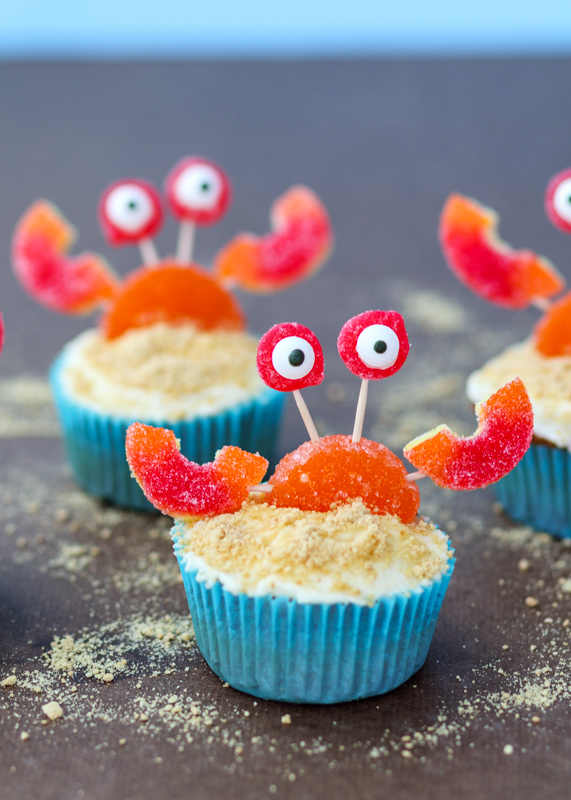
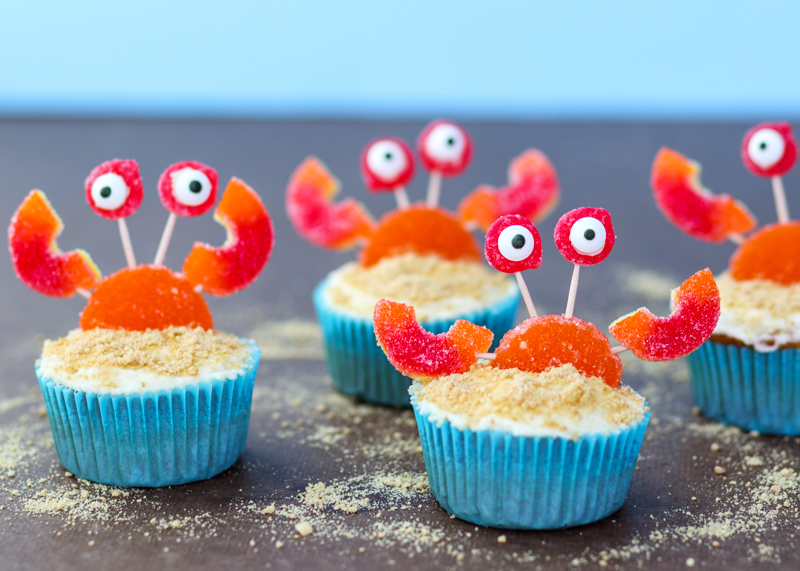
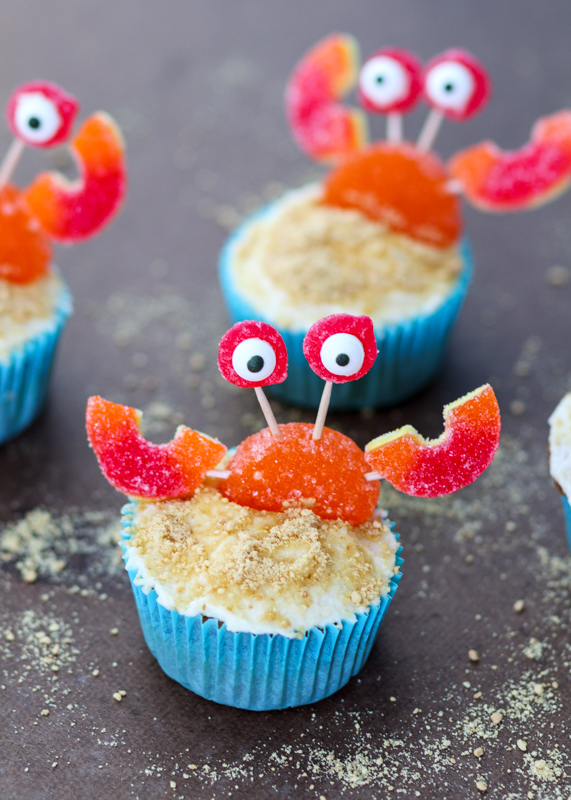
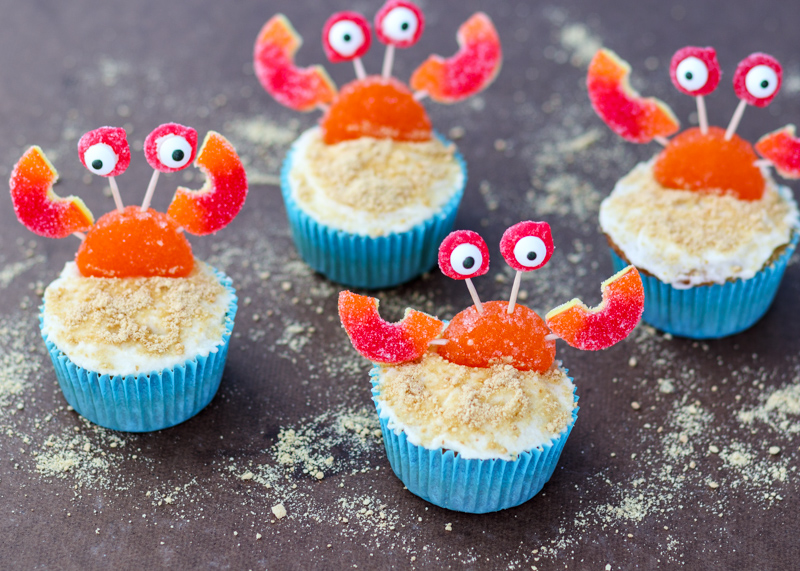
I wanted to bring down a fun treat and when I saw these Beach Crab Cupcakes on Pinterest I knew I had to make them. How cute are these? I don’t normally have the patience for decorating, but these were actually very simple.

Beach Crab Cupcakes  |  Lemon & Mocha

The hardest part was finding a gummy that would work for the eyes. I ended up using Sour Patch Cherry, which I didn’t even know was a thing. You stick a candy eye onto each Sour Patch Cherry, or whatever small round sour gummies you can find, for the crab’s eyeballs. The claws are made out of gummy peach rings that are cut in half. The crab’s body is made of gummy orange slices and finally the whole thing is propped up onto your cupcake and frosting of choice with some halved toothpicks. Don’t forget the graham cracker crumb “sand” on top!

Beach Crab Cupcakes  |  Lemon & Mocha

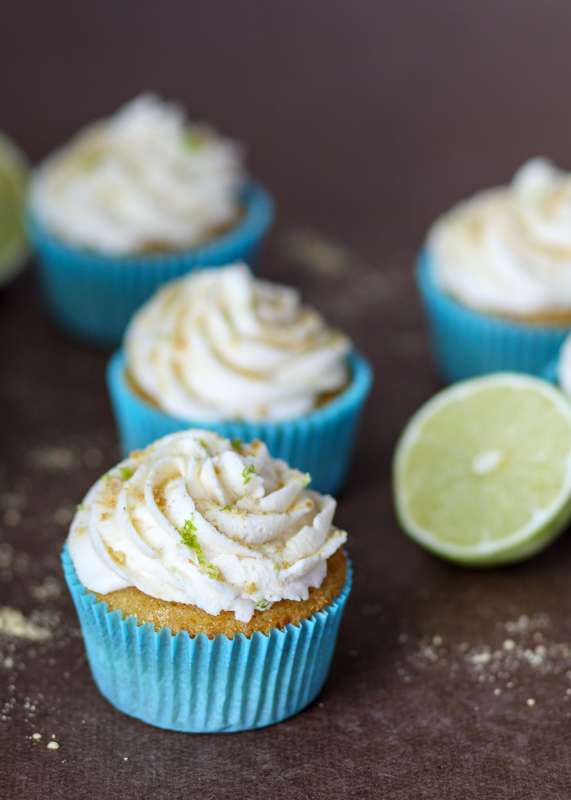
I used my Key Lime Pie Cupcakes with Mascarpone Frosting for these since they were already screaming summer even before I topped them with these adorable crabs. These are great for kids and adults alike, especially the gummy candy eaters like Matt.

Beach Crab Cupcakes  |  Lemon & Mocha

I will definitely be making these again, although I already started brainstorming cute cupcake ideas for next beach week! Happy Friday, everyone!

Beach Crab Cupcakes  |  Lemon & Mocha

Beach Crab Cupcakes
 
Yield: 24 cupcakes
Ingredients
  • 24 cupcakes
  • Batch of frosting to frost 24 cupcakes
  • 2 cups graham cracker crumbs
  • 48 Sour Patch Cherries
  • 48 candy eyes
  • 60 toothpicks, cut in half
  • 24 gummy peach rings
  • 24 gummy orange slices
Directions
  1. Frost the cupcakes, reserving a small amount of the frosting for the eyes. Sprinkle the tops of the frosting cupcakes with graham cracker crumbs.
  2. To make the eyes, use a small amount of icing to attach one candy eye to each small round sour gummy. Insert 1 toothpick piece into each prepared eye.
  3. To make the claws, cut the gummy peach rings in half. Insert 1 toothpick piece into each crescent shaped gummy peach half.
  4. To put together the crab, insert a toothpick piece into the bottom of the flat part of the gummy orange slice. This will be how the crab gets set on top of the cupcake. Take the two prepared eye toothpicks and insert them both onto the top curved part of the gummy orange slice. Finally, insert one prepared claw onto each side of the crab. Insert the crab onto a frosted cupcake then repeat for the remaining cupcakes.

Inspiration from Clean and Scentsible.

Key Lime Pie Cupcakes with Mascarpone Frosting

Key Lime Pie Cupcakes with Mascarpone Frosting  |  Lemon & Mocha

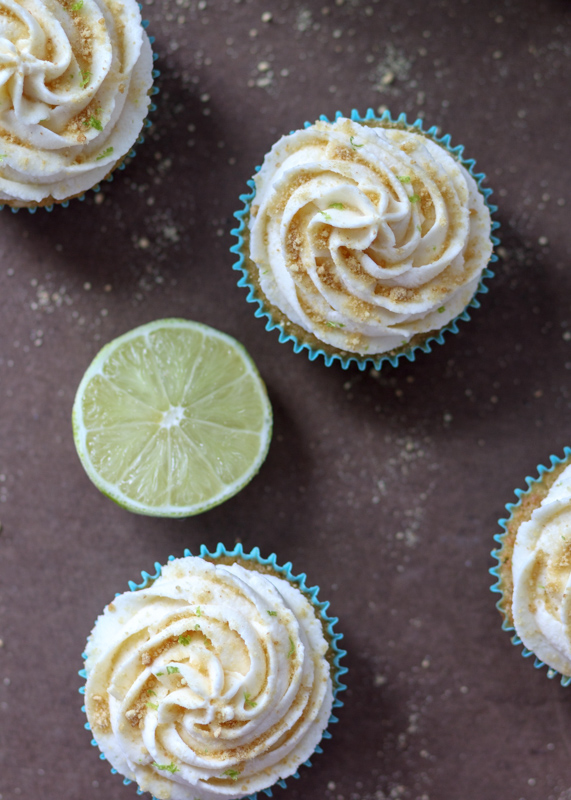
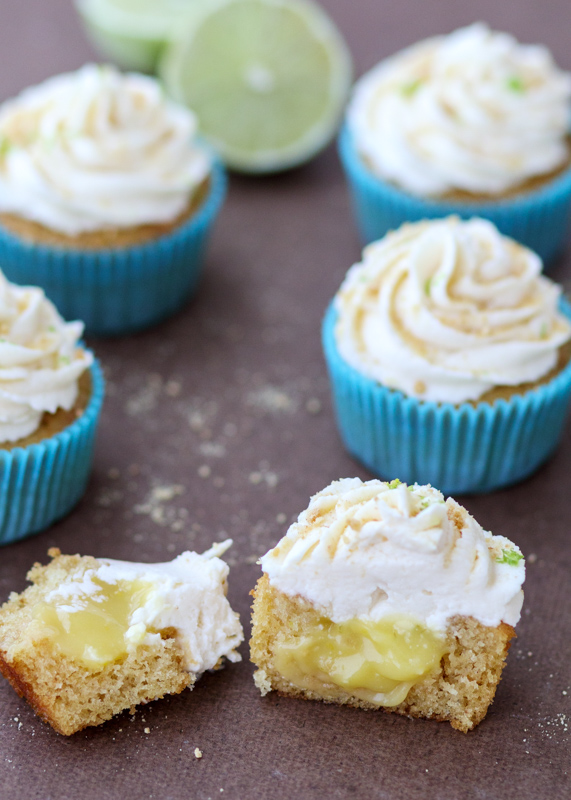
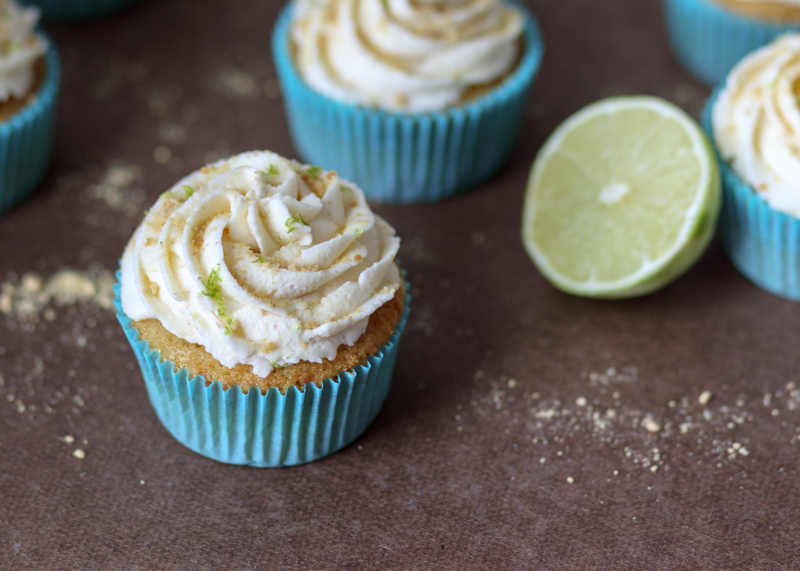
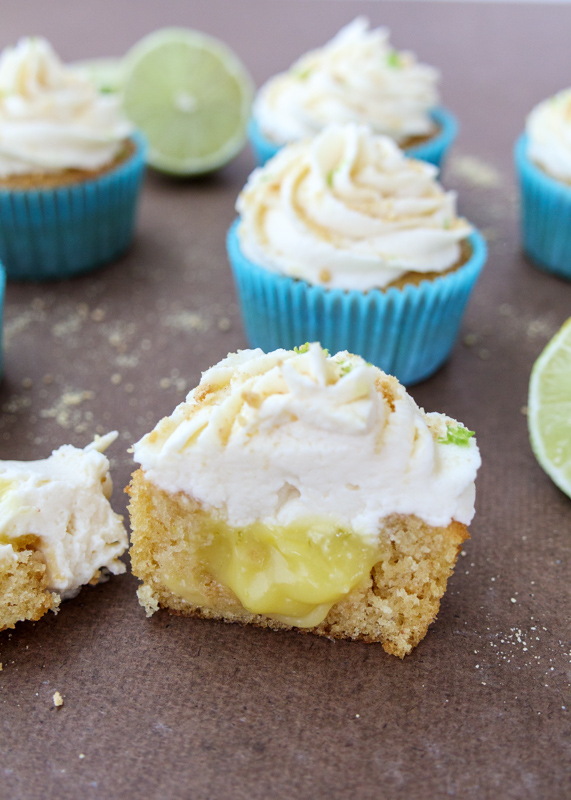
Key Lime Pie Cupcakes with Mascarpone Frosting! Yes! These cupcakes are pure bright, summery and creamy heaven. I love cupcakes, but ever since I started making filled cupcakes I am so spoiled by them. Filling cupcakes isn’t difficult, but it gives them that something extra special. First of all, with filled cupcakes you get that surprise factor when you bite into it. Secondly, it adds a third flavor and texture element to the cupcake making the depths of deliciousness that much deeper.

Key Lime Pie Cupcakes with Mascarpone Frosting  |  Lemon & Mocha

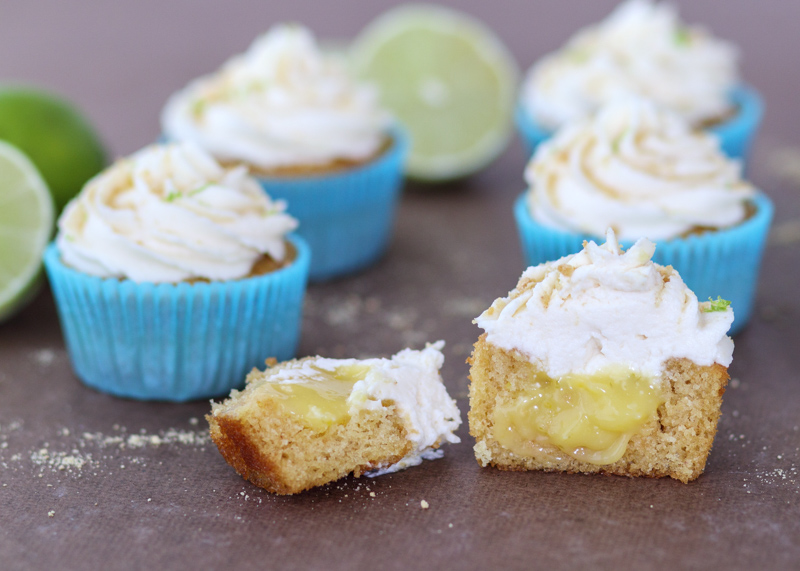
These Key Lime Pie Cupcakes are filled with Monday’s creamy key lime curd. I wanted a base cupcake that would pair well with the key lime curd so I went with a moist vanilla cupcake that has a hint of spiced cookie to it since some of the flour is replaced with graham cracker crumbs. I got the idea from June’s S’mores Muffins – remember those bad boys?! I love the taste the graham cracker crumbs provided to the muffin so I figured why not replicate it in these vanilla cupcakes.

Key Lime Pie Cupcakes with Mascarpone Frosting  |  Lemon & Mocha

I initially was planning on making a cream cheese frosting for these loaded cupcakes, but I had some mascarpone cheese in my fridge that was begging to be turned into frosting. Mascarpone is made using whole cream so it’s a lot creamier and richer than cream cheese. Cream cheese also has more acidity to it and we’re already getting enough acidity from the key lime curd filling that mascarpone seemed to be a better fit for the frosting.

Key Lime Pie Cupcakes with Mascarpone Frosting  |  Lemon & Mocha

I wouldn’t be able to pick a favorite component of this recipe, but this mascarpone frosting? Insane. I can’t even describe to you how hard it was to save it for topping the cupcakes and not eat it all. There’s not even any butter in the frosting because the mascarpone is rich enough on its own to hold up to the sugar and vanilla. I don’t like overly sweet frostings; I would much prefer a whipped cream frosting over a buttercream frosting. The mascarpone frosting reminded me of a cross between a whipped cream frosting and a cream cheese frosting because it was rich and creamy without being too sweet.

Key Lime Pie Cupcakes with Mascarpone Frosting  |  Lemon & Mocha

Having a mouthful of the light cupcake, the tangy key lime curd and the creamy mascarpone frosting was definitely on my top five bites of summer this year. Enjoy, friends!

Key Lime Pie Cupcakes with Mascarpone Frosting  |  Lemon & Mocha

Key Lime Pie Cupcakes with Mascarpone Frosting
 
Yield: 14 cupcakes
Ingredients
for the cupcakes
  • ¾ cup cake flour (see note)
  • ½ cup graham cracker crumbs, plus more for topping
  • 1¼ teaspoon baking powder
  • ½ teaspoon baking soda
  • ½ teaspoon salt
  • 2 large eggs
  • ¾ cup sugar
  • 1½ teaspoons vanilla extract
  • ½ cup vegetable oil
  • 1 tablespoon key lime zest, about 3 key limes, plus more for topping if desired
  • ½ cup buttermilk
  • 1 cup key lime curd
for the frosting
  • 6 ounces mascarpone cheese, cold
  • 2 teaspoons vanilla extract
  • ⅔ cup powdered sugar
  • ¾ cup heavy cream, chilled
Directions
for the cupcakes
  1. Preheat the oven to 350 degrees F. Line 2 cupcake pans with paper liners (this makes 14 cupcakes) and set aside.
  2. Sift together the cake flour, graham cracker crumbs, baking powder, baking soda and salt in a medium mixing bowl.
  3. In the bowl of a stand mixer or in a large bowl with a hand mixer, beat the eggs for 20 seconds. Add the sugar then beat until combined on medium speed, about 30 seconds. Add the vanilla extract, vegetable oil and key lime zest then beat again until combined.
  4. Reduce the mixer speed to low then carefully add half of the flour mixture. Once just combined, add half of the buttermilk. Repeat with the remaining flour then with the remaining buttermilk. Try not to over-mix the batter. Scrape down the sides as needed.
  5. Divide the batter between the prepared 14 cupcake liners. Bake for 12-14 minutes. The edges should be golden brown and a toothpick inserted in the center should come out with just a few crumbs on it. Let cool in the pan for 1-2 minutes then remove the cupcakes to let cool completely on a wire cooling rack.
  6. Once the cupcakes are cool, use a cupcake corer or a knife to remove the middle of the cupcake. Fill the cupcake with about 1 tablespoon of key lime curd - enough so it fills the cavity in the cupcake. Repeat with the remaining cupcakes.
for the frosting
  1. In the bowl of a stand mixer or in a large bowl with a hand mixer, beat together the mascarpone and vanilla until incorporated. Slowly beat in the powdered sugar until incorporated. Slowly add the heavy cream while still beating the mixture then increase the speed to medium. Continue to beat until light and fluffy, about 3 minutes.
  2. Once the cupcakes have been filled with key lime curd, frost them with the mascarpone frosting then sprinkle with the graham cracker crumbs and additional key lime zest, if desired. Store in the fridge until ready to eat.
Notes
If you don’t have cake flour, follow this substitution to use all-purpose flour. Measure out ¾ cups all-purpose flour. Take out 1 tablespoon and 1½ teaspoons of the measured flour (you can put these back in your flour container, you won’t need them). Add 1 tablespoon and 1½ teaspoons of cornstarch to the flour and sift together before using in the recipe.
If you don’t have buttermilk, follow this substitution to use whatever percentage milk you have in your fridge. Put ½ tablespoon of lemon juice or vinegar (I prefer to use lemon juice when I’m baking) into a liquid measuring cup then fill with milk until you have ½ cup. Let sit for 5 minutes before using in the recipe.
These cupcakes should be stored in the fridge.

Cupcake base adapted from Glorious Treats.

Funfetti Mini M&M Piñata Cupcakes

Funfetti Mini M&M Piñata Cupcakes  |  Lemon & Mocha

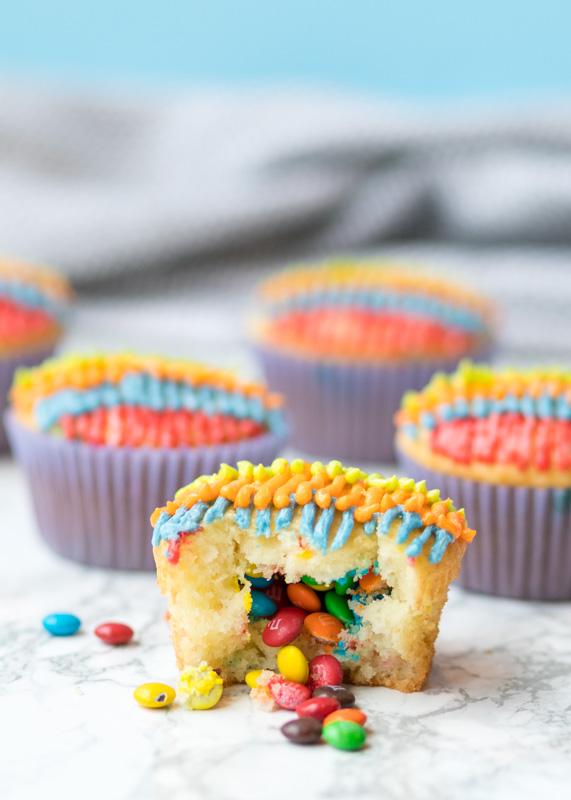
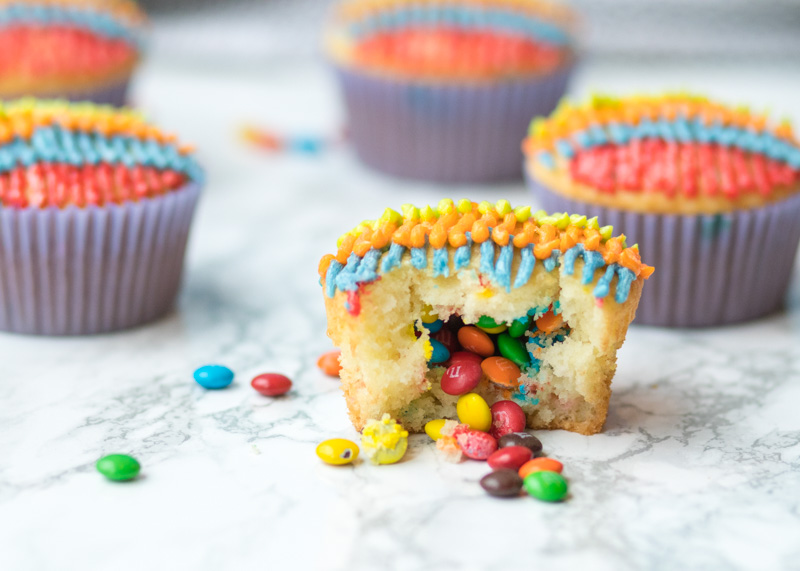
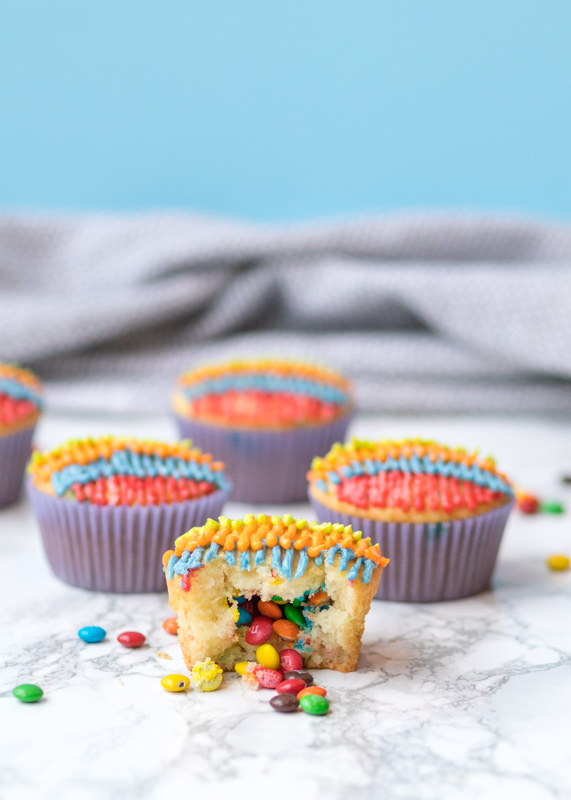
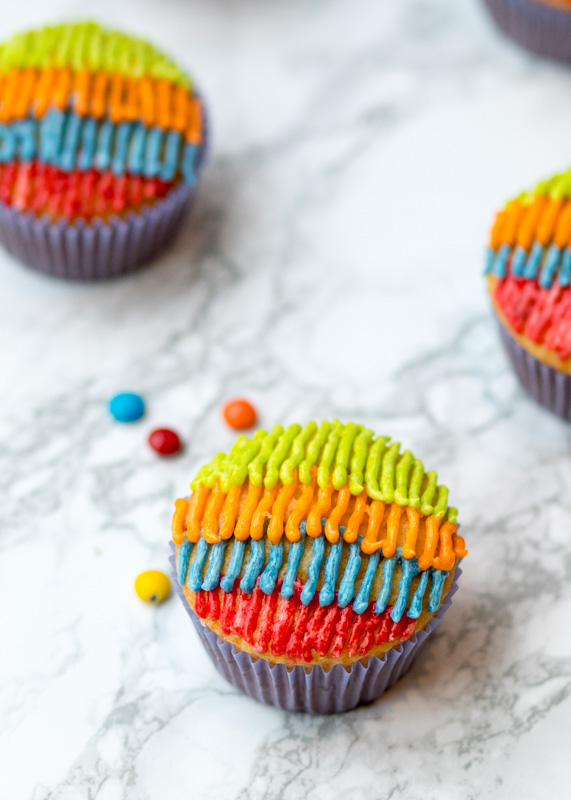
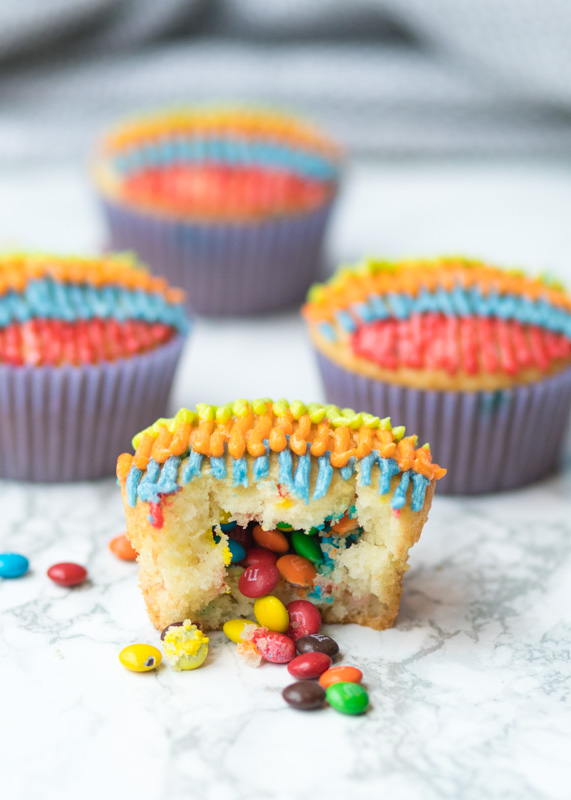
How fun are these Funfetti Mini M&M Piñata Cupcakes (see what I did there)?! I’ve been seeing this style cupcake on Pinterest for a while now where you bite into it and everything falls out like a piñata, but I thought it would be even more fitting if the piñata style cupcakes actually mimicked the look of a piñata.

Funfetti Mini M&M Piñata Cupcakes  |  Lemon & Mocha

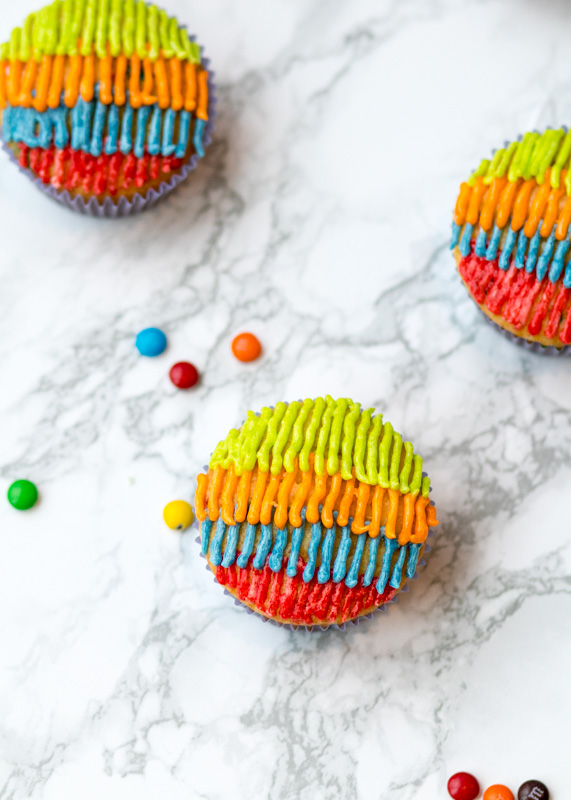
I dyed my vanilla buttercream with food coloring and then layered the frosting in stripes with a thin pastry tip to look like the crepe fringe on a piñata. I used a round tip 5 from this set.

Funfetti Mini M&M Piñata Cupcakes  |  Lemon & Mocha

The best part of these cupcakes is that they are filled with mini M&M’s! Mini M&M’s are one of my favorite types of M&M’s because you get to eat a whole bunch of them. Their rainbow coloring also adds to the fun factor.

Funfetti Mini M&M Piñata Cupcakes  |  Lemon & Mocha

I use Funfetti box cake mix for this recipe because I have yet to try a homemade version that compares. If you know of one, comment below! Another reason for the box mix is when you have a lot of decorating involved sometimes it is just easier to have the cake ready to go in a few minutes.

Funfetti Mini M&M Piñata Cupcakes  |  Lemon & Mocha

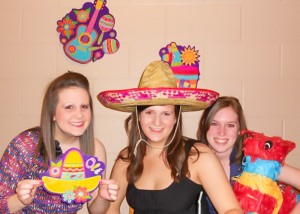
The inspiration for these Funfetti Mini M&M’s Piñata Cupcakes was my friend’s 30th birthday! My friend Lauren loves Funfetti, is obsessed with M&M’s and we also have this thing with piñatas. On my 21st birthday my friends gave me a piñata named Paco. Paco became our mascot and lived with us for all of junior year and then moved with us to our apartment senior year. Below, Paco is seen celebrating Cinco de Mayo with Lauren, my friend Katelyn and myself. In a goofy way he holds a special place in some of our best college memories and I can’t help but smile every time I see a piñata.

201804241lemonandmocha2

So make someone smile this weekend and celebrate with these Funfetti Mini M&M Piñata Cupcakes!

Funfetti Mini M&M Piñata Cupcakes  |  Lemon & Mocha

Funfetti Mini M&M Piñata Cupcakes
 
Yield: 24 cupcakes
Ingredients
  • 1 box Funfetti cake mix, batter made according to package
  • 1 cup unsalted butter, room temperature
  • 4-5 cups confectioners’ sugar
  • ¼ cup whole milk
  • 2 teaspoons vanilla extract
  • Pinch of salt
  • Food coloring
  • 1 cup mini m&ms
Directions
  1. Bake the Funfetti cake mix into 24 cupcakes following the instructions on the package. Let cool completely.
  2. Meanwhile, in the bowl of a stand mixer or in a large mixing bowl with a hand mixer, beat the butter until smooth, about 1-2 minutes. Add the confectioners’ sugar, milk, vanilla and salt. Beat for 3 minutes, scrapping down the sides as needed. If the frosting is too thick, add more milk. If it’s too thin, add more sugar. Divide into 4 small bowls. Dye with the food coloring. I used regular blue, regular red, neon orange and neon green. Place into piping bags fitting with a thin tip. Set aside.
  3. Use a cupcake corer or a knife to remove the middle of the cupcake. Cut the top of the cupcake “core” you just removed and set aside the rest. Fill the cupcake with about 2 teaspoons on mini m&ms - enough so it is almost to the top of the cavity with enough room for the cake “core” top. Place the cake “core” top on the m&ms. It should look like you never even cut it open other than the circular cut line. Repeat with the remaining cupcakes.
  4. Frost the crepe paper frosting on the piñata cupcakes. Starting with the color you want on the bottom (for reference, this was my red), pipe a straight line starting at the bottom quarter of the cupcake down to the bottom of the cupcake. I found it easiest to start in the middle and then work my way out to either side. Repeat with the rest of the cupcakes. Taking the second color (this was my blue), pipe a straight line starting at the halfway mark of the cupcake down to just over the first color. Start in the middle then work your lines out to either side. Repeat with the rest of the cupcakes. Take the third color (this was my orange), and pipe a straight line, this time starting at the top quarter mark of the cupcake down to just over the second color. Work your way out to both sides and repeat for the remaining cupcakes. Using your final color, which will be the color you want on the top (this was my green), pipe a straight line starting at the top of the cupcake down to just over the third color. Continue your straight lines out to both sides and repeat for the remaining cupcakes.
Notes
The moisture from the cupcake softened the m&ms and the coloring on the m&ms rubbed off. For the best impact, make and serve these cupcakes on the same day.

Some of the links above are affiliate links, which means I may receive a small commission for my referral. This does not affect the retail cost of the item. Thank you for supporting Lemon & Mocha!

Christmas Tree Cupcakes

aka Chocolate Cupcakes with Chocolate Almond Ganache Filling and Coconut Buttercream

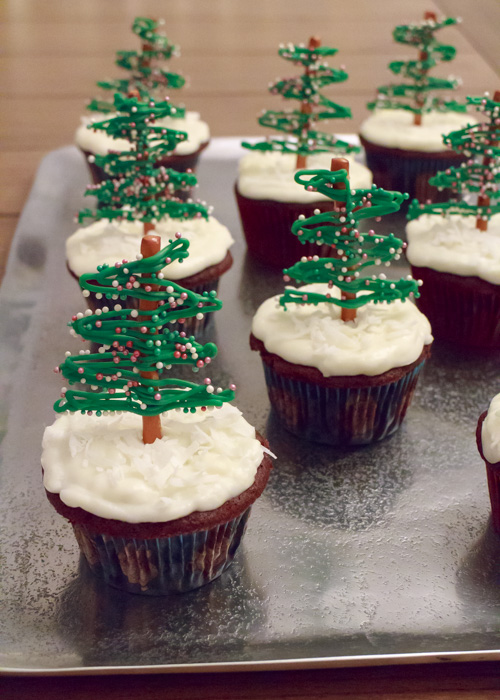
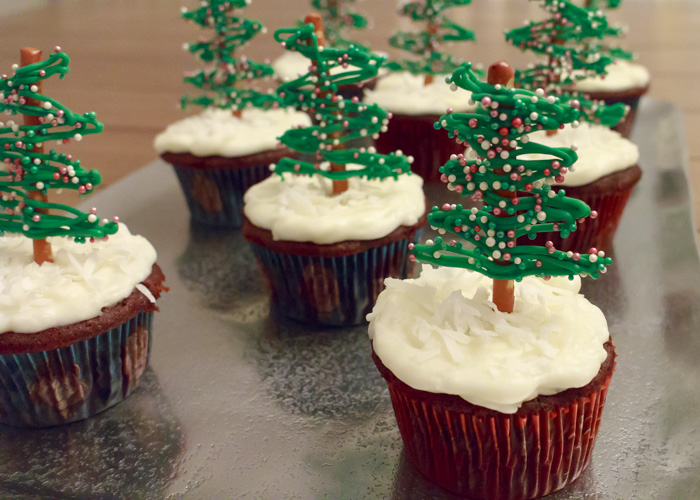
Christmas Tree Cupcakes  |  Lemon & Mocha

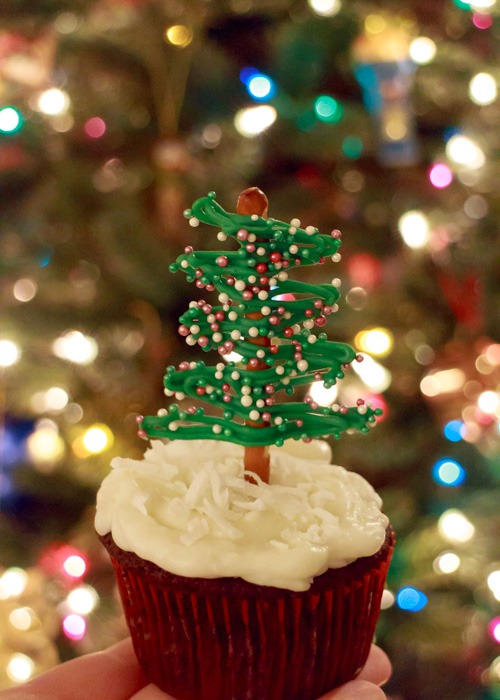
I can’t even with these cupcakes! Just look at their adorableness! Now I haven’t discussed it much on the blog, but I am not a decorator. I love to bake and I love to cook, which is mostly because I really, really (did I say really?) love to eat. But I do not like trying to make my food look pretty. If it ends up looking nice in the end that’s just an added bonus. I do not have the patience for it, although one day I would like to learn how to decorate and style my baked goods and dishes better.

Christmas Tree Cupcakes  |  Lemon & Mocha

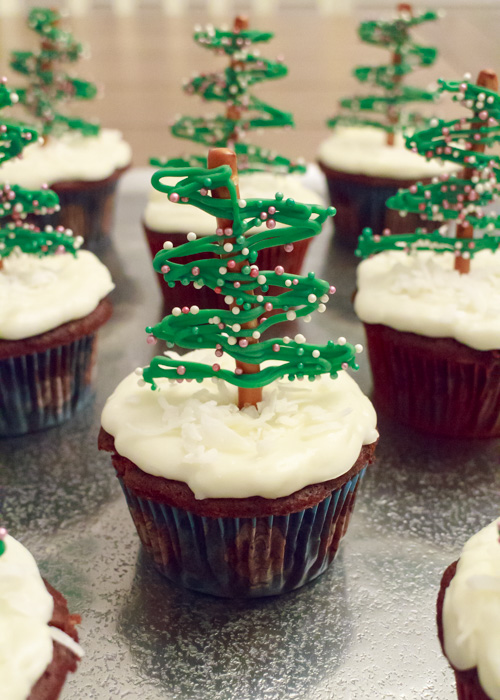
In the meantime, I’m just a regular home baker trying to make the best tasting things I can dream up. Where I’m going with all this is that if I can make these cupcakes look this ridiculously adorable that means you can, too. As long as you’re armed with the right ingredients and the right tools then you will be good to go.

Christmas Tree Cupcakes  |  Lemon & Mocha

Now, I’ve been so busy talking about the cute tree decorations that I haven’t even gotten to how amazing the cupcake tastes. I am obsessed with my Perfect Chocolate Cupcakes and my Chocolate Ganache so adding almonds and a coconut buttercream seemed like a fitting and delicious enhancement. The texture of the coconut buttercream is light and fluffy, while still being rich enough to stand up to the chocolate cupcake. You can adjust the intensity of the coconut flavoring based on your personal preference. That chocolate almond ganache is its usual swoon-worthy self amped up with chopped almonds to be the perfect molten surprise. Now have a bit of everything all together and yippee! Damn that’s good!

Christmas Tree Cupcakes  |  Lemon & Mocha

My favorite part about these cupcakes though are the reason I was inspired to make them: they remind me of my Babu. Everyone in my family has ceramic Christmas trees that my grandma painted. I know everyone in my family thinks about Babu everyday, but especially when they turn on their ceramic tree. They are decorated with little colored light “ornaments” and when they light up they remind me of everything that is wonderful and simple about Christmas. They make me think of family and tradition. I’m instantly transported to sitting with Babu at my parent’s house and putting in all the little lights while the smell of her cookies comes from the kitchen. Then suddenly we’re eating the cookies, making Christmas paper chains, putting ornaments on the tree, then snuggled in her bed reading our favorite Christmas stories. She even let me sing her Christmas carols and anyone who knows how, um, interesting, my singing voice is will know what a saint she was for that.

Christmas Tree Cupcakes  |  Lemon & Mocha

Although I loved, and very much miss, our crazy Christmas mornings with all my aunts, uncles and cousins, one of my favorite Christmas mornings with Babu was when I was older. We were at my parents’ house for Christmas morning and since it was just my brother and me, who were both in high school, everyone was sleeping in before present-opening. Babu and I are early risers so the two of us sat by the tree in the still, quiet house and opened a couple of our presents for each other having our very own private mini Christmas morning. It is a memory I will cherish forever. So happy holidays and merry Christmas to all my friends, family and fellow food lovers! Take a moment, or two, throughout all the craziness to enjoy the little things that will mean so much to you for years to come.

Christmas Tree Cupcakes  |  Lemon & Mocha

Christmas Tree Cupcakes
 
Yield: 24 cupcakes
Ingredients
for the cupcakes
for the chocolate almond ganache
  • ¾ cup heavy cream
  • 1- 12 ounce bag of bittersweet chocolate chips
  • 3 tablespoons unsalted butter, softened
  • 1 cup chopped almonds, more or less depending on preference
for the coconut buttercream
  • 2 sticks unsalted butter, room temperature
  • 6 cups powdered sugar
  • ½ cup milk
  • 1 teaspoon coconut extract
  • 1 cup sweetened shredded coconut, more or less depending on preference
  • Additional sweetened shredded coconut for decoration
for the tree decorations
  • 24 pretzel sticks
  • ½ bag green candy melts
  • Nonpareils
Directions
for the cupcakes
  1. Make the Perfect Chocolate Cupcakes according to the instructions then let cool.
for the chocolate almond ganache
  1. Heat the cream over medium heat until steaming, stirring constantly.
  2. Once steaming, remove the cream from the heat. Add the chocolate and stir then let sit for 5 minutes.
  3. Add the butter to the chocolate mixture then stir until smooth. You might have to return to the lowest heat possible while stirring to get it completely smooth.
  4. Add the chopped almonds and stir to combine. Let cool until only slightly warm (I'm not sure if the cooling is completely necessary, but I thought the hot ganache would seep into the cupcake).
for the coconut buttercream
  1. Beat the butter for 3-5 minutes, or until smooth and fluffy, with an electric mixer.
  2. On low speed carefully add the sugar, milk and coconut extract and mix. If the frosting looks too thin slowly add some more powdered sugar, but I didn't need to for this recipe. Add the shredded coconut and stir well to combine.
  3. Spread or pipe a thin layer onto the top of the cupcake. You might find piping easier because of the open hole with the ganache. Top with some shredded coconut for a "snow" effect.
for the tree decorations
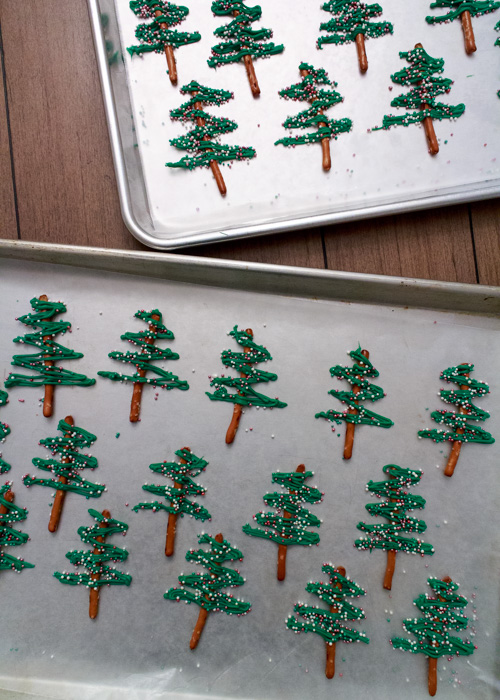
  1. Line two baking sheets with wax paper. Use a baking sheet with edges so the nonpareils don't go flying all over your kitchen. Place the pretzel sticks a few inches apart.
  2. Prep a pastry bag with a skinny round tip (I think I used a Wilton round tip #2). Heat the candy melts in a double boiler over medium-low heat, stirring occasionally, until completely melted and smooth. Be sure not to overheat so the chocolate doesn't seize up. Carefully transfer to the pastry bag.
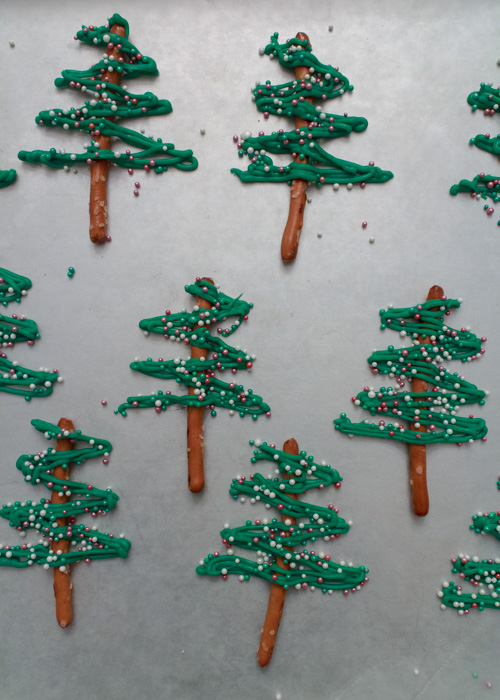
  3. Pipe the chocolate over each pretzel stick in the shape of the a tree. I made single zig-zag lines then went over them two more times. Start up a bit from the base of the pretzel stick so there's room to press the decoration into the cupcake. Do a couple then top with nonpareils or have a sprinkle elf help and sprinkle after you pipe (thanks, Matt!). Let sit at room temperature until firm then carefully pop off the wax paper. To place in the cupcakes I found it easiest to hold and press from the little bit of pretzel at the top - the chocolate is fragile and will break if you press it.
Notes
You can typically find candy melts (sometimes called chocolate or candy wafers) at your local craft store, such as Michaels or A.C. Moore.
This recipe makes enough ganache and buttercream for about 35 cupcakes so you will have leftover unless you make a double batch of cupcakes or reduce the ganache and buttercream recipes.

Chocolate almond ganache adapted from The Curvy Carrot.
Coconut buttercream adapted from Martha Stewart.
Chocolate tree inspiration from Just a Taste.