Breakfast

10 Minute Mini Breakfast Tacos

This post was originally published on 8/29/2014. It was updated with new photos and content on 2/5/2019.
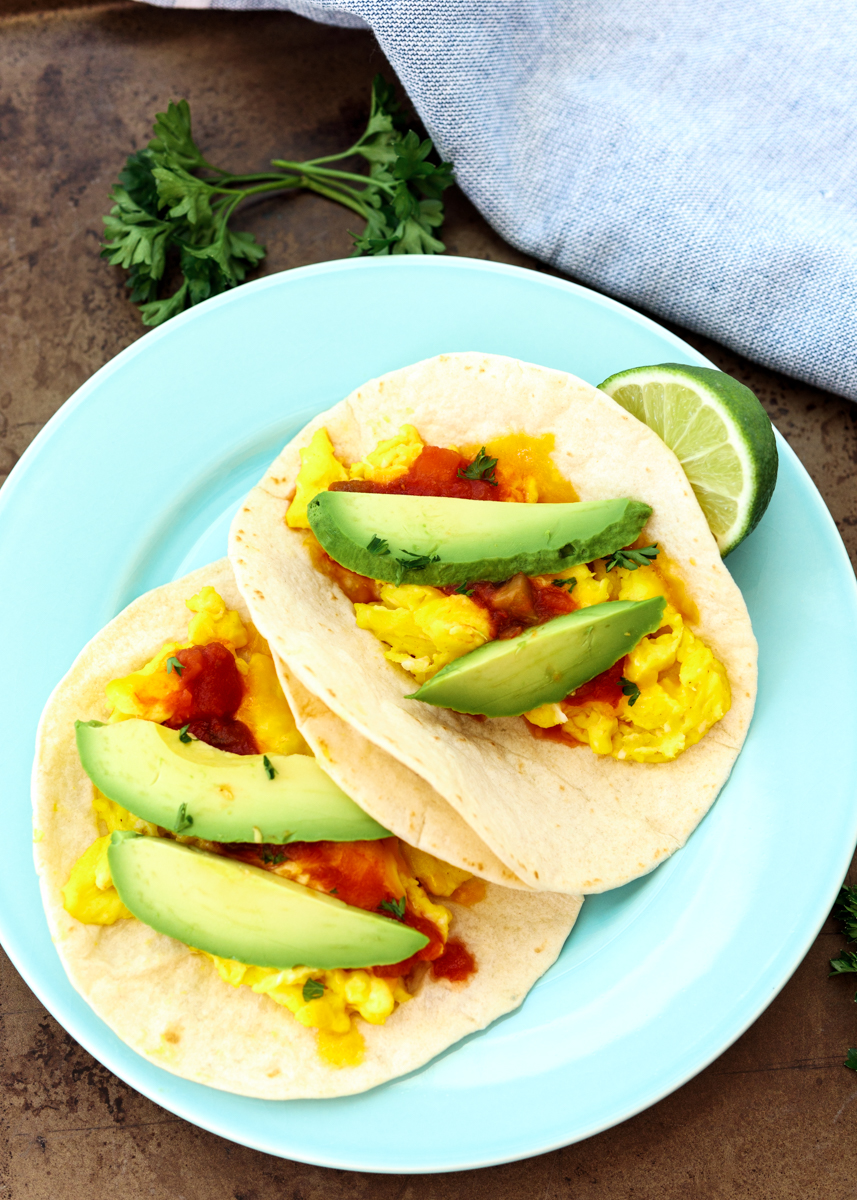
10 Minute Mini Breakfast Tacos  |  Lemon & Mocha

Sometimes the best dishes are the ones that take you under ten minutes to make, but still cause you to dance around the kitchen shouting, “Omg, this is SO good!” in between mouthfuls. Before getting reminded that your excited eating habits need to be worked on so the heimlich doesn’t become necessary. But sometimes these things cannot be controlled. I’ll work on it though.
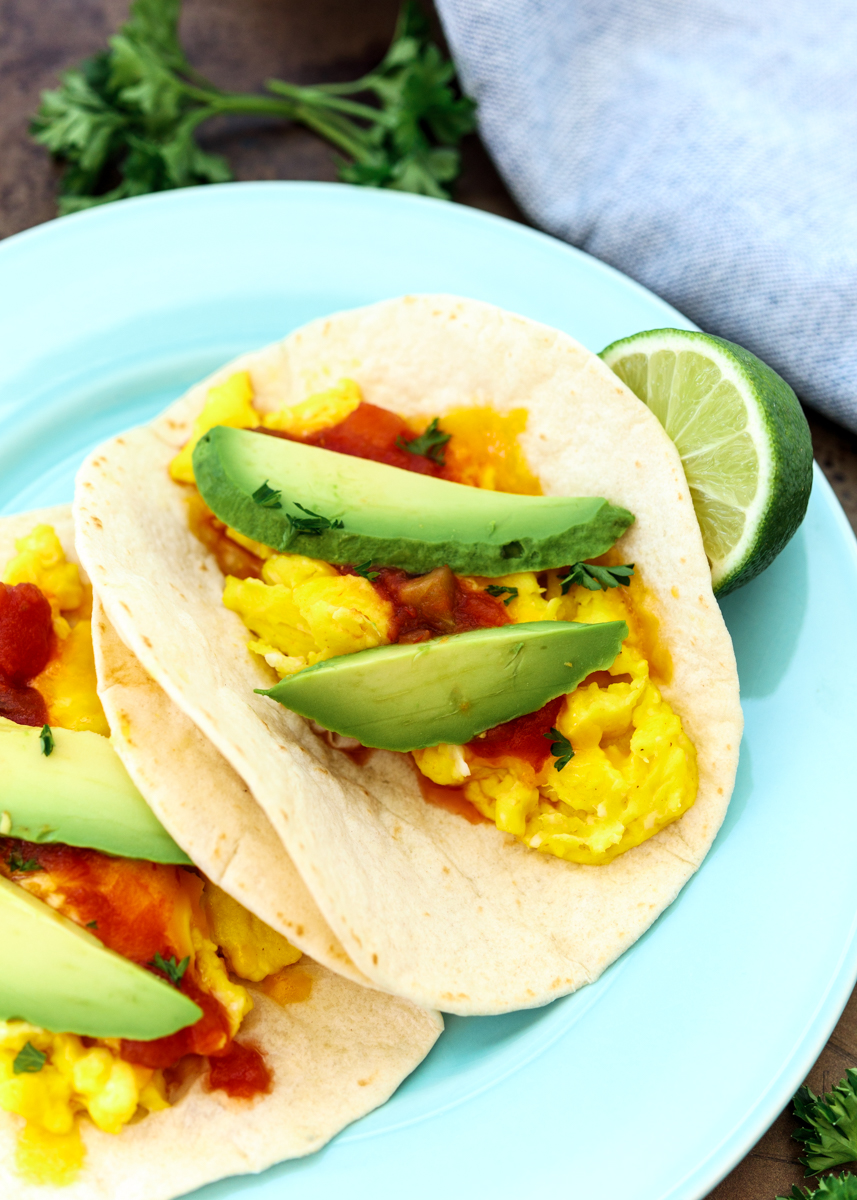
10 Minute Mini Breakfast Tacos  |  Lemon & Mocha

These mini breakfast tacos are the perfect mid-week breakfast, weekend brunch, after school snack, quick dinner and picnic staple. Okay, maybe not the last one. But for everything else this dish is up for the job. The recipe is so simple, but we like simple around here. Especially if it means we can have breakfast tacos for breakfast on a regular basis.
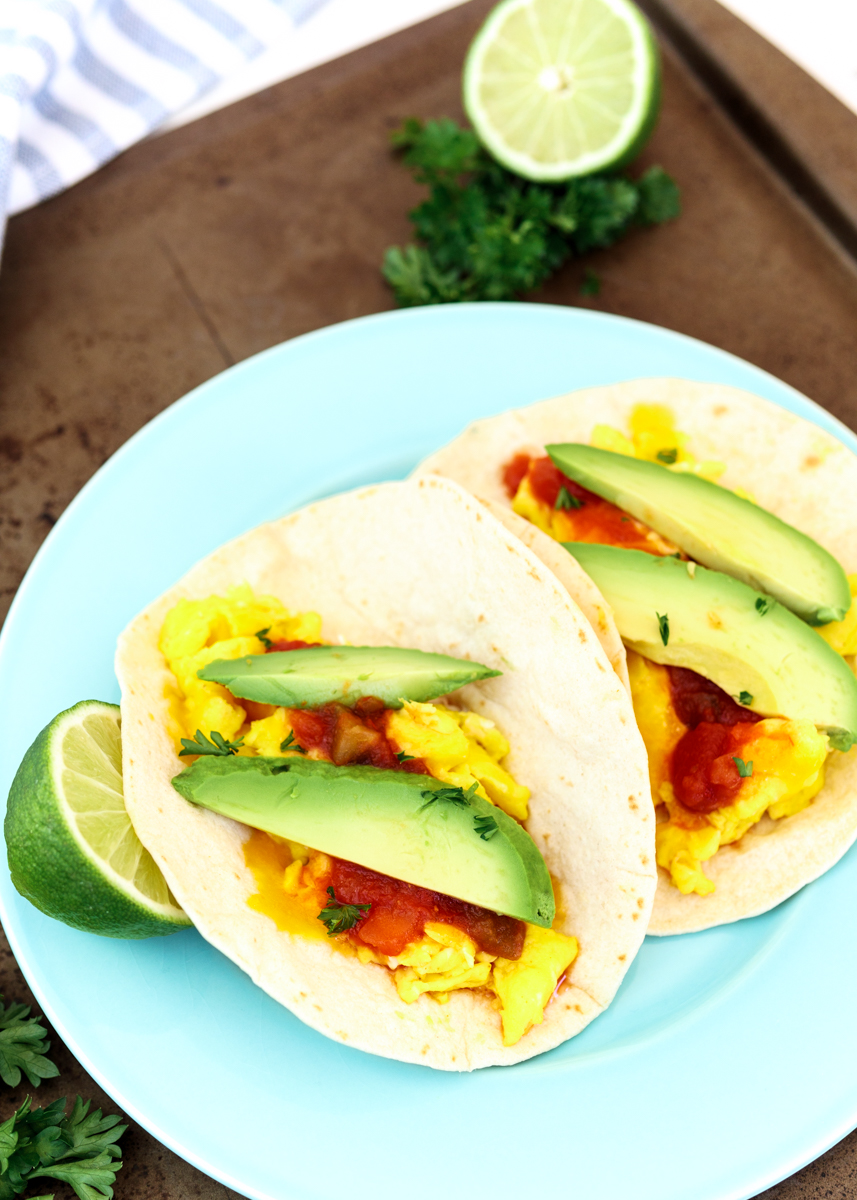
10 Minute Mini Breakfast Tacos  |  Lemon & Mocha

I like to add some creaminess to my scrambled eggs by adding a little cream cheese. It’s a great trick someone taught me years ago. It doesn’t impart the cream cheese flavor on the eggs, it just makes them creamy and fluffy. If you don’t have any cream cheese, you can use a little milk instead. The eggs won’t be as creamy as when you use cream cheese, but they will still be fluffier than just plain scrambled eggs.
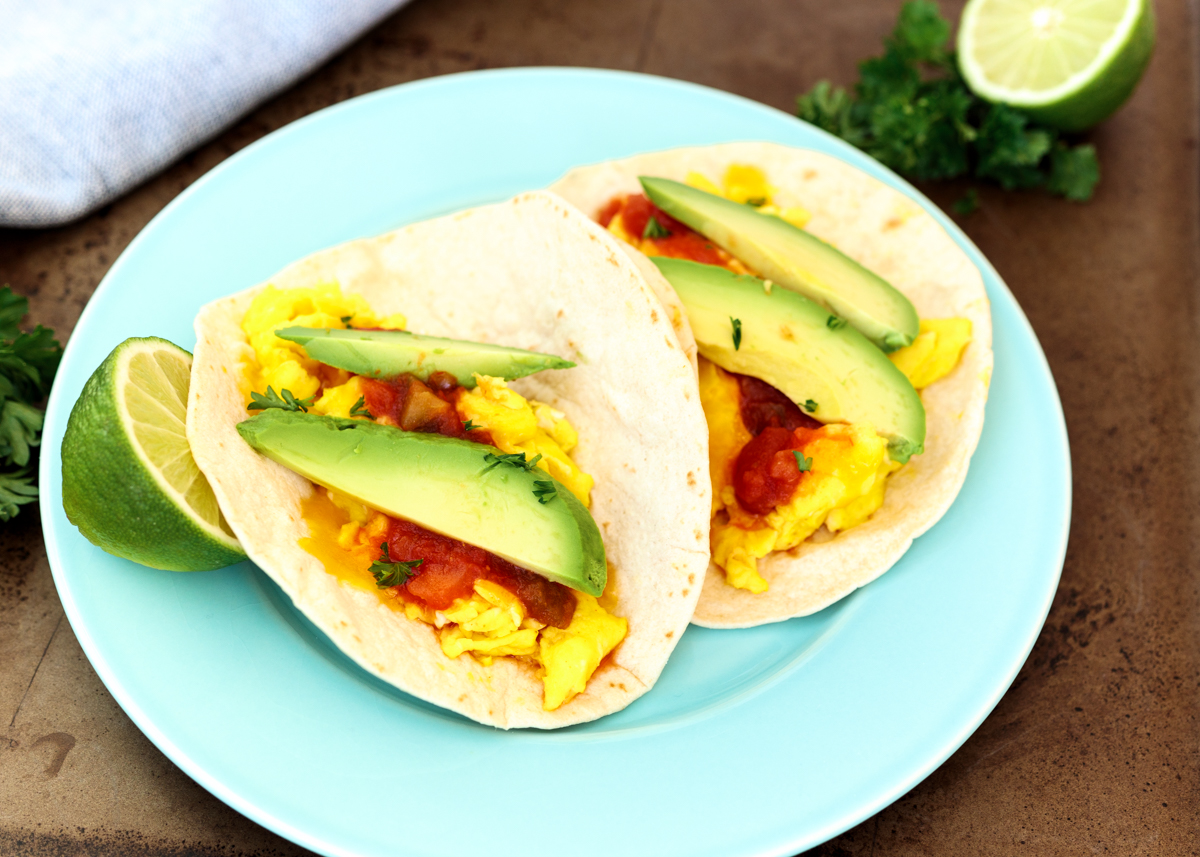
10 Minute Mini Breakfast Tacos  |  Lemon & Mocha

How easy is this dish? Well let’s see, first you scramble up some eggs. Then you pile them on top of softened tortillas shredded cheese, salsa and avocado slices. Done! This is just a base recipe and you could definitely get more creative with your taco toppings. Roasted red peppers, corn salsa and pickled red onions are just some ideas off the top of my head. What would you pile on your breakfast tacos?
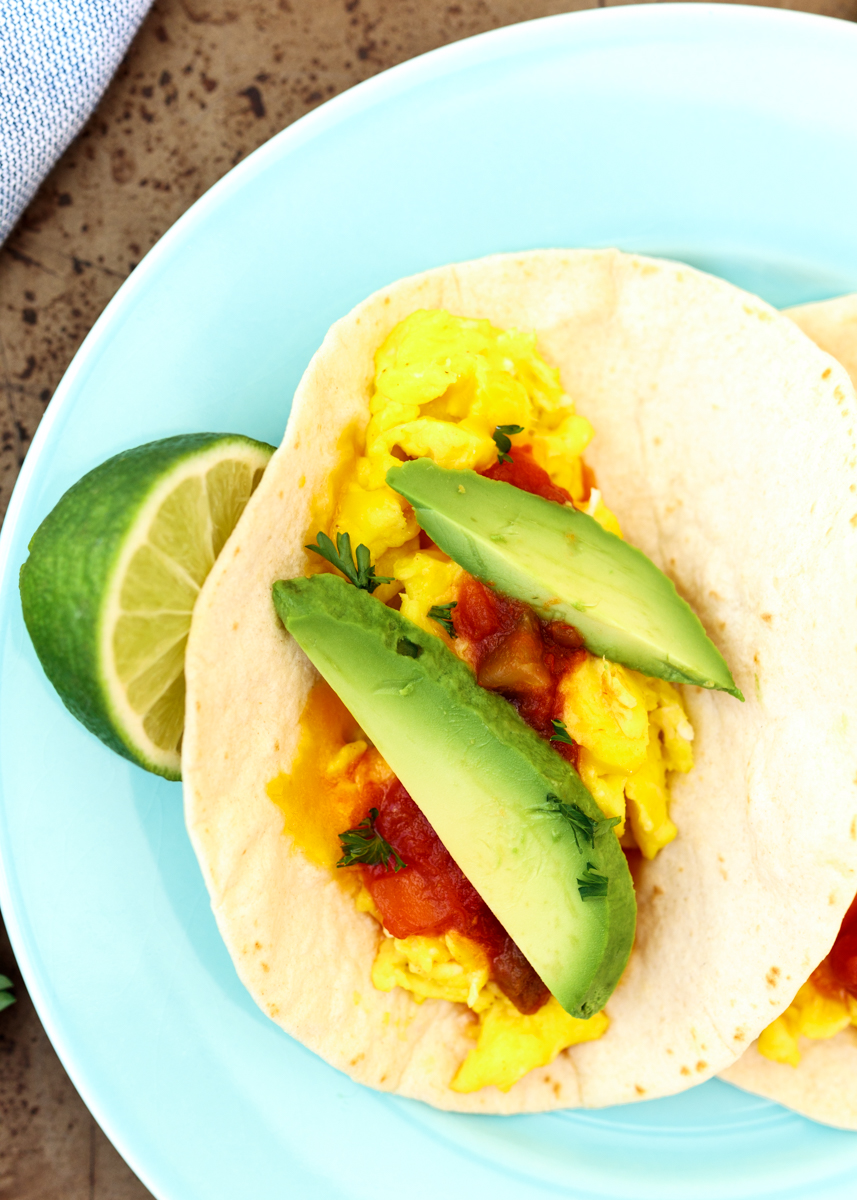
10 Minute Mini Breakfast Tacos  |  Lemon & Mocha

These 10 Minute Mini Breakfast Tacos are so easy it’s dangerous. How can breakfast tacos be dangerous? Because while you’re chomping away and exclaiming in delight how good they are you might require the heimlich. So eat responsibly folks.
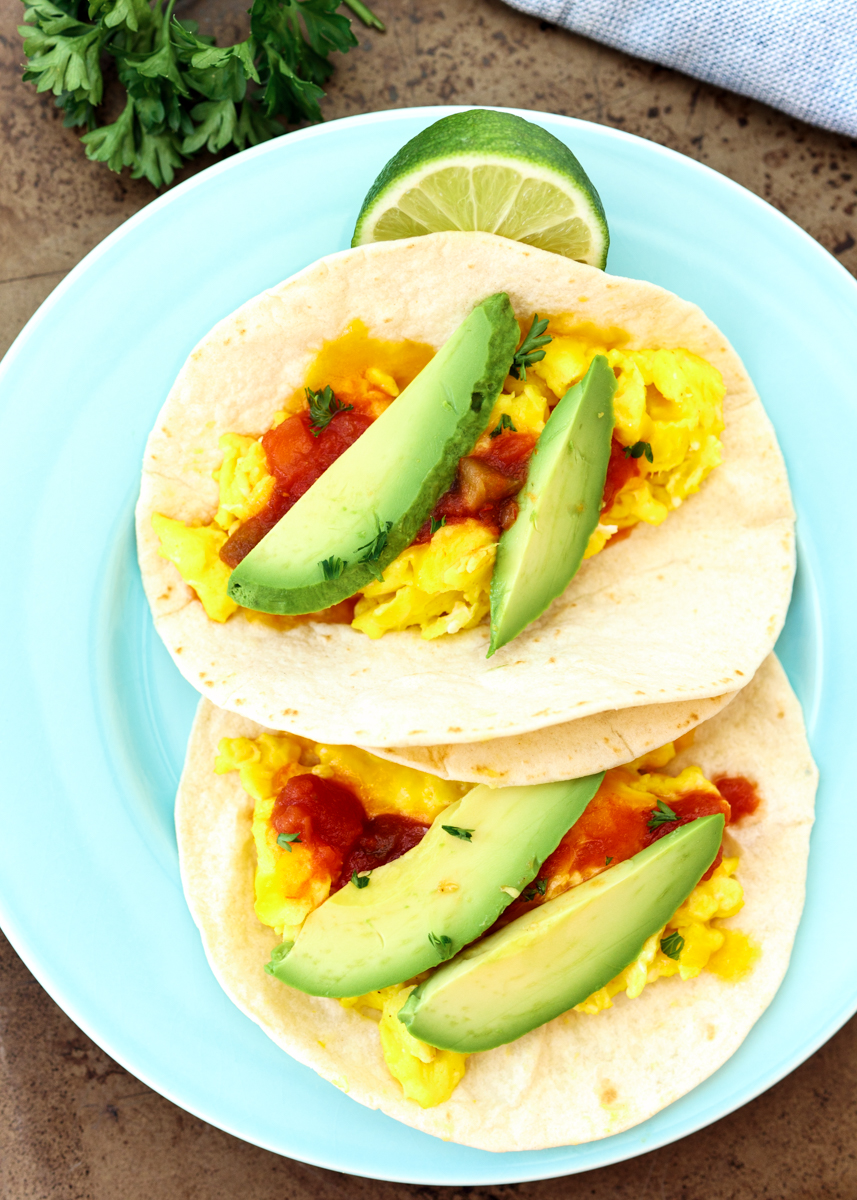
10 Minute Mini Breakfast Tacos  |  Lemon & Mocha

10 Minute Mini Breakfast Tacos
 
Yield: 1 serving
Ingredients
  • 3 large eggs
  • 1 tablespoon cream cheese or milk
  • Salt, pepper and a sprinkling of any other favorite seasonings (I like to sprinkle on some garlic powder, onion powder, paprika and cumin)
  • ½ tablespoon butter or cooking spray
  • 2 6-inch corn or flour tortillas
  • 2 tablespoons shredded cheese (cheddar, monterey jack and pepper jack are all great options)
  • Salsa, avocado slices and any other desired toppings
Directions
  1. In a small mixing bowl, beat the eggs until frothy. Add the cream cheese or milk, salt, pepper and desired other seasonings then lightly beat to combine. If you use cream cheese it won't be mixed in; that's fine.
  2. Melt the butter, or heat the cooking spray, in a medium skillet over medium-low heat. Once melted, add the beaten egg mixture. Let the eggs cook a little then begin to scramble them, making sure to flip them over and break them up often so they remain light and fluffy without getting crispy.
  3. Meanwhile cover the tortillas with a lightly damp paper towel and heat in the microwave for 45 seconds.
  4. When the eggs have cooked through and are still fluffy (I like to take mine off when they are still very slightly wet) remove from the heat and divide over the top of the tortillas. Top with the shredded cheese. Add salsa, the avocado slices, and whatever other toppings you like.


Banana Bread French Toast with Caramelized Bananas

Banana Bread French Toast with Caramelized Bananas  |  Lemon & Mocha

When I made french toast for the first time in the form of my Nutella stuffed french toast with vanilla pecan butter, it opened up a new door of possibilities for me. As is typical of my list-loving self I sat down and excitedly scribbled a whole page of french toast ideas. Any type of slightly sweet bread or sturdy cake out there was jotted down along with complimentary toppings and sauce ideas.

Banana Bread French Toast with Caramelized Bananas  |  Lemon & Mocha

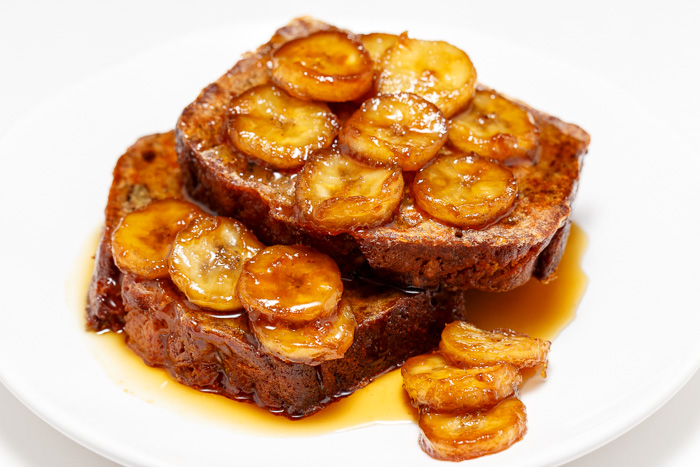
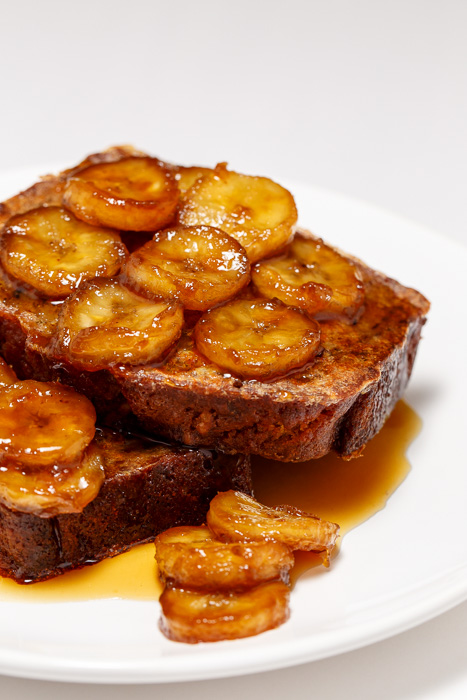
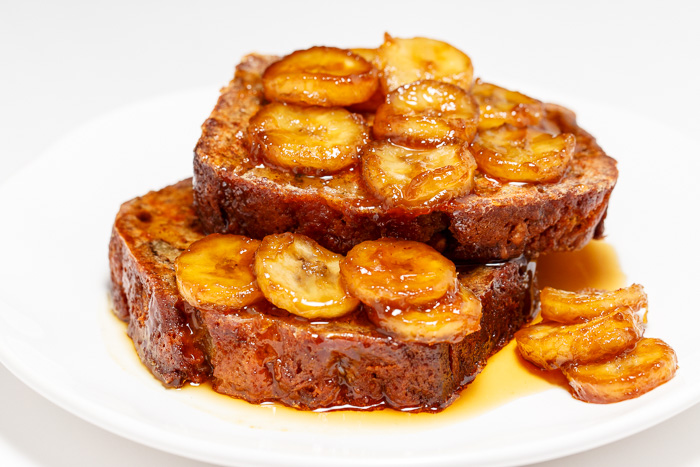
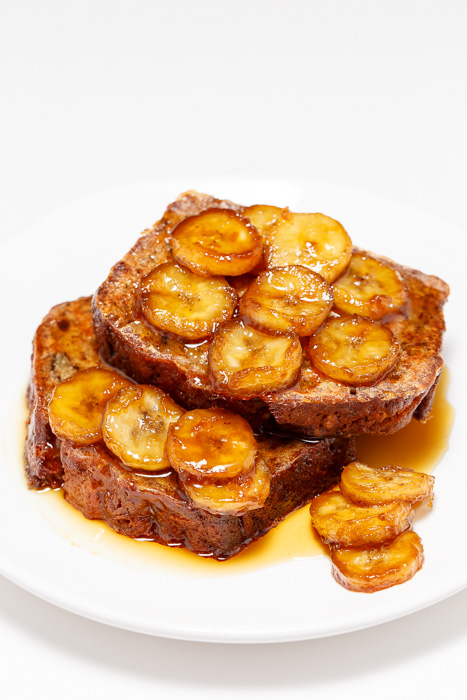
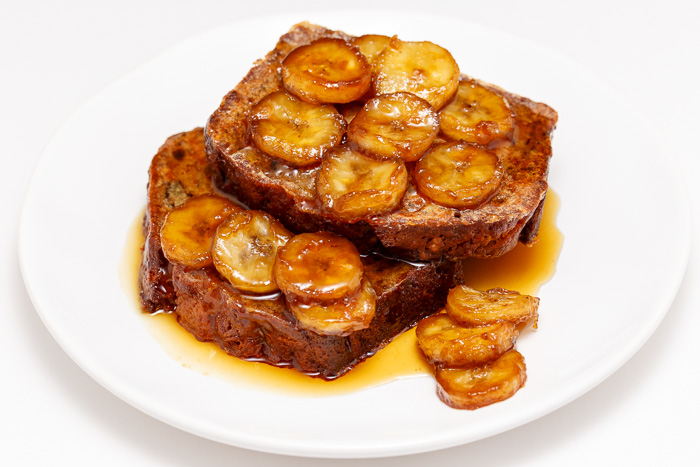
One such idea was banana bread french toast with caramelized bananas. I’m not the first to think of this genius idea, but I was eager to make it nonetheless. Some overly ripened bananas provided me with the perfect opportunity.

Banana Bread French Toast with Caramelized Bananas  |  Lemon & Mocha

After my banana bread was made and cooled completely overnight I cut it into 1” thick slices. After dipping in the egg mixture and cooking in my frying pan I caramelized some banana slices in butter and brown sugar.

Banana Bread French Toast with Caramelized Bananas  |  Lemon & Mocha

The end result was magnificent: a delicious excuse to eat dessert for breakfast. Not that you need an excuse, but if you do now you have one.

Banana Bread French Toast with Caramelized Bananas  |  Lemon & Mocha

I made my banana bread with walnuts for some added texture, but you could always toast some walnuts to place on top of the finished french toast.

Banana Bread French Toast with Caramelized Bananas
 
Yield: 2 servings
Ingredients
for the french toast
  • 2 eggs
  • 3 tablespoons milk
  • ½ teaspoon vanilla
  • ½ teaspoon ground cinnamon, divided
  • ¼ teaspoon ground nutmeg, divided
  • Cooking spray or 1 tablespoon butter
  • 4 slices thick cut banana bread
for the caramelized bananas
  • 1 tablespoon butter
  • 1 banana, sliced into coins
  • 2 tablespoons brown sugar
Directions
for the french toast
  1. In a shallow bowl large enough to fit the slices of bread beat the eggs with a fork or whisk.
  2. Add the milk, vanilla, ¼ teaspoon ground cinnamon and ⅛ teaspoon ground nutmeg then mix or whisk to combine.
  3. Heat a griddle or skillet over medium heat and coat with cooking spray or the tablespoon of butter.
  4. Lay two of the slices of banana bread flat in the egg mixture and let sit for 1 minute. Flip the slices and let sit for another minute. Pick up the slices and let all the excess egg mixture drip off. If there is a lot of excess egg mixture that won’t drip off push off with the fork or whisk.
  5. Place on the heated griddle or skillet. Let cook for 4 minutes, or until brown, then flip. Cook the other side of r 4 minutes, or until brown. Remove from the heat and top with the caramelized bananas.
  6. Repeat with the remaining serving.
for the caramelized bananas
  1. Melt the butter in a small skillet over medium heat. Add the banana slices and brown sugar. Carefully stir to coat. Continue to cook the banana slices until softened and coated in the syrup, about 5 minutes.

Breakfast Sandwiches

Breakfast Sandwiches  |  Lemon & Mocha

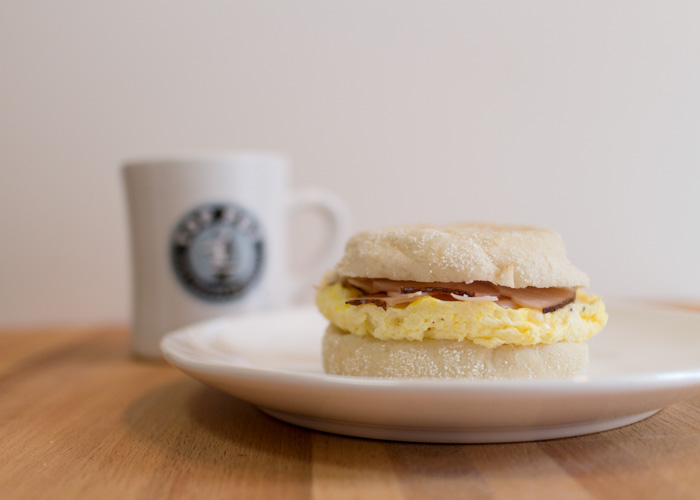
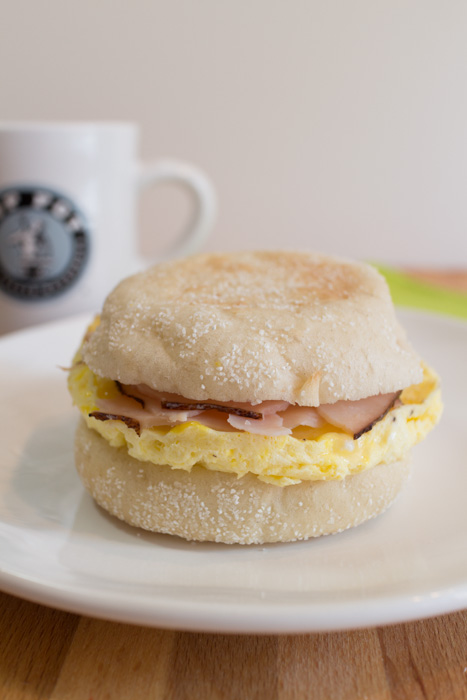
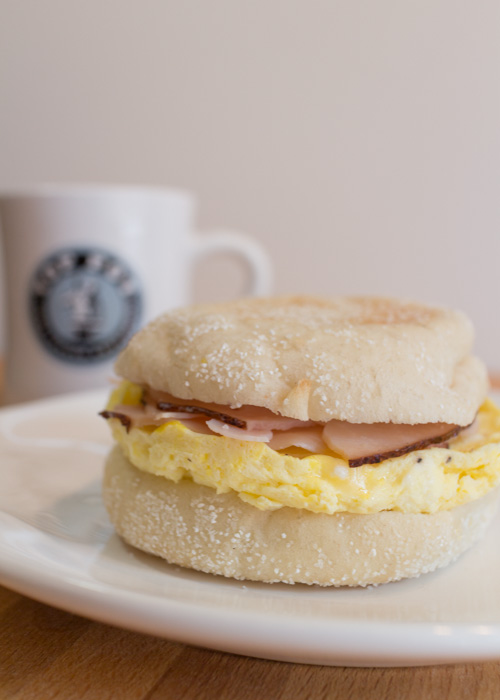
I get excited over everything food related and that includes kitchen gadgets. I’ve never ranked my kitchen gadgets, but if I had to this nifty thing would definitely be in my top five. What is it, you ask? A round microwave egg cooker! This little contraption costs less than $4 and has revolutionized breakfast in my house. Crack an egg in the cooker. Beat with a little milk, salt and pepper. Close the lid and microwave for one minute. Ta-da! A perfectly cooked fluffy round egg perfectly sized for breakfast sandwiches.

Breakfast Sandwiches  |  Lemon & Mocha

I haven’t even gotten to the best part- if you throw in some cheese after it cooks and quickly close the lid again the steam will completely melt the cheese. Yeah, that’s right. I’ll give you a minute to soak that all in. My Aunt Dottie shared this gadget find with me last summer and I would not be able to count all the egg sandwiches I’ve made in it over the last year. I talked it up so much that several of my friends have purchased it and are now cooking their own easy egg sandwiches, too.

Breakfast Sandwiches  |  Lemon & Mocha

After I made a bunch fresh I started experimenting with freezing them for even quicker weekday breakfasts on the go. I am happy to report that these freeze well and taste good reheated in the microwave. So go ahead and get cooking!

Breakfast Sandwiches
 
Yield: 1 sandwich
Ingredients
  • Lightly toasted English muffin
  • 1 slice ham
  • 1 egg
  • 1 tablespoon milk
  • Salt and pepper
  • 1 thin slice of cheese that melts well, such as cheddar or monterey jack
Directions
  1. Put the English muffins halves down on a clean surface and place the slice of ham on one of the halves. Set aside.
  2. Crack the egg into the microwavable egg cooker or an eight ounce ramekin. Pour in the milk and a little bit of salt and pepper. Lightly beat the egg mixture then microwave for 1 minute.
  3. Carefully remove from the microwave and quickly place the cheese on top of the cooked egg while still in the cooker or ramekin. If in the ramekin place a plate or tupperware lid on top to help keep in the steam that will melt the cheese.
  4. When the cheese is melted, run a spoon around the edge of the cooked egg then remove and place on top of the ham slice. Take the other half of the English muffin and place it on top.
Notes
To freeze the breakfast sandwiches: make sure you very lightly toast the muffins so they don’t get hard when you reheat them in the microwave. Let the sandwich cool then tightly wrap in plastic wrap. Place the wrapped sandwiches in a labeled freezer bag before putting in your freezer.
To reheat the frozen breakfast sandwiches: remove from the plastic wrap. Wrap in a paper towel and place on a plate. Microwave for 1 minute, or more if needed.

Browned Butter Peaches

Browned Butter Peaches  |  Lemon & Mocha

I eat Greek yogurt almost every day for breakfast, but sometimes on the weekends when I have a little more time I like to spice up my yogurt. Unfortunately since I discovered I’m allergic to oats I’ve had to forgo granola, which leaves me mostly with fruit toppings. Blueberries, strawberries and blackberries are all tasty options, but a few months ago I decided to be adventurous.

Browned Butter Peaches  |  Lemon & Mocha

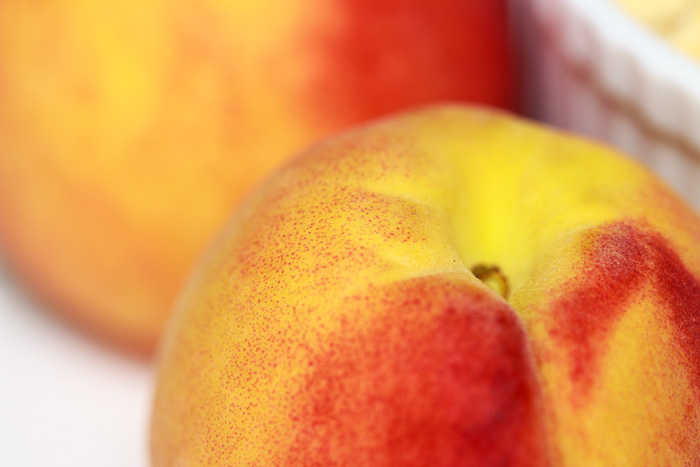
Peaches are one of those recently discovered foods of mine. This probably isn’t shocking if you have read my earlier posts on Lemon & Mocha. I grew up eating nectarines, but peaches and plums alluded me until several years ago. Same old story: I had never thought to try it, but then someone gave me a piece. It was delicious and I couldn’t believe I had gone all these years without it in my food repertoire, etc. etc. etc.

Browned Butter Peaches  |  Lemon & Mocha

Now that peaches are part of my life I am continuously looking to make up for lost time by cooking with peaches in as many ways as possible. Grilled? Delightful. In a salad? Yes please. With chicken? No thank you, but at least I tried it. In a cake? Scrumptious. One variation I hadn’t tried was dessert peaches by themselves. This quickly led to browned butter peaches. I had seen it on menus before and since I am very familiar with browning butter from my Perfect Chocolate Chip Cookies I thought I would give it a shot.

Browned Butter Peaches  |  Lemon & Mocha

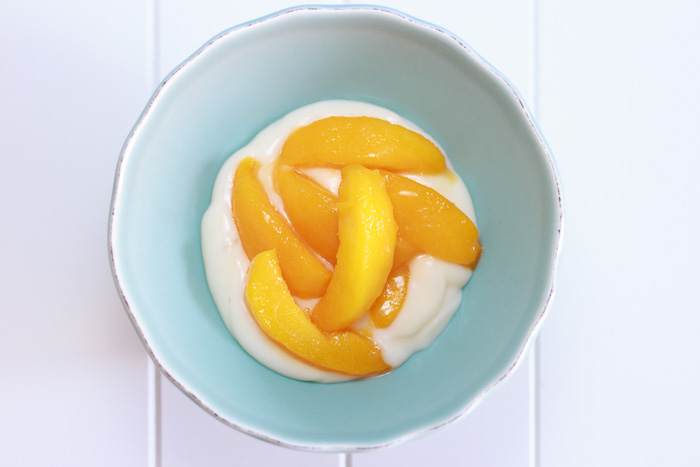
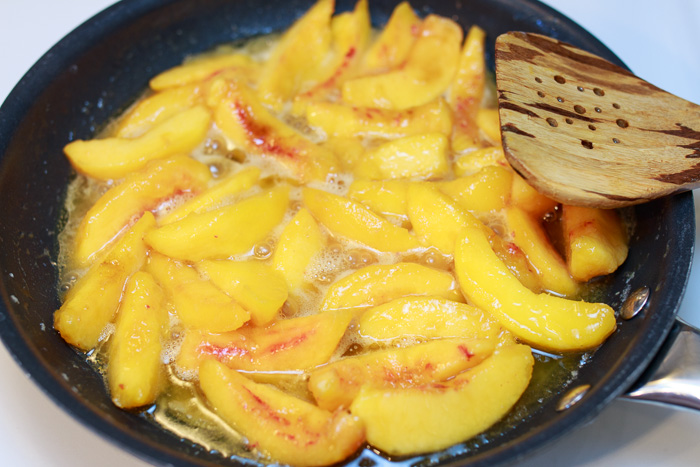
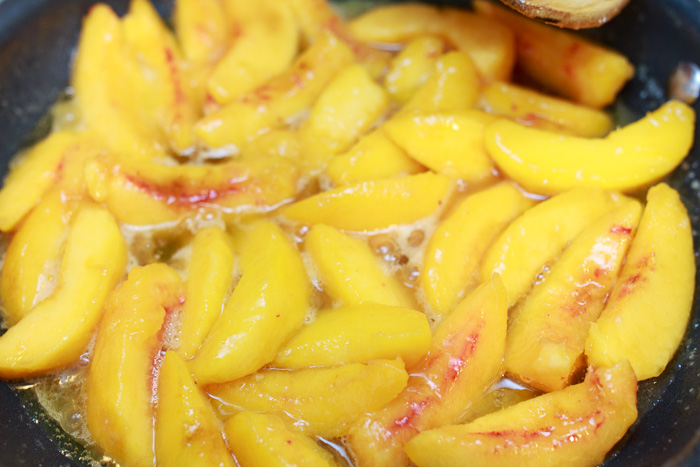
I browned some butter by swirling it in a skillet over low heat until it was golden and smelled nutty. I then added some slices of cut and peeled peaches and let them cook in the browned butter until soft. I took one bite and instantly knew this was the most delicious version of peaches I’ve ever had. I quickly spooned some over vanilla yogurt and for a second time that morning I knew that this was the most delicious way to eat peaches I’ve ever had. Eat these browned butter peaches by themselves, over yogurt, angel food cake, ice cream, french toast, raspberry cobbler, oatmeal, whipped cream, pancakes…

Browned Butter Peaches
 
Yield: 6-8 servings
Ingredients
  • 5 tablespoons unsalted butter
  • 2 tablespoons brown sugar
  • 4 large peaches, pitted, peeled and sliced
Directions
  1. Melt the butter over medium heat in a medium skillet. Swirl the butter until golden brown and aromatic, about 5 minutes.
  2. Add the brown sugar and stir until combined.
  3. Add the peach slices and cook until soft, about 8-10 minutes. Make sure to turn stir and flip the peaches over.
Notes
If serving over yogurt let cool until slightly, about 15 minutes.

Hobo Egg Grilled Cheese

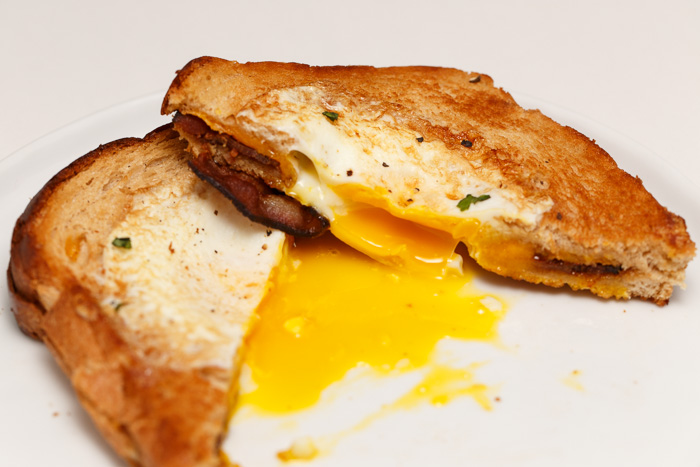
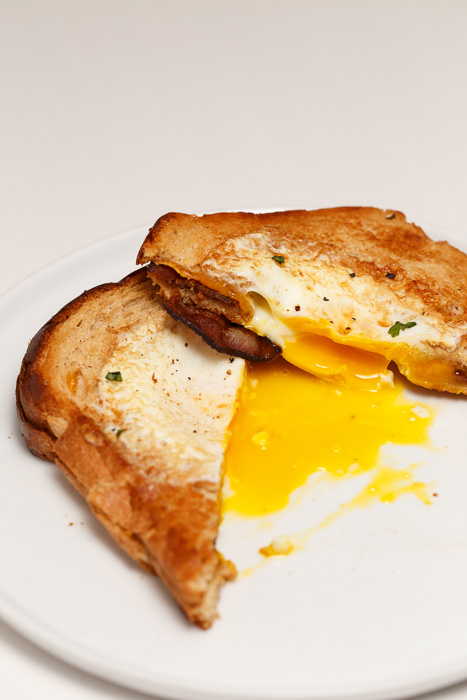
Naturally I ponder about my favorite foods multiple times throughout the day so it is no surprise that I also fantasize about ways to make them even better. To make the ultimate version of all your favorite foods, now that is the dream.

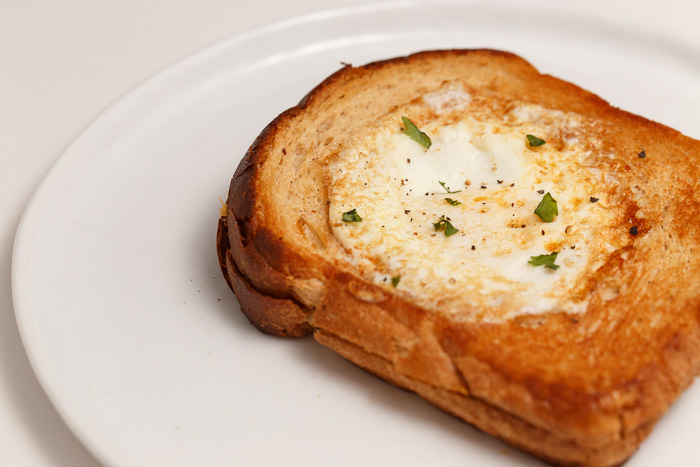
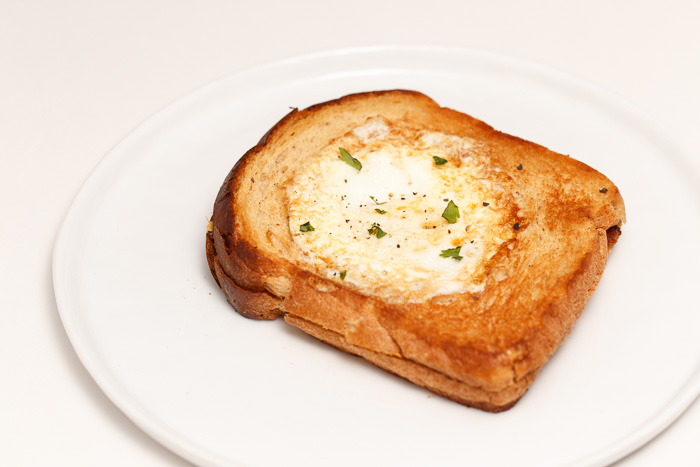
When I stumbled upon this ingenious idea to elevate my family’s beloved hobo egg I almost couldn’t breathe from the excitement. A. Hobo. Egg. Grilled. Cheese? Must. Make. One. Now.

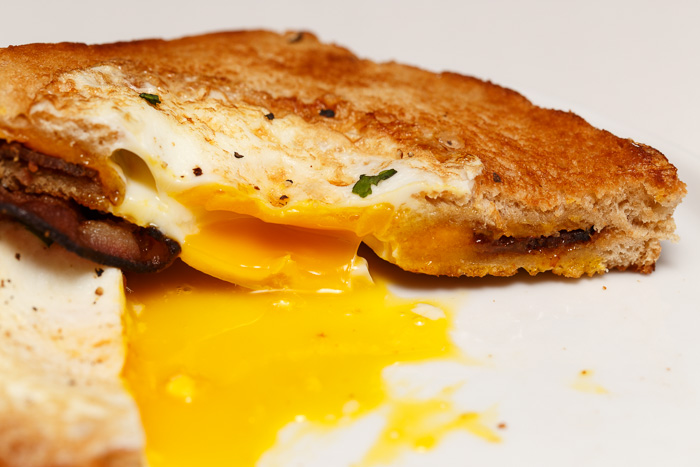
And of course my list of recipes to try is so long I didn’t get to it until many months later, years even, but I’m so happy I finally did. Combining the best of breakfast and lunch this is a spot-on lazy Sunday brunch meal.

Cheese and eggs have been a classic combination since the stone age when a caveman accidentally knocked a bowl of cheese curds onto his sizzling dinosaur egg omelette, or so I imagine, so before even taking a bite you know this sandwich is about to blow your mind.

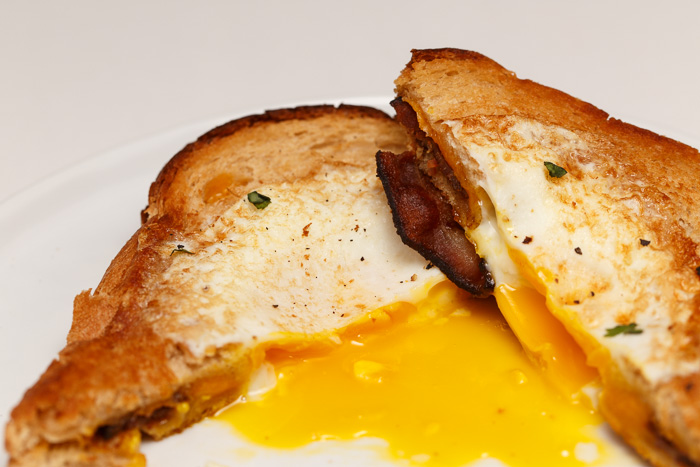
And it does, again and again with every bite until you find yourself standing over the stovetop already making a second one. I hope you enjoy as much as I did, and don’t forget the bacon!

Hobo Egg Grilled Cheese
 
Yield: 1 serving
Ingredients
  • 2 tablespoons butter, divided
  • 2 slices bread
  • 2 slices cheese, preferably cheddar, American, or any cheese that melts well
  • 1-2 slices cooked bacon
  • 1 egg
  • Salt and pepper
Directions
  1. Melt 1 tablespoon butter in a skillet over medium-low heat. Meanwhile prepare your grilled cheese by covering one of the slices of bread with the cheese and bacon then sandwiching the other slice of bread on top. When placing the bacon on the sandwich try to keep it around the corners of the bread so it doesn’t get cut out when you later cut out the circle from the middle.
  2. When the butter is melted and the pan is hot carefully place the grilled cheese in the skillet. Place a pan lid or tent a piece of foil over-top the sandwich in the skillet to help the cheese melt.
  3. When the cheese has started to melt and the bread is very lightly browned, about 2-3 minutes, carefully flip the grilled cheese. Cook until the other side of the bread is very lightly browned, about 1-2 minutes. Remove from the pan.
  4. Using the rim of a glass or a 2” cookie cutter cut a circle out of the center of the grilled cheese. Enjoy as a pre-meal appetizer. Press down on the sandwich to flatten it slightly.
  5. Melt the remaining tablespoon of butter in the skillet over medium heat and return the sandwich to the pan. Carefully crack an egg in the hole of the sandwich. Season with salt and pepper. Cook for 3 minutes then carefully flip over. Cook until the egg is no longer jiggling, but still feels soft to the touch, about 3-4 minutes. You want to make sure the whites are cooked through, but the yolk is still runny. Remove from the pan, cut in half and serve dipping the sandwich halves into the runny yolk.