Appetizers & Snacks

Elote Wonton Bites

Elote Wonton Bites  |  Lemon & Mocha

There’s something so fun about bite-sized appetizer food. They’re great for parties and big crowds, but don’t discount appetizers for everyday either. When I have a few friends over I love serving just a bunch of appetizers we can all pick at until we’re bursting at the seams – of course always with leaving room for dessert. Sometimes they’re a nice casual dinner for Matt and I, too.

Elote Wonton Bites  |  Lemon & Mocha

These Elote Wonton Bites would be perfect for a big outdoor bash or to just feel those summer Friday vibes. If you aren’t familiar with my elote obsession, elote is also known as Mexican street corn. Usually served grilled on the cob, it’s slathered with lime, salt, chili powder, cotija cheese (a crumbly Mexican cheese) and mayo or crema fresca. Elote instantly makes me feel like it’s summer and last year I turned it into a bunch of fun dishes, including Elote Hot Dogs, Mexican Street Corn Pasta Salad and Elote Pizza.
Elote Wonton Bites  |  Lemon & Mocha

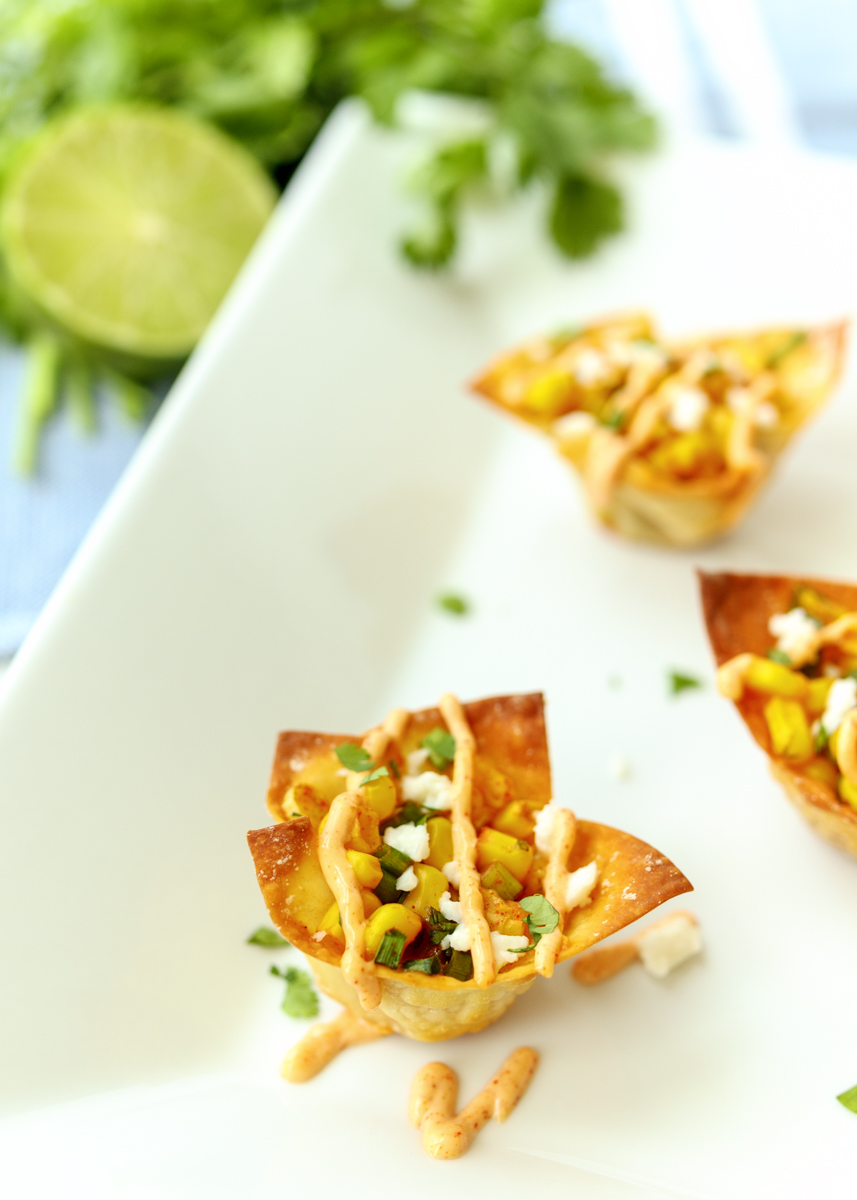
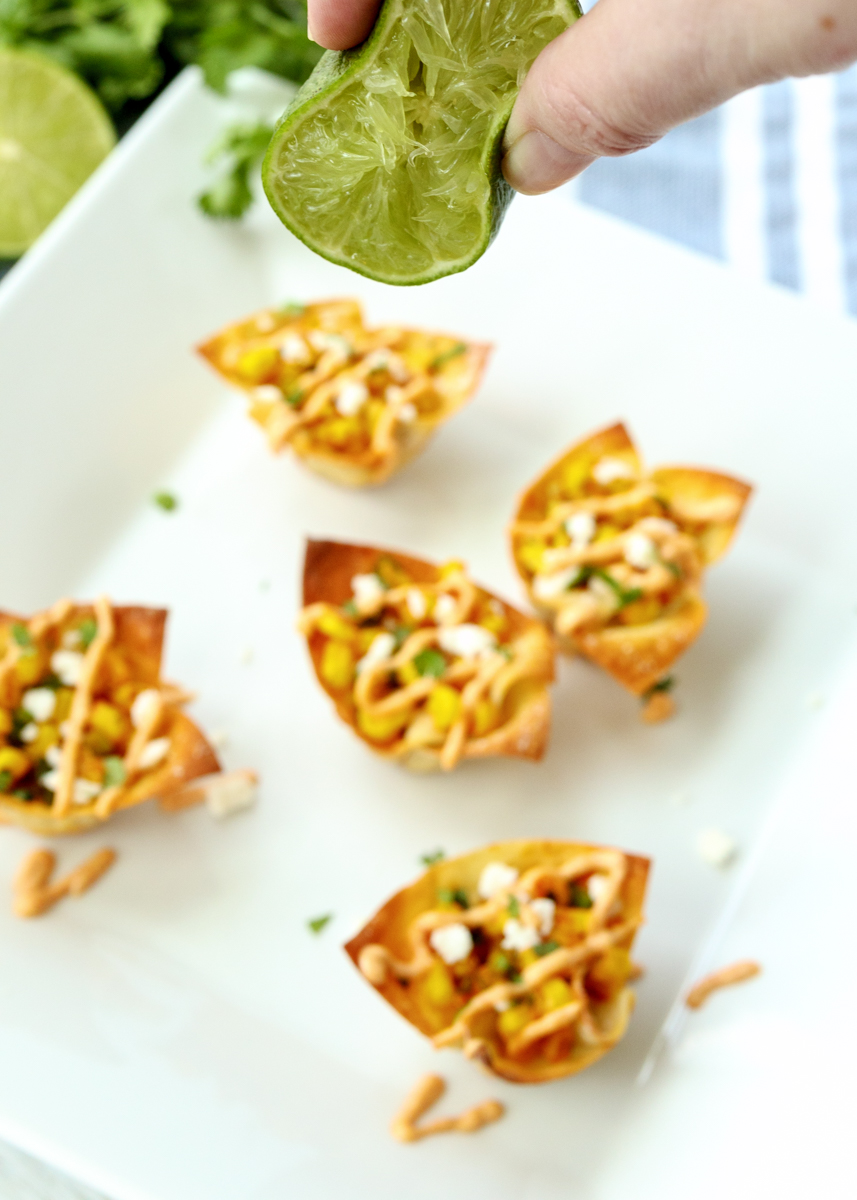
Of course this summer I had to keep it going with some more exciting ways to get your cheesy, creamy corn fix. Crispy wonton cups are filled with corn, scallions and all the elote flavorings then topped with salty cotija cheese and a lime mayo drizzle. Make sure you don’t skimp on the cotija cheese or the mayo! Both are what help transport you to a beach-side happy hour sipping on a margarita.

Elote Wonton Bites  |  Lemon & Mocha

I have been able to find cotija cheese in every grocery store I go to near me, but if you can’t find it you can substitute queso fresco, which is another crumbly Mexican cheese. If you can’t find either of those then you can use feta cheese, although the taste won’t be quite the same. As many of you know, I do not like spicy foods so I use smoked paprika in these to get the smokiness without the heat, but if you like spice then season with chili powder to your preference.

Elote Wonton Bites  |  Lemon & Mocha

The one thing I didn’t do was char the corn because I wanted to keep things a little more simple, but next time I might go the extra step and sear the corn in a sauté pan or grill some ears of corn to fully get the Mexican street corn experience. I hope you like these little bites and get excited for another Elote twist dish I have coming up later this summer!
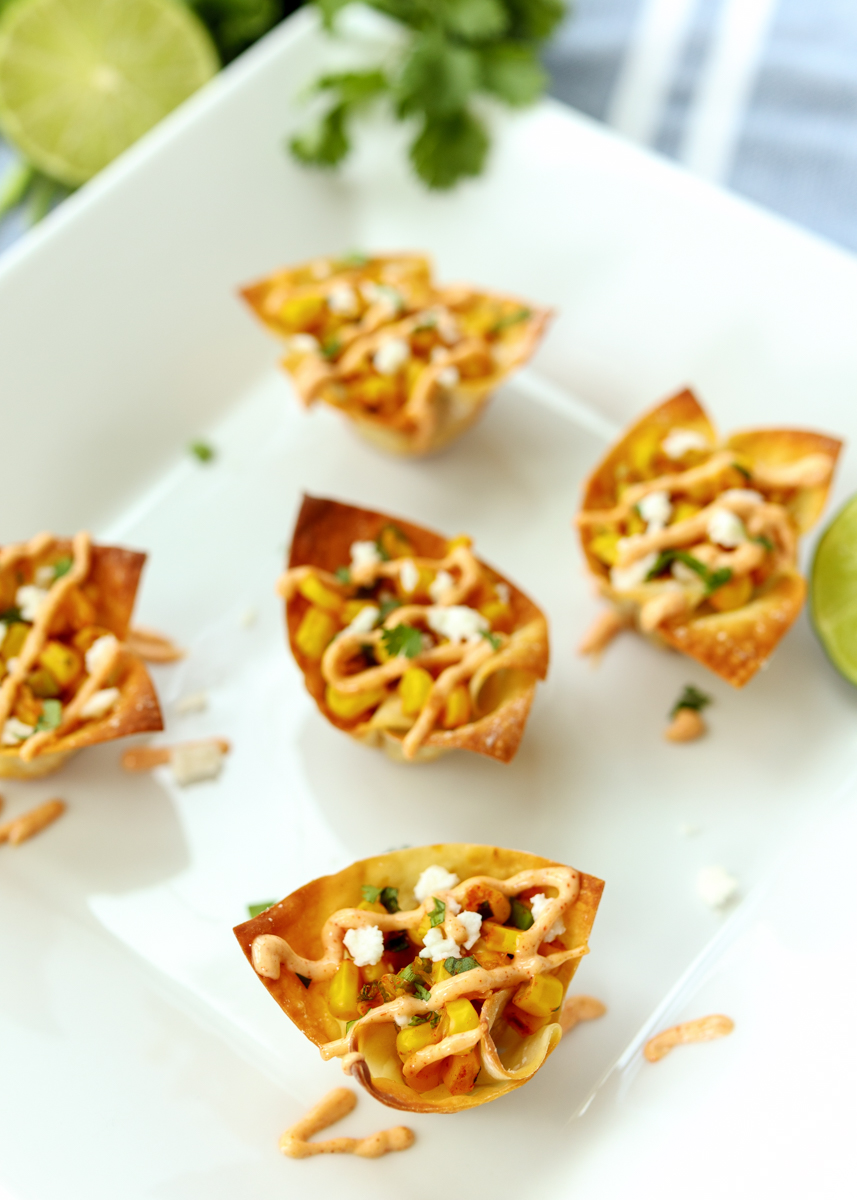
Elote Wonton Bites  |  Lemon & Mocha

Elote Wonton Bites
 
Yield: 24 bites
Ingredients
  • 24 wonton wrappers
  • 1 15-ounce can corn, no salt added (about 1½ cups corn kernels), drained
  • 2 scallions, trimmed and sliced
  • ½ cup shredded mozzarella
  • 1 tablespoon finely chopped cilantro
  • Zest from 1 lime
  • ¾ teaspoon smoked paprika, divided
  • ¼ teaspoon salt
  • ¼ cup mayonnaise
  • 1 teaspoon lime juice
  • ⅛ teaspoon ground cumin
  • Pinch chili powder
  • Cotija cheese, for topping
  • Cooking spray
Directions
  1. Preheat the oven to 350 degrees F.
  2. Spray a mini muffin pan then place the wrappers into the cavities so they create little wonton bowls. Lightly spray the wonton wrappers in the pan then bake for 6 minutes. Set aside.
  3. While the wrappers are in the oven, combine the corn, scallions, mozzarella, cilantro, lime zest, ½ teaspoon of the smoked paprika and salt in a mixing bowl.
  4. After the wontons have baked on their own, spoon the corn mixture into the wontons in the mini muffin pan, evenly dividing between them. Bake for 5 more minutes. While the wontons are finishing baking, make the lime mayo by combining the mayonnaise, lime juice, remaining ¼ teaspoon of smoked paprika, ground cumin and chili powder in a small bowl. Pour into a squeeze bottle if you have one. When the wontons come out of the oven, serve them hot topped with plenty of crumbled cotija cheese and a generous drizzle of the lime mayo.
Notes
If you can’t find cotija cheese, you can substitute queso fresco. If you can’t find either of those Mexican cheeses you can use feta cheese, but the taste won’t quite be the same.


Cheesy Barbecue Chicken Puff Pastry Bites

Cheesy Barbecue Chicken Puff Pastry Bites  |  Lemon & Mocha

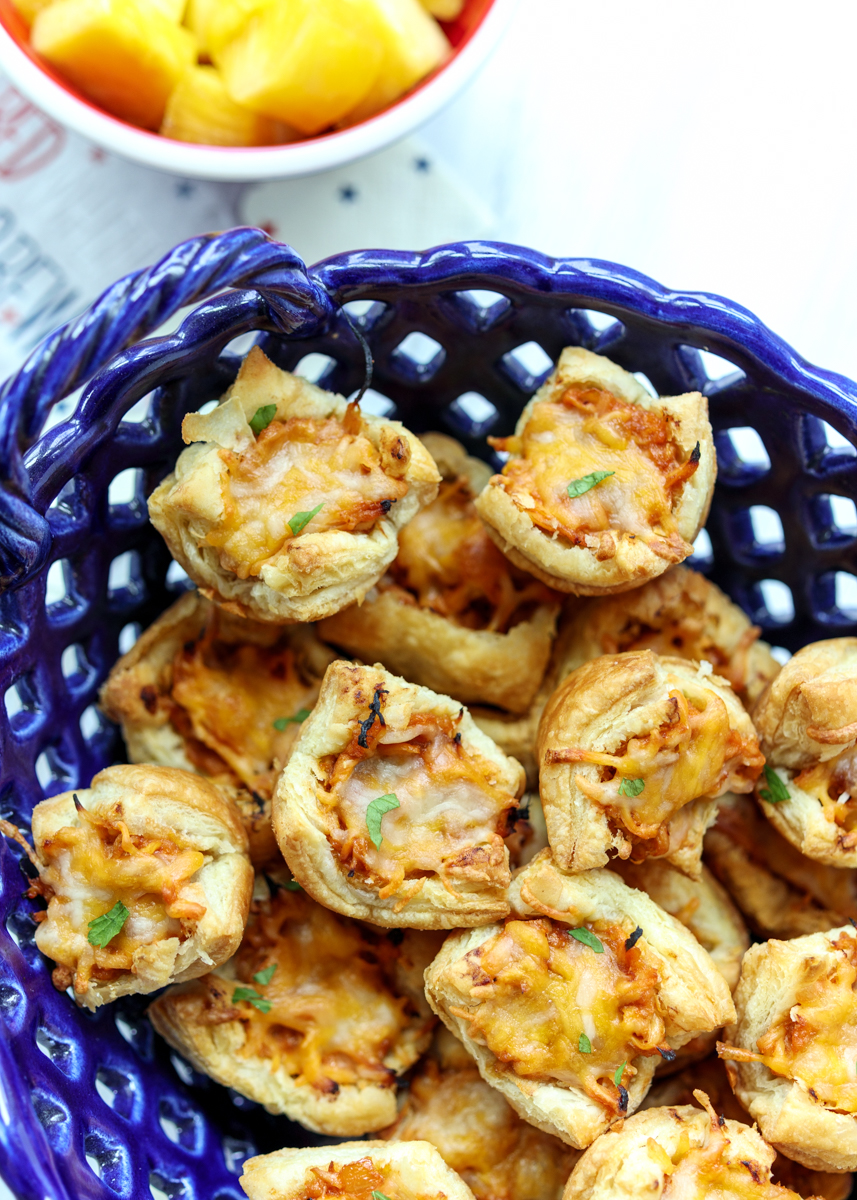
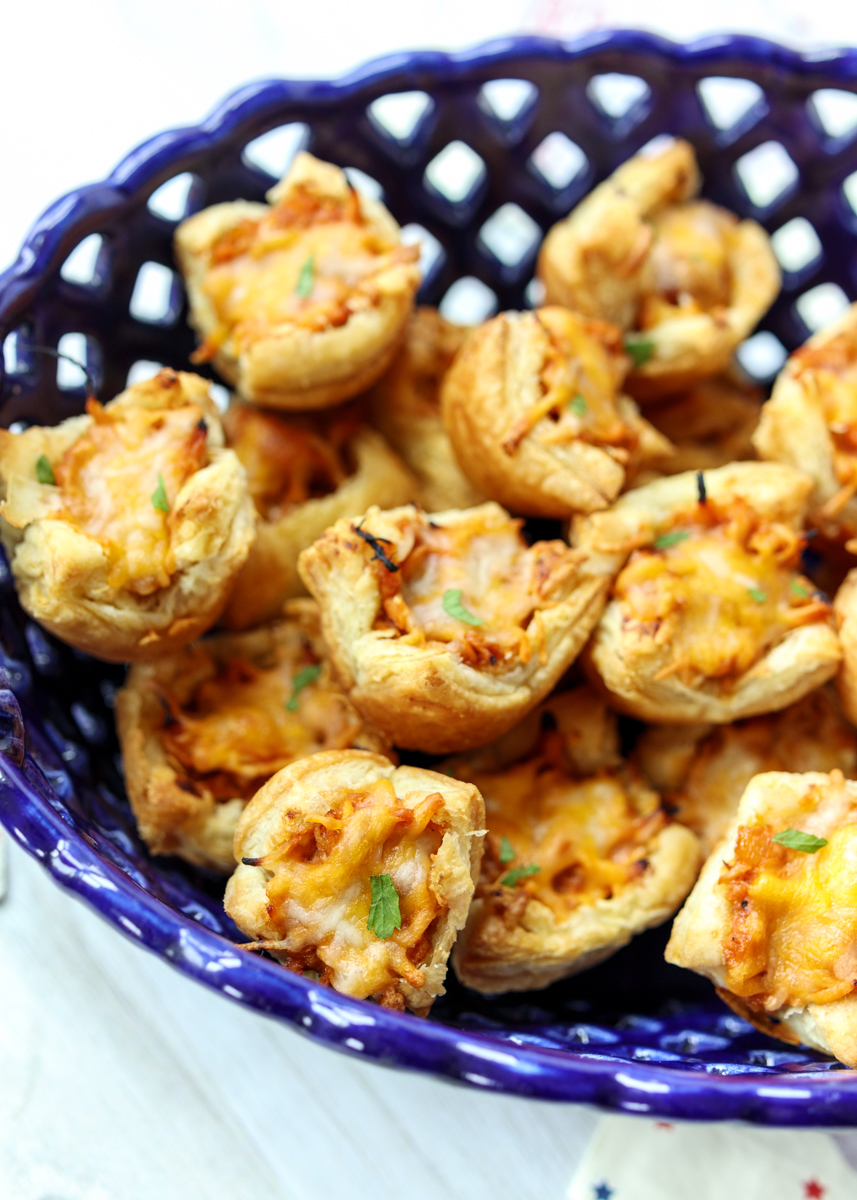
Hi, friends! I know it has been a bit since I posted, but I was determined to share these Cheesy Barbecue Chicken Puff Pastry Bites before Memorial Day weekend! Is there a more perfect party appetizer than something cheesy stuffed into a flaky puff pastry cup? The Antipasto Puff Pastry Bites and the Crab Dip Puffs are always such a hit that I decided I needed to come up with another version of puff pastry bites. Since Memorial Day is coming up I wanted an appetizer that would fit well on a BBQ menu. It’s hard to go wrong with sweet tender chicken smothered in gooey cheese, especially when it’s in crispy and buttery puff pastry.

Cheesy Barbecue Chicken Puff Pastry Bites  |  Lemon & Mocha

I know I talked about this in my Antipasto Puff Pastry Bites post, but I just want to reiterate how easy these little bites are to make. I know, I know, they look so fancy, but that’s just the store-bought puff pastry doing all the hard work for you. Roll out the thawed sheet of puff pastry until it’s a little thinner and larger then cut it into squares. I use my pizza cutter; I definitely don’t make the straightest cuts, but it doesn’t really matter. The little squares of puff pastry get pressed into the cups of a mini muffin pan that has been sprayed with nonstick spray.

Cheesy Barbecue Chicken Puff Pastry Bites  |  Lemon & Mocha

After baking just the puff pastry cups for ten minutes you use a spoon to deflate a little cavity into the center of each puff pastry cup then fill with some shredded barbecue chicken and cheddar cheese before baking for another ten minutes. The reason I split up the baking time is by letting the puff pastry bake a little on its own you’re making sure the bottoms will be crispy and completely cooked.

Cheesy Barbecue Chicken Puff Pastry Bites  |  Lemon & Mocha

When I made these for some friends a couple weeks ago I rolled and cut the puff pastry sheet, placed it into the sprayed muffin pan, then covered the whole thing with plastic wrap and placed it in the fridge. That way when everyone arrived I was able to go right to the baking part and it took no time at all to spoon the chicken into the little cups in between the two ten-minute bakes.

Cheesy Barbecue Chicken Puff Pastry Bites  |  Lemon & Mocha

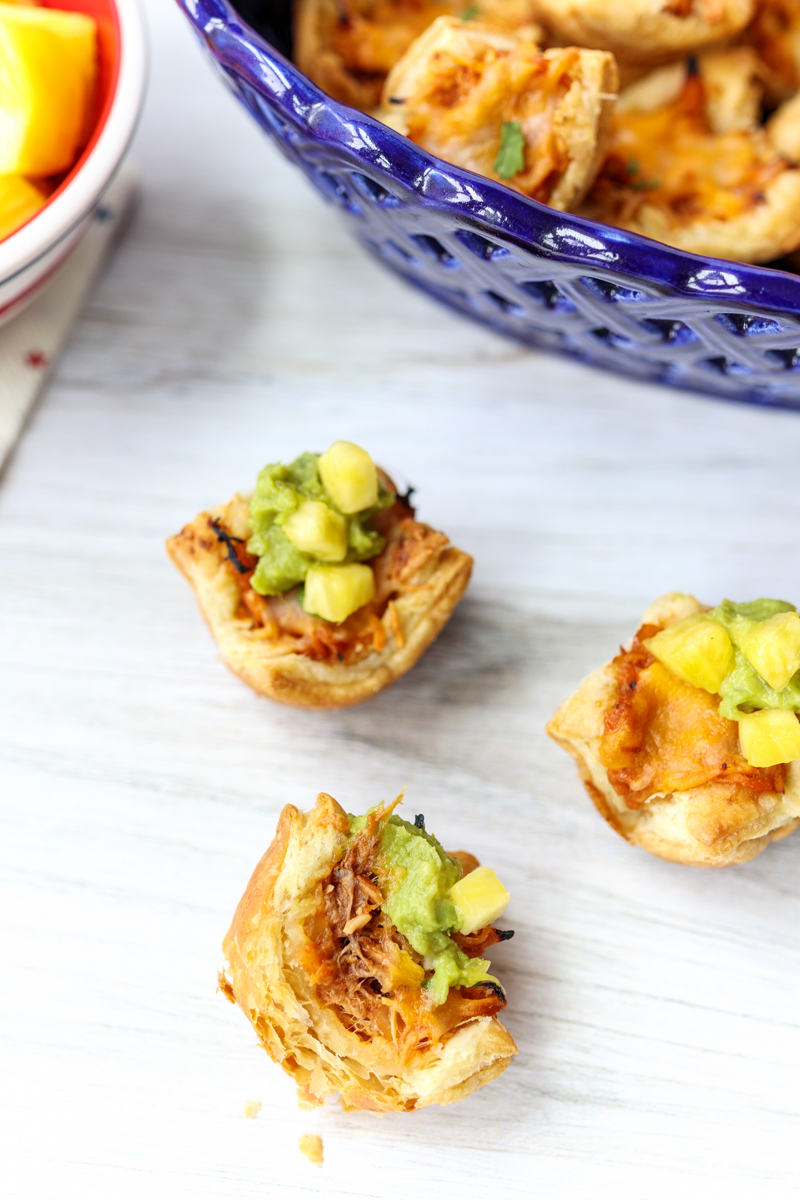
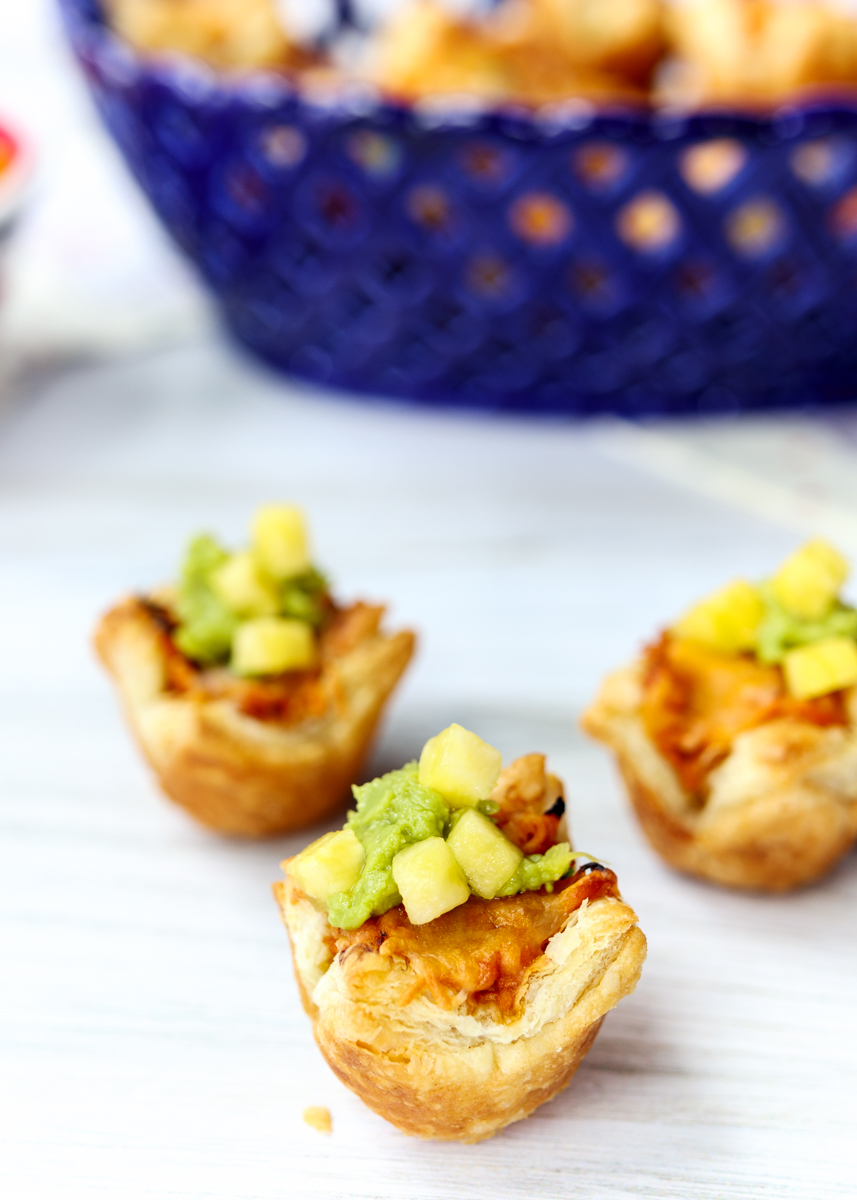
These Cheesy Barbecue Chicken Puff Pastry Bites taste awesome as is, but you can also get creative with different toppings to change the taste a little. My friends and I tried some with chopped pineapple on top and when I made them again for the photo shoot I tried them with a small dollop of guacamole. All three ways tasted really good! You could leave out some topping bowls and let guests choose their own different variations. I hope you all love these as much as we do!

Cheesy Barbecue Chicken Puff Pastry Bites  |  Lemon & Mocha

Cheesy Barbecue Chicken Puff Pastry Bites
 
Yield: 24 bites
Ingredients
  • 1 sheet puff pastry, defrosted, but still cold (mine is usually just right when thawed at room temperature for 35 minutes)
  • 1 cup shredded barbecue chicken, see note
  • ¼ cup plus 1 tablespoon finely shredded cheddar or Mexican blend cheese
  • Finely chopped pineapple for serving, optional
  • Guacamole for serving, optional
  • Cooking spray
Directions
  1. Preheat the oven to 400 degrees F. Lightly spray a mini muffin pan with cooking spray and set aside.
  2. On a lightly floured surface unfold the puff pastry sheet. Roll into a rectangle about 10” by 15”. Cut the rectangle of puff pastry into 24 squares. Press each square into a cup of the prepared mini muffin pan. Return to the fridge for 10 minutes to chill or cover with plastic wrap and leave in the fridge until ready to serve. When ready, bake for 10 minutes then remove from the oven.
  3. When the puff pastry comes out of the oven, gently press a spoon into the middle of each bite to lightly deflate the middle and make room for the chicken. Spoon the shredded chicken into the puff pastry bites. Sprinkle the top of each bite with some of the shredded cheese. Return to the oven for another 10 minutes. Serve hot as is or with pineapple and guacamole on top.
Notes
1 cup of shredded barbecue chicken is roughly the equivalent of a 5¼ ounce cooked chicken breast shredded and mixed with barbecue sauce until fully coated. However, shredded barbecue chicken freezes really well so this is what I normally do: Put 1 pound of boneless skinless chicken breasts in your slow cooker. Add almost a whole bottle of original Sweet Baby Ray’s barbecue sauce and ½ chopped small onion. Let slow cook on low for 6-8 hours. Shred the chicken right in the slow cooker and let cook for 15-30 more minutes. If I make this the day before these puff pastry bites I put what I need in the fridge then freeze the rest. I like to freeze the shredded barbecue chicken in quart freezer bags (flattened after sealing) because they defrost really quickly.


Hummus and Roasted Veggie Flatbread Pizza

Hummus and Roasted Veggie Flatbread Pizza  |  Lemon & Mocha

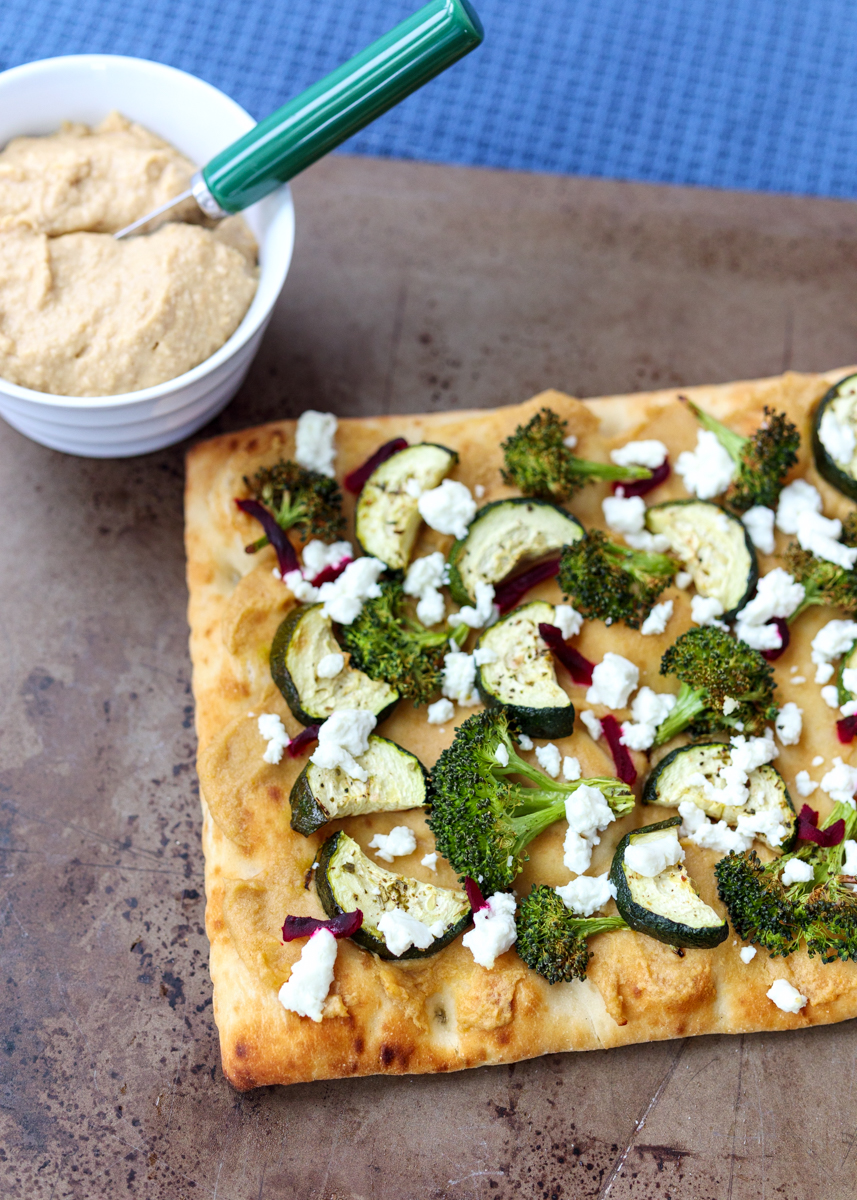
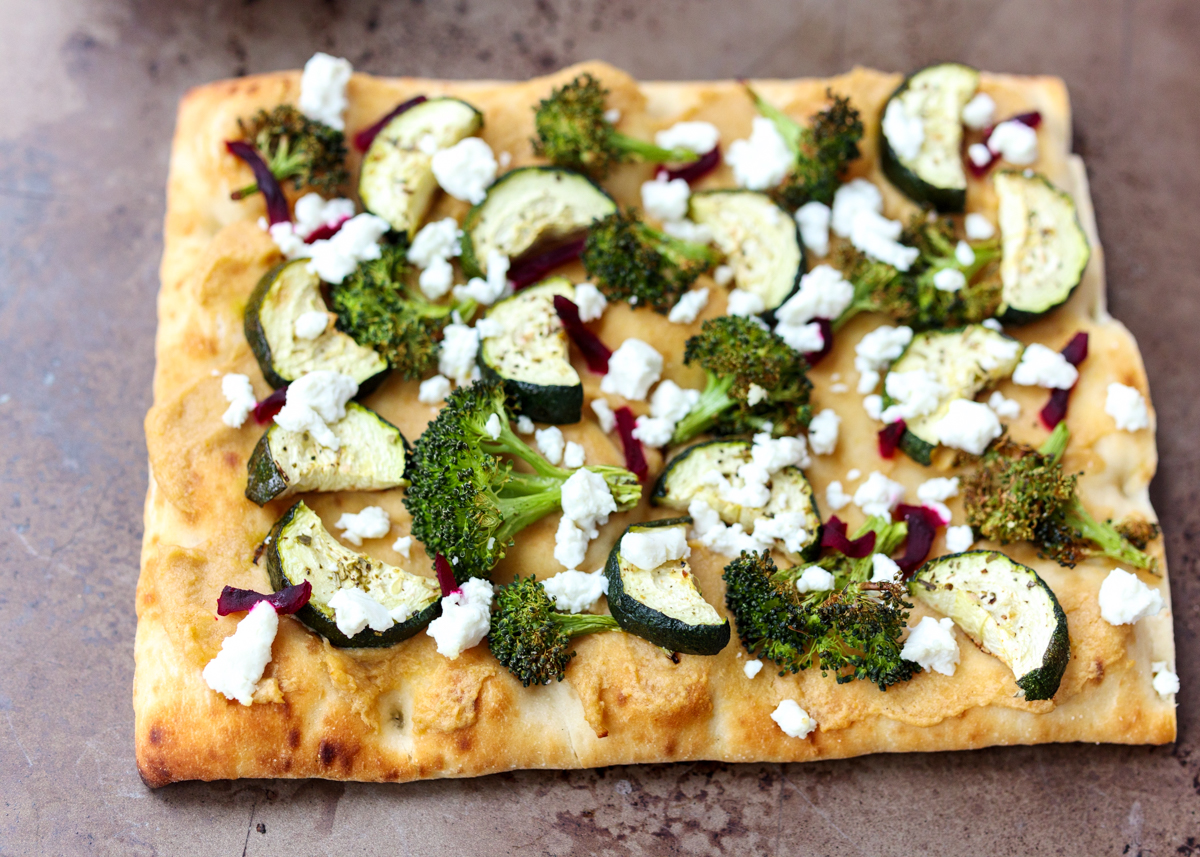
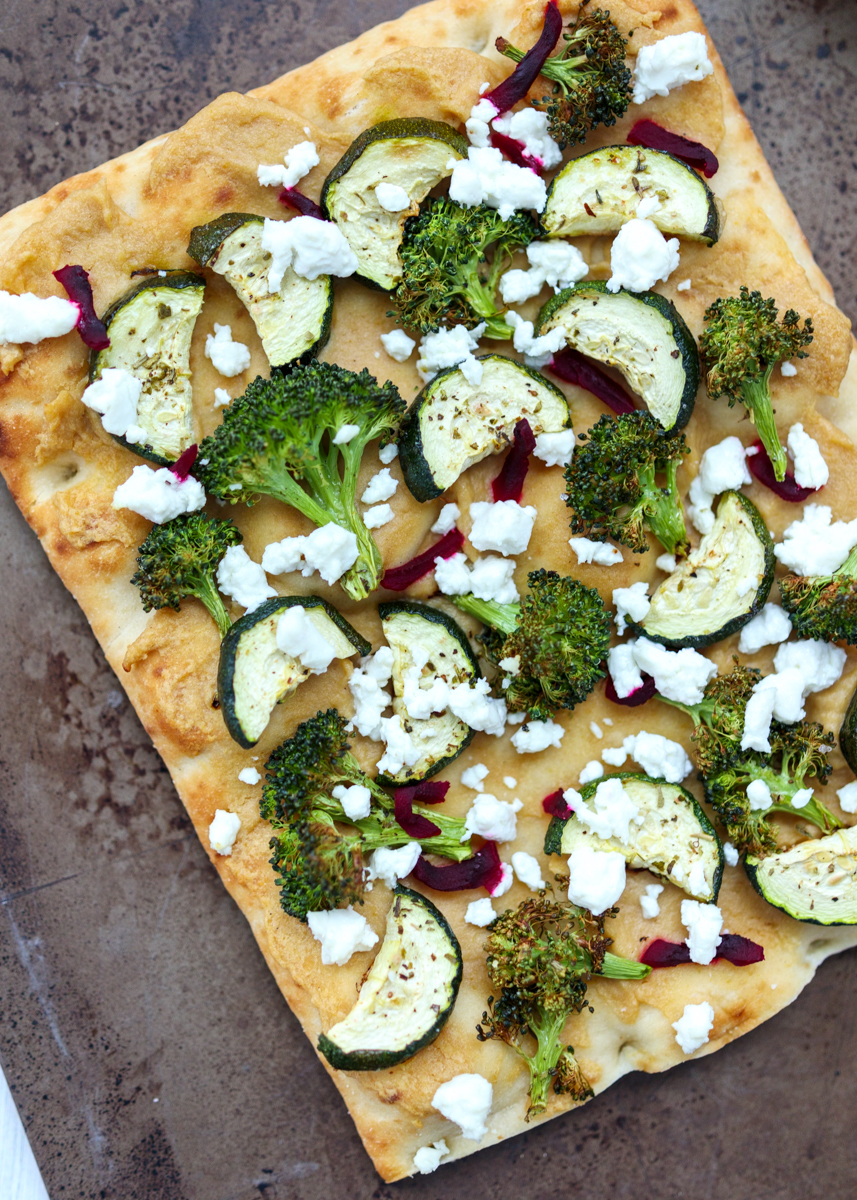
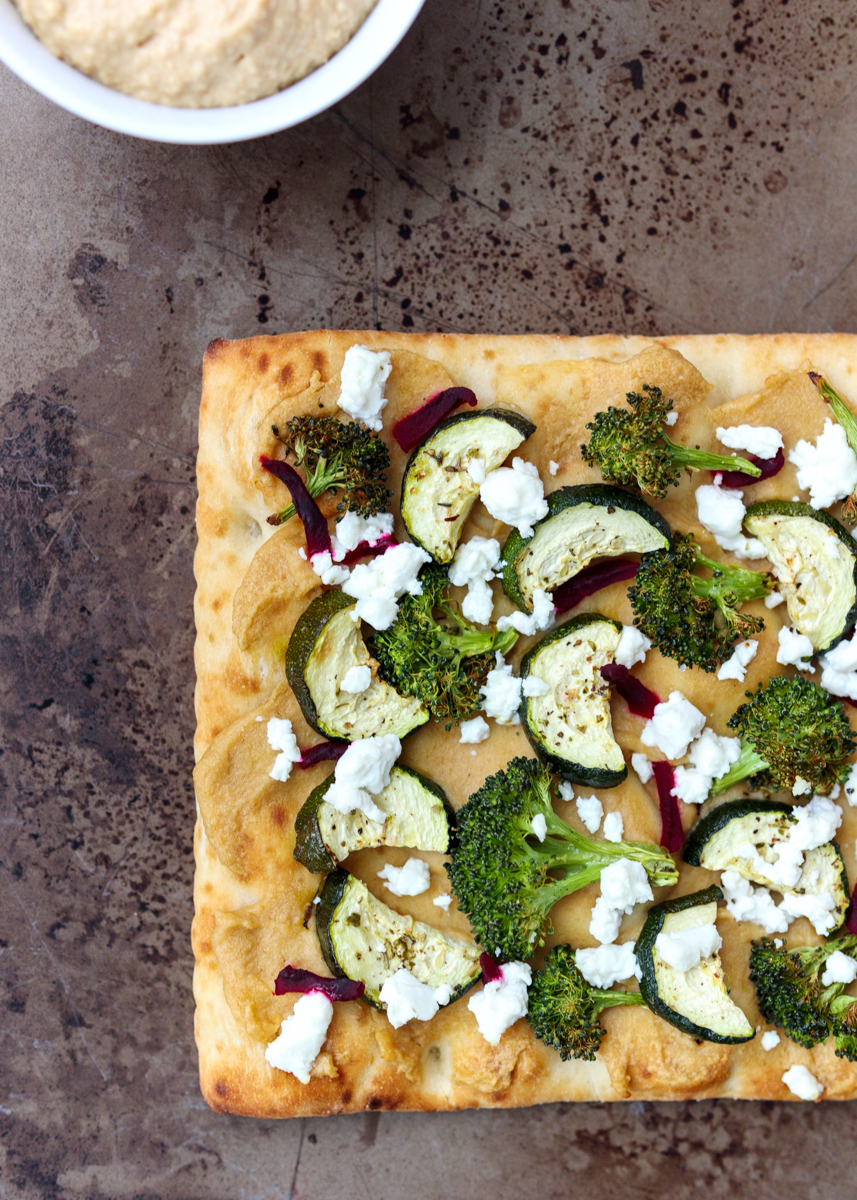
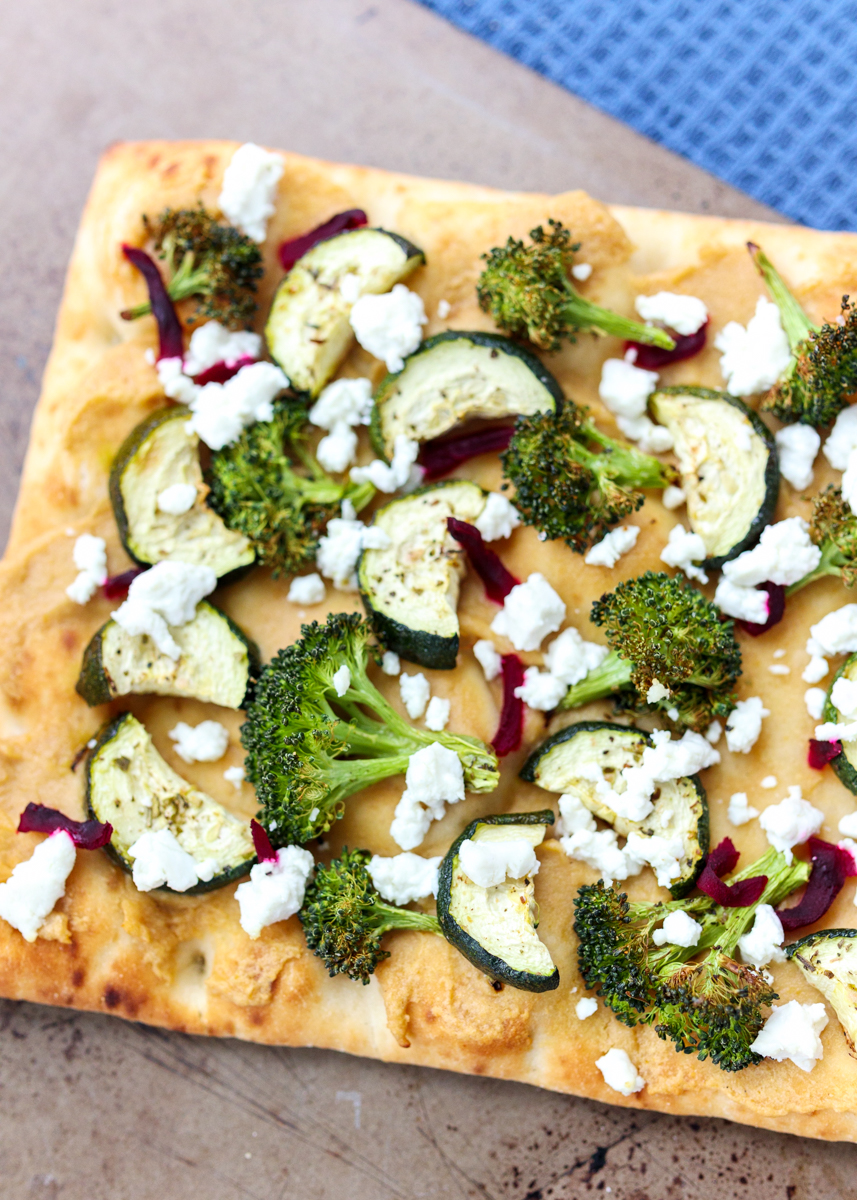
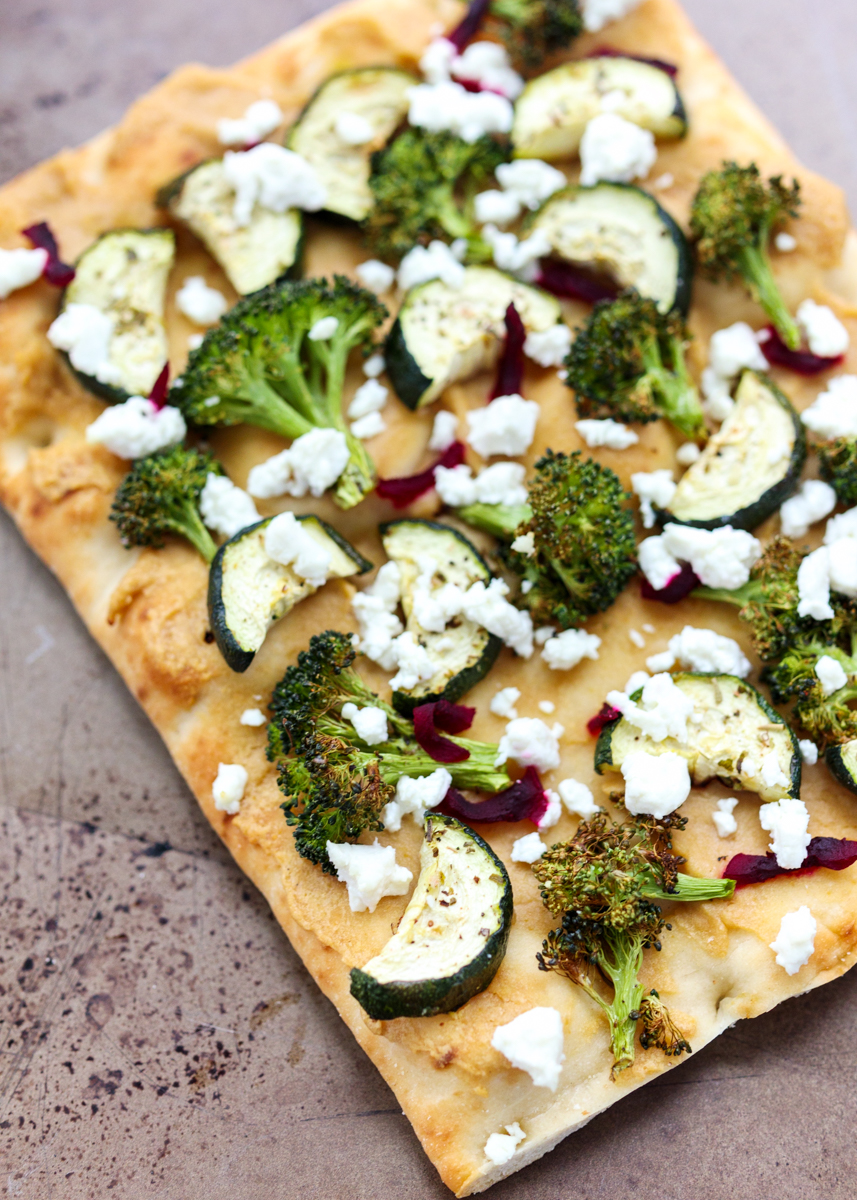
Now this, my friends, is how to truly enjoy hummus. I thought I had a love for hummus, but this Hummus and Roasted Veggie Flatbread Pizza just deepened my love ten-fold. Pita chips dipped into hummus is great. Warm, soft pita wedges dipped into hummus is even better. But a toasted pizza crust topped with warm hummus, roasted vegetables and slightly melted goat cheese is the hands-down winner.

Hummus and Roasted Veggie Flatbread Pizza  |  Lemon & Mocha

I used Monday’s Caramelized Onion Hummus to make this flatbread pizza and the rich flavor balanced with the roasted zucchini and broccoli was perfect. The beauty of this dish is you can really customize it any way you would like. Swap out the hummus flavor, your favorite veggies or even add some additional protein, like some grilled chicken.

Hummus and Roasted Veggie Flatbread Pizza  |  Lemon & Mocha

Or just make it with whatever is in your fridge because once you get the thought of a hummus pizza in your head nothing will matter until you are blissfully taking bites of the warm and crispy hummus-slathered flatbread.

Hummus and Roasted Veggie Flatbread Pizza  |  Lemon & Mocha

I found these new pre-made rectangular pizza crusts at Trader Joe’s. They were giving out samples of them covered in pesto and gooey mozzarella so of course I got a few to stock up. They were super long so I cut them in half and popped them in my freezer. I would definitely recommend them, although naan bread, pita bread or any other type of pre-made flatbread would work well for this hummus pizza.

Hummus and Roasted Veggie Flatbread Pizza  |  Lemon & Mocha

One key recipe step that I want to point out is that you have to spread the hummus on the pizza before putting the flatbread in the oven. Hummus spread on a warm pita is one thing, but hummus baked on a pizza crust is an entirely different experience. The hummus gets warm and bakes onto the crust. So good! Have you ever had a hummus pizza?

Hummus and Roasted Veggie Flatbread Pizza  |  Lemon & Mocha

Hummus and Roasted Veggie Flatbread Pizza
 
Yield: 2 personal sized flatbreads
Ingredients
  • 1½ cups small broccoli florets
  • 1 zucchini, sliced into rounds then halved
  • Cooking spray
  • Salt, pepper, garlic powder, Italian seasoning
  • 2 flatbreads, about 8” by 6” each
  • ½ cup hummus
  • ¼ cup shredded raw beets
  • 2 ounces goat cheese crumbles
Directions
  1. Preheat oven to 400 degrees F. Line a baking sheet with nonstick aluminum foil or parchment paper. Place the broccoli florets and zucchini pieces in a single layer on the baking sheet. Lightly spray with cooking spray. Season the veggies with salt, ground black pepper, garlic powder and Italian seasoning. Roast for 20 minutes, or until tender and lightly charred.
  2. Divide the hummus between the 2 flatbreads and spread in an even layer. Divide the roasted veggies, raw beets and goat cheese crumbles between the flatbreads. Bake at 400 degrees for 5-7 minutes, or toast in your toaster oven, until the flatbread is warm and the goat cheese is slightly melted.


Caramelized Onion Hummus

Caramelized Onion Hummus  |  Lemon & Mocha

I hope you all had a great weekend! Mine was unusually event-packed with a Kelly Clarkson concert, skiing and a Shin Lim show, who was the magician who won last season of America’s Got Talent. He also won the most recent America’s Got Talent Championship season, which I didn’t watch, but it was apparently a mix of returning winners and runner-ups. Anyways, Shin Lim does close-up magic and if you haven’t seen him perform before you should go watch some clips of him on YouTube. Seeing it in person was even crazier; every trick literally left me speechless, except for “How did he do that?!”

Caramelized Onion Hummus  |  Lemon & Mocha

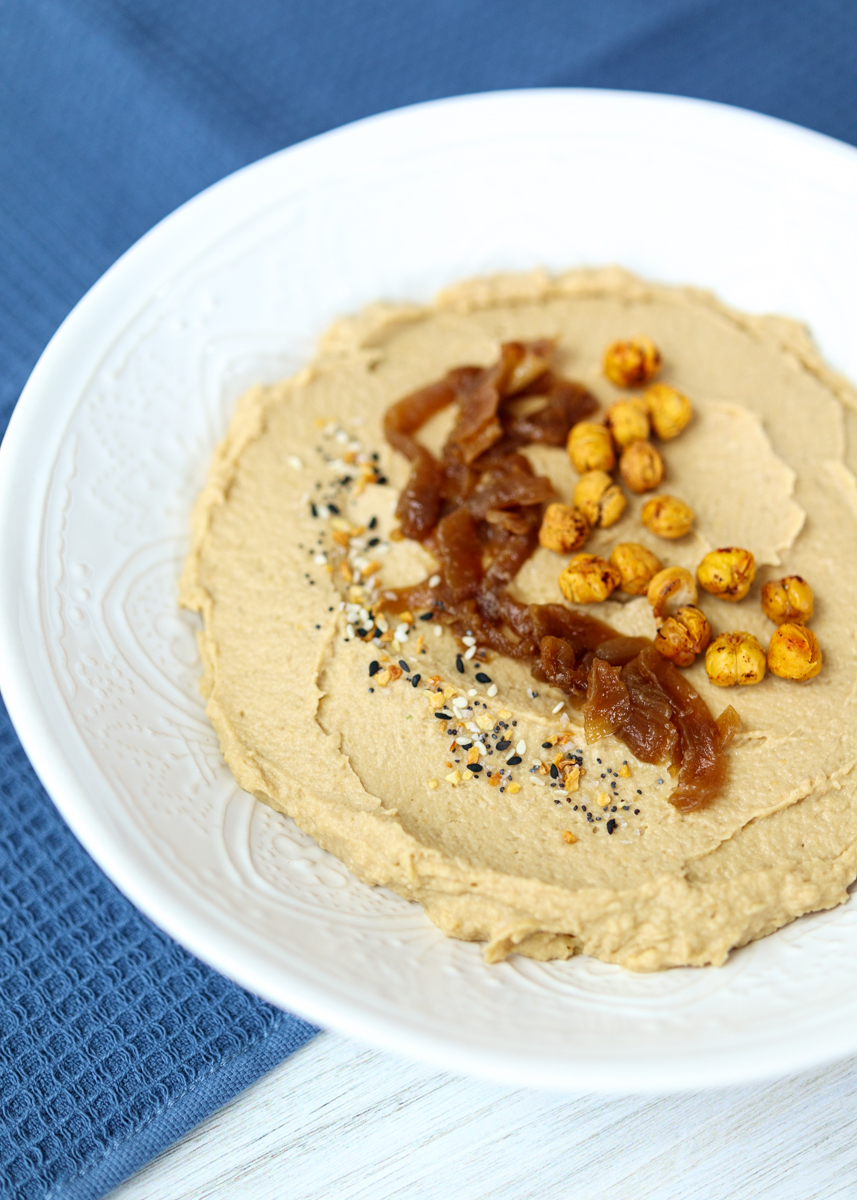
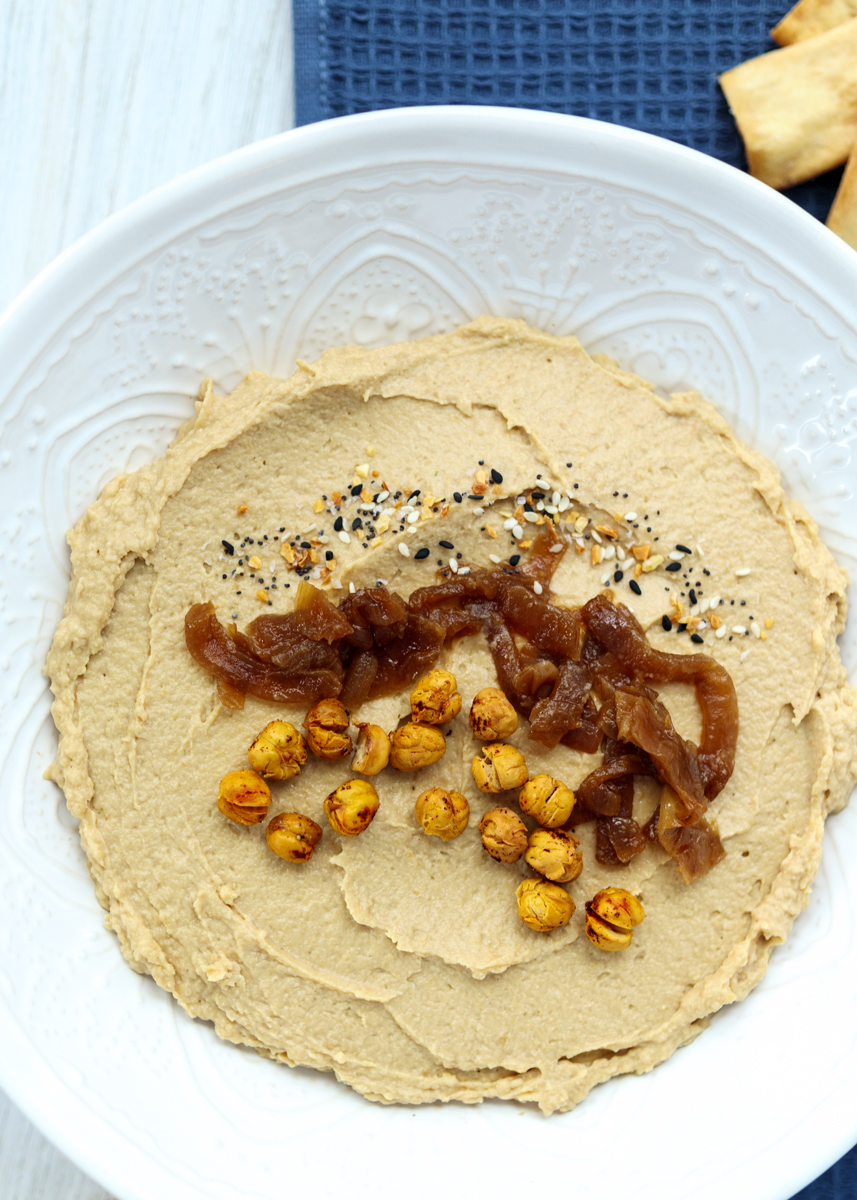
This Caramelized Onion Hummus might be not quite as mind-blowing, but it’s still crazy delicious. We all have those times where you get a product at the grocery store and are instantly hooked. That was what Wegman’s Caramelized Onion Hummus was for Matt and me.

Caramelized Onion Hummus  |  Lemon & Mocha

After buying it a few weeks in a row I decided to recreate it at home, especially since I was planning on making caramelized onions for the Barbecue Meatloaf Sandwiches. Caramelized onions add a whole level of richness and sweetness to hummus.

Caramelized Onion Hummus  |  Lemon & Mocha

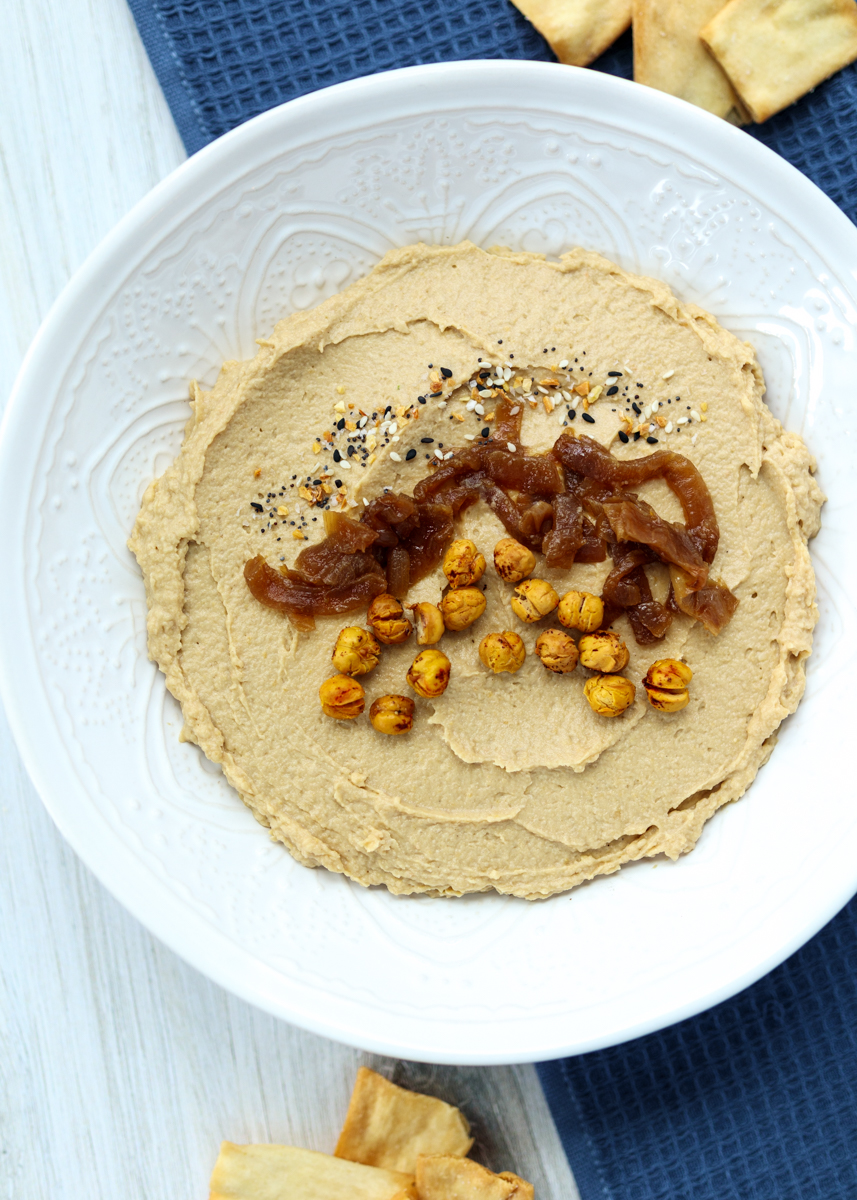
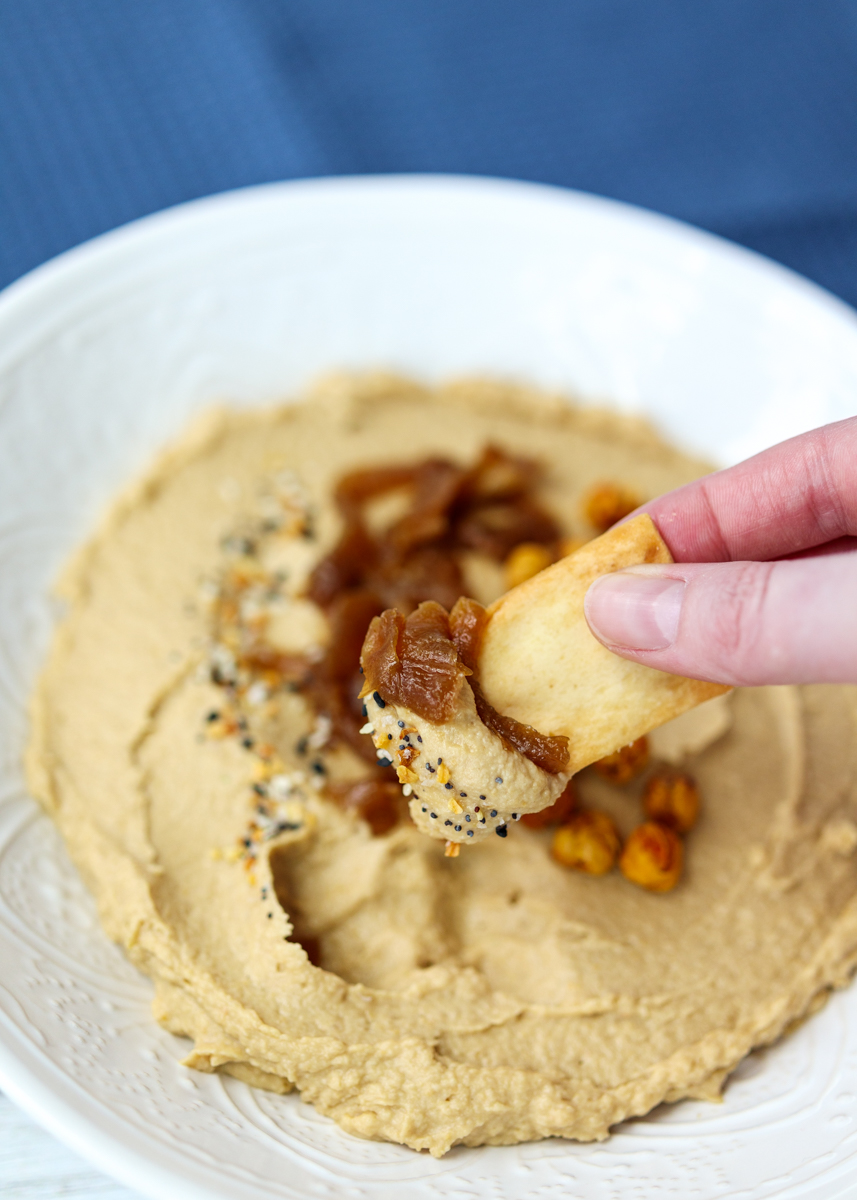
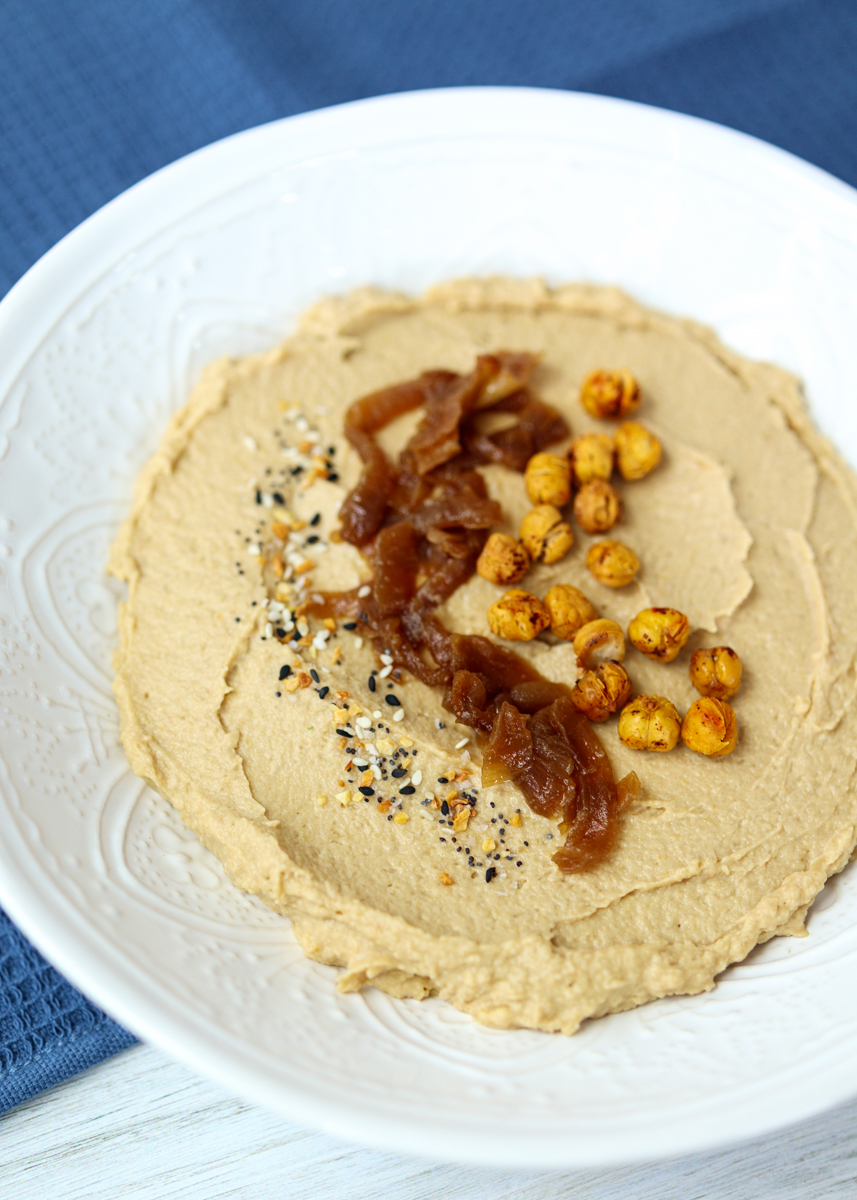
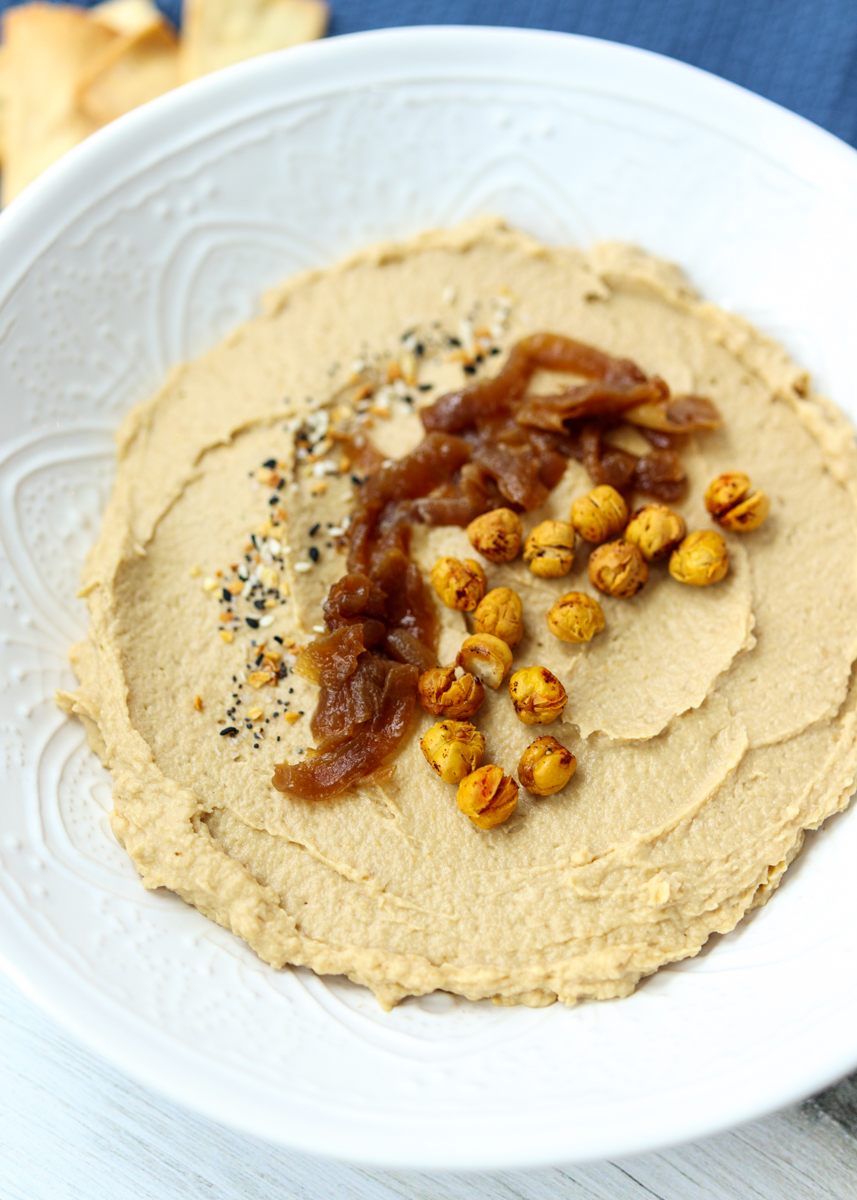
The hummus is really creamy and gets just the right amount of acidity from some lemon juice and apple cider vinegar. I served the hummus topped with caramelized onions, crispy chickpeas and some Everything But the Bagel Seasoning from Trader Joe’s to add some extra savory flavor. We ate ours with pita chips and veggie slices, but I also love hummus spread on sandwiches or in a salad.

Caramelized Onion Hummus  |  Lemon & Mocha

I tried something new with the hummus this time as well and it turned out so good that I’ll be sharing it with you on Wednesday! And so good that I made it three nights in a row last week for Matt and I to snack on before dinner. So stay tuned!

Caramelized Onion Hummus  |  Lemon & Mocha

Caramelized Onion Hummus
 
Ingredients
  • 1⅓ cup caramelized onions
  • 1 15-ounce can of chickpeas, drained and rinsed
  • 1 clove garlic
  • ⅓ cup tahini
  • ⅓ cup olive oil
  • 1 teaspoon lemon juice
  • ½ teaspoon apple cider vinegar
  • ½ teaspoon salt
Directions
  1. Blend everything together in a food processor until smooth and creamy. Top with caramelized onions, roasted chickpeas and everything but the bagel seasoning before serving.

 
Caramelized Onions
 
Ingredients
  • 4 medium onions, halved then sliced
  • 1 tablespoon plus 1 teaspoon olive oil
  • Salt
Directions
  1. Heat the oil in a large saucepan over medium-low heat. Add the onion slices then toss to coat. Season with salt. Cook the onions, stirring every few minutes for 35-40 minutes. Towards the last 20 minutes if they start getting burnt in spots add a little more water (no more than a tablespoon at a time). If you want them really caramelized, you can continue cooking for an additional 10 minutes, but you will want to stir very frequently to make sure they don’t burn. Remove from the heat when done.


Brie-Stuffed Mushrooms

Brie-Stuffed Mushrooms  |  Lemon & Mocha

Do you cook from cookbooks often? I have a few cookbooks that I’ve made countless recipes from and have shared on here: Rachael Ray’s Look + Cook, The Perfect Scoop, Cook This, Not That! and Pati’s Mexican Table. Then I have a whole bunch of cookbooks that I’ve drooled over the pages of many, many times, but that I have yet, years later, to make any of the recipes. Every year I say that this will be the year I cook from all the cookbooks I’ve never used before, but this year I mean it and I’m already off to a great start! In addition to a few recipes I have picked out for the blog, like these epic Brie-Stuffed Mushrooms, I thought maybe I would be more motivated if I turned over some of the selection power to Matt.

Brie-Stuffed Mushrooms  |  Lemon & Mocha

Last month Matt picked a cookbook I haven’t cooked anything from yet along with a recipe from that book and then we cooked it together. It wasn’t for the blog so there was no pressure for it to look good or to be made during daylight hours for photograph reasons. January’s pick was an Eight-Hour Skirt Steak with Balsamic Mushrooms from Sous Vide at Home, which he had gotten me last year. Matt cooked most of the dish himself and it was incredible! This month, Matt picked the Half Baked Harvest Cookbook, who is one one of my favorite food bloggers, and we’re going to be making her Farmhouse Cheddar and Angel Hair Frittata next week. Yum – I can’t wait to try it! I’m liking this new monthly tradition, although if any of the recipes become new favorites then I of course will have to re-make them to share with you all!

Brie-Stuffed Mushrooms  |  Lemon & Mocha

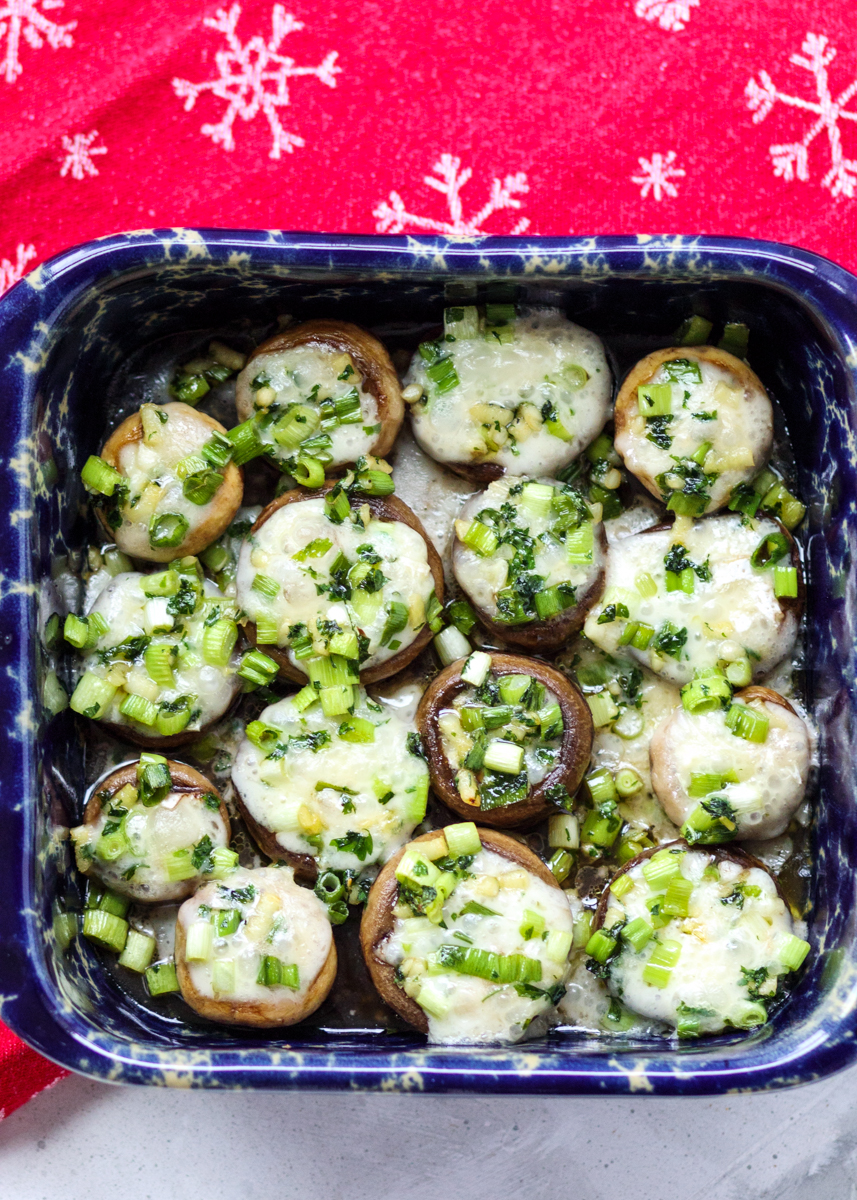
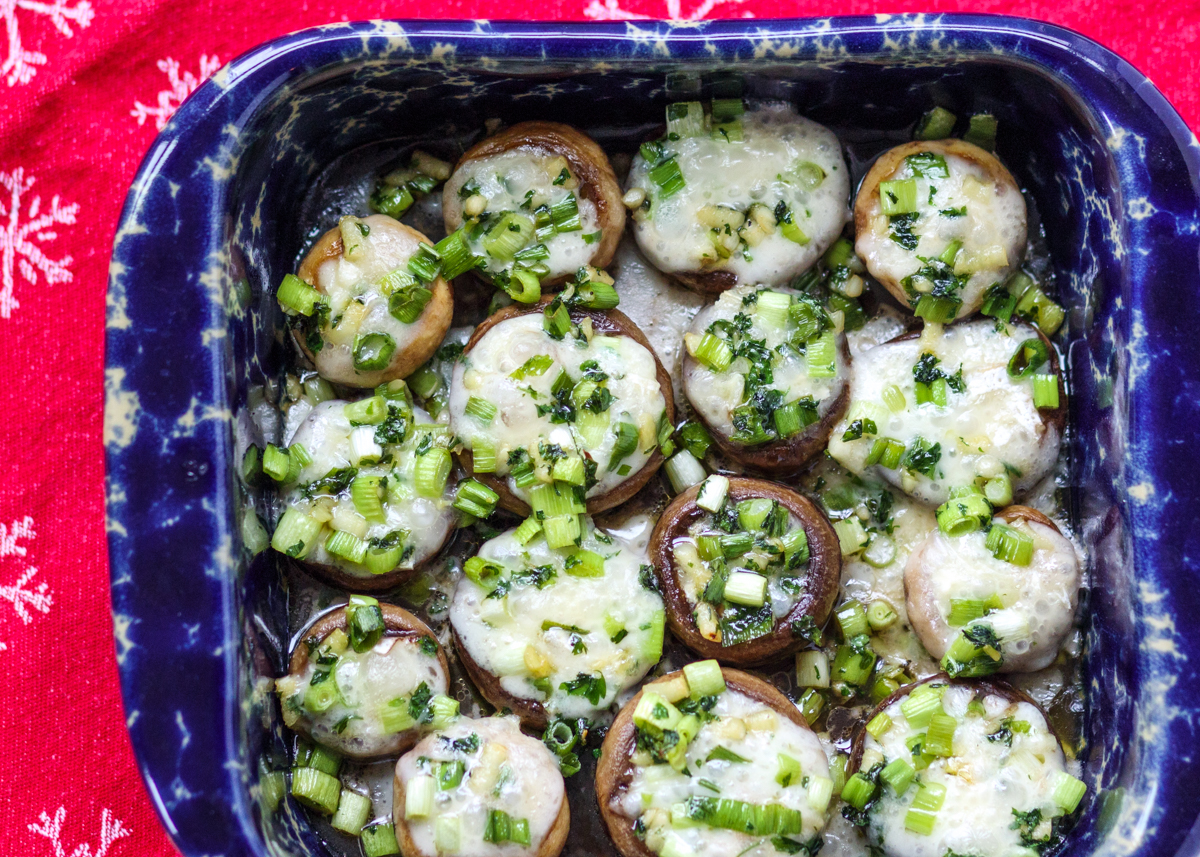
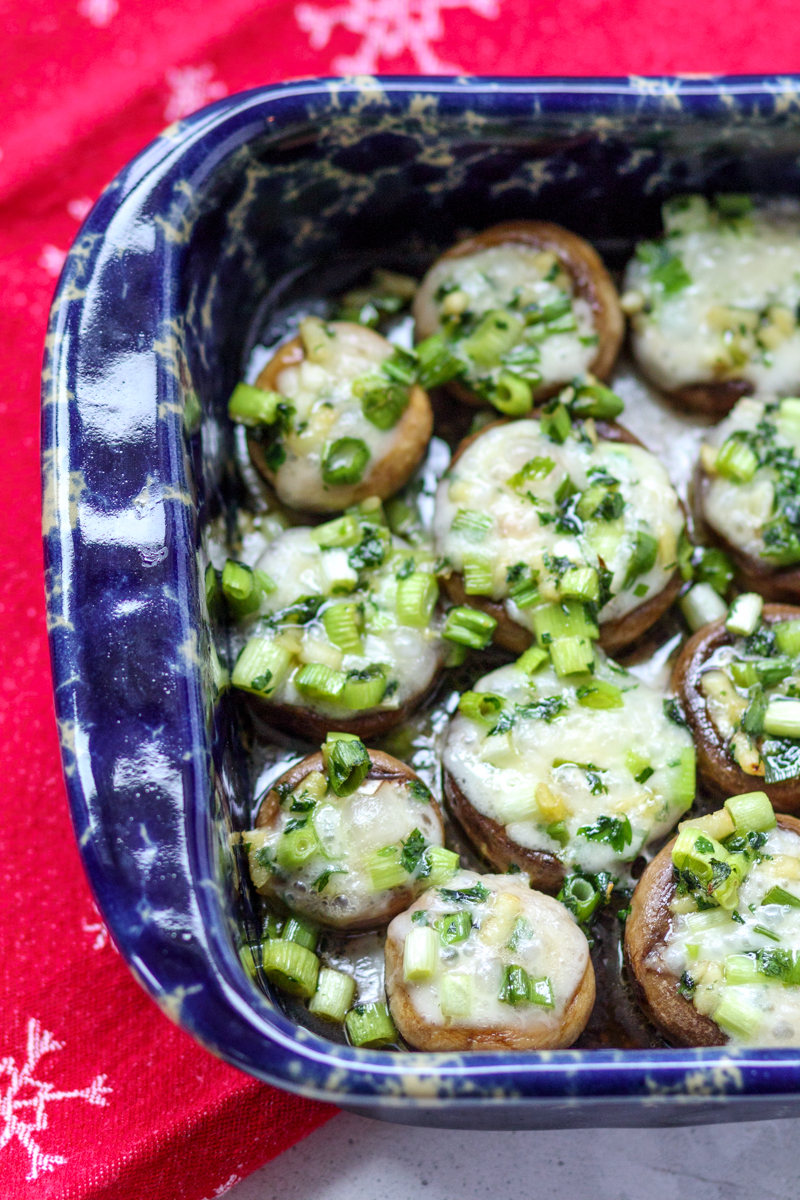
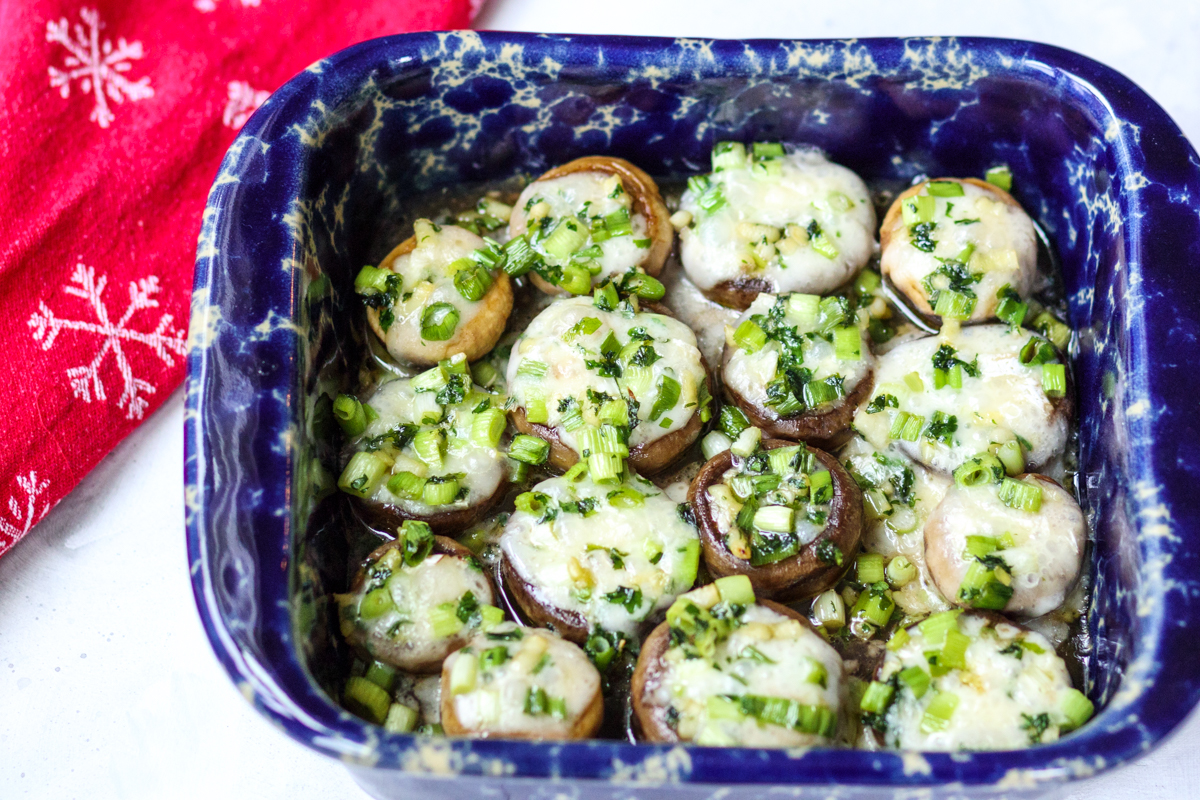
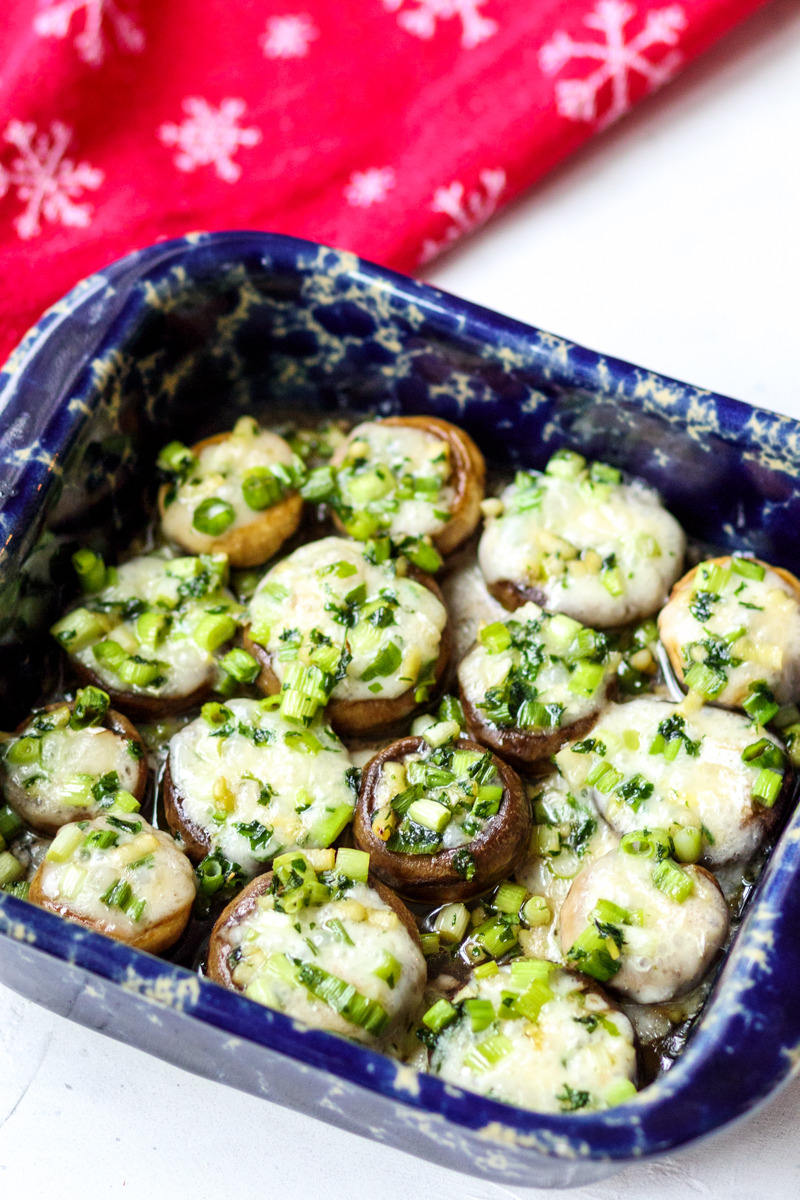
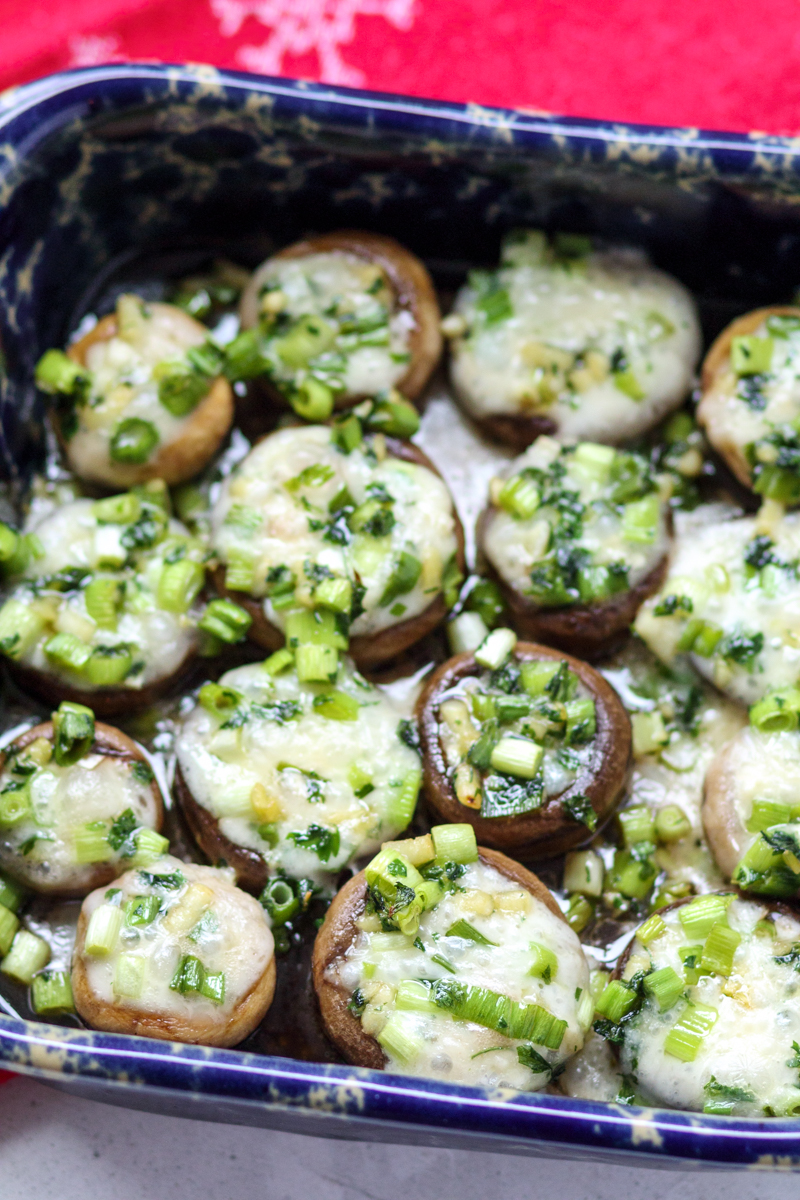
Today I’m sharing these cheesy, garlicky and buttery Brie-Stuffed Mushrooms from The Pioneer Woman Cooks: Food from My Frontier, which is Ree Drummond’s second cookbook. Button mushroom caps are lightly sautéed in butter before being stuffed with chunks of creamy brie cheese and baking in the oven. The best part is the sautéed parsley, garlic and green onions that get poured overtop the mushrooms.

Brie-Stuffed Mushrooms  |  Lemon & Mocha

This party appetizer is so simple, but looks really fancy, making it perfect for the holidays or even an Oscar party! According to Ree, “Guests will kiss you and demand to be invited back next time” so make sure you make these mushrooms for company you like!

Brie-Stuffed Mushrooms  |  Lemon & Mocha

Are you excited for the Oscars? Matt and I missed all the best picture nominees in theaters except for Black Panther, so we’re going to be streaming some of them this weekend to try to catch up. This article shares where to watch all the best picture nominees if you’re interested. Have a great weekend, everyone!

Brie-Stuffed Mushrooms  |  Lemon & Mocha

Brie-Stuffed Mushrooms
 
Yield: 15-18 mushrooms
Ingredients
  • 12 ounces white button mushrooms, washed and stems removed
  • 4 tablespoons unsalted butter
  • ¼ cup chopped flat-leaf parsley
  • 4 garlic cloves, minced
  • 4 scallions, ends removed and sliced
  • Splash of white wine (optional)
  • 8 ounces Brie cheese, cut into bite-size chunks
  • Salt and pepper
Directions
  1. Preheat the oven to 350 degrees F.
  2. In a large skillet over medium heat, melt the butter then add the mushroom caps. Toss the mushroom caps in the melted butter. Lightly season with salt and pepper then let sauté for a minute. Remove from the mushrooms from the skillet. Add the parsley, garlic and scallions to the skillet. If you’re using the white wine, add it now. Cook for 1-2 minutes, stirring frequently, then remove from the heat.
  3. Place the mushroom caps, stem-side up, in a baking dish. A square baking pan or pie dish works well. Add a chunk of brie to the opening of each mushroom cap then pour the parsley mixture over the top. Bake until the cheese has melted, about 15 minutes. Serve them after they’ve cooled slightly.

Recipe from The Pioneer Woman Cooks: Food from My Frontier.
Some of the links above are affiliate links, which means I may receive a small commission for my referral. This does not affect the retail cost of the item. Thank you for supporting Lemon & Mocha!