About Lauren

Posts by Lauren :

Sun-dried Tomato Mayonnaise
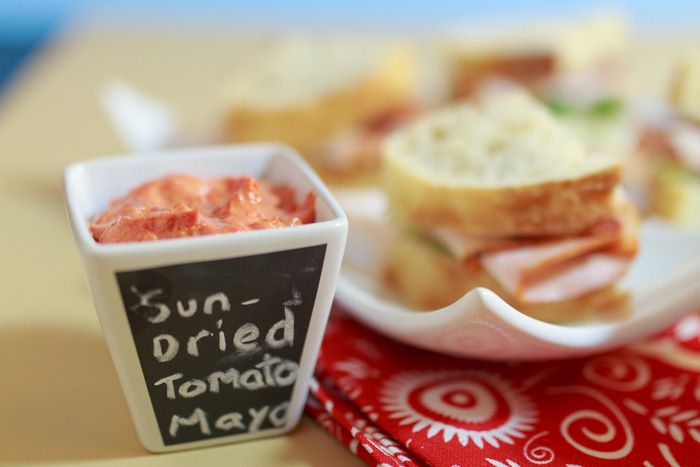
I’m unsure of what reactions I’m going to get about the following confession. I love mayonnaise. Love it with a capital L. I think it tastes fantastic on a wide variety of foods and, this is usually where people draw the line, I could eat it with a spoon. I’m hoping there’s at least a few fellow mayonnaise lovers out there!

Well don’t worry, even if you aren’t as condiment obsessed as I am this sun-dried tomato mayonnaise is still sure to knock your socks off. It is so simple, but really brings something special to your sandwiches, paninis or other mayonnaise needs. I’m picturing this mixed in with some rotini pasta and crunchy veggies for a tasty twist on macaroni salad- yum!
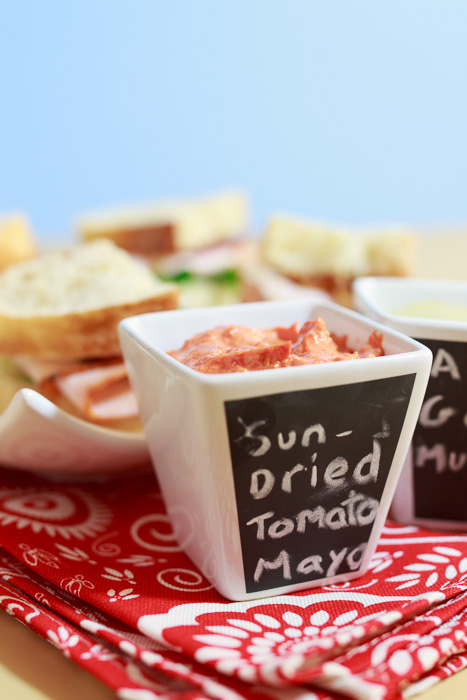
One way I consume mayonnaise if I’m feeling naughty is dipping my french fries in it. This sun-dried tomato mayo would be especially good for fry dipping with the acidity and tomato flavor being reminiscent of ketchup. This delicious habit I got from my mom, who got it from living in the Netherlands for a few years. The Dutch are truly on to something.

When I was 12 my dad, brother, grandma and I went to the Netherlands and it was true, they dipped their fries in mayo. These were my people! Then I opened the mayonnaise packet and to my surprise it was pea green. Pea green mayonnaise? Twelve year-old me was concerned, but mayo-lover me decided to go for it. The verdict? Pea green mayo tasted just as delightful. So if you haven’t tried dipping your fries in mayonnaise before, make this sun-dried tomato mayo, eat some with your french fries and thank me later.

Sun-dried Tomato Mayonnaise
 
Ingredients
  • ⅓ cup minced sun-dried tomatoes (not packed in oil)
  • ½ cup mayonnaise
  • 1 tablespoon lemon juice
  • ¼ teaspoon minced garlic
  • ¼ teaspoon sugar
  • Pepper
Directions
  1. Soak the sun-dried tomatoes in ⅔ cup hot water until softened, about 5 minutes. Drain.
  2. Place the softened sun-dried tomatoes, mayonnaise, lemon juice, garlic and sugar in a food processor. Pulse until well blended. Season with freshly ground pepper to taste.

Recipe adapted from Taste of Home.

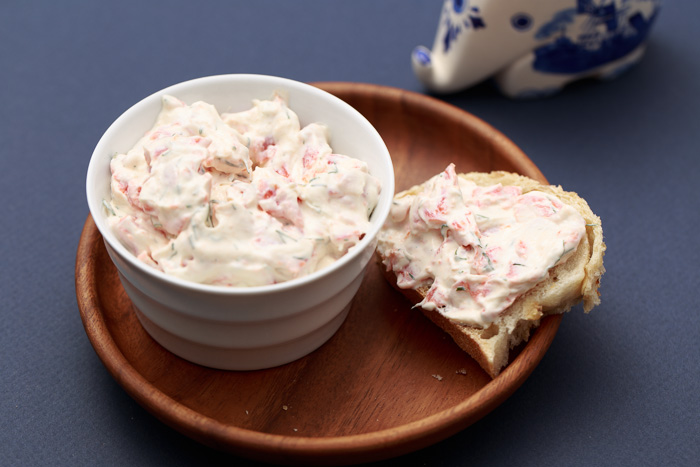
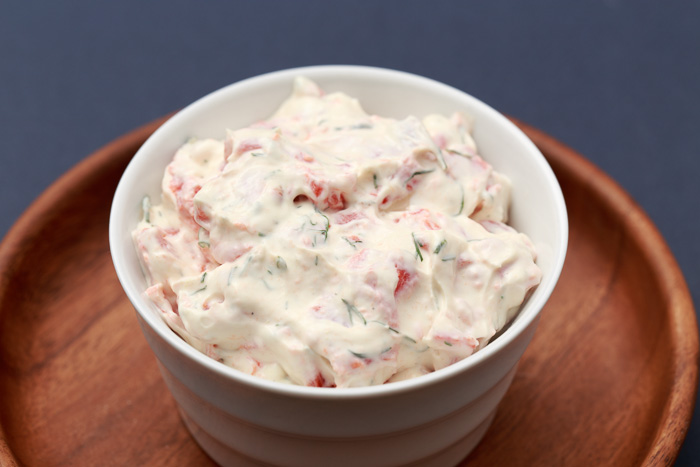
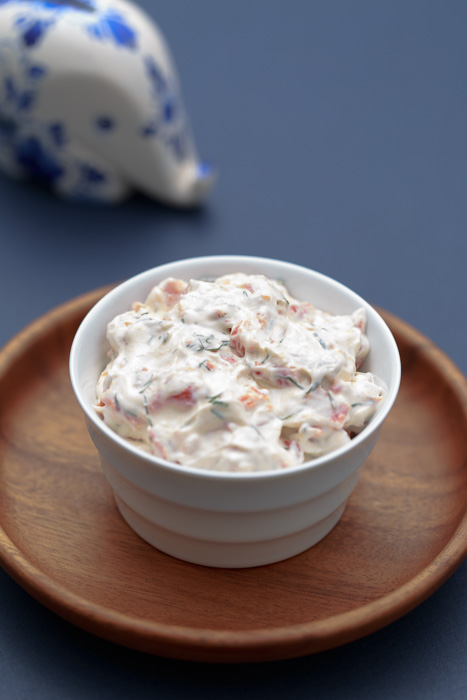
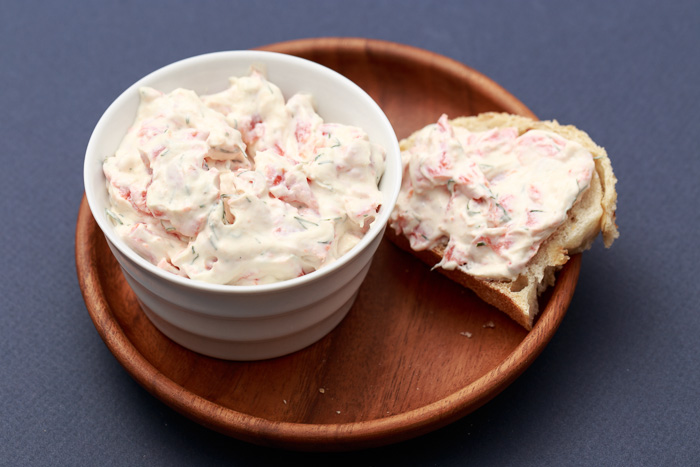
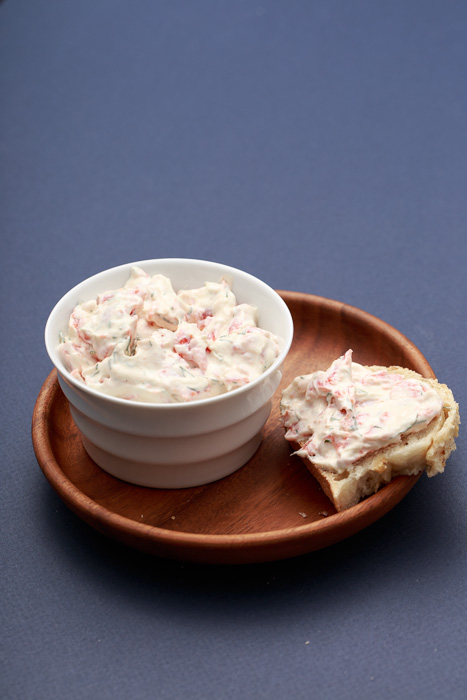
Smoked Salmon Dip

This smoked salmon dip is the perfect conclusion to my Mother’s Day tribute posts. My stepmom is the one who told me about this Barefoot Contessa recipe, my grandma and I end up discussing our love for bagels with lox on a weekly basis and my mom is the one who first got me to try smoked salmon.

Although I was a picky eater as a child there were a few things I loved that most kids my age would not have gone near. Thanks to my mom I had an affinity for smoked salmon, crab cakes and grossing kids out at my lunch table with my liverwurst sandwiches.

My mom would sit down next to me with some odd food and say that she wasn’t going to tell what it was until I tried it. It wasn’t that my curiosity would get the better of me, although I’m sure that was part of it. I had complete trust and faith in my mom that if she thought I should try something then I would like it, and she was always right.

My first taste of smoked salmon came in the form of smoked salmon cream cheese and my mom’s favorite quickly became a favorite of mine. We lost my mom to breast cancer when I was eight years old. I think about her everyday and know she is here with me licking her lips looking at these smoked salmon dip pictures. My mom was an amazingly thoughtful, selfless and kindhearted woman who touched the lives of all her family and friends. She also had a great sense of humor, a fondness for lists and a love of food, so I know we would have been two peas in a pod.

So happy Mother’s Day to all my moms! I would not be who I am today without each and every one of you, and I love you all.

Smoked Salmon Dip
 
Yield: 4 servings
Ingredients
  • 8 ounces light cream cheese, room temperature
  • ½ cup light sour cream
  • 1 tablespoon lemon juice
  • 1 tablespoon fresh minced dill
  • 1 teaspoon dijon mustard
  • 8 ounces smoked salmon, roughly chopped
  • Pepper
Directions
  1. In stand mixer fitted with a paddle attachment cream the cream cheese until smooth.
  2. Mix in the sour cream, lemon juice, dill, and mustard. Season with pepper.
  3. Mix in the smoked salmon and chill until serving. I kept the smoked salmon chunks larger because I wanted to really taste it, but you can chop it as small or large you would like. Serve on slices of crusty bread, crackers, or toasted egg bagels. Optional toppings include capers and chopped scallions.

Recipe slightly adapted from Barefoot Contessa.

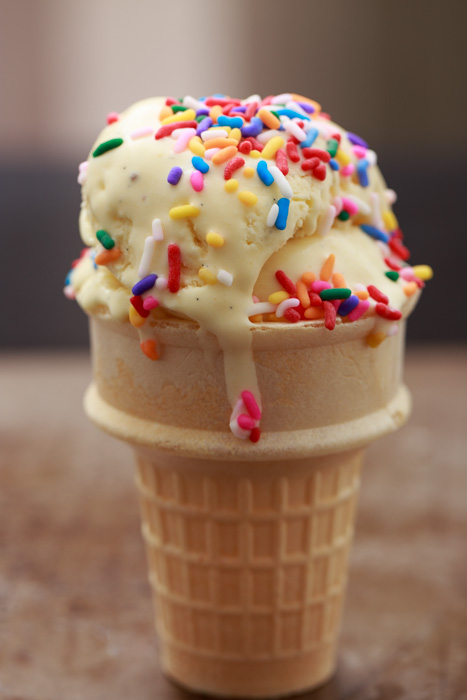
Vanilla Bean Ice Cream

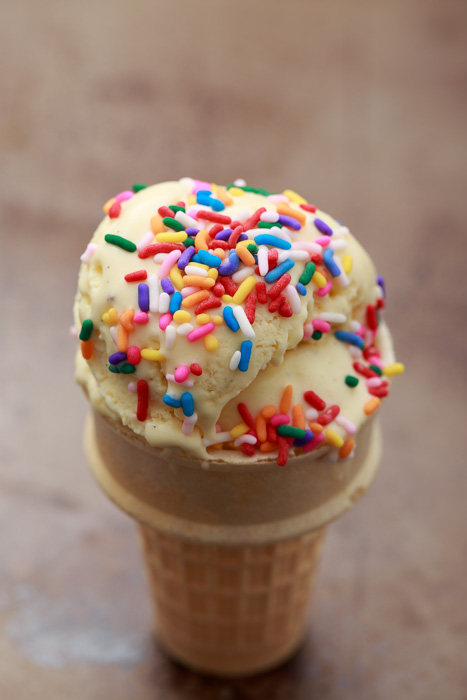
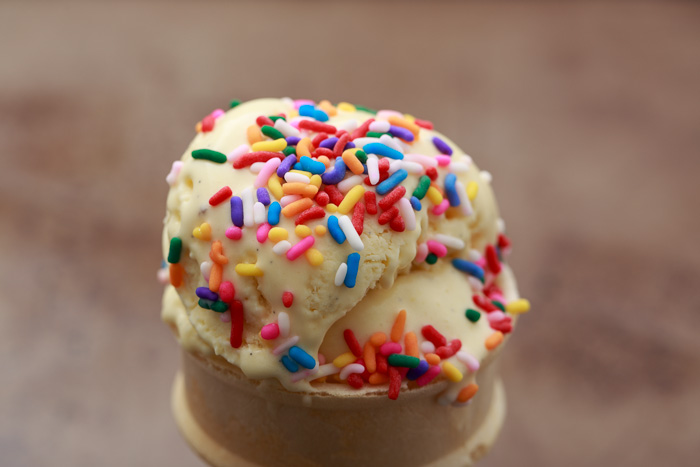
What I love about today’s post is that upon reading the title everyone in my family will immediately know who this recipe is celebrating. My grandma does not like many foods, but she certainly loves her vanilla ice cream. Of course she would not prefer how it’s pictured here; sprinkles and toppings are a huge no-no. But if she were in my apartment this quart of ice cream would be gone in two, three days tops. You may think I’m kidding, but I am not.

In continuing my Mother’s Day celebration I’m posting this vanilla ice cream to wish my grandma a happy Mother’s Day. My grandma lived with us for eight years so I was lucky enough to develop an extra special relationship with her. If your best friend is someone who you can share anything with, who supports you no matter what, who never judges you, who loves you with all their heart, and who can make you laugh so hard you spit milk out your nose, then my grandma was, and still is, my best friend.

Although we now swap stories over the phone rather than during weekly shopping trips since she is many miles away, I am so fortunate to have such a compassionate and strong person be such a large part of my life. So forget a “dear little bit” and treat yourself to a whole quart of vanilla ice cream this Mother’s Day!

Vanilla Bean Ice Cream
 
Yield: 1 quart
Ingredients
  • 1 cup whole milk
  • ¾ cup sugar
  • 2 cups heavy cream, divided
  • Pinch of salt
  • 1 vanilla bean, split in half lengthwise
  • 6 large egg yolks
  • ¾ teaspoon vanilla extract
Directions
  1. In a medium saucepan over medium-low heat, warm the sugar, milk, 1 cup of the cream and salt. Once warm, scrape the seeds from the vanilla bean into the saucepan and add the scraped bean as well. Cover the saucepan, remove from the heat and steep for 30 minutes at room temperature.
  2. Place the remaining cup of cream into a large bowl. Set a mesh strainer on top of the bowl then set set aside.
  3. In a medium bowl whisk the egg yolks then slowly pour the steeped milk mixture into the egg yolks, whisking constantly, to temper the eggs. Pour the milk and egg mixture back into the saucepan. Constantly stir the mixture over medium heat with a heatproof spatula making sure to scrape the bottom and not let any clumps form. Continue stirring until the mixture is thick enough to coat the spatula.
  4. Remove the mixture from the heat and pour it through the mesh strainer into the large bowl with the heavy cream. Stir until combined then mix in the vanilla extract. Add the vanilla bean as well.
  5. Insert the bowl into an ice bath and continue stirring until cool.
  6. Chill the mixture in the fridge. Once cold, remove the vanilla bean then the custard into your ice cream maker following the manufacturer’s directions.

Recipe from The Perfect Scoop.

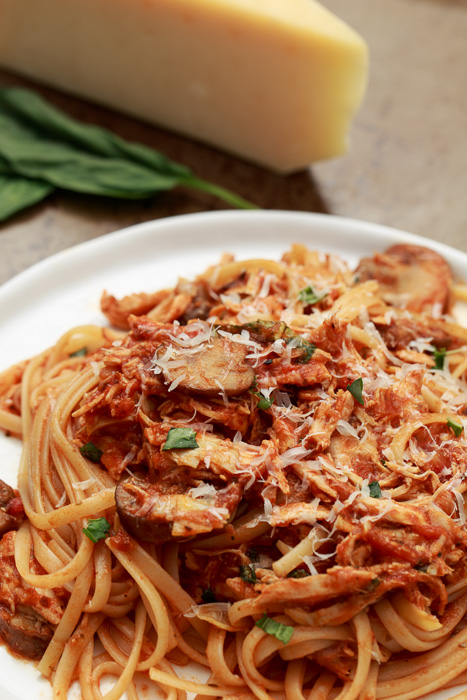
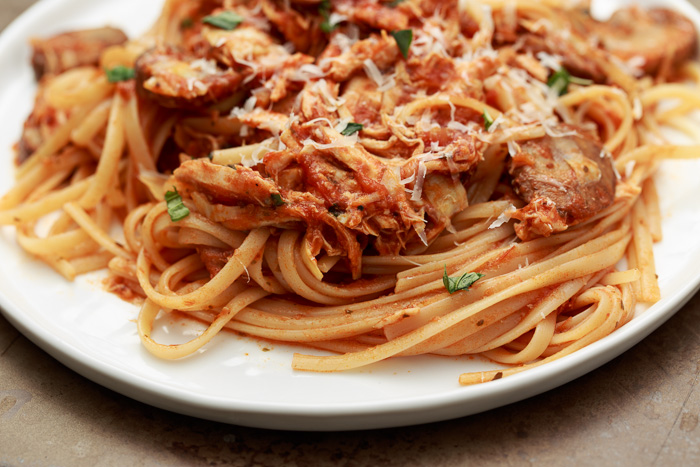
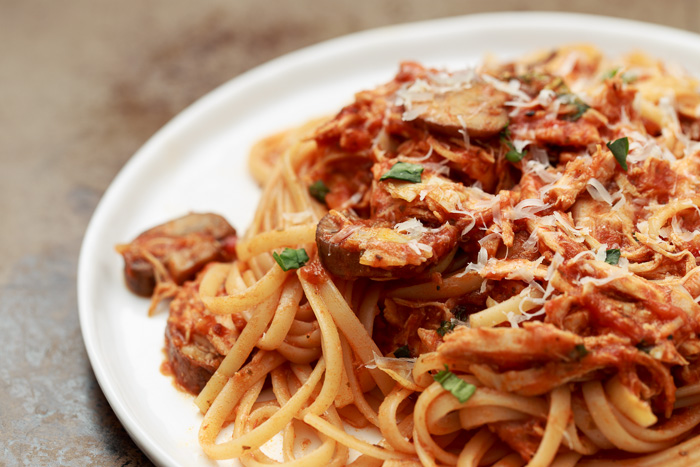
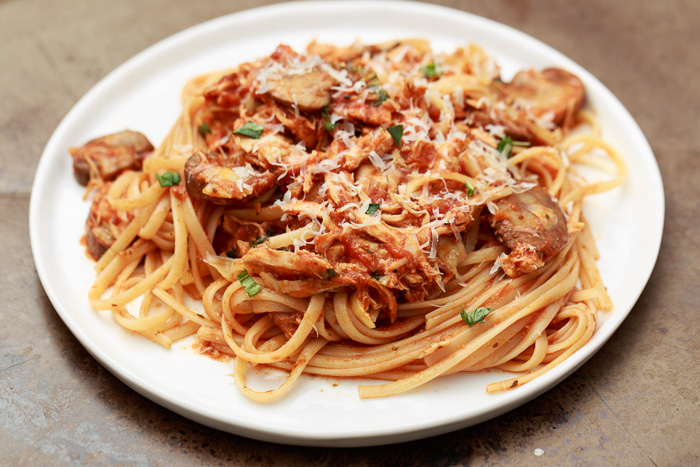
Chicken Cacciatore with Mushrooms and Artichokes

I am shocked and I hope you are utterly disappointed in me. This is only the third pasta recipe that has been posted on Lemon & Mocha. The nerve of me! Pasta is one of my all-time favorite foods. I certainly can’t pick a single favorite because that would be like choosing between children or classic Nickelodeon shows, but pasta is way high up there on the list. So it is only fitting that this post featuring Lemon & Mocha’s second ever pasta recipe is also commemorating another special day: Mother’s Day.

Mother’s Day is this Sunday and I wanted to do something special. I am a firm believer in thinking positive, looking for the good in the bad and trusting life’s course. So I can only say that I am both lucky and blessed to have, and have had, three amazing mothers in my life.

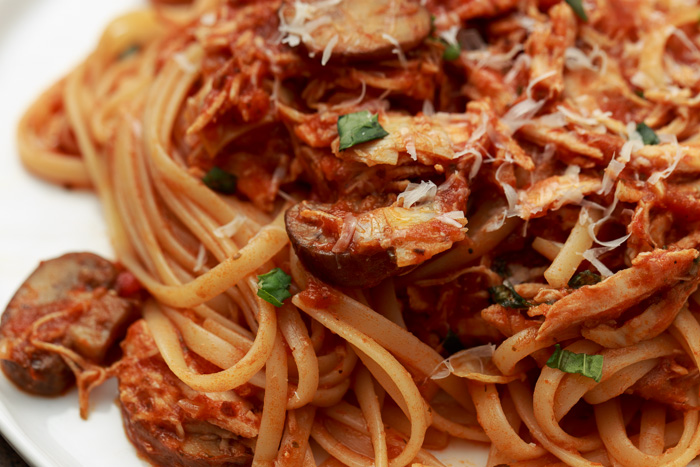
Today I am posting this savory linguine with chicken, mushrooms and artichokes dish to celebrate my wonderful stepmom. As you learned back on her birthday, many of my favorite foods and ingredients are the result of my stepmom and her determination to have me eat something other than macaroni and fish sticks for the rest of my life.

This dish is my interpretation of one she used to make to get us to try new things. I know you probably think I’m being ridiculous, but my dad, brother and I were not initially familiar with shredded chicken in pasta and mushrooms on our plate. The original dish had olives, but I substituted artichokes, another food my stepmom opened my eyes to. I am so thankful to have such a great supporter, caring person and friend in my life. Sometimes the best mothers in your life are the ones that don’t go by “mom”, but love you just the same.

Chicken Cacciatore with Mushrooms and Artichokes
 
Yield: 4-6 servings
Ingredients
  • 1 pound split skinless chicken breasts, bone-in
  • 2 tablespoons olive oil
  • 2 garlic cloves, minced
  • 1 shallot, minced
  • 12 ounces sliced cremini mushrooms
  • 1 26-ounce jar of tomato sauce
  • 1 tablespoon sugar
  • ½ cup artichoke hearts, chopped
  • 3 tablespoons chopped fresh basil leaves, about 4 leaves
  • ⅓ cup freshly grated Parmesan, plus more for serving
  • ½ pound cooked linguine
Directions
  1. Season both sides of the chicken with salt and pepper. Heat 1 tablespoon of the olive oil in a large stockpot over medium-high heat. Add the chicken and brown it, about 5 minutes per side. Remove the chicken from the pot and set aside.
  2. Reduce the heat to medium on the stockpot and add the remaining olive oil. Add the garlic and shallots and sauté for 3 minutes. Add the mushrooms and sauté until browned, about 6 minutes, stirring occasionally. Push the mushrooms to the side so that there’s room on the bottom of the stockpot and return the chicken to the pot.
  3. Add the tomato sauce and sugar. Lightly stir then bring the pot to a boil before covering and reducing to a simmer on medium-low heat. Simmer for 30 minutes or until the chicken reaches an internal temperature of 165 degrees F.
  4. Keeping the sauce warm, remove the chicken, shred off the bone with 2 forks, then return to the sauce. Add the artichokes, basil and Parmesan to the sauce. Add the linguine and stir to coat. Serve topped with fresh Parmesan, if desired.


Black Forest Cupcakes

Ever since I discovered how simple it is to fill cupcakes I have become obsessed with creating multi-component mini cakes. The added layers of complexity take an already delicious treat from a “yum” moment to a “wow” moment. Or, if you’re lucky, a “wow-I-can’t-breath-because-I’m-too-busy-shoving-this-amazing-cupcake-in-my-mouth” moment.

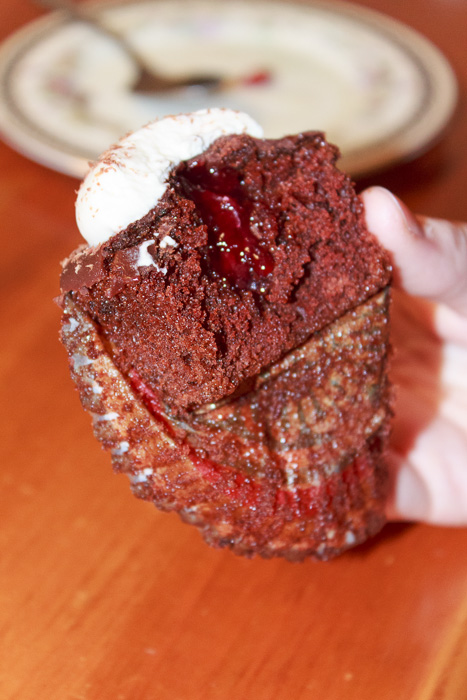
When I was challenged with creating a cupcake rendition of the German classic Black Forest cake I set right to work. The essential makings of a Black Forest cake are chocolate cake, whipped cream and cherries. The chocolate cake aspect was easy as I already have my perfect chocolate cupcake recipe memorized. I decided to keep the filling simple by using pre-made cherry preserves to give me more time to focus on the whipped cream, but you can certainly make the cherry preserves yourself if you are feeling extra ambitious.

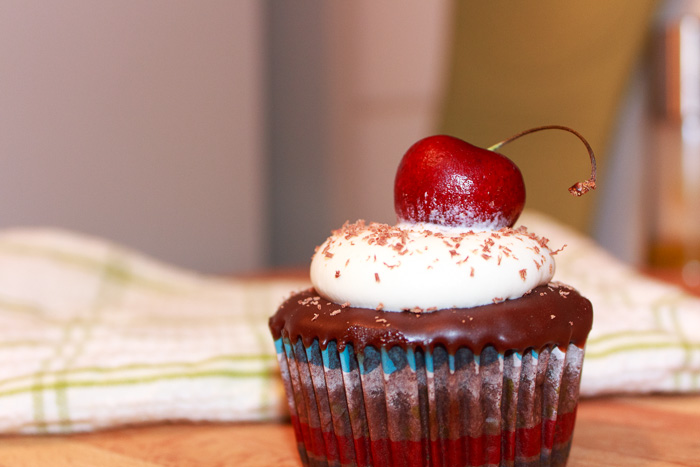
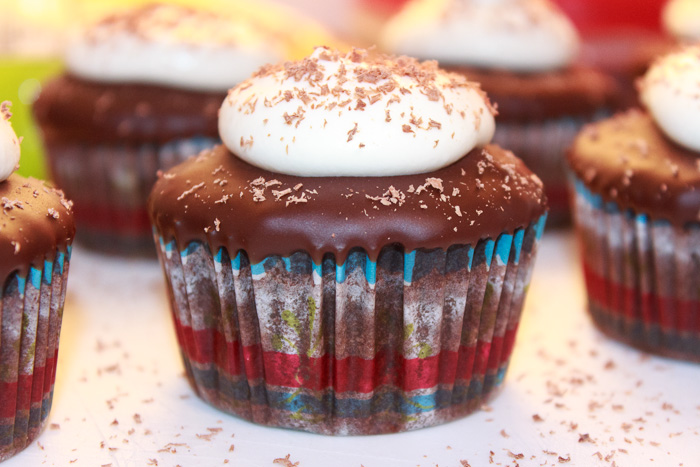
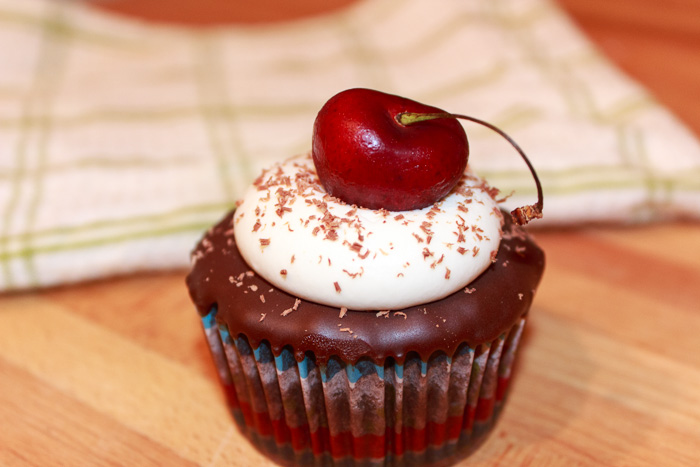
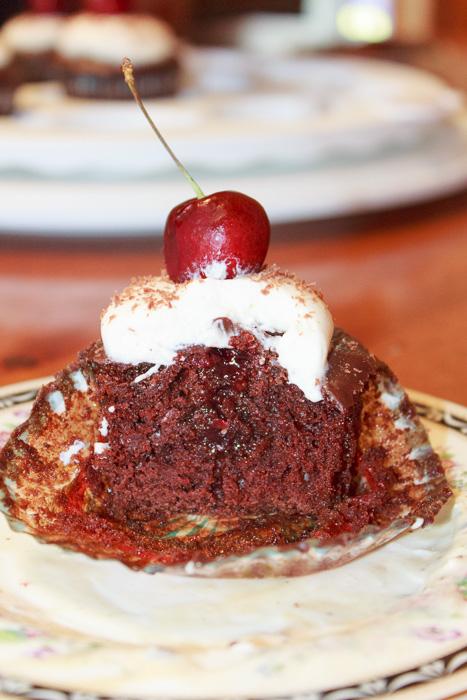
Before getting to the whipped cream topping I knew these cupcakes had to have a little something extra. Although the cupcakes are chocolate I wanted something additional since more chocolate is always better. The most delightful chocolate ganache was hardened on the top of each cupcake to create a wonderful hard shell to contrast the lightness of the fluffy frosting, while also helping cover up the incision marks from filling the cupcakes.

Then onto the final piece: the whipped cream. The whipped cream would have to be light and airy, while still being sturdy enough to act as a frosting for the cupcake. With a bit of tinkering I achieved the perfect texture and was soon piping it into my mouth. I mean onto the cupcakes. Topped with some shaved chocolate and a fresh cherry the Black Forest cupcakes were completed. When you make these cupcakes be sure to admire their beauty before serving them as they won’t last very long!

Black Forest Cupcakes
 
Yield: 24 cupcakes
Ingredients
for the cupcakes
  • 1 batch Perfect Chocolate Cupcakes
  • 1½ cups cherry preserves
  • 1 cup chocolate ganache
  • 1 ounce chocolate
  • 24 cherries
for the frosting
  • 1 8-ounce package reduced fat cream cheese, softened
  • ¾ cup powdered sugar
  • 1 teaspoon vanilla extract
  • ½ teaspoon lemon extract
  • 2 cups heavy cream, chilled
Directions
for the cupcakes
  1. Using a cupcake corer, apple corer, or knife create a large cavity in the center of each cupcake. Reserve the top of the removed cupcake piece. Fill the cavity with a tablespoon of the cherry preserves. Place the top of the removed cupcake piece on top of the cherry preserves to seal the cupcake back up. Place the cupcakes in the fridge to chill.
  2. Remove the cupcakes from the fridge and carefully pour chocolate ganache over the top of each cupcake to coat it. It’s okay if it doesn’t look pretty because it’s going to be topped with frosting. Place it in the fridge for the ganache to harden.
for the frosting
  1. Whip the cream cheese, powdered sugar, vanilla extract and lemon extract in a metal bowl of a stand mixer until fluffy. Transfer to medium bowl then chill in the fridge.
  2. Clean out the bowl of the stand mixer and chill with the whisk attachment in the freezer for 10 minutes. Once the bowl has had a chance to chill, whip the heavy cream on high speed until stiff peaks start to form, but be sure not to over-beat the cream or it will break. Remove the bowl of cream cheese mixture from the fridge and gently fold in the whipped cream.
  3. Remove the ganache-topped cupcakes from the fridge. Fill a pastry bag fitted with a round thick tip with the frosting. Hold the pastry tip over the center of a cupcake and squeeze until a large dollop covers most of the cupcake. Using a microplane, shave some chocolate over the whipped cream frosting and top with a cherry. Repeat for the remaining cupcakes. Store in the fridge until serving.

Frosting adapted from allrecipes