About Lauren

Posts by Lauren :

Halloween Monster Turkey Burger Sliders
Halloween Monster Turkey Burger Sliders  |  Lemon & Mocha

Halloween is tomorrow! Yay! As I’ve mentioned on Lemon & Mocha numerous times before, I love Halloween! I have so many fun childhood memories of Halloween and I can’t wait to start making Halloween memories with our little guy on the way.
Halloween Monster Turkey Burger Sliders  |  Lemon & Mocha

We went back and forth on whether we should put up Halloween decorations with me being just a couple weeks away from my due date, but ultimately I just couldn’t not put them up, even though I felt a little crazy for doing it. Do you decorate your house for Halloween?
Halloween Monster Turkey Burger Sliders  |  Lemon & Mocha

I usually post a chocolatey treat for Halloween, but since Matt and I are up to our eyeballs with all the desserts I’ve been baking I busted out a cute savory treat instead.
Halloween Monster Turkey Burger Sliders  |  Lemon & Mocha

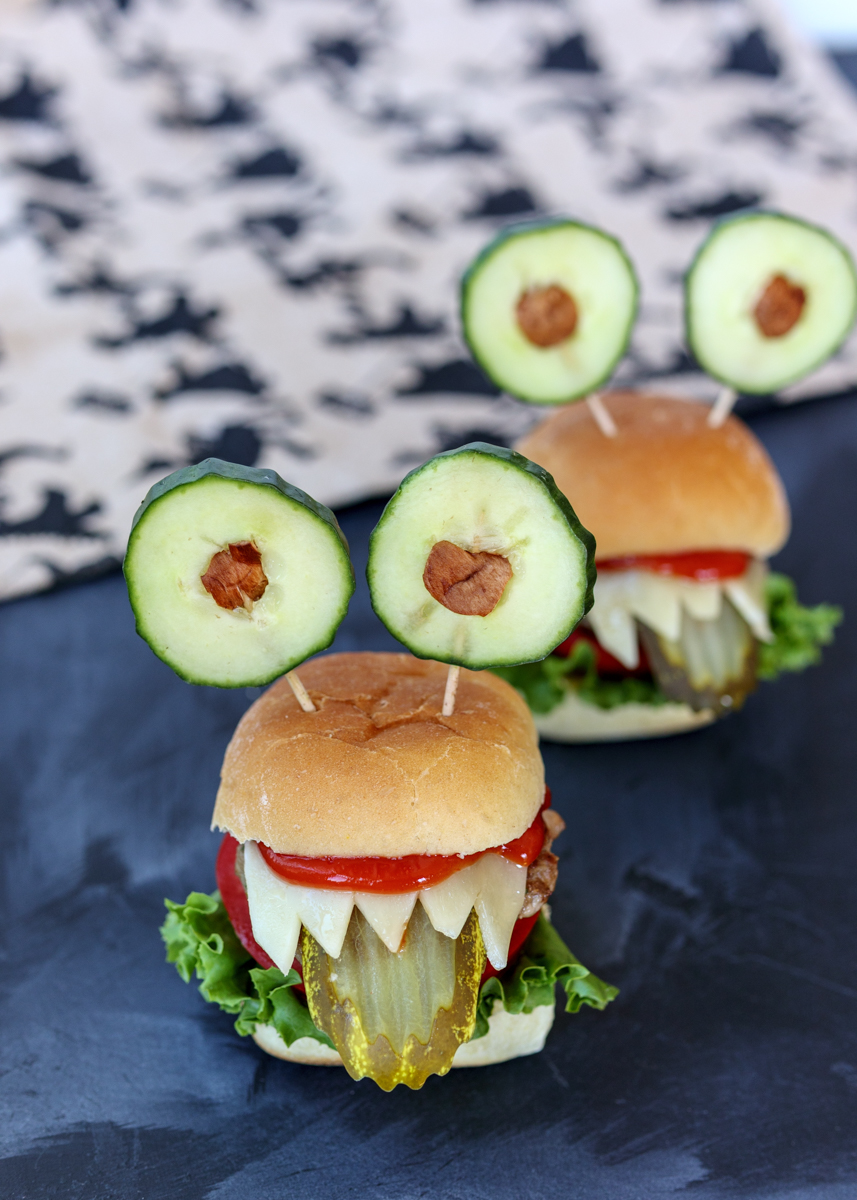
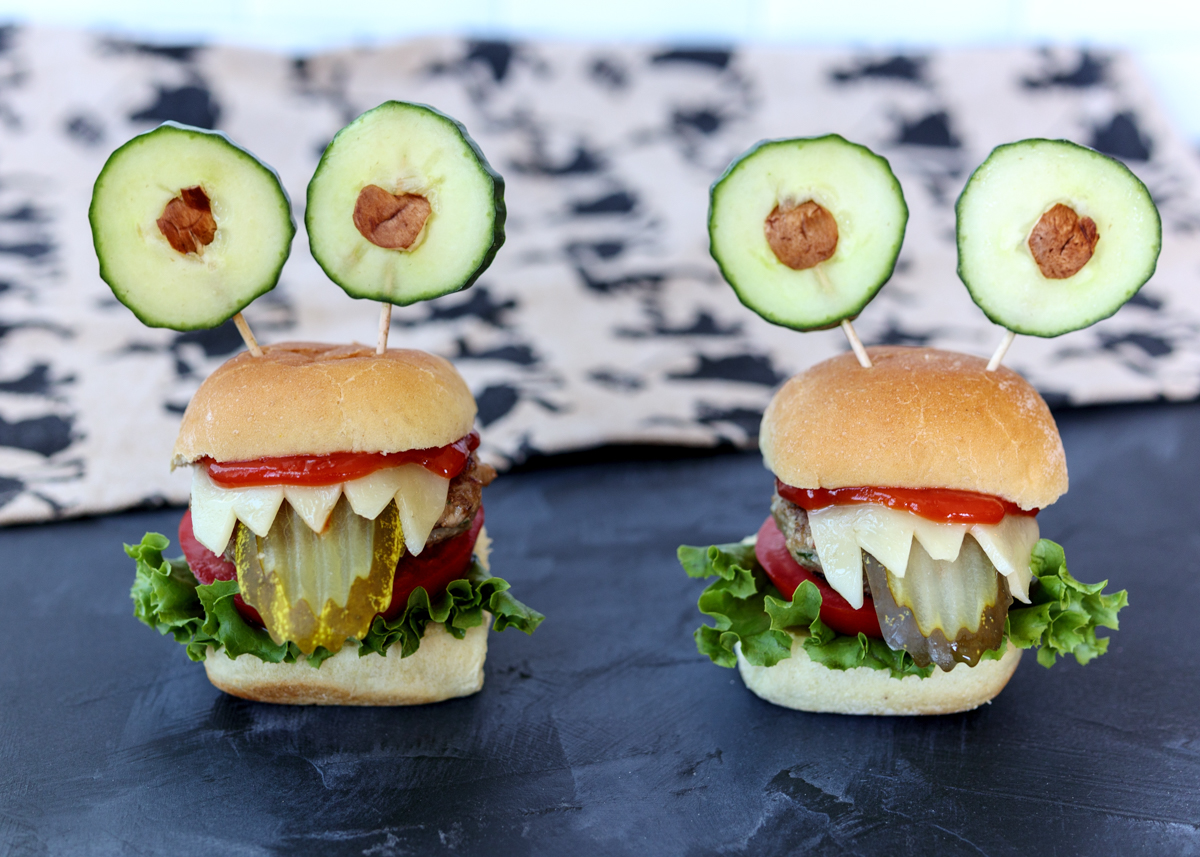
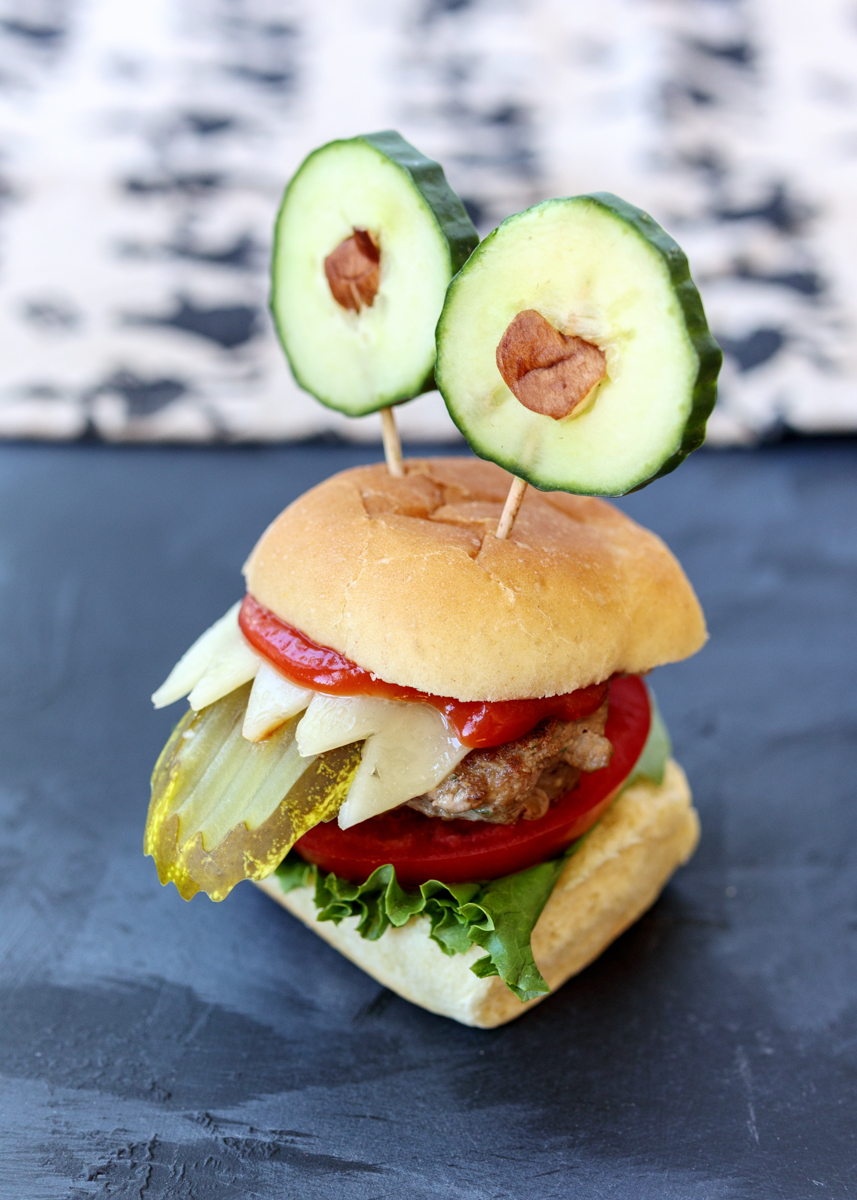
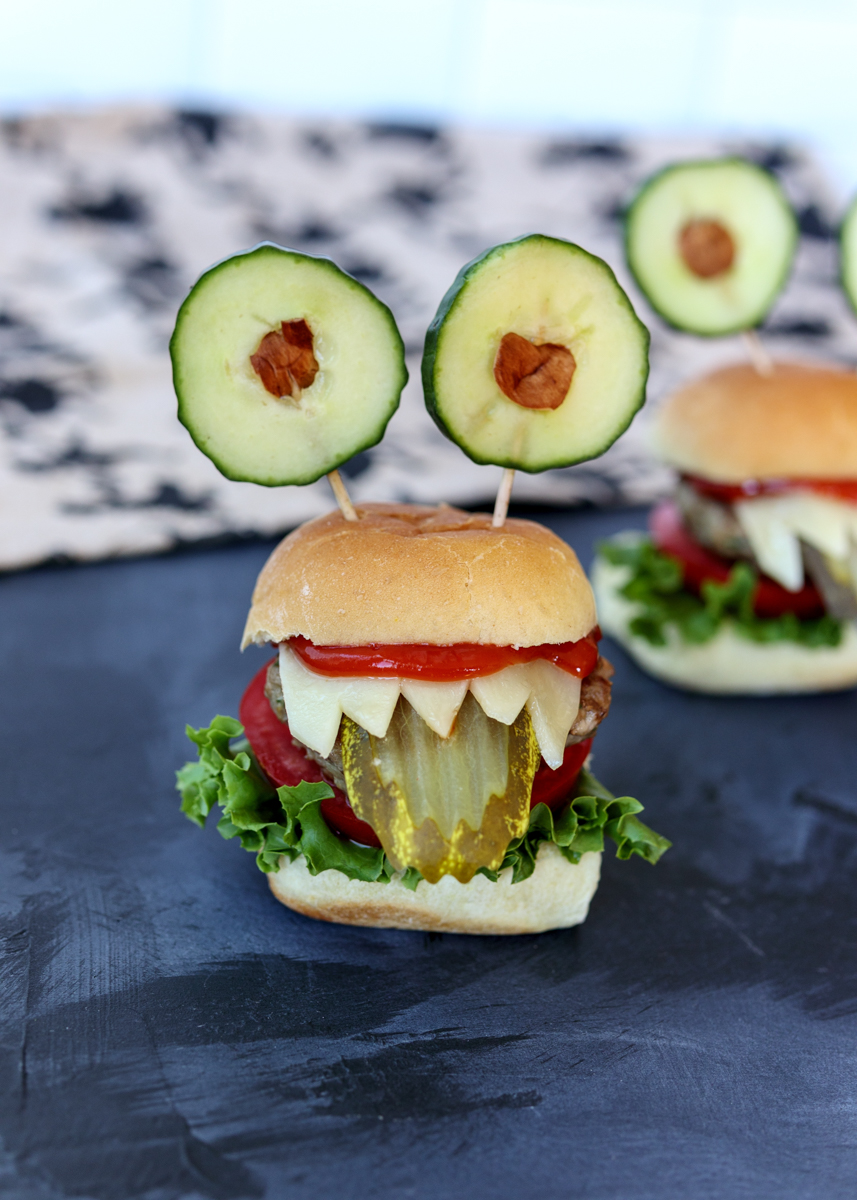
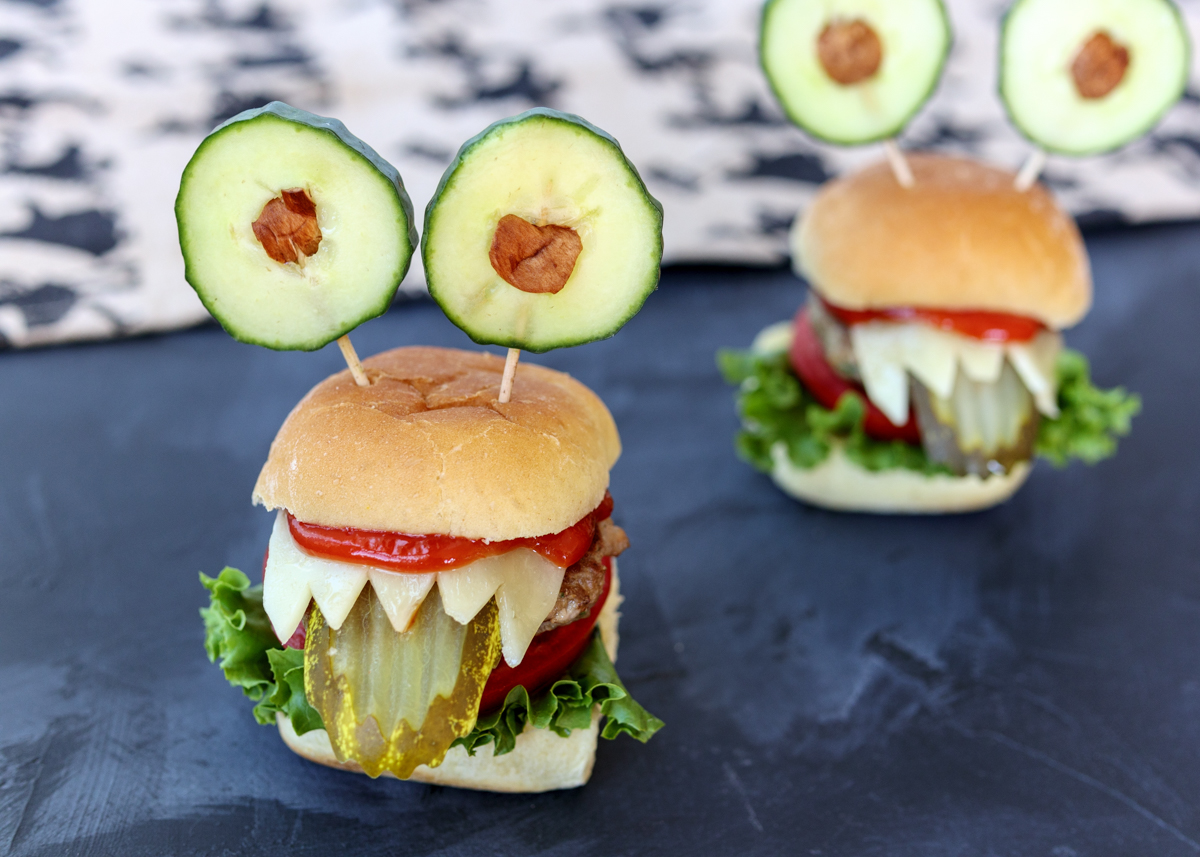
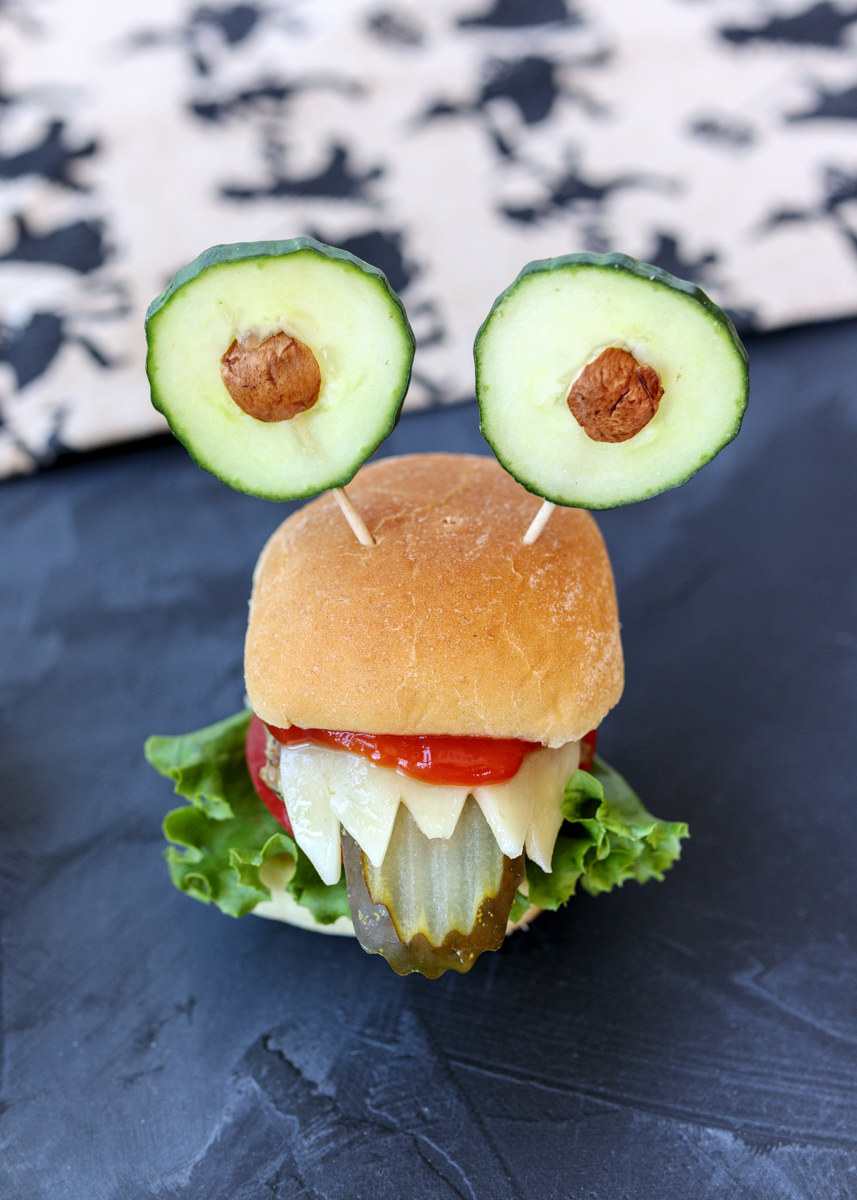
Turkey sliders have been fashioned into silly Halloween monsters, complete with cucumber eyeballs and pickle tongues! As fun as these Halloween Monster Turkey Burger Sliders are, they’re also so good! The turkey patties are juicy and packed with flavor because we’ve added a minced mixture of mushrooms, shallot and parsley to the ground turkey.
Halloween Monster Turkey Burger Sliders  |  Lemon & Mocha

Throw in a little olive oil, Worcestershire sauce and seasoning and then they are grilled or pan-seared to perfection. Since they’re so tiny they cook really quickly; just about four minutes on each side. Top it all off with some melty cheese and fresh veggies for a delicious dinner the whole family will love. Just don’t forget to cut pointy teeth marks into your sliced cheese! Happy Halloween, everyone!
Halloween Monster Turkey Burger Sliders  |  Lemon & Mocha

Looking for some more Halloween treat inspiration? I have a few recipes below to get you started:

Boozy Pumpkin Nutella Hot Chocolate  |  Lemon & Mocha

Boozy Pumpkin Nutella Hot Chocolate

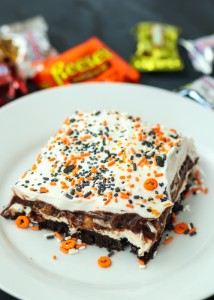
Leftover Halloween Candy Chocolate Lasagna

Leftover Halloween Candy Chocolate Lasagna

Halloween Witch Chocolate Cupcakes

Halloween Witch Chocolate Cupcakes

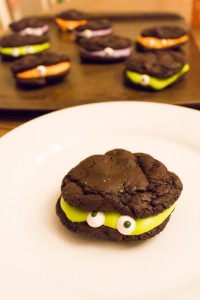
Chocolate Marshmallow Monster Cookie Sandwiches

Chocolate Marshmallow Monster Cookie Sandwiches

Halloween Witches' Cauldron Cupcakes

Halloween Witches’ Cauldron Cupcakes

Leftover Halloween Candy Cookies

Leftover Halloween Candy Cookies

Halloween Monster Turkey Burger Sliders
 
Yield: 4 servings
Ingredients
  • 5-6 cremini mushrooms, stems removed, plus more for eyes
  • ½ shallot
  • 3 tablespoons fresh parsley
  • 1 pound ground turkey, 90% lean
  • 2 tablespoons olive oil
  • 1 teaspoon Worcestershire sauce
  • 1 teaspoon salt
  • ¼ teaspoon ground black pepper
  • 1 English cucumber
  • 16 toothpicks
  • 4 slices deli cheddar or American cheese
  • 8 slider buns
  • 8 small pieces of romaine lettuce
  • 8 small slices of tomato
  • 4 pickle sandwich slices, cut in half
  • Ketchup
Directions
  1. Add the cremini mushrooms, shallot and parsley to a food processor. Process until finely chopped. If you don’t have a food processor, finely chop by hand.
  2. In a large bowl, combine the mushroom mixture, ground turkey, olive oil, Worcestershire, salt and pepper, being sure not to over-mix. Divide the mixture into 8 even portions and form into slider patties, roughly a little bigger than the size of your slider buns. Let patties set in the fridge, covered, for 30 minutes.
  3. While the patties are in the fridge, prep your monster eyes and cheese teeth. Slice the English cucumber so you have 16 rounds. The slices can be thin, but not so thin that you’ll have difficulty securing them with a toothpick. Use extra cremini mushrooms to cut out little circles that will be the center of the eyes. Carve a little round out of the center of an English cucumber slice the size of one of your mushroom eye centers. Stick the mushroom center into the hole in the cucumber and stick a toothpick up through the cucumber and the mushroom piece securing it in place. Repeat for the remaining 15 eyes. For the cheese teeth, cut each slice of cheese in half then cut little teeth points at the edge of each slice. Repeat until you have 8 cheese teeth slices.
  4. Lightly spray a grill pan or nonstick sauté pan with olive oil cooking spray and heat over medium-high heat. Cook the slider patties for 4 minutes on each side, or until they reach an internal temperature of 165 degrees F. Remove from the heat and add a cheese teeth slice to each slider so that the teeth prongs overhang a little.
  5. To assemble a slider, place a piece of lettuce on the bottom slider bun. Top with a tomato slice then the cheese-topped patty. Lift up the cheese a little to tuck the pickle half underneath so it sticks out like a tongue. Top with some ketchup then the top slider bun. Stick two cucumber toothpick eyeballs into the top. Repeat for the remaining sliders.


Roasted Cauliflower Caesar Salad

Roasted Cauliflower Caesar Salad  |  Lemon & Mocha

One thing I did not anticipate with my pregnancy was how tricky eating out was going to become. Yes, I knew I wasn’t going to be able to eat raw seafood or cold deli meat, but there were so many other food concerns I was not aware of! I’m sure the list now is different than it was many years ago, but as a fairly adventurous eater there are many foods I’m supposed to avoid. In addition to raw seafood and cold deli meat, there’s also unpasteurized cheeses, smoked fish, pate, fish high in mercury, raw eggs and under-cooked meat. I’m probably even forgetting some!

Roasted Cauliflower Caesar Salad  |  Lemon & Mocha

Ordering at a restaurant for the last eight months has involved more questions than I’ve ever asked a waiter. Oftentimes I’ll order something different than what I would like to just because it’s easier and won’t require a twenty questions game. One dish I love eating, but have run into some issues is Caesar salad. Although most restaurants these days don’t use raw egg in their homemade Caesar dressing, I’ve still run into a couple that do.

Roasted Cauliflower Caesar Salad  |  Lemon & Mocha

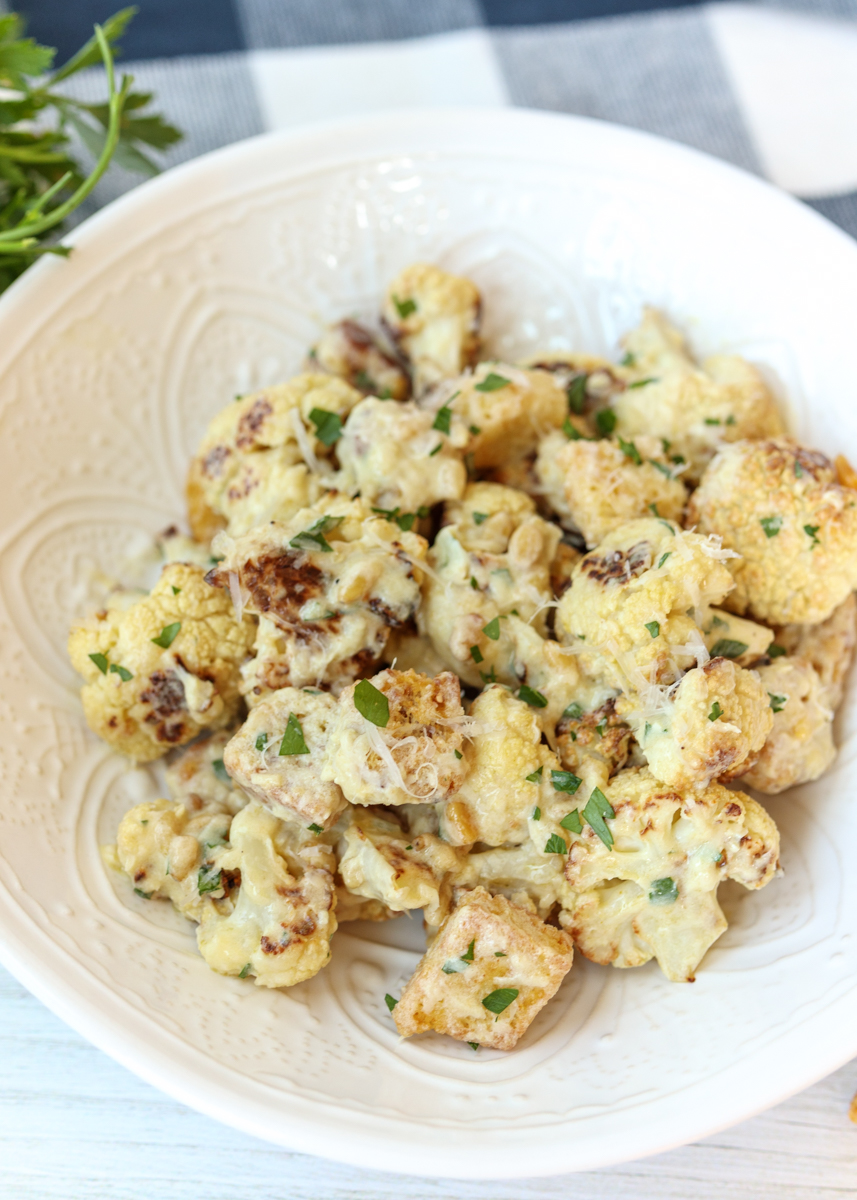
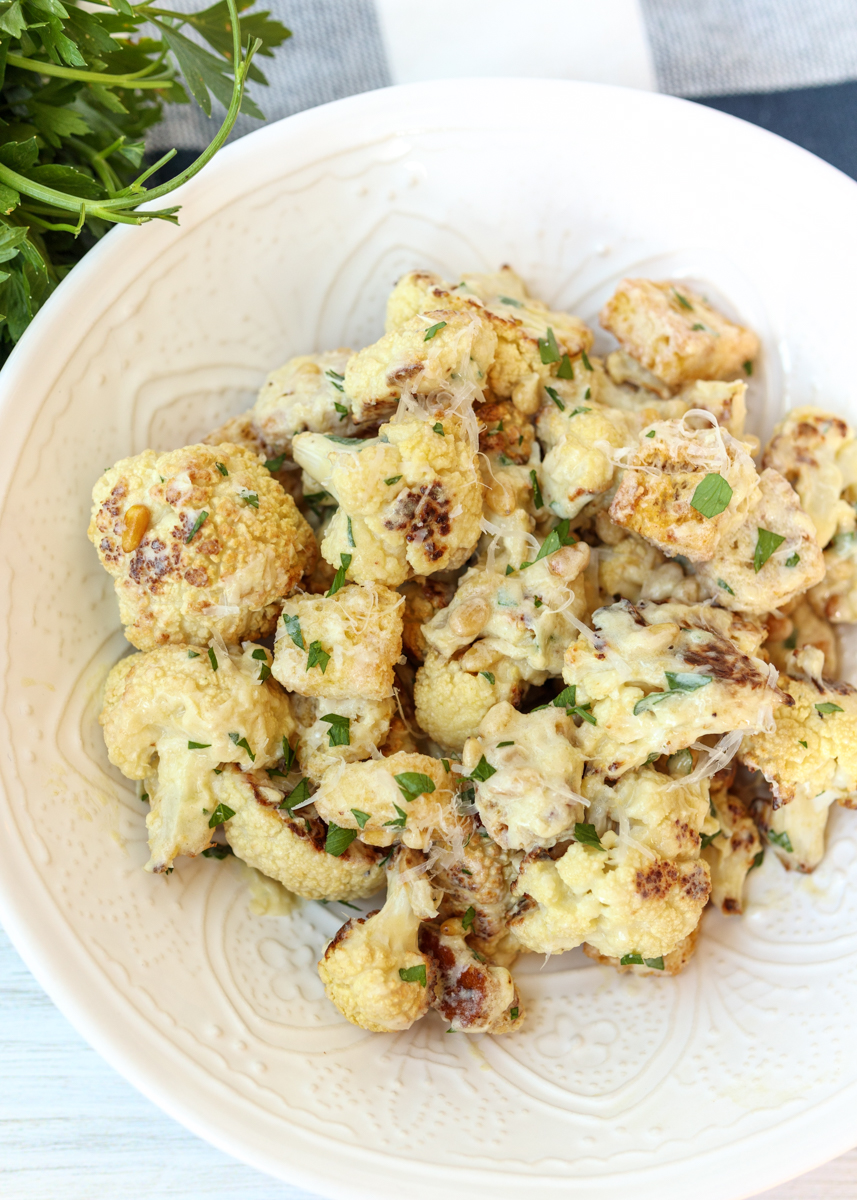
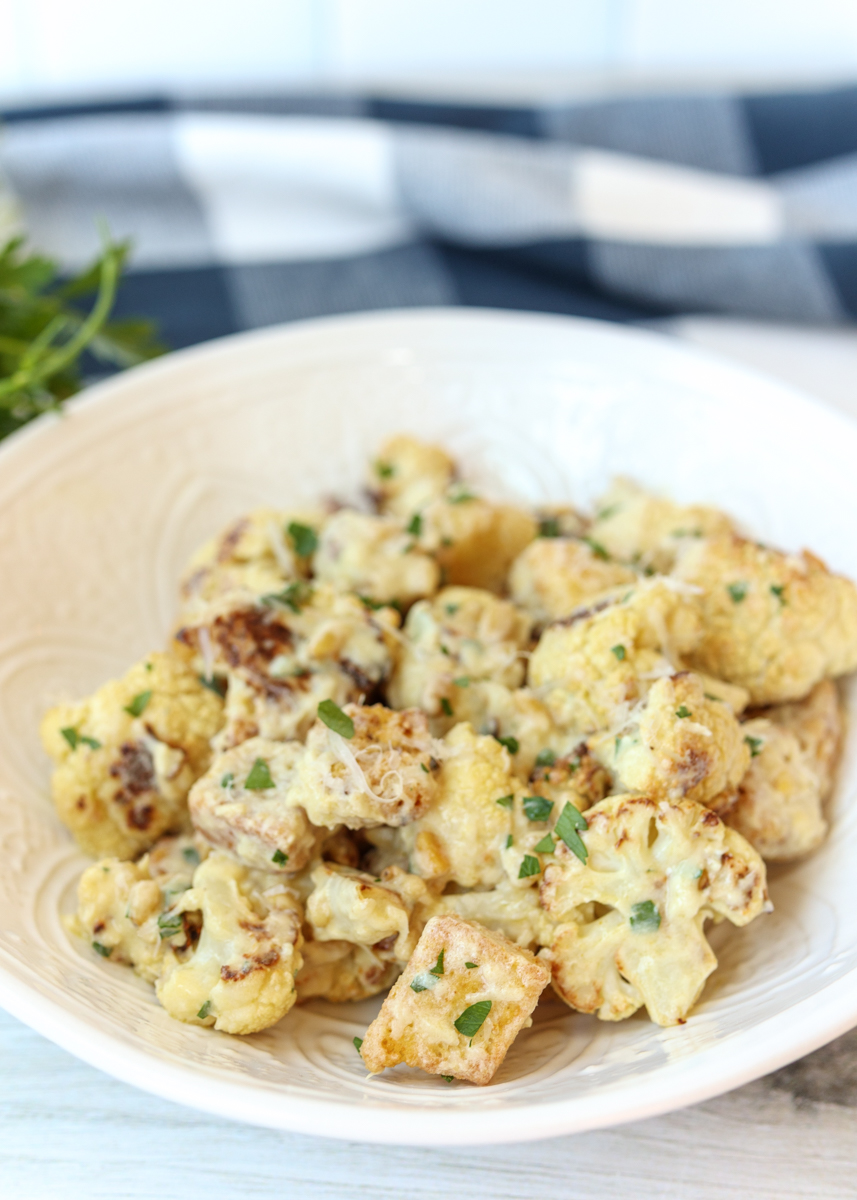
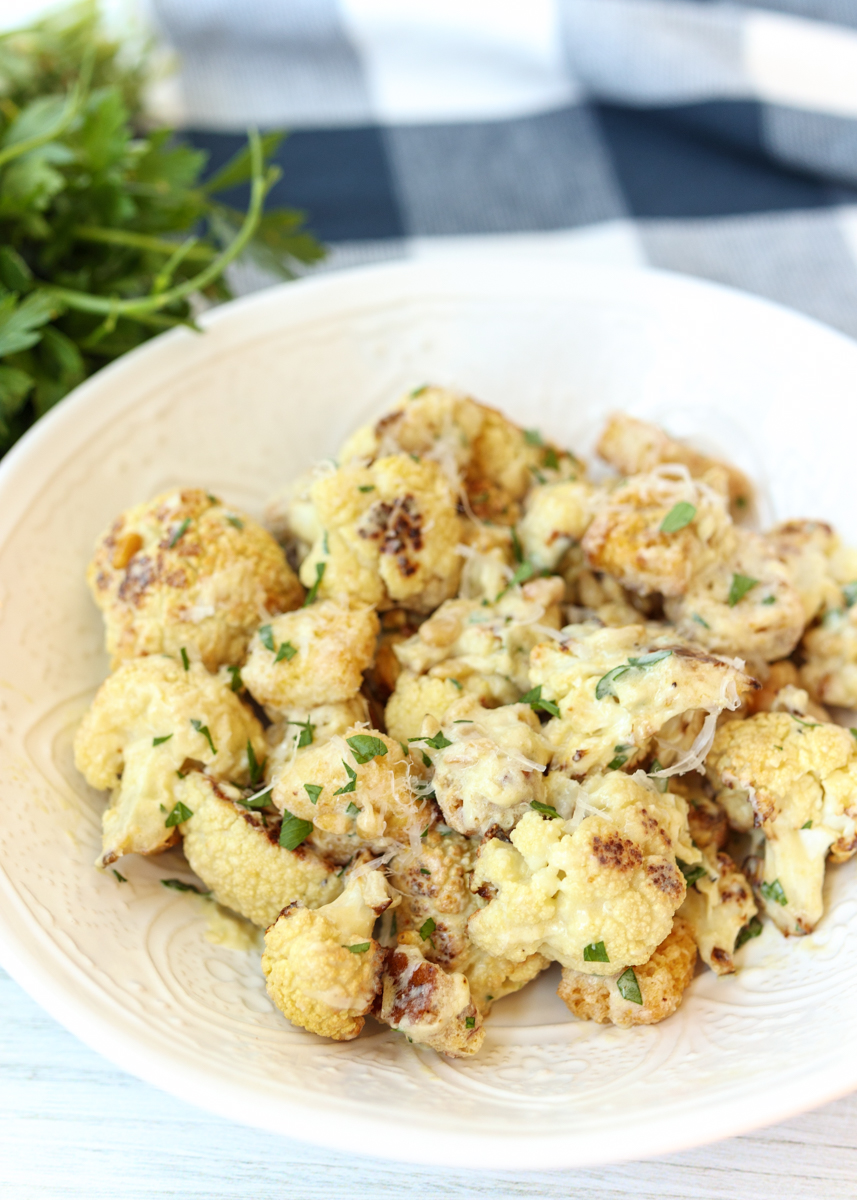
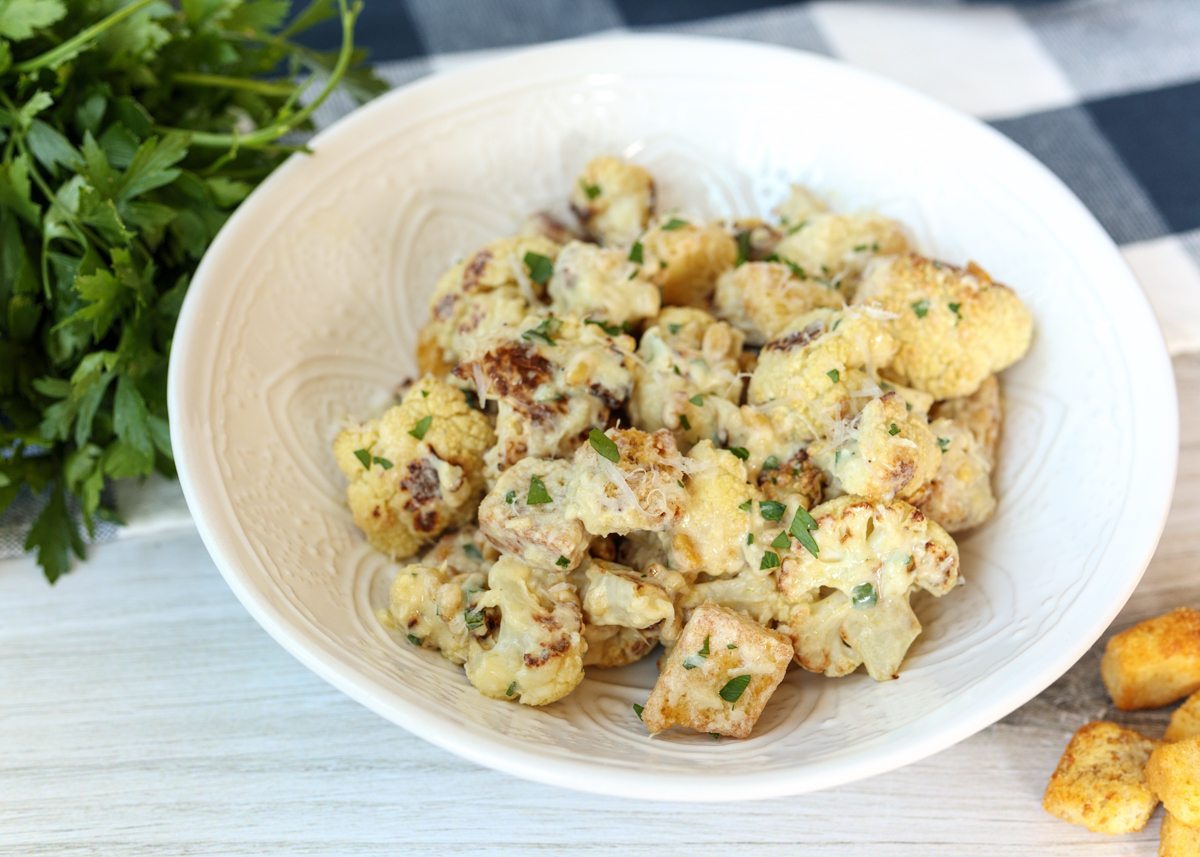
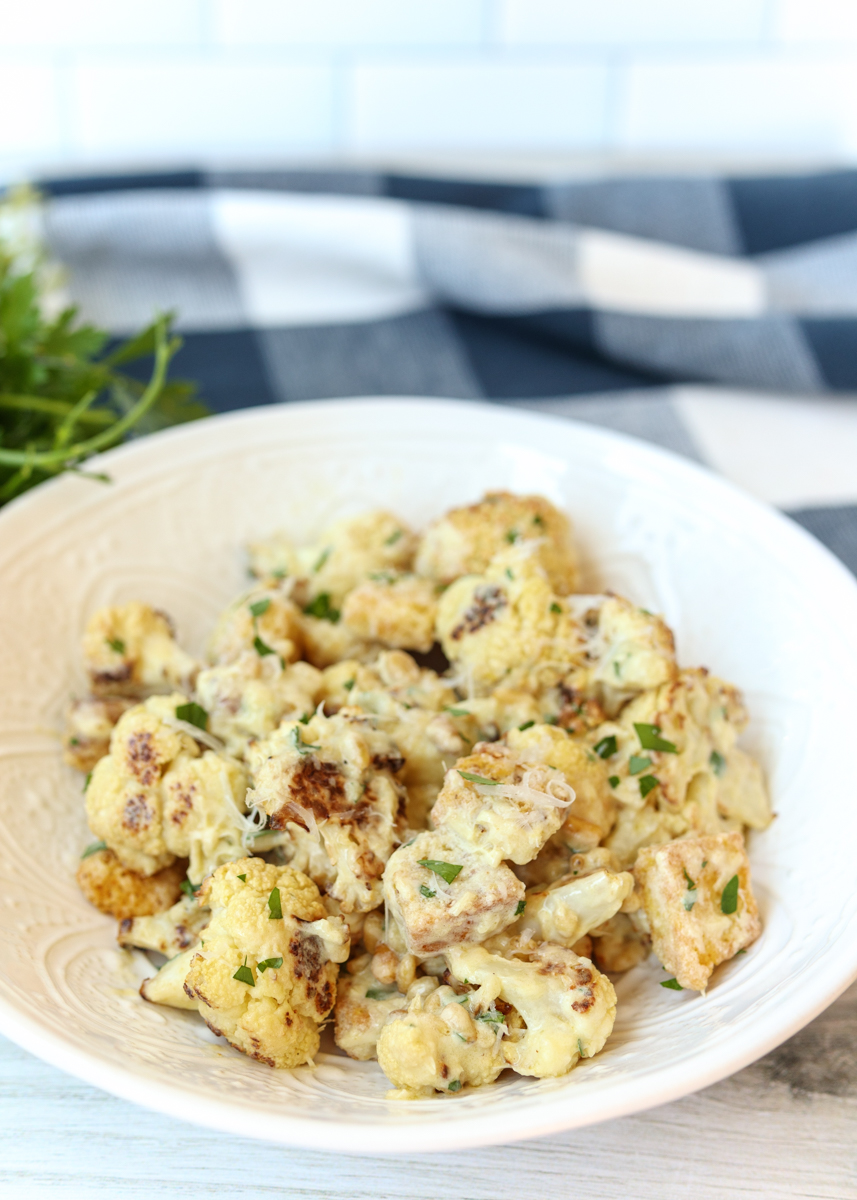
The good news is this recipe I have for you today involves no raw egg. In fact, it involves no egg at all! This Roasted Cauliflower Caesar Salad is a super tasty twist on a classic dish and is perfect because cauliflower is in peak season right now. Caramelized roasted cauliflower florets are tossed with crispy croutons, fresh parsley, toasted pine nuts and plenty of Parmesan cheese.

Roasted Cauliflower Caesar Salad  |  Lemon & Mocha

However, the real winner here is the homemade Caesar dressing made with Greek yogurt. Just like with the homemade tarter sauce, the combination of ingredients in the dressing keeps it from tasting “yogurty” and instead it tastes just like the real deal, especially when tossed in the salad.

Roasted Cauliflower Caesar Salad  |  Lemon & Mocha

The only thing I might do differently next time I make this is to toss in some salad greens because I want to make a main dish out of this instead of just having it on the side since it’s so good! Enjoy, friends!

Roasted Cauliflower Caesar Salad  |  Lemon & Mocha

Roasted Cauliflower Caesar Salad
 
Yield: 4-6 servings
Ingredients
  • 2 heads cauliflower, cut into large florets
  • ⅓ cup plain Greek yogurt
  • ⅓ cup olive oil, plus 3 tablespoons for the cauliflower
  • ½ cup fresh grated Parmesan
  • 1 teaspoon Worcestershire sauce
  • 1 teaspoon dijon mustard
  • Juice of 1 lemon
  • 1 cup croutons
  • ¼ cup toasted pine nuts
  • ¼ cup fresh parsley, chopped
  • Salt and ground black pepper
Directions
  1. Preheat oven to 425 degrees F. Place the cauliflower florets on the baking sheet then drizzle with 3 tablespoons of the olive oil. Toss to coat then season with salt. Roast for 35-40 minutes, or until browned and tender. Let cool.
  2. Make the dressing. Whisk together the yogurt, remaining ⅓ cup of olive oil, Parmesan, Worcestershire, dijon and lemon juice. Toss with the cauliflower, croutons, pine nuts and parsley. Season with salt and pepper to taste.

 Recipe from July/August 2017 issue of Food Network Magazine.

Some of the links above are affiliate links, which means I may receive a small commission for my referral. This does not affect the retail cost of the item. Thank you for supporting Lemon & Mocha!

Peanut Butter S’mores Fudge

Peanut Butter S'mores Fudge  |  Lemon & Mocha

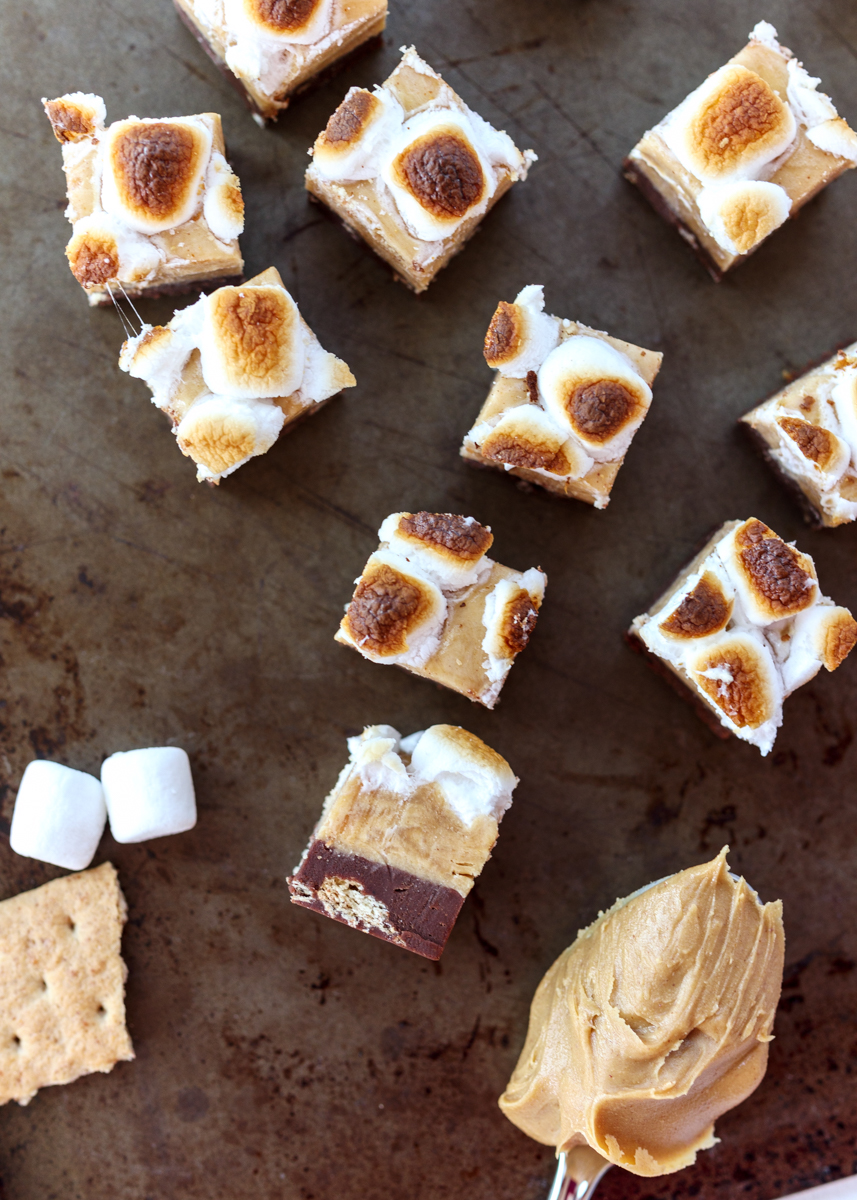
Peanut. Butter. S’mores. Fudge. YES! This, my friends, is what fudge dreams are made of and you can be eating some giddy with delight in no time at all.

Peanut Butter S'mores Fudge  |  Lemon & Mocha

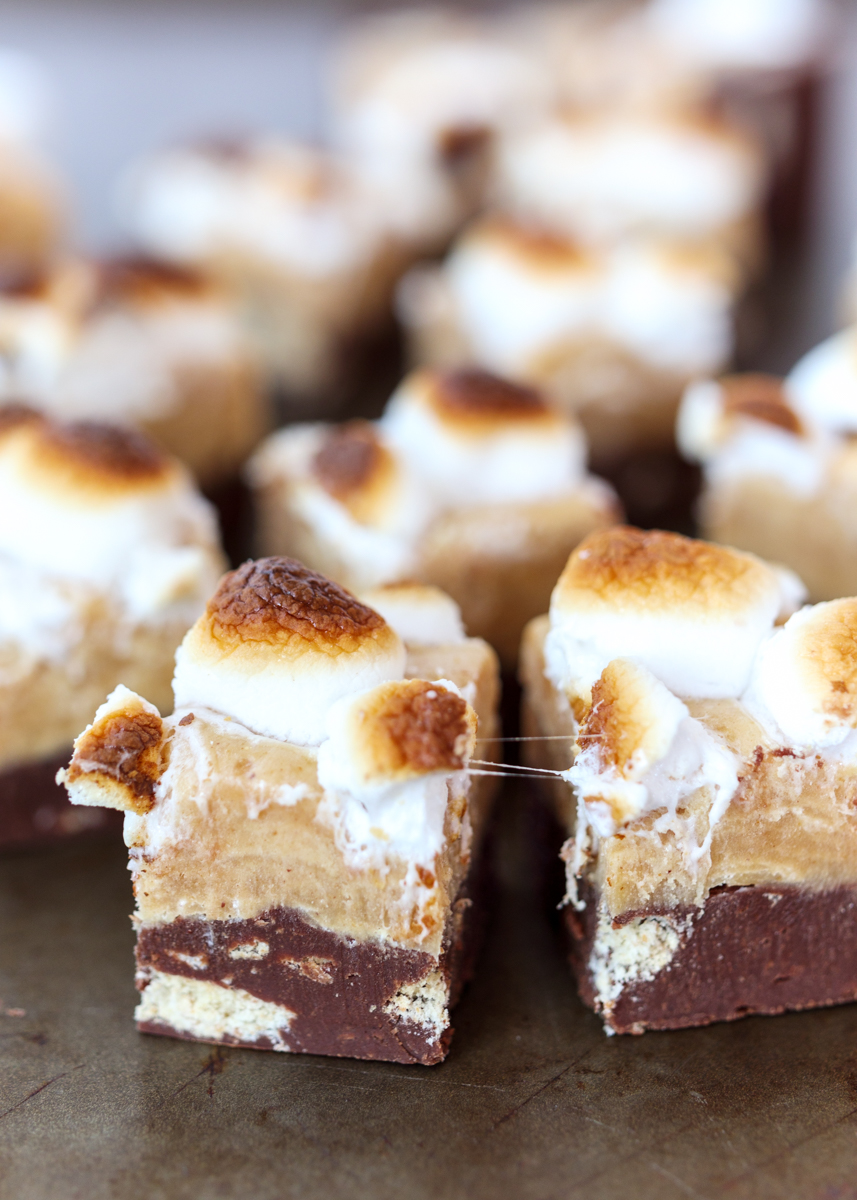
I’ve shared the World’s Smoothest Peanut Butter Fudge and the unreal S’mores Fudge, but it was time these two met for an insanely delicious mash-up. I came up with this combination last year when I decided to morph together Matt’s favorite fudge variation, the S’mores Fudge (which is also my favorite), with my second favorite fudge variation, the World’s Smoothest Peanut Butter Fudge. After one bite, and then a second, third, and fourth, etc. just to make sure, I was convinced that peanut butter and s’mores belong together.

Peanut Butter S'mores Fudge  |  Lemon & Mocha

I have never made a peanut butter and s’mores treat before, but this one fudge recipe has changed that forever so expect some additional future pb-s’mores combinations. In the meantime, let’s focus on this life-changing fudge recipe in front of us.

Peanut Butter S'mores Fudge  |  Lemon & Mocha

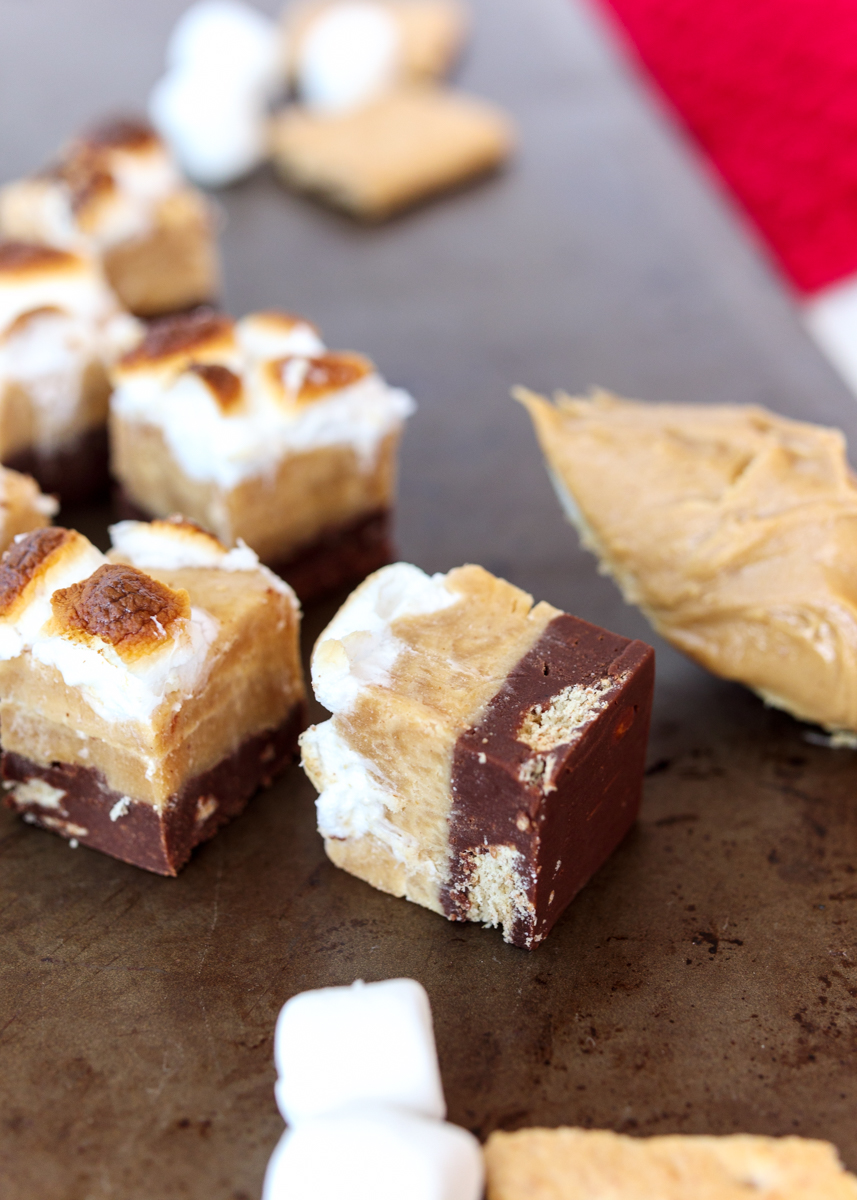
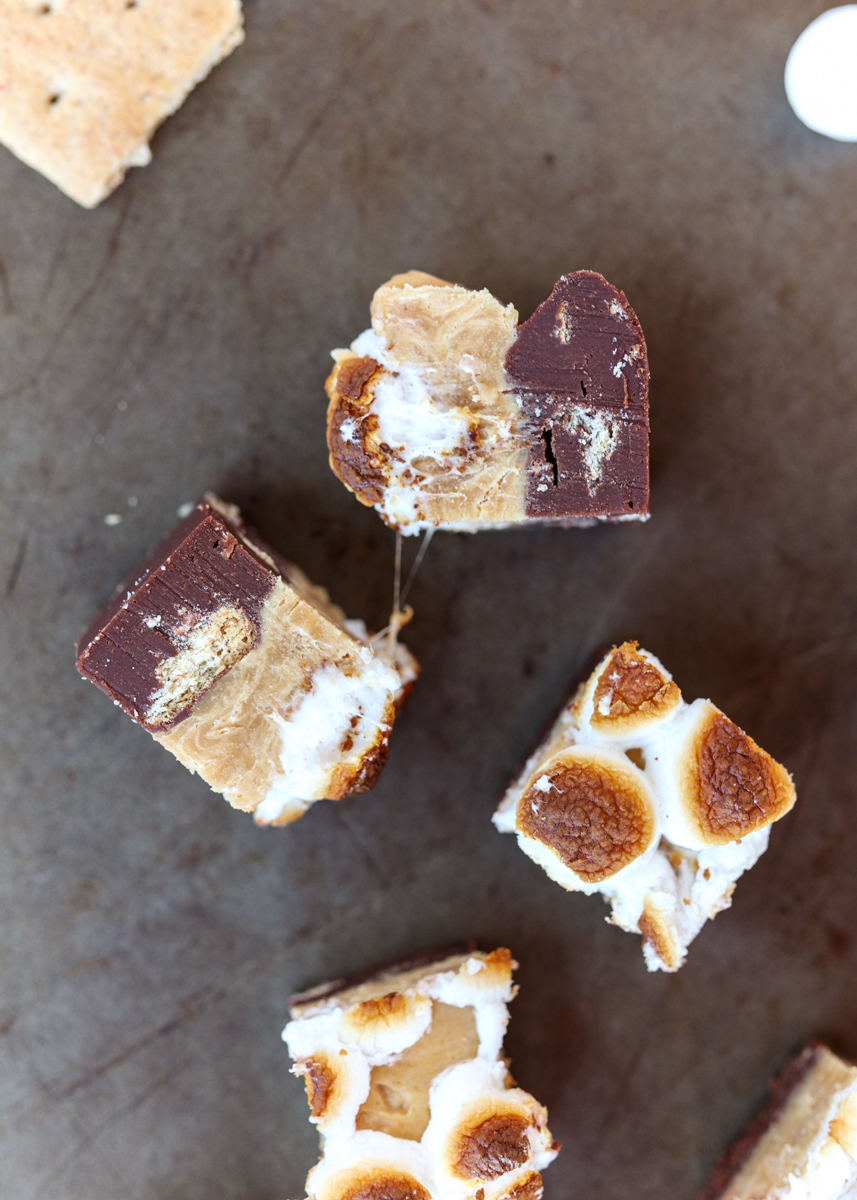
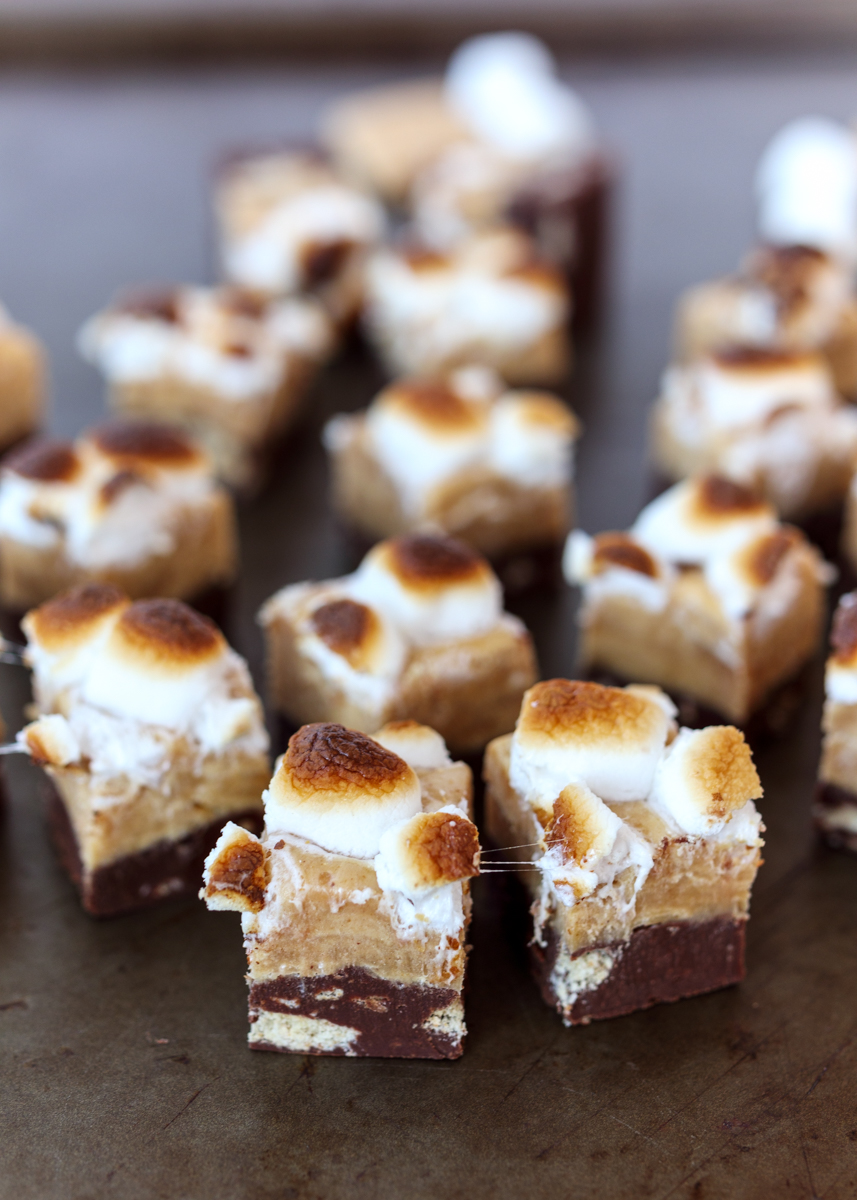
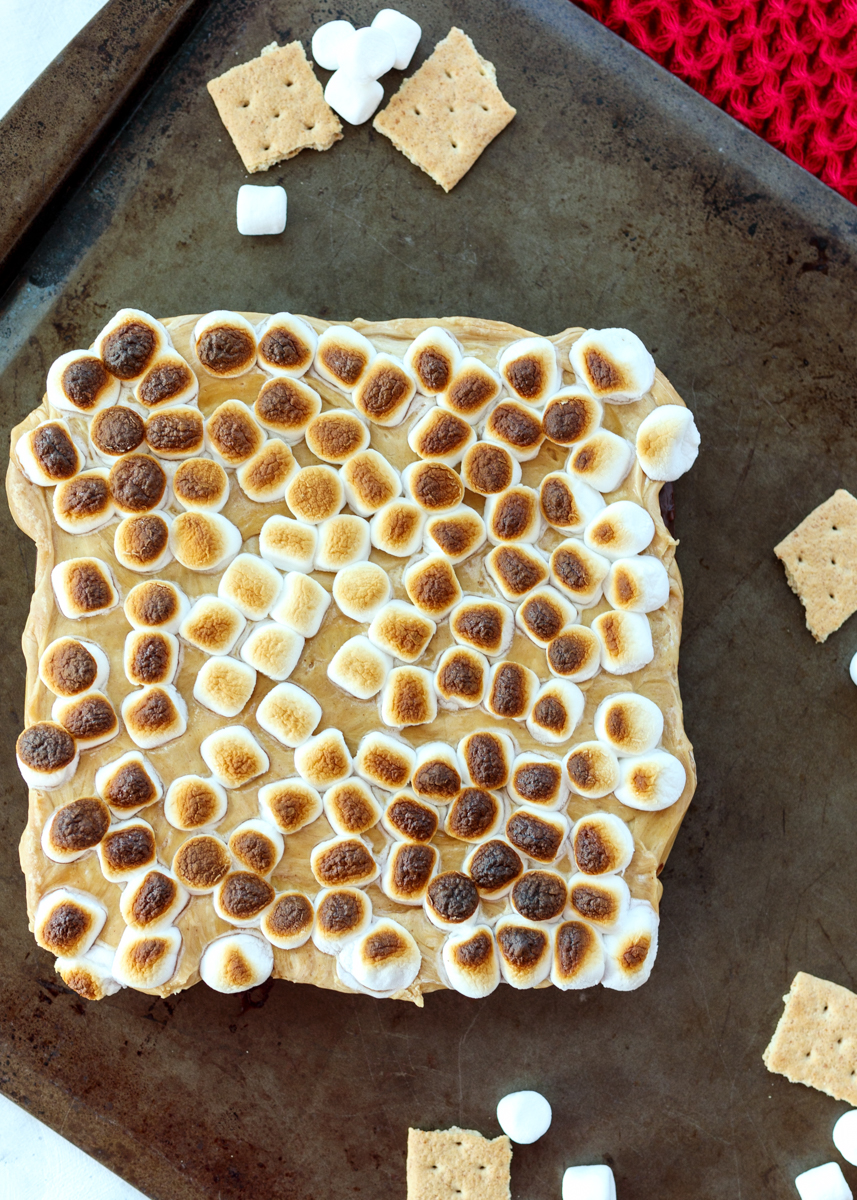
The base is the World’s Smoothest Chocolate Fudge with broken graham cracker pieces folded in. The second layer is the World’s Smoothest Peanut Butter Fudge with marshmallow fluff swirled in. Finally, it’s all topped off with some torched mini marshmallows. Yum!

Peanut Butter S'mores Fudge  |  Lemon & Mocha

I wanted this to still be a normal sized batch of fudge so we’re dividing the can of sweetened condensed milk between the two flavors and essentially making two half portions to get one regular sized batch. I promise you everyone will go nuts over this Peanut Butter S’mores Fudge!

Peanut Butter S'mores Fudge  |  Lemon & Mocha

If you’re looking for more fudge inspiration as we head into the weekend, below are all the Lemon & Mocha fudge posts. Enjoy!

World’s Smoothest Chocolate Fudge
Chocolate Peppermint Fudge
S’mores Fudge
Turtle Caramel Pecan Fudge
World’s Smoothest Peanut Butter Fudge
Saltine Toffee Fudge aka Christmas Crack Fudge
Dirt Fudge
Dark Chocolate Pistachio Cranberry Fudge
Dark Chocolate Raspberry Fudge

Peanut Butter S'mores Fudge
 
Yield: 64 pieces
Ingredients
  • 1 tablespoon unsalted butter
  • ½ ounce unsweetened Baker’s baking chocolate
  • 14 ounces sweetened condensed milk, divided
  • 1 cup semisweet chocolate chips
  • 1 teaspoon vanilla, divided
  • ⅓ cup broken graham crackers
  • 1 tablespoon creamy peanut butter
  • ½ ounce Baker’s white baking chocolate
  • 1 cup peanut butter chips
  • ⅓ cup marshmallow fluff
  • 1 cup mini marshmallows
Directions
  1. Line an 8" x 8" pan with wax paper and set aside.
  2. Melt the butter and the Baker’s chocolate in a double boiler over medium heat, stirring occasionally.
  3. Pour in the chocolate chips and stir with a heatproof rubber spatula until fully melted.
  4. Carefully stir in half of the can condensed milk to combine and remove from the heat. Stir in the ½ teaspoon of the vanilla extract and the broken graham crackers.
  5. Pour the chocolate mixture into the prepared pan and smooth the top with the spatula.
  6. When the double boiler is cool enough to clean, wash and dry to use for the second layer. Melt the peanut butter and the Baker’s white baking chocolate in a double boiler over medium heat, stirring occasionally.
  7. Pour in the peanut butter chips and stir with a heatproof rubber spatula until fully melted.
  8. Carefully stir in the remaining half of the condensed milk to combine and remove from the heat. Stir in the remaining ½ teaspoon of the vanilla extract and the marshmallow fluff.
  9. Pour the peanut butter mixture into the prepared pan on top of the chocolate layer and smooth the top with the spatula. Sprinkle the mini marshmallows over top and lightly press down. Toast mini marshmallows in a broiler or with a kitchen torch. You can do this before or after the fudge has set in the fridge. If using the broiler be sure to watch it carefully so the marshmallows don’t over-toast.
  10. Refrigerate until the fudge is set then cut into bite size pieces. Best eaten straight from the fridge.


Dark Chocolate Raspberry Fudge

Dark Chocolate Raspberry Fudge  |  Lemon & Mocha

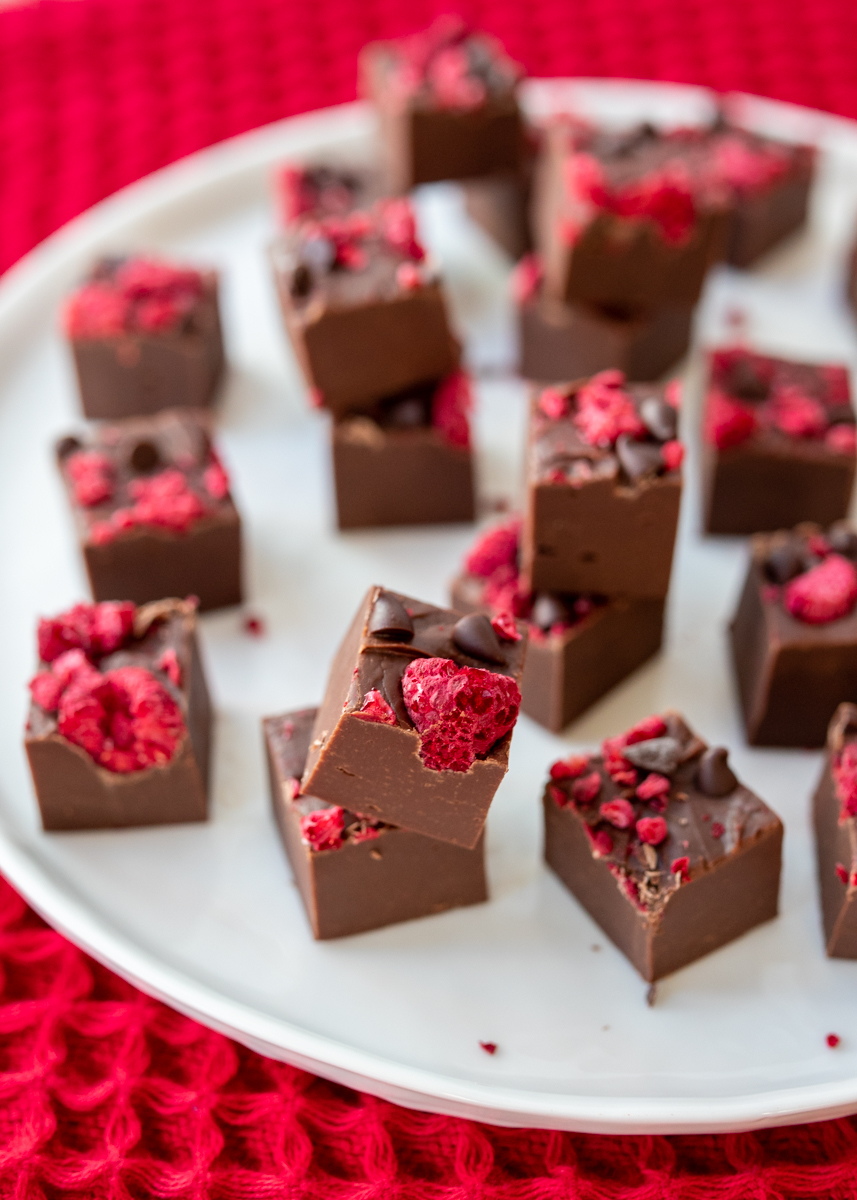
Good morning, everyone! Fudge week is continuing here on Lemon & Mocha with this Dark Chocolate Raspberry Fudge. Similar to Monday’s variation, the Dark Chocolate Raspberry Fudge introduces a tart element that pairs extremely well with the rich chocolate.

Dark Chocolate Raspberry Fudge  |  Lemon & Mocha

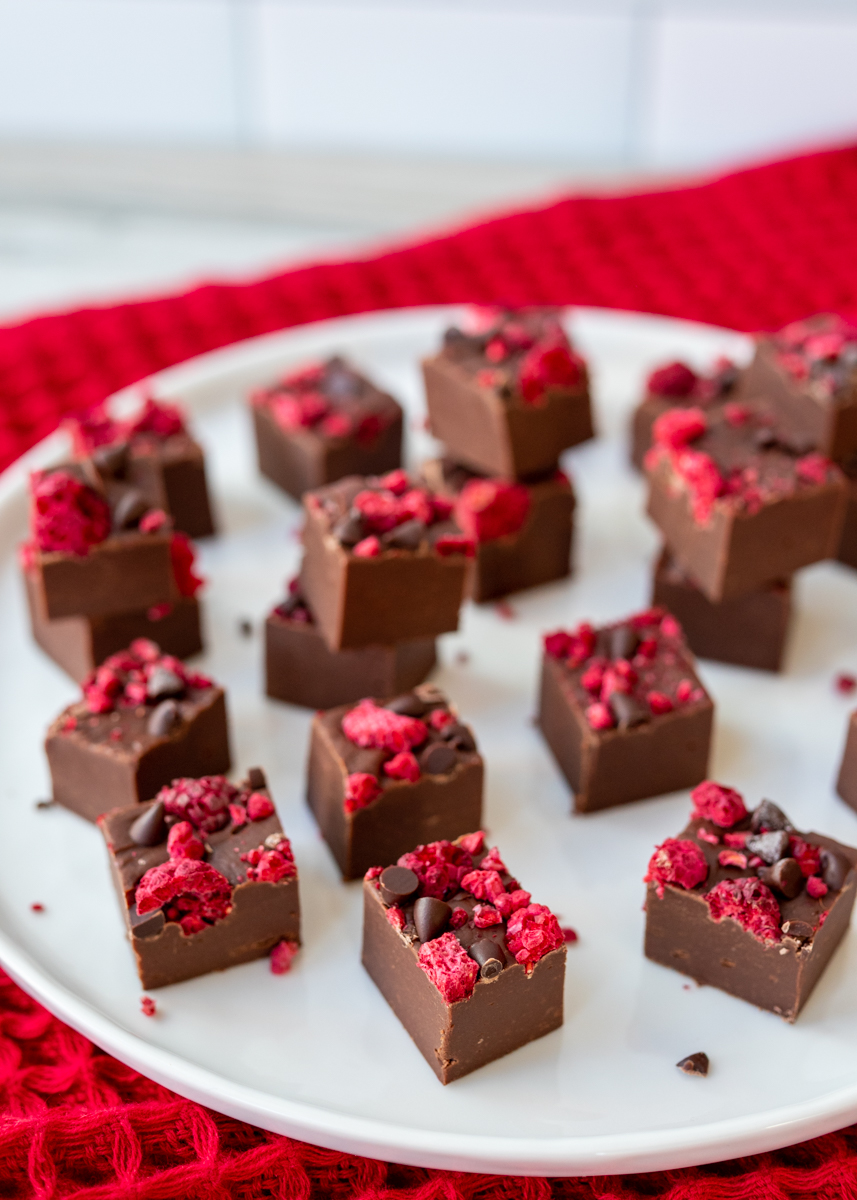
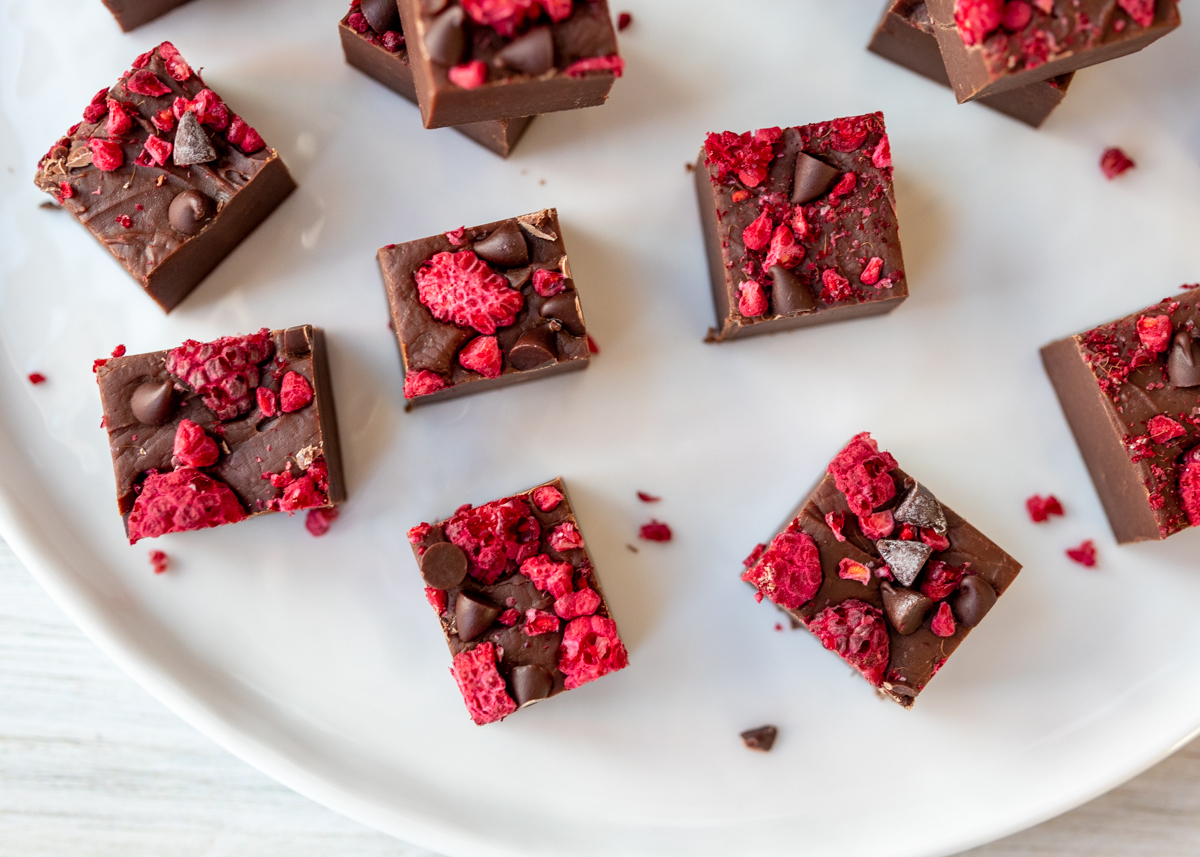
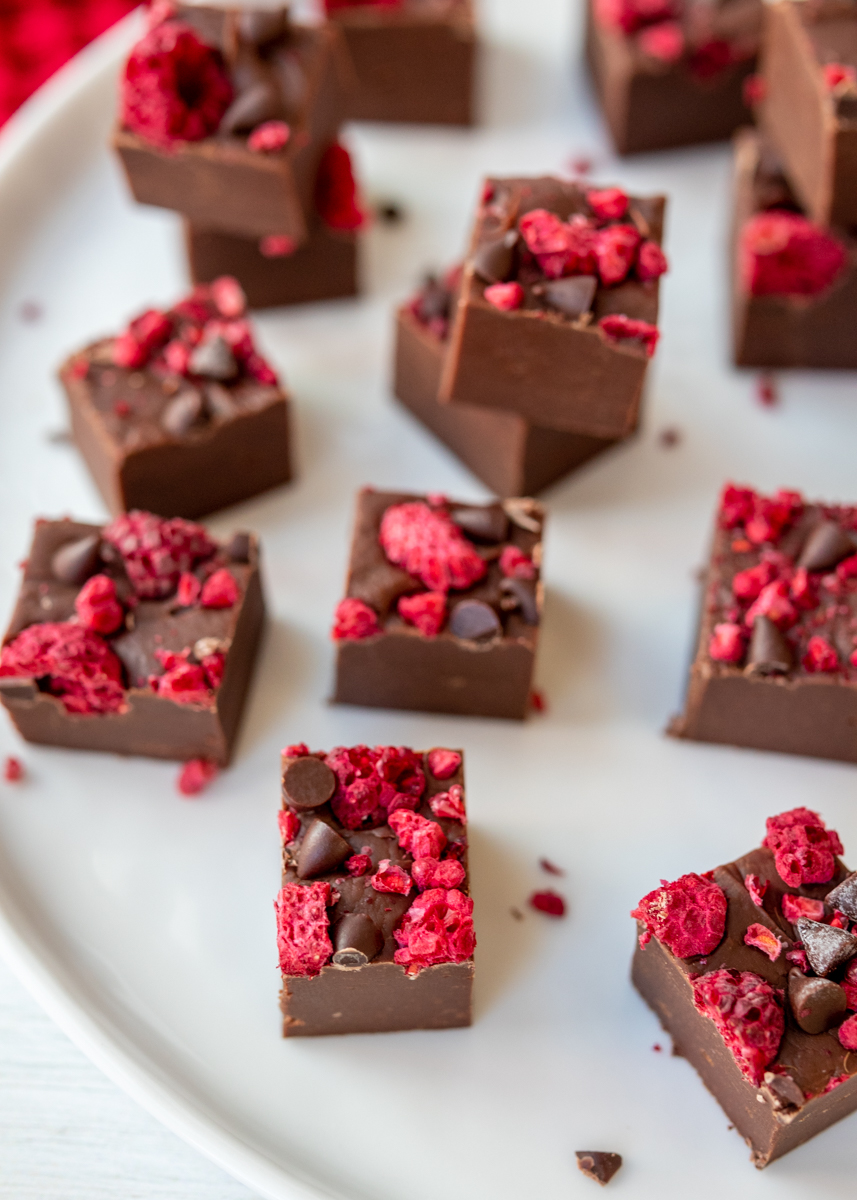
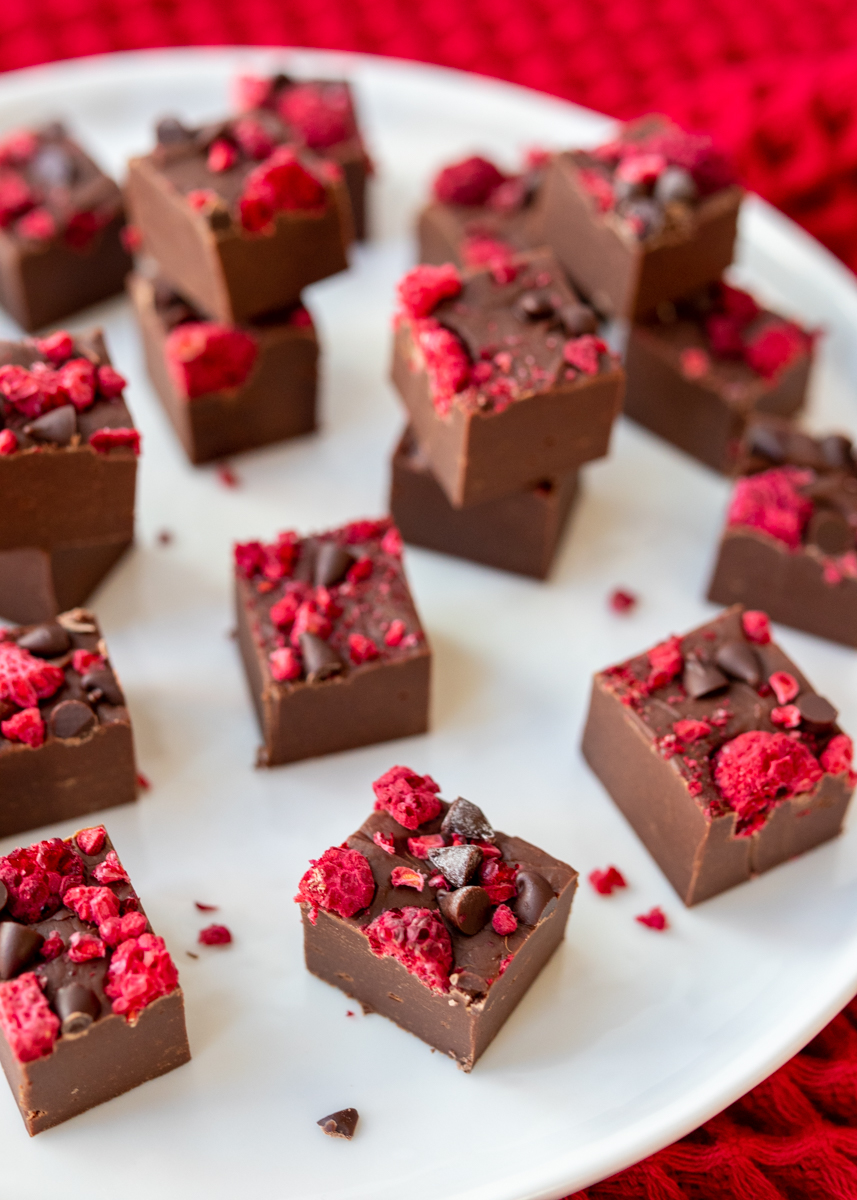
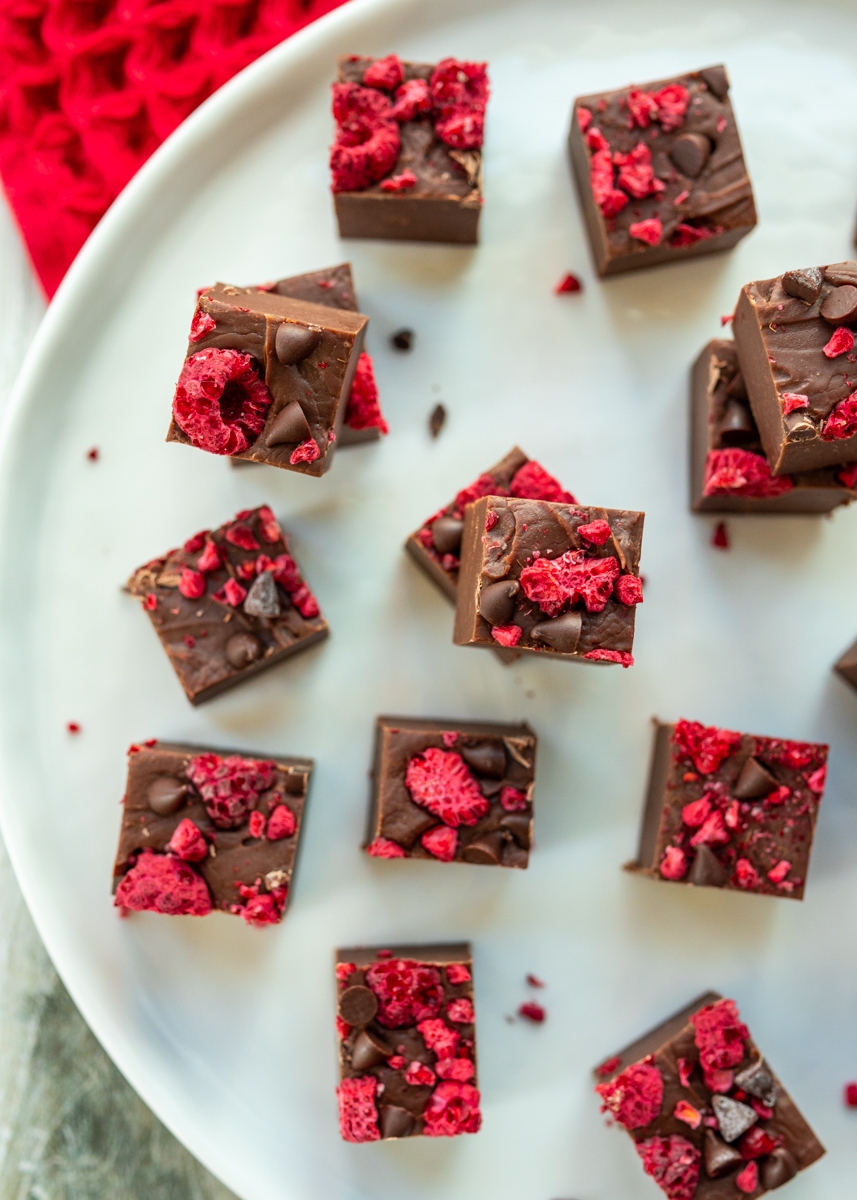
Sometimes in the fall and winter flavors can become really heavy so I love having a dessert with a bright fruitiness or acidity, which is exactly what we get with this Dark Chocolate Raspberry Fudge. I’ve taken our classic chocolate fudge base and added raspberry extract before topping it off with some freeze dried raspberries and mini semisweet chocolate chips.

Dark Chocolate Raspberry Fudge  |  Lemon & Mocha

If you’ve had the World’s Smoothest Chocolate Fudge then you know it’s quite rich in its chocolate flavor so it takes a bit to break through all that chocolateyness. The amount of raspberry extract and freeze dried raspberries we’re adding allows the fudge to balance the fine line of the raspberry flavor being present while being neither overpowering nor too subtle.

Dark Chocolate Raspberry Fudge  |  Lemon & Mocha

The reason we’re using freeze dried raspberries instead of fresh raspberries is because when they are freeze dried the flavor becomes more concentrated, which is exactly what we need in this recipe. Also, we’re able to get the raspberry flavor without any additional moisture that fresh fruit would bring. You can find freeze dried raspberries in quite a few stores; I’ve bought them in both Target and Trader Joe’s.

Dark Chocolate Raspberry Fudge  |  Lemon & Mocha

Don’t forget the mini semisweet chocolate chips on top! Since they’re just chocolate on top of more chocolate they don’t actually add any flavor nuances to this fudge, but they make it look even cuter between all the pops of red from the raspberries and adding a nice textural bit to the topping. Enjoy!

Dark Chocolate Raspberry Fudge  |  Lemon & Mocha

Dark Chocolate Raspberry Fudge
 
Yield: 64 pieces
Ingredients
  • 2 tablespoons unsalted butter
  • 1 ounce unsweetened Baker’s baking chocolate
  • 14 ounces sweetened condensed milk
  • 12 ounces semisweet chocolate chips
  • 1 teaspoon raspberry extract
  • Freeze dried raspberries for topping, about 3 tablespoons
  • Mini semisweet chocolate chips for topping, about 3 tablespoons
Directions
  1. Line an 8" x 8" pan with wax paper and set aside.
  2. Double Boiler Method: If not using a double boiler, skip to the next step. Melt butter and the Baker’s chocolate in a double boiler over medium heat, stirring occasionally. Pour in half the bag of chocolate chips and stir with a heatproof rubber spatula to help melt. Once partially melted add the rest of the bag of chocolate chips and stir until fully melted. Carefully stir in the condensed milk to combine and remove from the heat. Stir in the raspberry extract. Skip to step 4.
  3. Saucepan Method: Melt the butter and unsweetened chocolate in a medium nonstick saucepan over low heat, stirring regularly with a heatproof spatula to make sure the chocolate doesn’t burn. Pour in the sweetened condensed milk and stir to combine. Let the mixture get a little warm then pour in half the bag of chocolate chips. Stir to help melt. Once partially melted add the rest of the bag of chocolate chips and stir until fully melted, being sure to scrape the bottom as you stir. Stir in the raspberry extract and remove from the heat.
  4. Pour the chocolate mixture into the prepared pan and smooth the top with the spatula. Top with the freeze dried raspberries. Let cool very slightly then top with the mini chocolate chips. Press down lightly and refrigerate until the fudge is set. Once set cut into bite size pieces.


Dark Chocolate Pistachio Cranberry Fudge

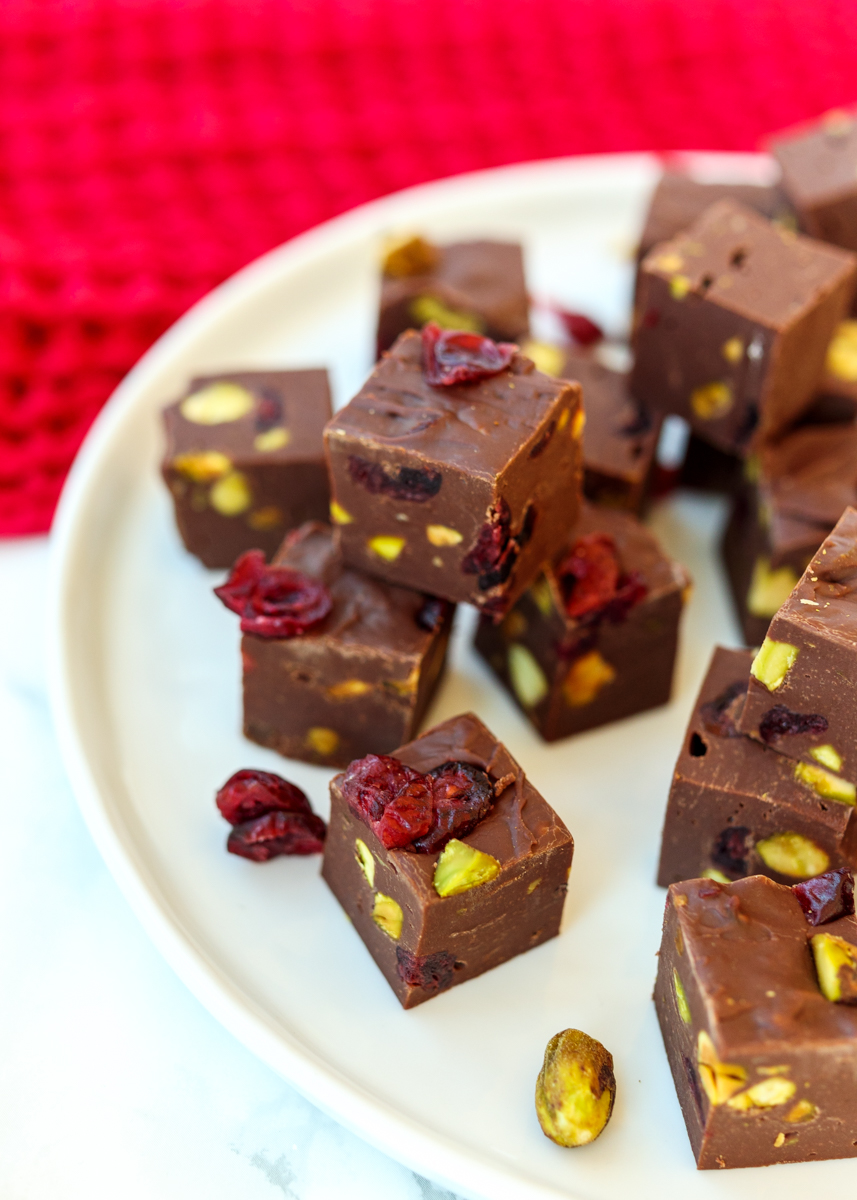
Dark Chocolate Pistachio Cranberry Fudge  |  Lemon & Mocha

Fudge season is back! I know I posted the Dirt Fudge recipe this summer and talked about how fudge is delicious all year round, which is true, but it still peaks during the holiday season. I have a special 12 Days of Christmas Cookies planned so my holiday post schedule filled up quickly, which is why I’m sharing this Dark Chocolate Pistachio Cranberry Fudge recipe with you all when it’s still October.

Dark Chocolate Pistachio Cranberry Fudge  |  Lemon & Mocha

It’s never too early to start planning holiday baking and treat gifting! In fact, to help you out I’m sharing brand new fudge recipes with you all week long. That’s three new epic fudge creations!

Dark Chocolate Pistachio Cranberry Fudge  |  Lemon & Mocha

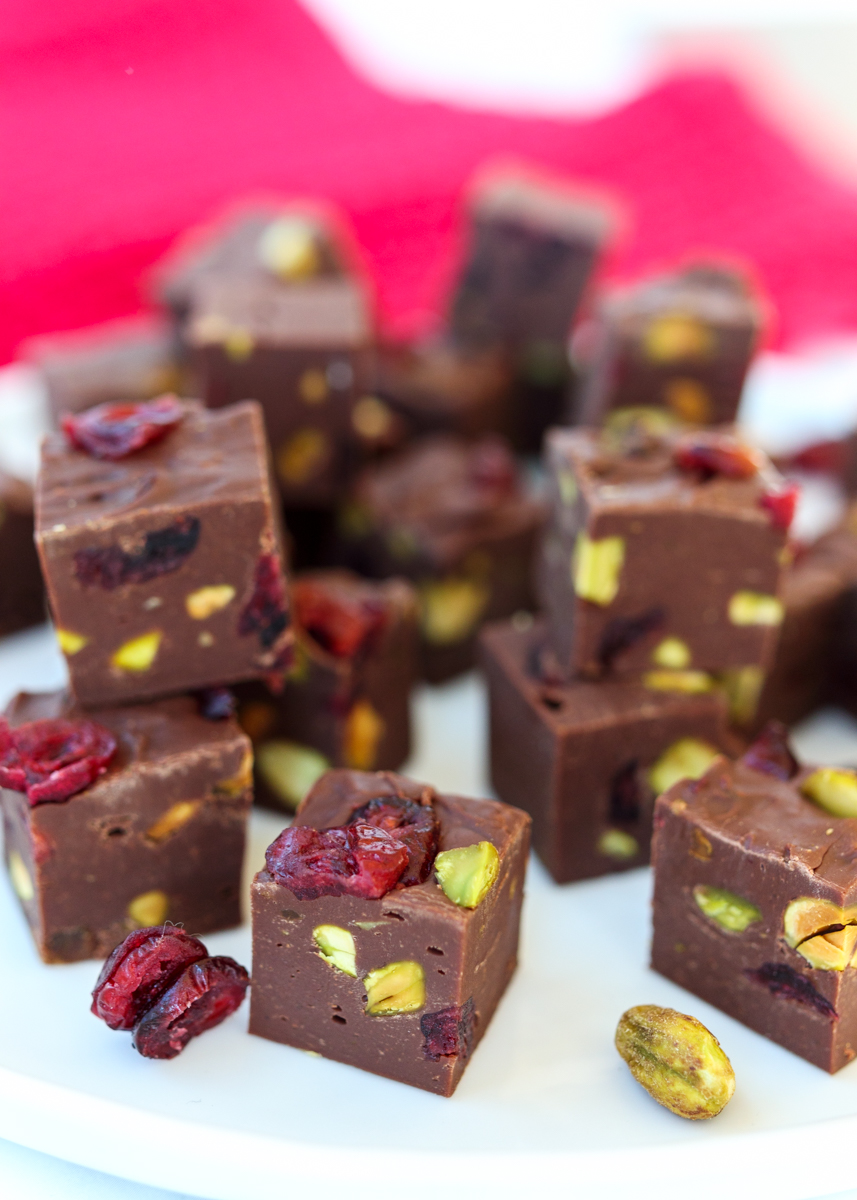
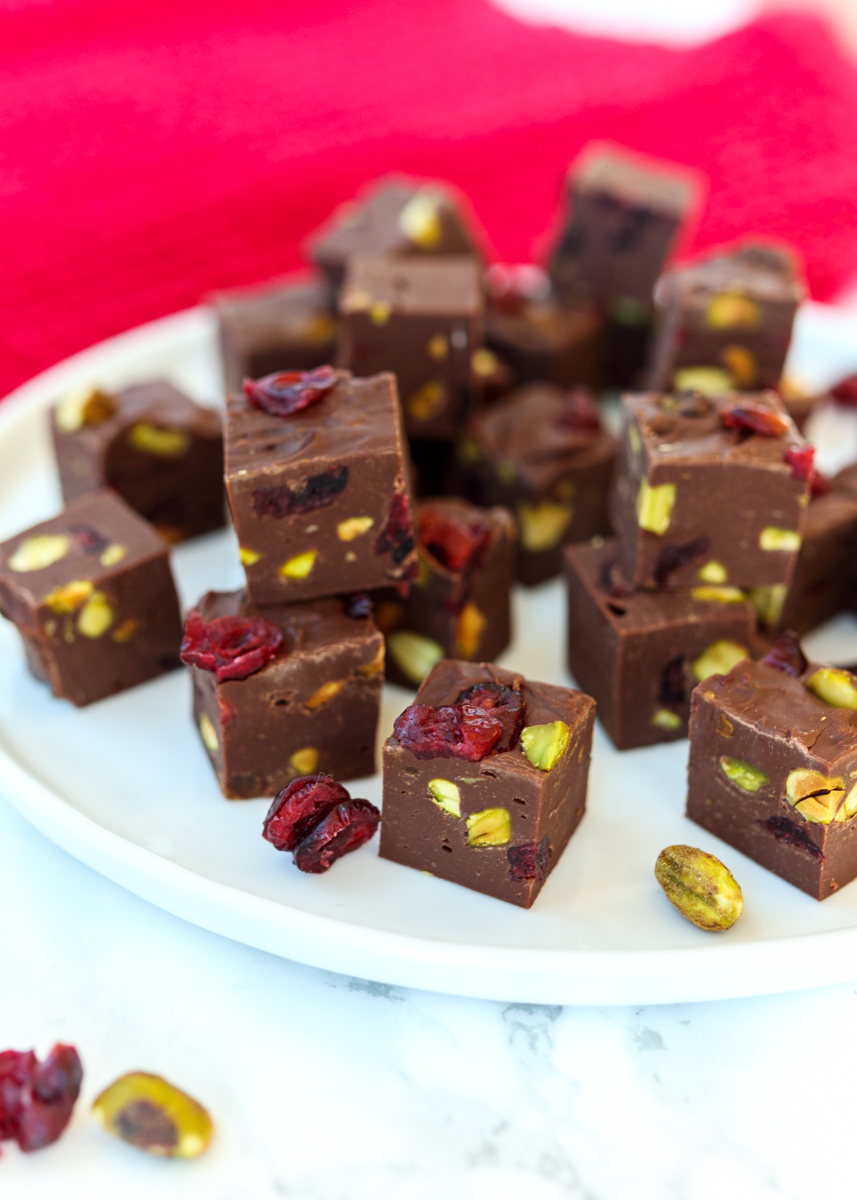
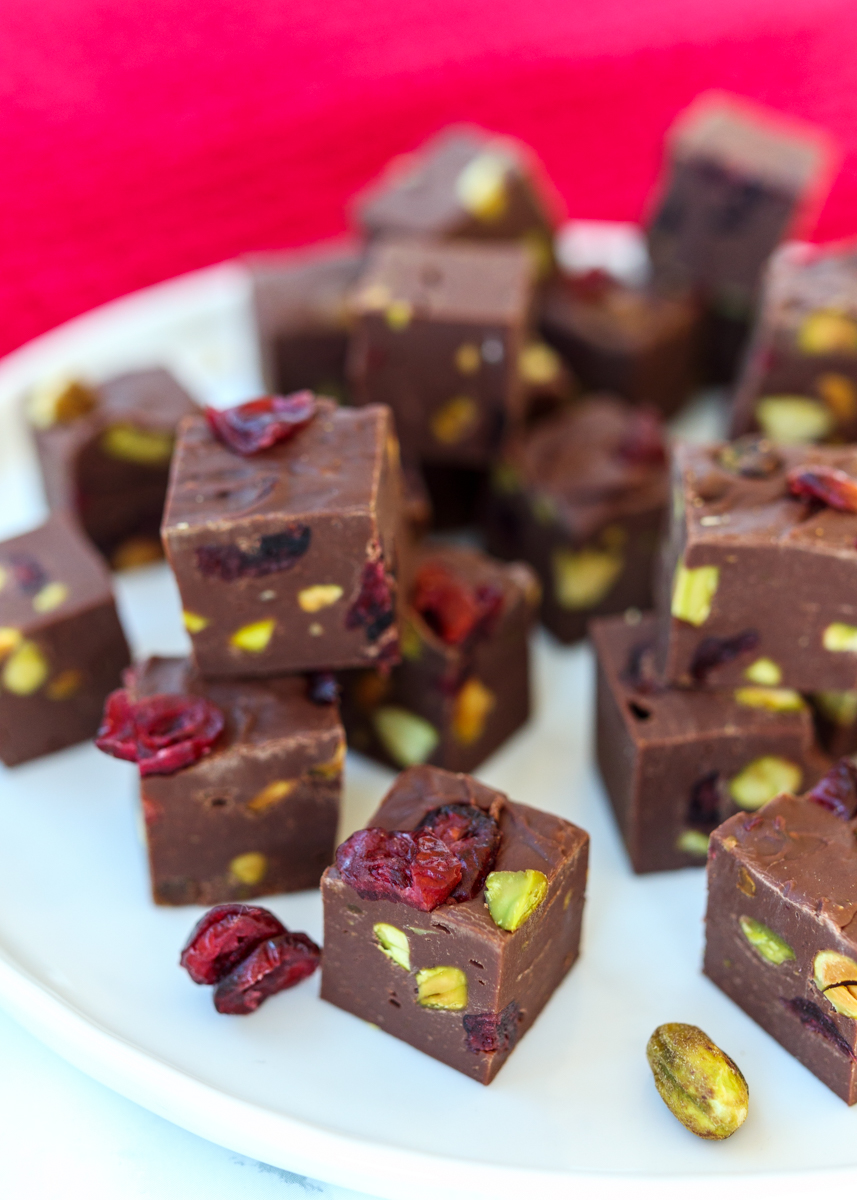
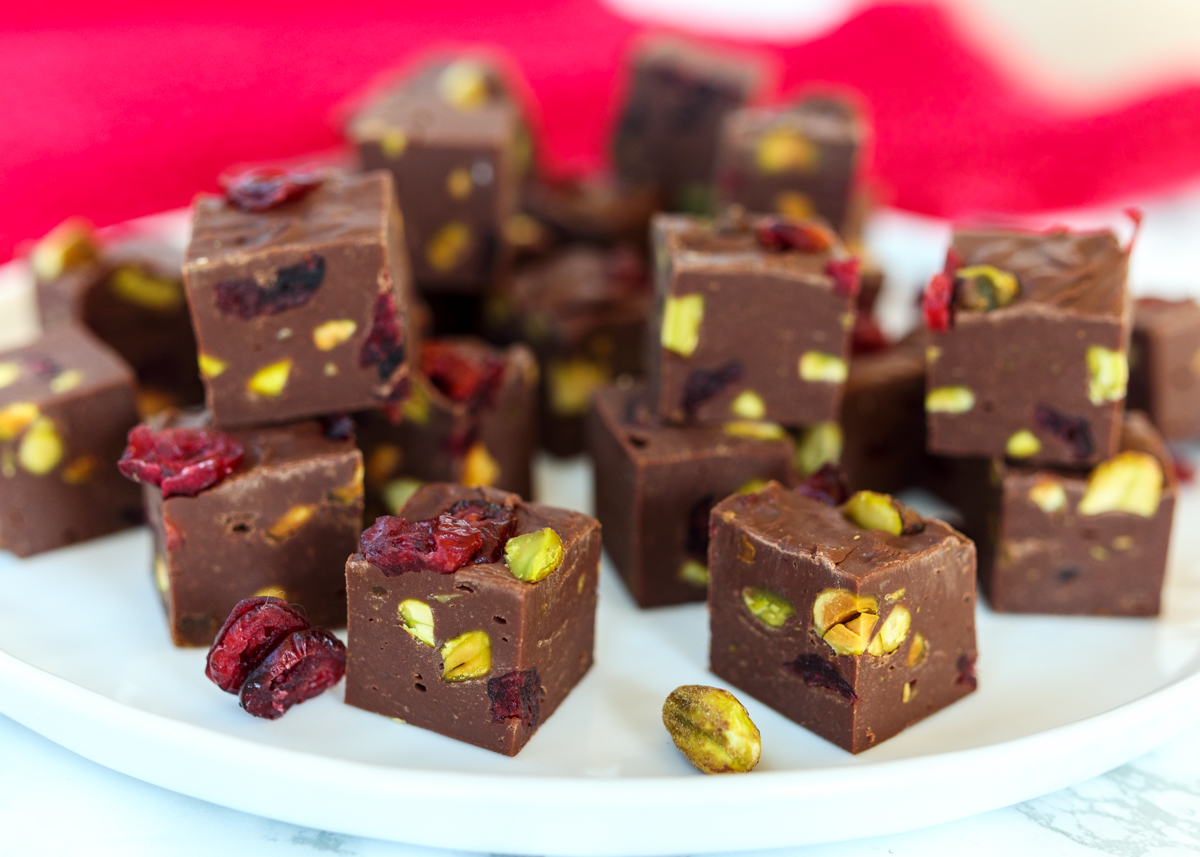
I’m kicking off Lemon & Mocha’s fudge week with something simple. I’ve taken Diane’s classic, tried-and-true, World’s Smoothest Chocolate Fudge and I’ve added some chopped pistachios and sweetened dried cranberries. The crunch of the pistachios plus the tartness of the dried cranberries are a perfect addition to this rich and creamy dark chocolate fudge. And, bonus, how cute do the little bits of red and green look for Christmas time?

Dark Chocolate Pistachio Cranberry Fudge  |  Lemon & Mocha

I’ve always made fudge using a double boiler as that is how Diane taught me, but last year I had success using just a nonstick saucepan. I tested it out for quite a few batches and had positive results every time so I’ve included both the double boiler method and the saucepan method in the recipe below. I can’t wait for you all to experience the rest of Lemon & Mocha fudge week – the next two recipes are outrageous!

Dark Chocolate Pistachio Cranberry Fudge  |  Lemon & Mocha

Dark Chocolate Pistachio Cranberry Fudge
 
Yield: 64 pieces
Ingredients
  • 2 tablespoons unsalted butter
  • 1 ounce unsweetened Baker’s baking chocolate
  • 14 ounces sweetened condensed milk
  • 12 ounces semisweet chocolate chips
  • 1 teaspoon vanilla
  • ½ cup shelled pistachios, chopped, plus more for topping
  • ⅓ cup sweetened dried cranberries, plus more for topping
Directions
  1. Line an 8" x 8" pan with wax paper and set aside.
  2. Double Boiler Method: If not using a double boiler, skip to the next step. Melt butter and the Baker’s chocolate in a double boiler over medium heat, stirring occasionally. Pour in half the bag of chocolate chips and stir with a heatproof rubber spatula to help melt. Once partially melted add the rest of the bag of chocolate chips and stir until fully melted. Carefully stir in the condensed milk to combine and remove from the heat. Stir in the vanilla extract, the pistachios and the dried cranberries. Skip to step 4.
  3. Saucepan Method: Melt the butter and unsweetened chocolate in a medium nonstick saucepan over low heat, stirring regularly with a heatproof spatula to make sure the chocolate doesn’t burn. Pour in the sweetened condensed milk and stir to combine. Let the mixture get a little warm then pour in half the bag of chocolate chips. Stir to help melt. Once partially melted add the rest of the bag of chocolate chips and stir until fully melted, being sure to scrape the bottom as you stir. Stir in the vanilla extract, the pistachios and the dried cranberries and remove from the heat.
  4. Pour the chocolate mixture into the prepared pan and smooth the top with the spatula. Top with additional pistachios and dried cranberries, lightly press down.
  5. Refrigerate until the fudge is set then cut into bite size pieces. Best eaten straight from the fridge.