About Lauren

Posts by Lauren :

Braised Red Cabbage with Apples
Braised Red Cabbage with Apples  |  Lemon & Mocha

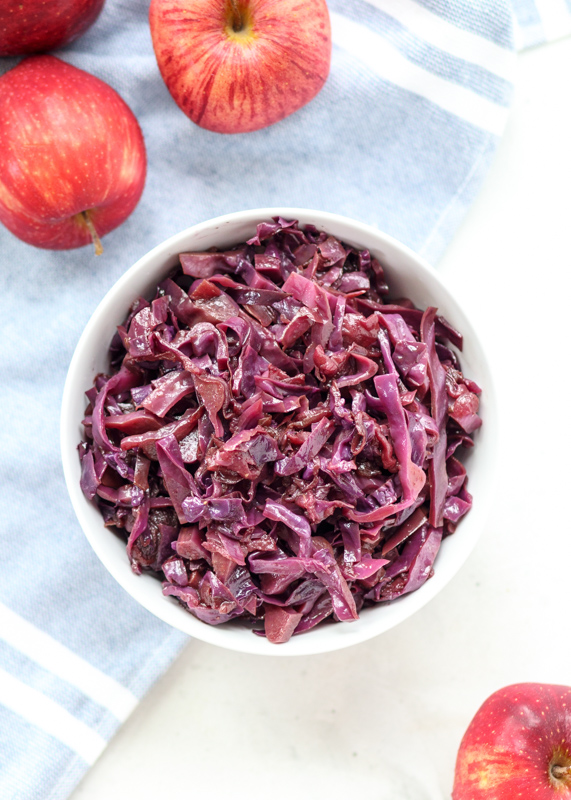
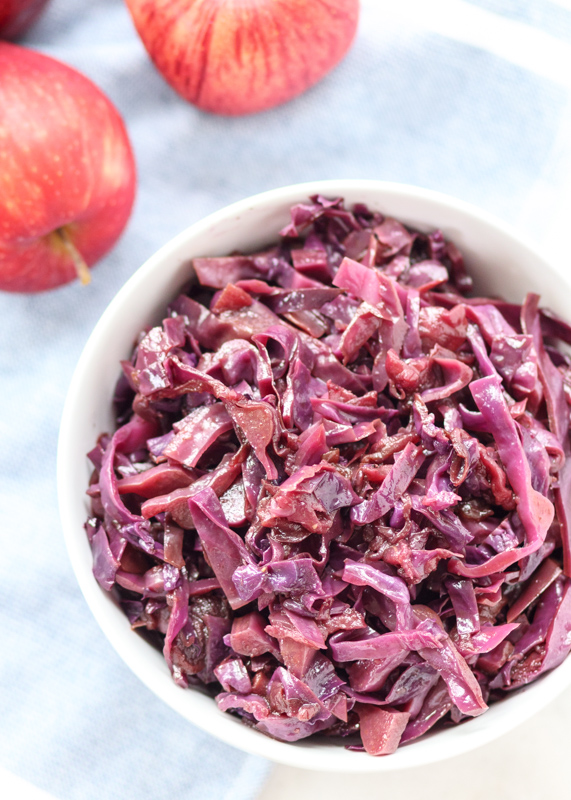
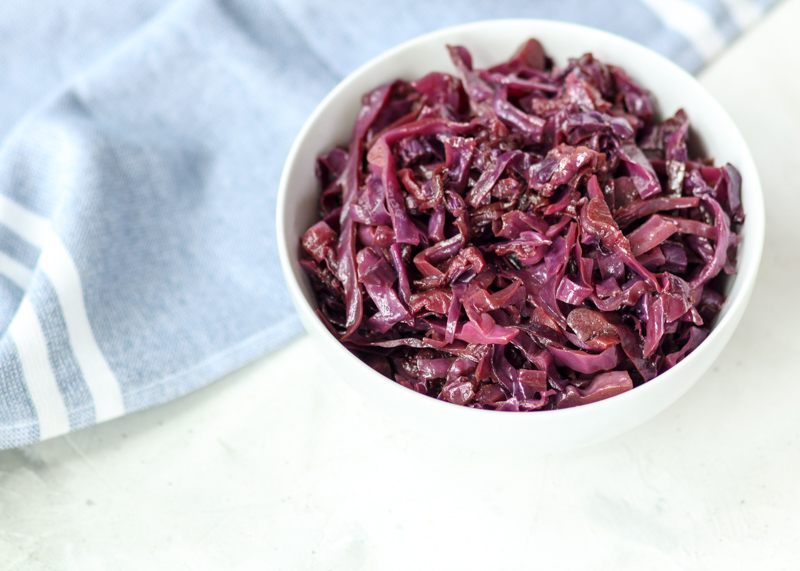
I just realized this is the third Friday in a row I’m posting a vegetable dish. Don’t worry, this Braised Red Cabbage and Apples is just as swoon-worthy as the other two healthy side dishes. Tender, sweet and the perfect amount of acidity from the balsamic vinegar, you will be hooked on this cabbage after one bite.
Braised Red Cabbage with Apples  |  Lemon & Mocha

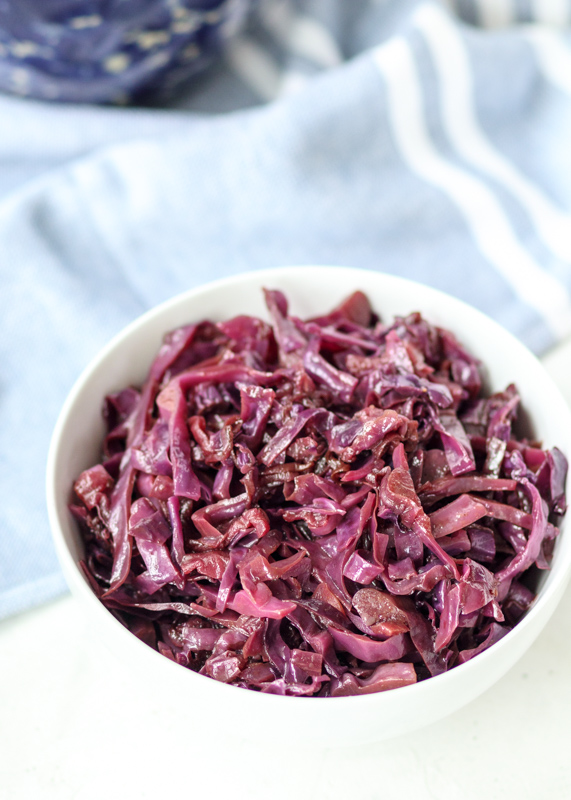
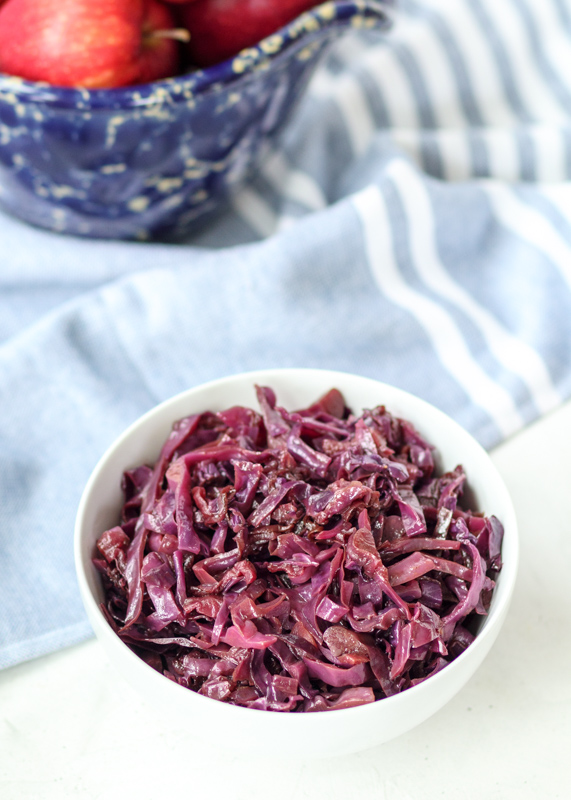
Instead of adding any sugar, the red cabbage is cooked down with an apple to give it some natural sweetness. The cabbage takes on a lot of the balsamic vinegar flavor, which is also slightly sweeter than other types of vinegar since it’s made from grapes. I love making this dish for the holidays because it makes a ton, the color is stunning and you can absolutely make it ahead of time. In fact, it tastes even better the next day after the flavors have had a chance to meld together. It also freezes really well; I just freeze it in quart size freezer bags or reusable containers.
Braised Red Cabbage with Apples  |  Lemon & Mocha

My grandma, Babu, is always on my mind, but especially today on her birthday. Babu loved cabbage and I think she would have been a big fan of this Braised Red Cabbage and Apples. I also think she would be laughing about me celebrating her birthday with cabbage and telling me she would have much preferred some vanilla ice cream! She used to make ground turkey and rice stuffed cabbage rolls, baking them right in our toaster oven. I would never take a bite of them – they didn’t look like my usual macaroni and cheese and fish sticks – but I bet I would love them now.
Braised Red Cabbage with Apples  |  Lemon & Mocha

It’s so interesting to me how your taste-buds evolve and change the more you introduce them to different foods. Also, as I mentioned a couple weeks ago, a lot of it has to do with how the foods are prepared and presented. Matt gobbles this braised cabbage up every time I make it and its been a big hit whenever I make it for company. I hope you enjoy this one and have a wonderful weekend!
Braised Red Cabbage with Apples  |  Lemon & Mocha

Braised Red Cabbage with Apples
 
Yield: 10-12 servings
Ingredients
  • 1 large red cabbage, about 2 pounds
  • 2 tablespoons vegetable oil
  • 1 small onion, thinly sliced
  • 2 tart apples, such as granny smith, peeled, cored and sliced
  • ⅓ cup balsamic vinegar, divided
  • ⅛ teaspoon ground cinnamon
  • ⅛ teaspoon ground cloves
  • Pinch of nutmeg
  • Salt and ground black pepper
Directions
  1. Prepare the cabbage. Rinse the cabbage and remove the loose outer leaves. Cut the cabbage into quarters: place the cabbage stem side down and cut it in half. Slice each half in half again from the top to the stem to make quarters. Remove the stem and core from each quarter wedge by diagonally cutting it off. Finally, lay each quarter down on the flat side and thinly slice. Place the sliced cabbage in a bowl and cover with cold water while you finish getting everything else together.
  2. Heat the oil in a large skillet that has a lid or a Dutch oven over medium heat. Add the onion and cook for about 3 minutes. Add 2 tablespoons of the balsamic vinegar and cook for about 3 minutes, or until the mixture is golden, stirring while it cooks. Add the apple slices and cook for 3 more minutes, continuing to stir.
  3. Drain the red cabbage slices and add to the onions. Add the cinnamon, cloves, nutmeg and 2 more tablespoons of balsamic vinegar. Stir to combine well them season with salt to taste. Cover the pot and reduce the heat to low. Cook for 1 hour, stirring occasionally. Before removing from the heat, add some freshly ground black pepper and another tablespoon of balsamic vinegar. Season with additional salt according to taste if needed.
Notes
This recipe makes a lot, but it can easily be halved. It also freezes really well in freezer bags.

Recipe from NY Times Cooking.
Chicken Schnitzel & Pesto Spaetzle with a Cauliflower Sun-dried Tomato Sauce

Chicken Schnitzel & Pesto Spaetzle with a Cauliflower Sun-dried Tomato Sauce  |  Lemon & Mocha

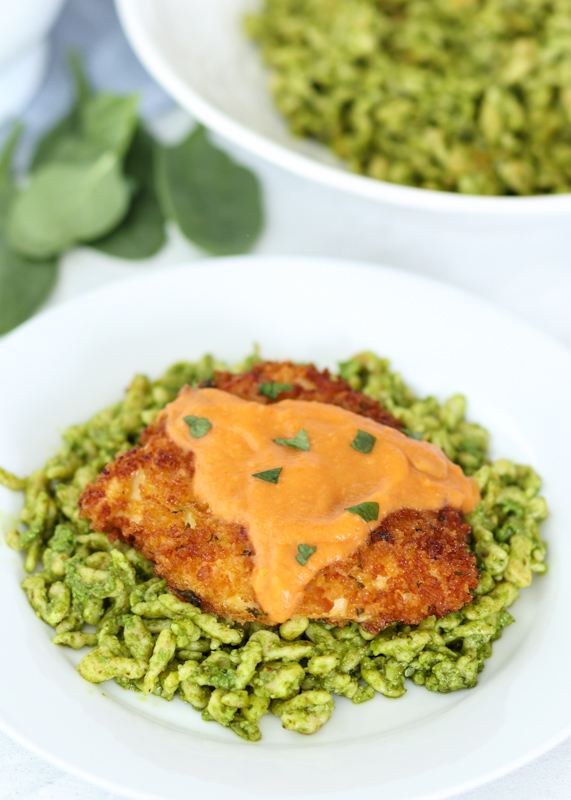
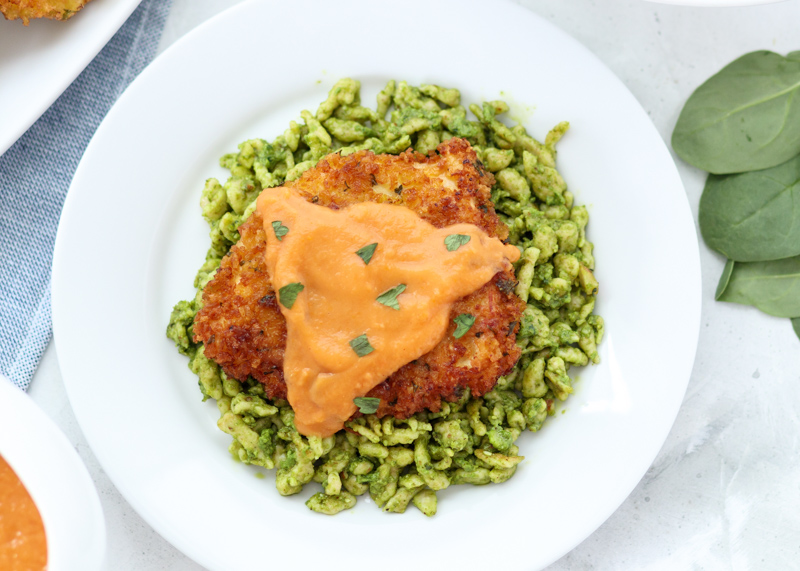
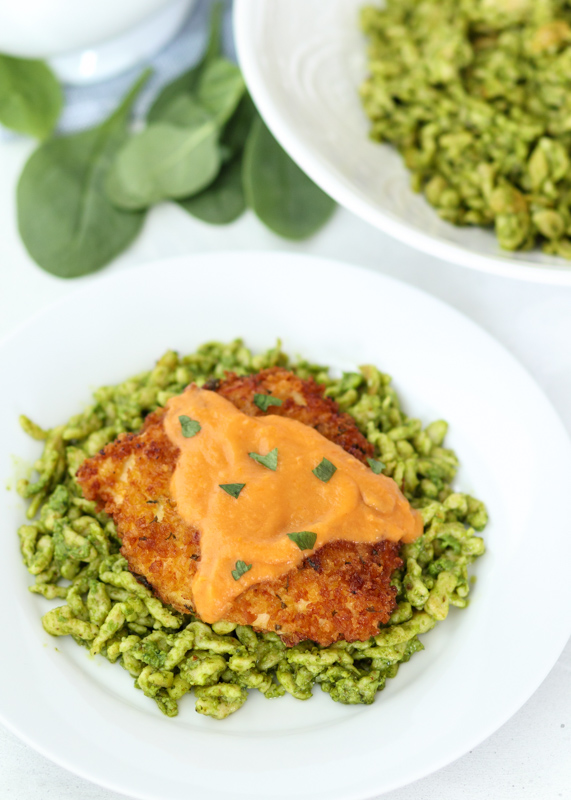
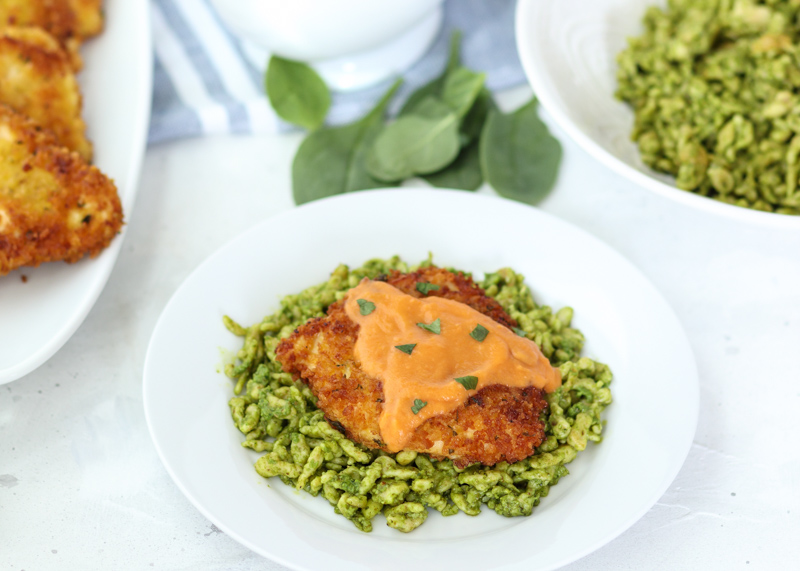
I am obsessed with the recipes I’ve been posting so far in October! I’m normally super excited about all the food I’m sharing, but I feel especially extra excited for all of these. This Chicken Schnitzel and Pesto Spaetzle with a Cauliflower Sun-dried Tomato Sauce is no exception. In fact, it’s heavily contributing to that extra excitement. This dish has a lot of components, but when they come together in the same bite it is pure magic.

Chicken Schnitzel & Pesto Spaetzle with a Cauliflower Sun-dried Tomato Sauce  |  Lemon & Mocha

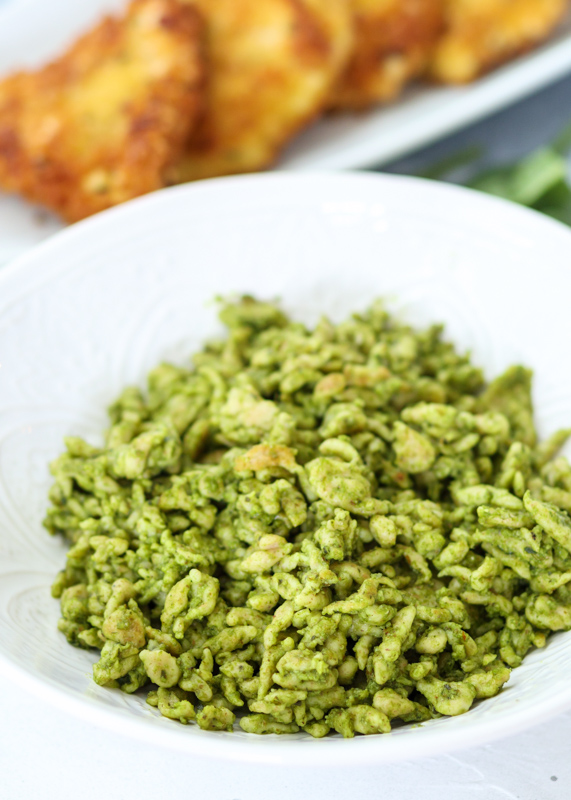
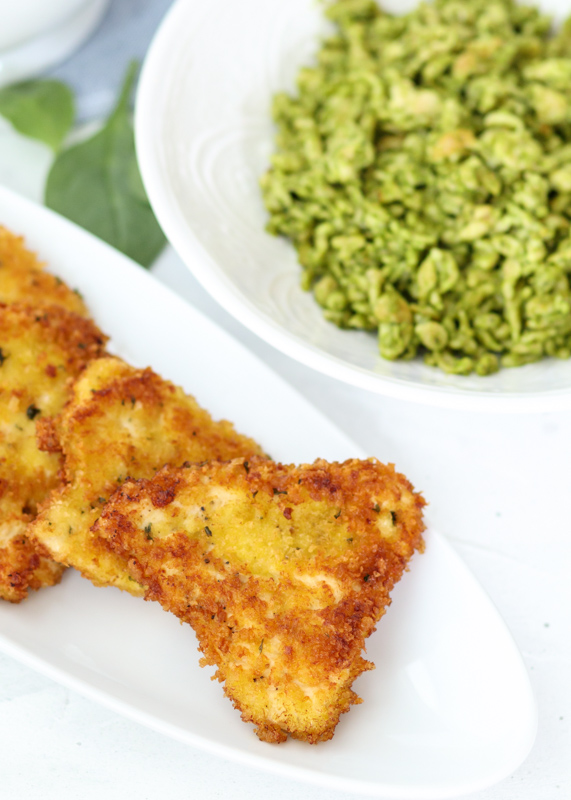
On the bottom we have our homemade spaetzle dumplings. They are technically a dumpling, but I think of them as noodles. If you love pasta then you will love spaetzle since they are like egg noodles with a bit of chewiness to them. A classic German dish, spaetzle is typically served with lots of butter and parsley. We are taking a slightly healthier approach and topping them with a quick homemade almond and spinach pesto. The pesto is nutty and makes the spaetzle a beautiful green color. However, before adding the pesto we cannot get away without pan-frying the spaetzle.

Chicken Schnitzel & Pesto Spaetzle with a Cauliflower Sun-dried Tomato Sauce  |  Lemon & Mocha

I seared them in a pan with just a little bit of coconut oil cooking spray; they just need to get very lightly browned, which adds a crispy textural element to the little dumplings. On top of the incredible pesto spaetzle is crispy chicken schnitzel. It’s basically a fancy German way of saying a breaded cutlet. Usually I make schnitzel with veal or pork cutlets, but I wanted to keep the dish a little lighter so we are using chicken cutlets. The cutlets are thin so you can shallow fry them in just a little bit of olive oil.

Chicken Schnitzel & Pesto Spaetzle with a Cauliflower Sun-dried Tomato Sauce  |  Lemon & Mocha

Although the crispy chicken schnitzel and cozy pesto spaetzle would be amazing on their own, I felt like the dish needed one more flavor to pull it all together. Enter this out-of-this-world creamy cauliflower sun-dried tomato sauce. I officially want to put this sauce on every pasta, pizza and chicken dish I make from now on. I might even eat it as a soup. You will know what I mean once you make it. Chicken broth, cauliflower, garlic and seasonings are simmered together before being blended with some sun-dried tomatoes and olive oil. Pure magic! I got the recipe from Caitlin @starinfinitefood – you need to follow her Instagram if you don’t already! She posts beautiful food and clean recipes. When you get a bite with the spaetzle, pesto, chicken schnitzel and sun-dried tomato sauce together it is one of those bites where you just have to shout out, “Damn!” after lots of mmming and other inappropriate noises.

Chicken Schnitzel & Pesto Spaetzle with a Cauliflower Sun-dried Tomato Sauce  |  Lemon & Mocha

The pesto, sun-dried tomato sauce and chicken schnitzel are all incredibly quick recipes to whip together. However, although mixing the spaetzle dough takes barely any time at all, pushing the batter through a spaetzle maker, colander, slotted spoon or whatever you are using into a pot of boiling water is time consuming. Now, I’ve never used a spaetzle maker so maybe that would make it infinitely quicker, but every time I’ve done it I always forget quite how long it takes to push the dough through. The reason you are pushing it through is to make it into those odd little squiggly shapes that you then boil until they float before scooping them out and letting them drain. The good news is you can make spaetzle ahead of time and simply run them under cold water and strain them before storing them in the fridge until you’re ready to brown them up. I hope you try this dish soon, and make sure you invite me over when you do!

Chicken Schnitzel & Pesto Spaetzle with a Cauliflower Sun-dried Tomato Sauce  |  Lemon & Mocha

Chicken Schnitzel & Pesto Spaetzle with a Cauliflower Sun-dried Tomato Sauce
 
Yield: 4 servings
Ingredients
for the spaetzle
  • ⅔ cup all-purpose flour
  • ⅓ cup whole wheat flour
  • ¼ teaspoon salt
  • ¼ teaspoon nutmeg
  • ⅛ teaspoon ground black pepper
  • ¼ cup nonfat milk, or water
  • 2 eggs, beaten
for the pesto
  • 2 cups packed spinach leaves
  • ⅓ cup whole almonds
  • 2 cloves garlic
  • ¼ cup olive oil
  • 1 tablespoon lemon juice
  • ½ teaspoon salt
for the sun-dried tomato sauce
  • 2 cups cauliflower florets
  • 2 cups vegetable broth
  • 2 cloves garlic
  • ½ teaspoon dried parsley
  • ¼ teaspoon salt
  • ¼ cup julienned sun-dried tomatoes, about 5 whole ones
  • 1 tablespoon olive oil
for the chicken schnitzel
  • 1 pound chicken cutlets, pounded to ¼” thick
  • ¼ cup flour
  • 1 egg
  • 1 teaspoon Dijon mustard
  • ¾ cup panko bread crumbs
  • 1 teaspoon dried parsley
  • Vegetable oil, for shallow frying
Directions
for the spaetzle
  1. Bring a medium to medium-large pot of water to a boil.
  2. In a medium mixing bowl, stir together both flours, the salt, nutmeg and black pepper. Add the milk and beaten eggs then stir to combine.
  3. Using a spaetzle press, colander or slotted spoon with round holes, press the batter through with a wooden spoon so it falls/drips into the boiling water. Once you’ve pressed a bunch through, use a slotted spoon to skim the spaetzle noodles out when they’ve floated to the surface. Put them in a colander to drain while you finish making the rest.
  4. Once you’ve made all the spaetzle, spray a large frying pan with cooking spray. Heat the pan over medium-high heat and add the spaetzle. Cook, stirring as needed, until lightly browned.
for the pesto
  1. Blend all the ingredients together in a food processor until smooth, scraping down the sides as needed. Toss with the spaetzle to coat.
for the sun-dried tomato sauce
  1. Bring the cauliflower, vegetable broth, garlic, dried parsley and salt to a boil in a medium saucepan. Cover, reduce heat to low and let simmer for 20 minutes. Carefully blend the contents of the saucepan in a high-speed blender. Add the sun-dried tomatoes and olive oil then blend again until smooth.
for the chicken schnitzel
  1. If the chicken cutlets are really big, cut them in half. Set up your breading station with three shallow bowls. Put the flour in one, whisk together the egg and Dijon in the other, and mix together the panko and dried parsley in the third. Season the chicken cutlets with salt and pepper. Dip the chicken cutlet into the flour mixture and make sure it’s completely coated, shaking off any excess. Then dip it into the egg mixture and make sure it’s completely coated, letting any excess drip off. Then dip the cutlet into the panko and make sure it’s completely coated. Repeat until you’ve breaded all the chicken cutlets.
  2. Over medium heat, heat enough olive oil in a high-sided skillet so that it will come halfway up the side of the chicken. Test that your oil is ready by tossing in a couple panko breadcrumbs. If your oil isn’t hot enough, the panko will sink. If your oil is too hot, in which case you should turn the temperature down, the panko will burn. If it bubbles then your oil is ready for frying the cutlets. I cooked mine in two batches; you don’t want to overcrowd the pan. Cook the chicken for 3 minutes on each side. Make sure it registers 165 degrees F when you remove it, otherwise cook it a little longer. Remove the cutlets to a paper towel lined plate then move them to a wire cooling rack so they stay crispy. Refresh the olive oil as needed and repeat for any remaining chicken cutlets.
  3. Serve hot over the spaetzle tossed with pesto. Pour the warmed up sun-dried tomato sauce over top.
Notes
For the spaetzle, you can use all all-purpose flour if you would prefer.
I highly recommend using this pesto since it’s fresh, nutty and really easy to whip up. If you would rather use your own, you will need about ½ cup to toss with the spaetzle.

Sun-dried Tomato Sauce from Starinfinitefood.
Some of the links above are affiliate links, which means I may receive a small commission for my referral. This does not affect the retail cost of the item. Thank you for supporting Lemon & Mocha!

Halloween Witch Chocolate Cupcakes

Halloween Witch Chocolate Cupcakes  |  Lemon & Mocha

Halloween is next week! I love Halloween and I’m so excited to be sharing another festive Halloween treat with you. Last year I shared the Chocolate Marshmallow Monster Cookie Sandwiches and before that there were some Halloween Witches’ Cauldron Cupcakes. This year, we have Halloween Witch Chocolate Cupcakes. Notice a theme? I’m clearly a chocoholic! These are moist chocolate cupcakes with a cream cheese frosting and easy DIY witch leg cupcake toppers. I saw these all over Pinterest and decided they were too cute not to make. I’ve added a link to download a handy free printable I made for you all to the bottom of this post so all you’ll have to do is print and cut out the little witch boots.

Halloween Witch Chocolate Cupcakes  |  Lemon & Mocha

The cupcakes are my Perfect Chocolate Cupcakes and they really are the best chocolate cupcakes. I topped them with a neon green cream cheese frosting that’s not too sweet before adding the witch leg toppers. I’ve linked to the supplies I used below as well.

Halloween Witch Chocolate Cupcakes  |  Lemon & Mocha

When I was growing up, my brother and I loved making haunted houses. If our family was having a party with family friends we would set up the haunted house in the basement. When we got older and no longer went trick-or-treating, my brother and I set up the haunted house in our garage so the trick-or-treaters could walk through it. We would go all out with the decorations and everyone in the family had a role, whether you were supposed to hide under a table and grab people’s legs as they walked by (usually me) or whether you were dressed up like a zombie (usually my brother). My brother was the creative one and my favorite design element was always the soundtrack tapes he would make. One year without my Dad knowing, my brother recorded my Dad bench pressing weights. My Dad’s grunting and the clanking of the metal weights made the best spooky sounds!

Halloween Witch Chocolate Cupcakes  |  Lemon & Mocha

The funny part about all this is that I hate being scared. I don’t like going in haunted houses, going on spooky hay rides or watching scary movies. There is a haunted house ride at the boardwalk where we have our family beach week every summer and my cousin, who is six years younger than me, would try to reassure me during the ride and tell me to open my eyes! Apparently I love everything about haunted houses, except actually going in them! Do you love haunted houses or are they not your thing?

Halloween Witch Chocolate Cupcakes  |  Lemon & Mocha

Matt and I are doing something a little different this year for Halloween – we will be flying to Tokyo, Japan! I’m so excited! Japan has been on our travel bucket list so we are heading to Tokyo, Osaka and Kyoto. Don’t worry; I have plenty of posts scheduled while we’re away, but my access to internet and email will be limited so I may not respond to comments or emails until I return. In the meantime, I have some cozy dinner recipes coming for you this week so stay tuned!

Halloween Witch Chocolate Cupcakes  |  Lemon & Mocha

Printables
Option 1: Print out a pair of witch boots and cut them out. Trace the pair of witch boots onto black construction paper, one pair traced for each cupcake, then cut out the pairs of witch boots. Get that printable here. The boots I made for these photos were made using black construction paper.
Option 2: Print out solid black witch boots with black ink from your printer. Cut them out. Get that printable here (print two copies).

Supplies Used:
Paper straws
Neon gel food dye
Cupcake liners
Round piping tip

Halloween Witch Chocolate Cupcakes
 
Yield: 24 cupcakes
Ingredients
for the witch leg toppers
  • 24 paper straws
  • 24 sets of witch boots, using printable and either black printer ink or black construction paper
  • Tape
for the chocolate cupcakes
  • 2 cups granulated sugar
  • 1¾ cups all-purpose flour
  • ¾ cup cocoa powder
  • 1½ teaspoons baking powder
  • 1 teaspoon baking soda
  • 1 teaspoon salt
  • 2 large eggs
  • 1 cup buttermilk, see note
  • ¼ cup butter, melted
  • ¼ cup vegetable oil
  • 1 tablespoon vanilla extract
  • 1 cup hot coffee, see note
for the cream cheese frosting
  • 12 ounces cream cheese, room temperature
  • 12 tablespoons butter, room temperature
  • 6 cups powdered sugar, sifted
  • 1½ teaspoons vanilla extract
  • Neon gel food dye
Directions
for the witch leg toppers
  1. Cut the straws in half.
  2. Cut out the witch boots. Use a small piece of tape that’s been rolled up to stick each boot to a straw half. Make sure the straw is coming out of the ankle of the boot. Make sure you have a left and right boot pointing out in opposite directions for each cupcake.
for the chocolate cupcakes
  1. Preheat the oven to 350 degrees F. Line two cupcake pans with cupcake liners so you have enough for 24 cupcakes.
  2. In a large mixing bowl or in the bowl of a stand mixer, sift together the sugar, flour, cocoa powder, baking powder, baking soda and salt.
  3. In a medium mixing bowl, whisk together the eggs, buttermilk, melted butter, vegetable oil and vanilla extract. Pour the liquid ingredients into the dry ingredients and mix together until smooth.
  4. Pour the hot coffee into the batter and stir until combined. The batter will be extremely liquidy. Divide the batter between the 24 cupcake liners, filling them slightly more than half full. Bake for 18-20 minutes, or until a toothpick inserted in the center comes back mostly clean. Alternatively, they are done when you gently press your finger on the center of a cupcake and it lightly springs back. I find mine to be done at exactly 19 minutes.
  5. Let cool in the pan for a couple minutes then remove to a wire cooling rack to cool completely before frosting.
for the cream cheese frosting
  1. In the bowl of a stand mixer or in a large mixing bowl with a hand mixer, beat together the cream cheese and butter until fluffy, scraping down the sides as needed. Slowly beat in the powdered sugar and vanilla extract until combined. Add the food dye and mix, continue to add until the desired color is achieved.
  2. Pipe onto the cooled cupcakes and stick a pair of witch legs into each cupcake. Frosted cupcakes require refrigeration since cream cheese frosting has to be refrigerated. You may want to wait to put the toppers in until you are ready to serve them in case they get soggy or the coloring on the straw runs.
Notes
To make your own buttermilk: pour 1 tablespoon of lemon juice or vinegar in a liquid measuring cup. Pour milk, any fat percentage, into the measuring cup until you have 1 cup. Let sit for 5 minutes before using.
If you don’t want to use coffee you can use hot water, but the flavor of the chocolate won’t be as pronounced. You can use decaffeinated coffee if you prefer.
The cupcakes, unfrosted, freeze very well if you want to make them ahead of time.

Some of the links above are affiliate links, which means I may receive a small commission for my referral. This does not affect the retail cost of the item. Thank you for supporting Lemon & Mocha!

Cauliflower Mashed Potatoes

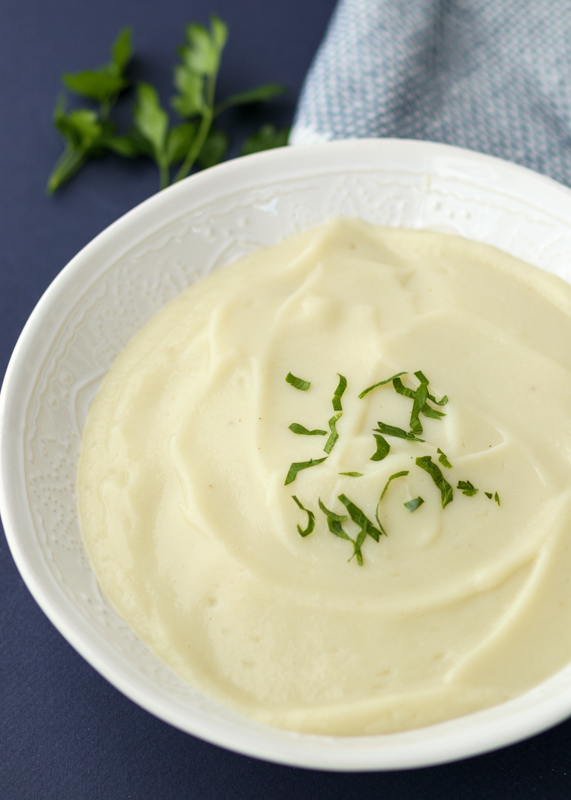
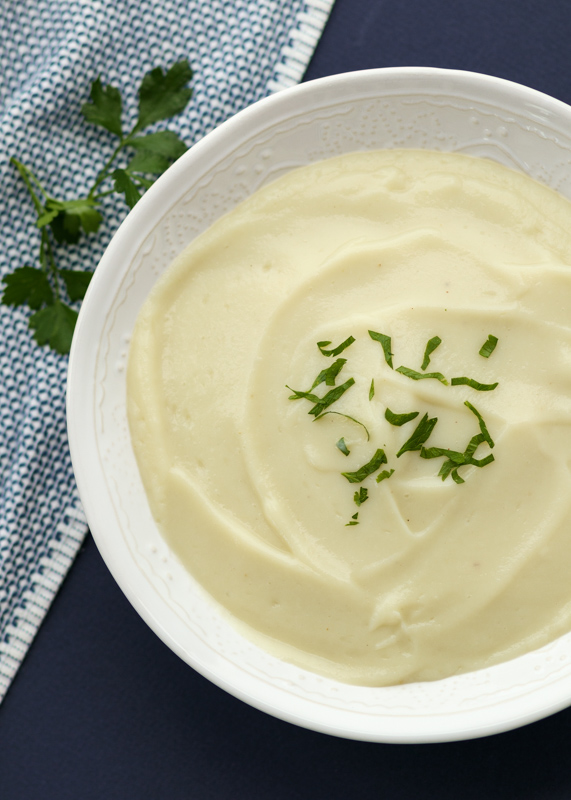
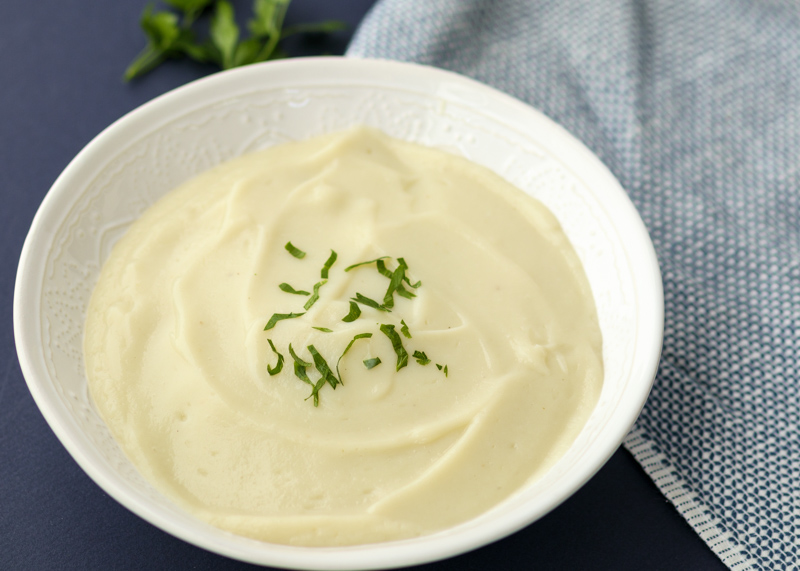
Cauliflower Mashed Potatoes  |  Lemon & Mocha

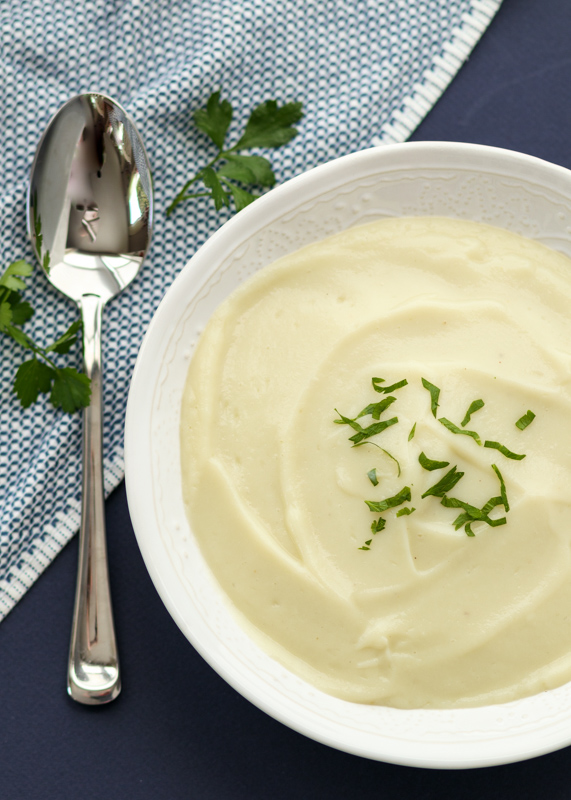
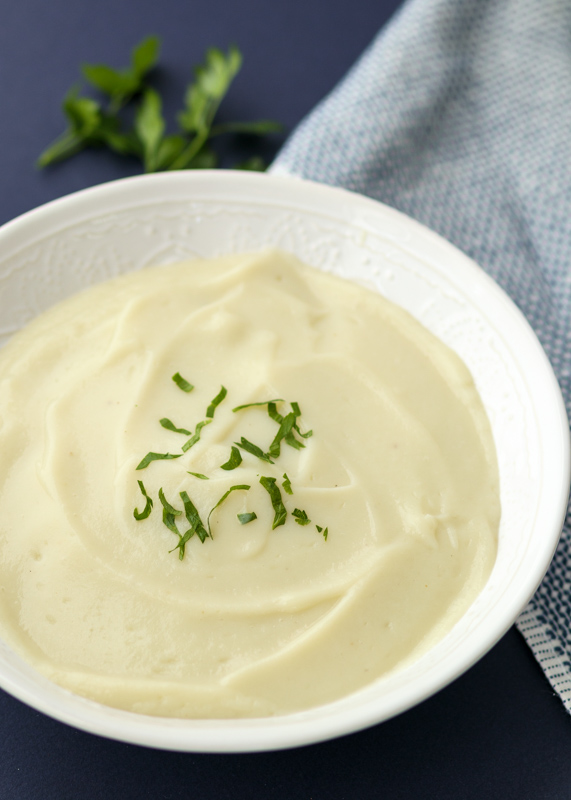
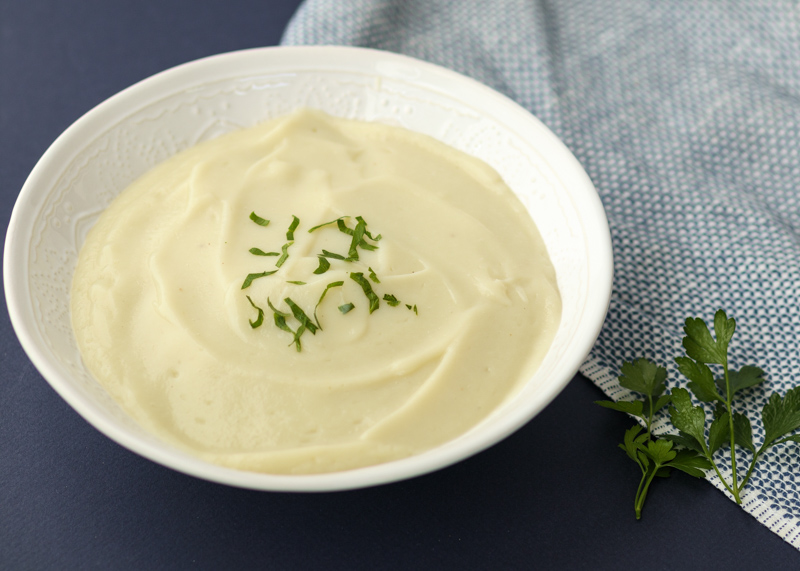
Let me get right to it. These are mashed potatoes except they’re made with cauliflower instead of potatoes. So I guess technically mashed cauliflower? Or maybe even cauliflower puree? But I’m sticking with Cauliflower Mashed Potatoes because they taste like mashed potatoes, both in texture and taste, but they’re cauliflower. Crazy!

Cauliflower Mashed Potatoes  |  Lemon & Mocha

Of course if you put them side by side with mashed potatoes you’d probably prefer the latter since, you know, potatoes and butter and all, but I would take these Cauliflower Mashed Potatoes any day. Cauliflower has a really mild flavor and will take on the flavor of whatever you add to it, which is part of the reason you’re seeing cauliflower rice and pizza pop up everywhere. The other reason is that cauliflower has a ton of health benefits and is low in carbs.

Cauliflower Mashed Potatoes  |  Lemon & Mocha

My first favorite part of this recipe is that it tastes really good. It’s garlicky, creamy and a little cheesy. My second favorite aspect of this recipe is that it’s incredibly clean and only uses four ingredients, not including salt and pepper. My final favorite bit of this recipe is that it is so easy. So easy as in scroll down to read the recipe just to see how short and sweet it is. Better yet, I’ll type it here: Steam cauliflower. Toss cauliflower, plain nonfat Greek yogurt, Parmesan cheese, garlic powder, salt and pepper in a high-speed blender. Then eat it and feel no guilt at all.

Cauliflower Mashed Potatoes  |  Lemon & Mocha

The first time I made Cauliflower Mashed Potatoes I was really skeptical. I thought it was going to taste just like some mashed up cauliflower, but I couldn’t believe how well the creamy tang of the yogurt and the flavor of the Parmesan and garlic turn the cauliflower into something completely different.

Cauliflower Mashed Potatoes  |  Lemon & Mocha

We’ve eaten them with Monday’s Slow Cooker Short Ribs, turkey meatloaf, Pesto Turkey Meatballs and countless other entrees. What would you eat with your Cauliflower Mashed Potatoes? Can’t wait to hear what you all think about this one!

Cauliflower Mashed Potatoes  |  Lemon & Mocha

Cauliflower Mashed Potatoes
 
Yield: 4-6 servings
Ingredients
  • 4 cups cauliflower florets
  • ⅓ cup plain nonfat Greek yogurt
  • 3 tablespoons fresh grated Parmesan cheese
  • ½ teaspoon garlic powder
  • ¼ teaspoon salt
  • ¼ teaspoon ground black pepper
Directions
  1. Steam the cauliflower florets.
  2. Add the cauliflower florets, Greek yogurt, Parmesan, garlic powder, salt and pepper to a high-speed blender. Blend until smooth. Taste and season with additional garlic powder, salt and pepper as needed.


Slow Cooker Short Ribs

Slow Cooker Short Ribs  |  Lemon & Mocha

This is a decadent, belly-warming, curl-up-on-the-couch-afterwards dinner. Isn’t that the epitome of a fall and winter meal?

Slow Cooker Short Ribs  |  Lemon & Mocha

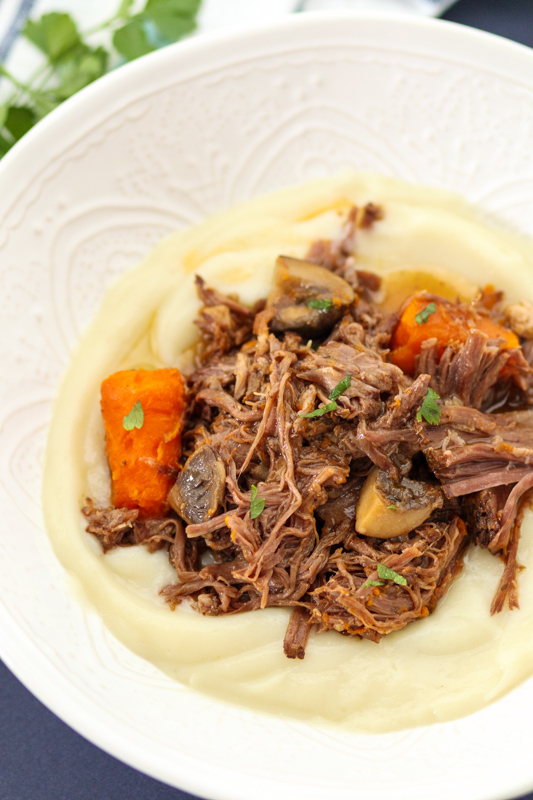
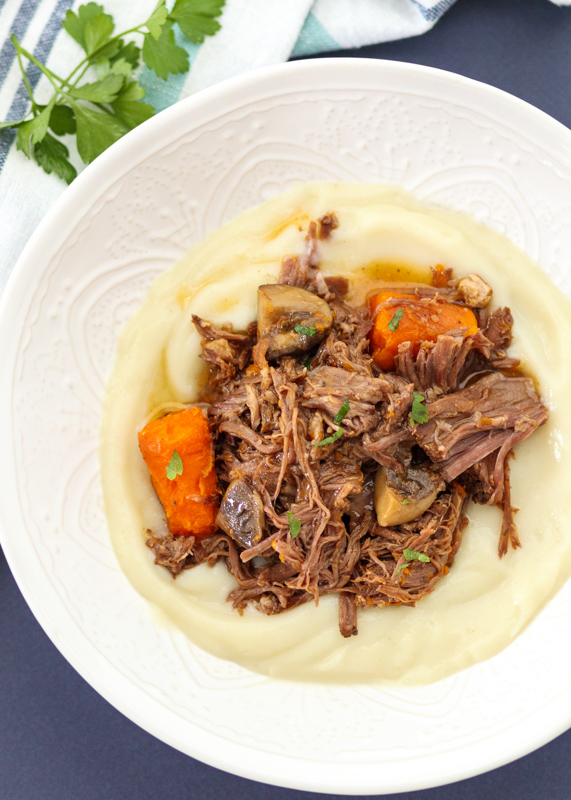
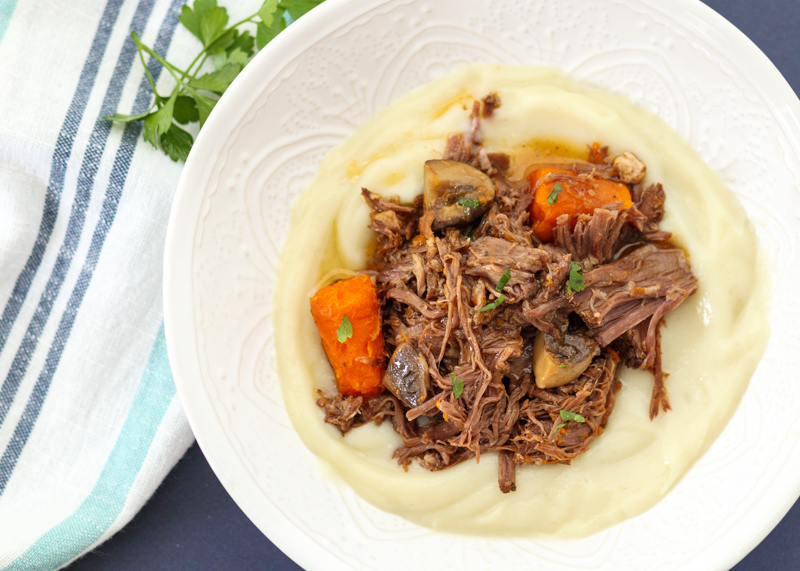
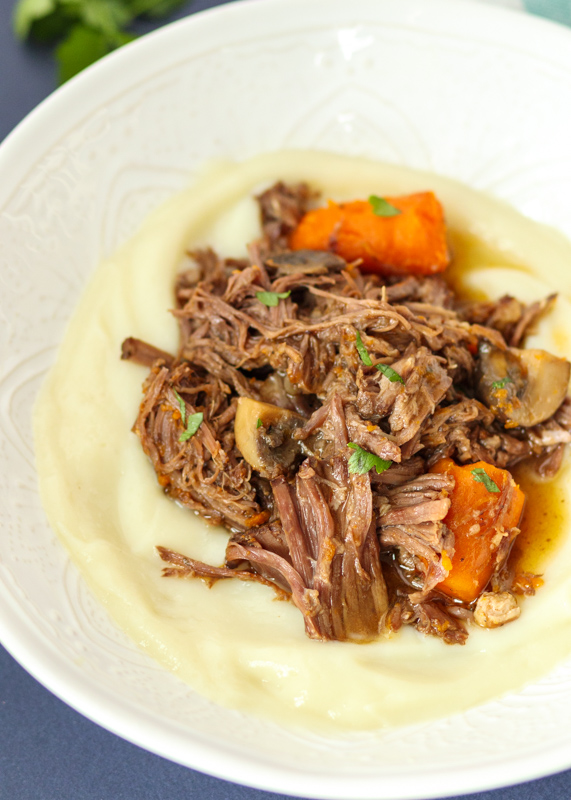
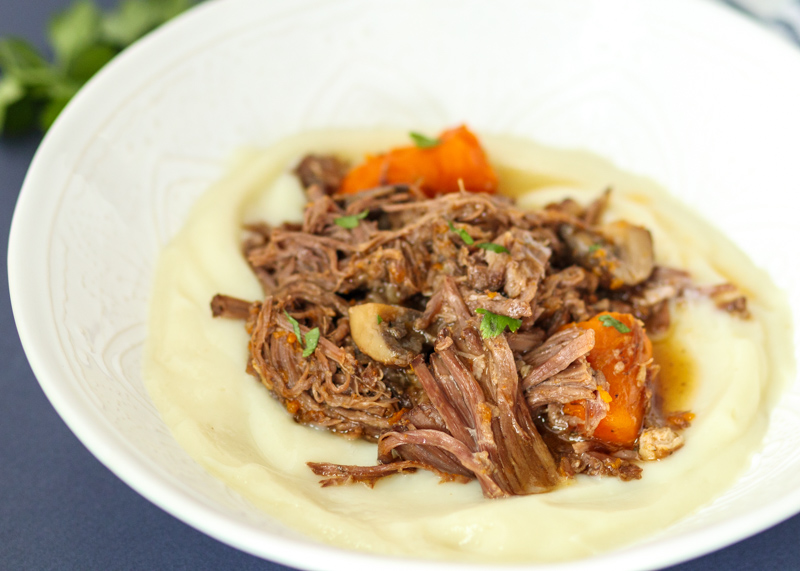
These Slow Cooker Short Ribs are full of rich flavor and tender meat. It literally falls off the bone and there’s no knives required for eating this dish. I feel like I don’t use my slow cooker nearly enough, but it is perfect for these short ribs.

Slow Cooker Short Ribs  |  Lemon & Mocha

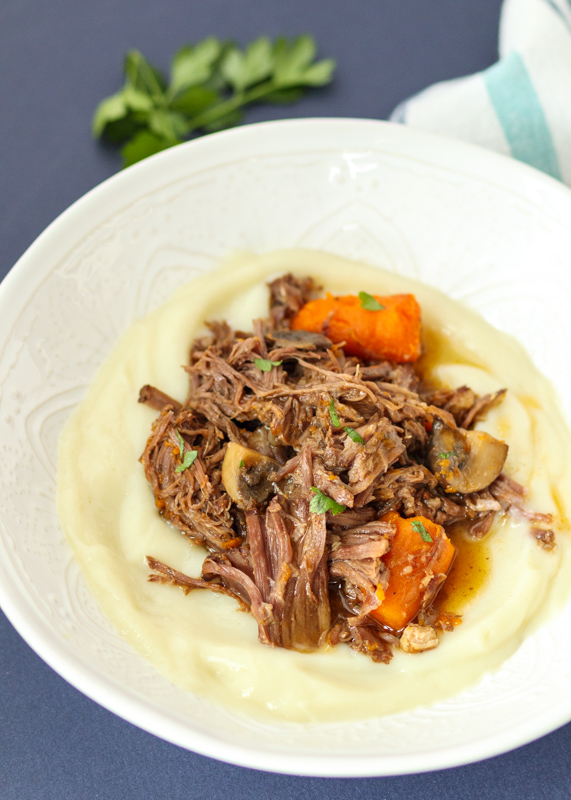
Short ribs are unapologetically rich so I fully embraced it and added crispy pork belly as well. If you’ve never had pork belly, it’s basically bacon before it has been cured and smoked. Like bacon, it gives off grease while it cooks, which we will be using to sauté the mushrooms, onions, carrots and garlic. Yes, you read that correctly, and no, we won’t be apologizing for it because it’s so delicious. The other reason I used pork belly is because it is a very inexpensive cut of meat; opposite of short ribs, which are definitely pricey. I used the pork belly and the mushrooms to help us stretch our meal out.

Slow Cooker Short Ribs  |  Lemon & Mocha

If the thought of using pork belly makes you nervous you could substitute in some slab bacon or even pancetta, although I’ve never tried it with pancetta so I’m not sure how much that would change the flavor profile. Short ribs are a pricier cut of meat so I usually make it for special occasions, such as Christmas dinner, but it is also one of Matt’s favorite dishes so a couple times a winter I’ll make it to treat ourselves.

Slow Cooker Short Ribs  |  Lemon & Mocha

Since it’s a heavier entree I like to serve it with cauliflower mashed potatoes to help balance the meal. Find that recipe here!

Slow Cooker Short Ribs  |  Lemon & Mocha

Slow Cooker Short Ribs
 
Yield: 6 servings
Ingredients
  • 2½ pounds bone-in short ribs or 1½ pounds boneless short ribs (see note)
  • ½ teaspoon salt
  • ½ teaspoon ground black pepper
  • 2 teaspoons olive oil
  • ½ pound pork belly slices, cut into small pieces
  • 5 ounces whole cremini mushrooms, quartered
  • ½ onion, peeled and cut into wedges
  • 4 medium carrots, ends removed, scrubbed and cut into 1” pieces
  • 4 garlic cloves, minced
  • 2 cups beef broth
  • 1 tablespoon tomato paste
  • 1 teaspoon dried parsley or 1 tablespoon fresh parsley
  • 1 bay leaf
  • 2½ tablespoons cornstarch
  • 2½ tablespoons water
Directions
  1. Season the short ribs all over with the salt and pepper, pressing into the meat as needed.
  2. In a large high-sided skillet, heat the olive oil over medium heat. Brown the short ribs on all sides then place in the bottom of a slow cooker. Carefully wipe any excess oil from the skillet.
  3. Heat the skillet to medium-high and add the pieces of pork belly. Cook until browned, stirring occasionally, being cautious about any popping grease. Add the mushrooms, onion, carrots and garlic. Cook until lightly browned then add the contents of the skillet to the slow cooker. Add the beef broth, tomato paste, parsley and bay leaf to the slow cooker. Stir then slow cook on low for 6-8 hours.
  4. When the meat is tender, discard the bones and bay leaf. Then move the meat and veggies to a serving bowl leaving just the juices in the slow cooker. Keep the contents of the serving bowl warm. If there’s a lot of excess fat on the meat, place the fatty piece of beef on a cutting board and use a knife or fork to shred the meat away from the fat. Discard the fat and return the meat to the serving bowl.
  5. Skim the fat off the juices in the slow cooker. Transfer the juices to a small saucepan and bring to a boil. In a small bowl, combine the cornstarch and water. Add to the boiling juices and let cook until thickened, about 2 minutes. Serve the sauce with the short ribs and vegetables.

Recipe adapted from Taste of Home.