About Lauren

Posts by Lauren :

Candied Pecans

Candied Pecans  |  Lemon & Mocha

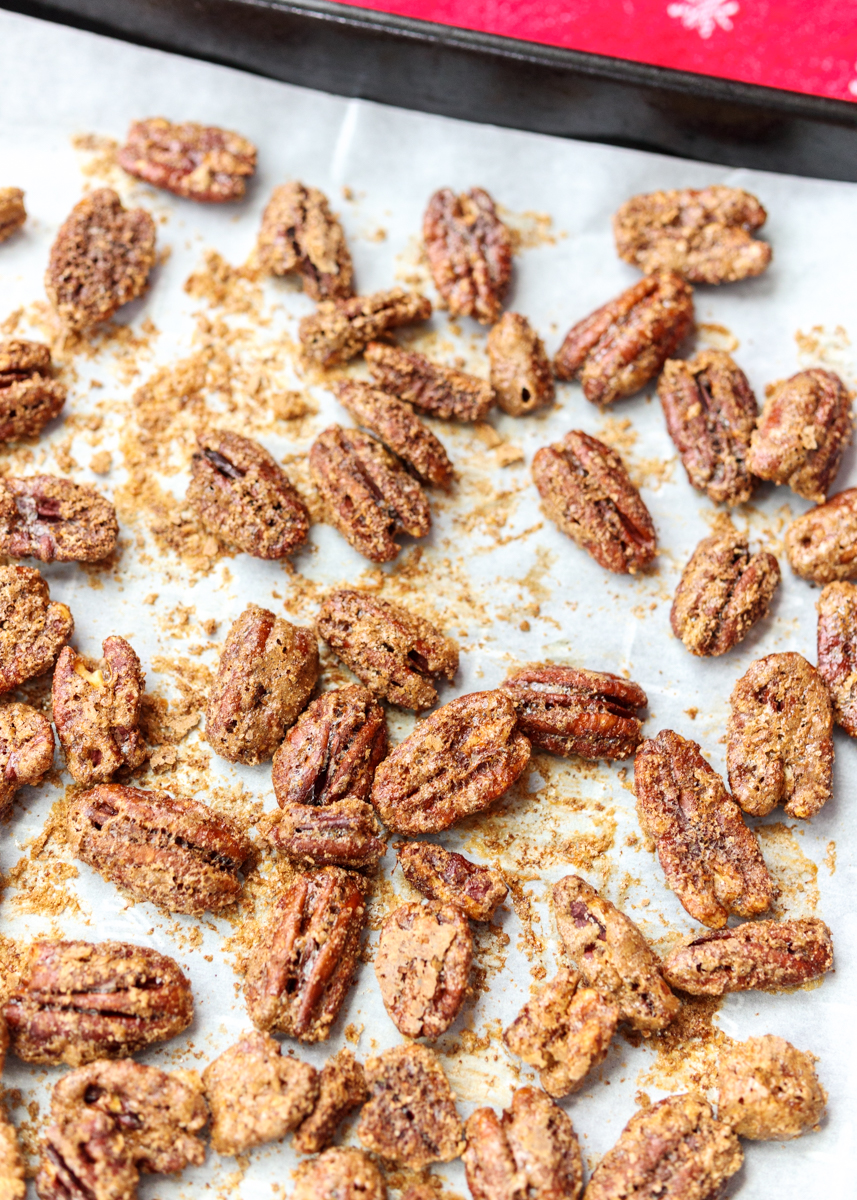
Hello, everyone! I hope you are all having a fun-filled weekend so far! I wanted to pop in this Sunday with a quick recipe before all my family Christmas festivities got started. I saved this recipe for the last minute because it’s so easy, but I wanted to make sure I shared it because these Candied Pecans are seriously addictive.
Candied Pecans  |  Lemon & Mocha

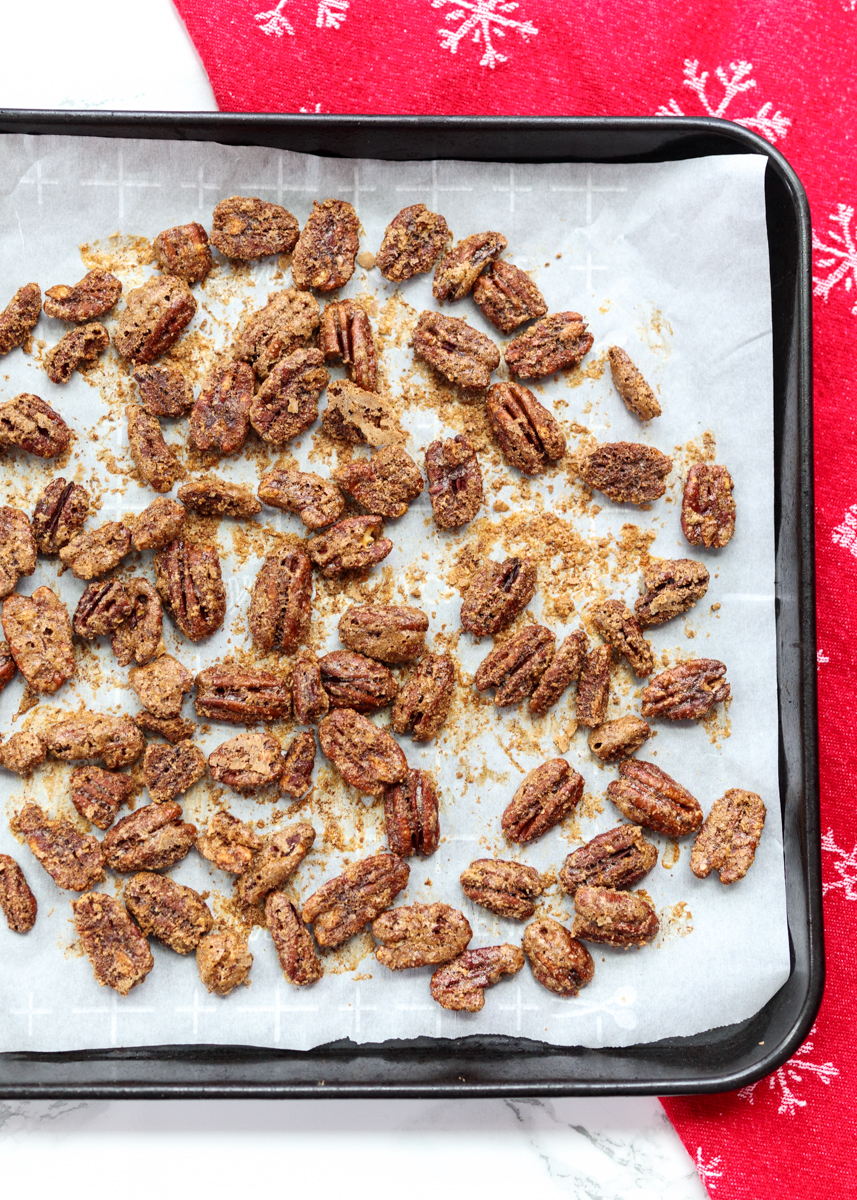
If they look familiar it’s because I first made them to go on top of my Pumpkin Pecan Ice Cream Pie I shared before Thanksgiving. When I made them for the ice cream pie I was so excited by how tasty they were that I decided the pecans deserved their own post here on Lemon and Mocha.
Candied Pecans  |  Lemon & Mocha

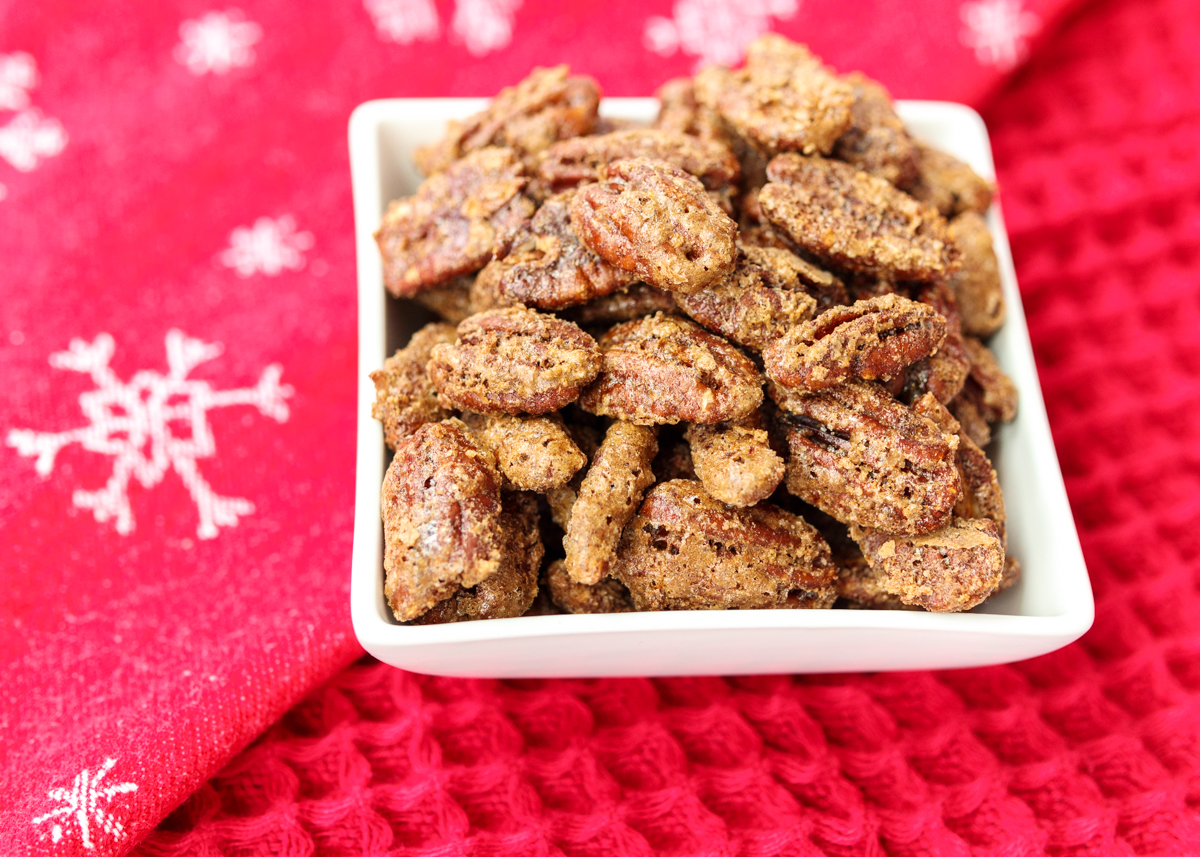
Most recipes I’ve seen online for candied pecans use butter, but this recipe actually uses a single egg white instead. The egg white and vanilla extract are beaten until frothy before tossing with the pecans, which then get coated with brown sugar, granulated sugar, cinnamon and ground cloves. The pecans get the best crispy and sugary spiced coating on the outside without any greasiness of butter. If you’re like me and have been baking like crazy all holiday season then you probably have all these ingredients in your pantry right now to whip up a batch.
Candied Pecans  |  Lemon & Mocha

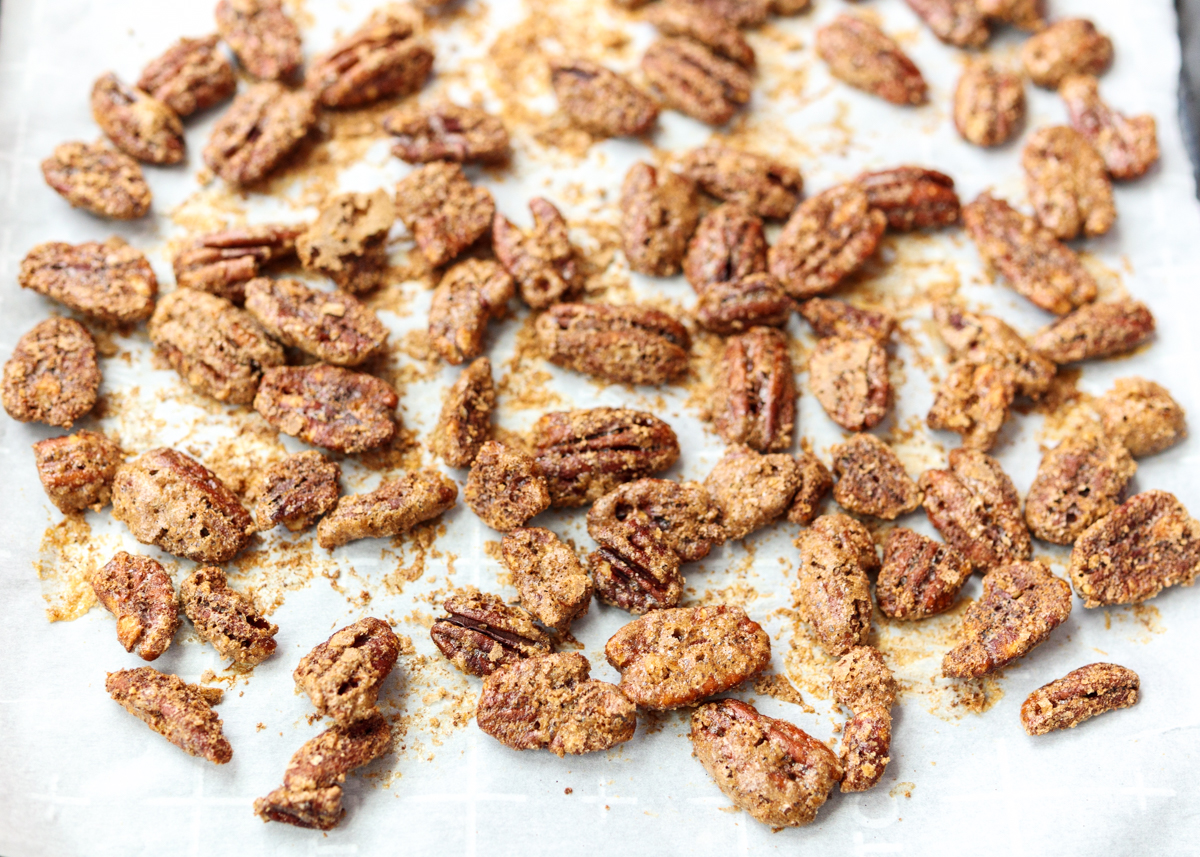
I just made a batch for putting on top of my browned butter pecan cheesecake for Christmas Eve at my aunt’s house and I may have sneaked one or two (or ten) for myself. They are perfect for sprinkling on cakes, cheesecakes, trifles or ice cream, but they also taste crazy delicious just by themselves. Especially warm out of the oven – drooling over here! Simply put them in a bowl for snacking alongside dessert or use as part of a sweet and salty cheese and snack board.
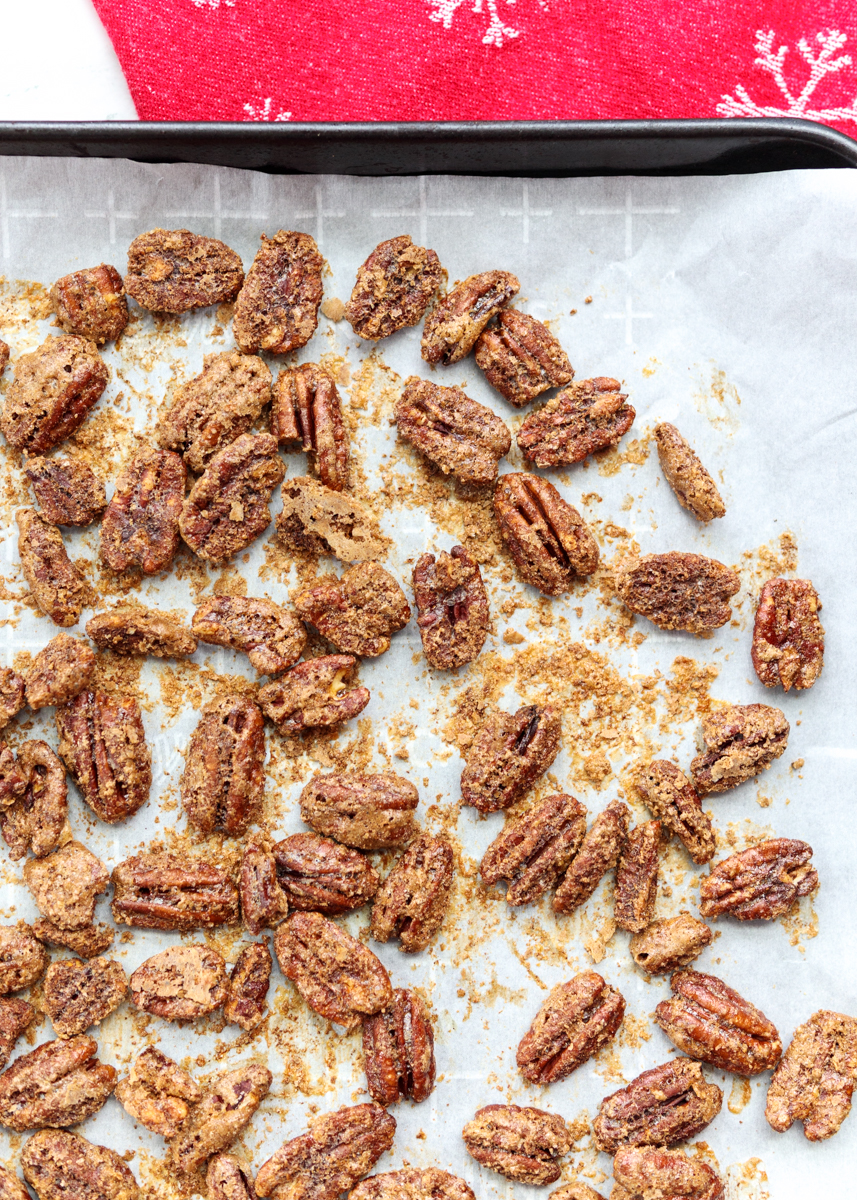
Candied Pecans  |  Lemon & Mocha

I hope you all have a wonderful holiday with your family and friends and I’ll be back here with a fun post on Wednesday!
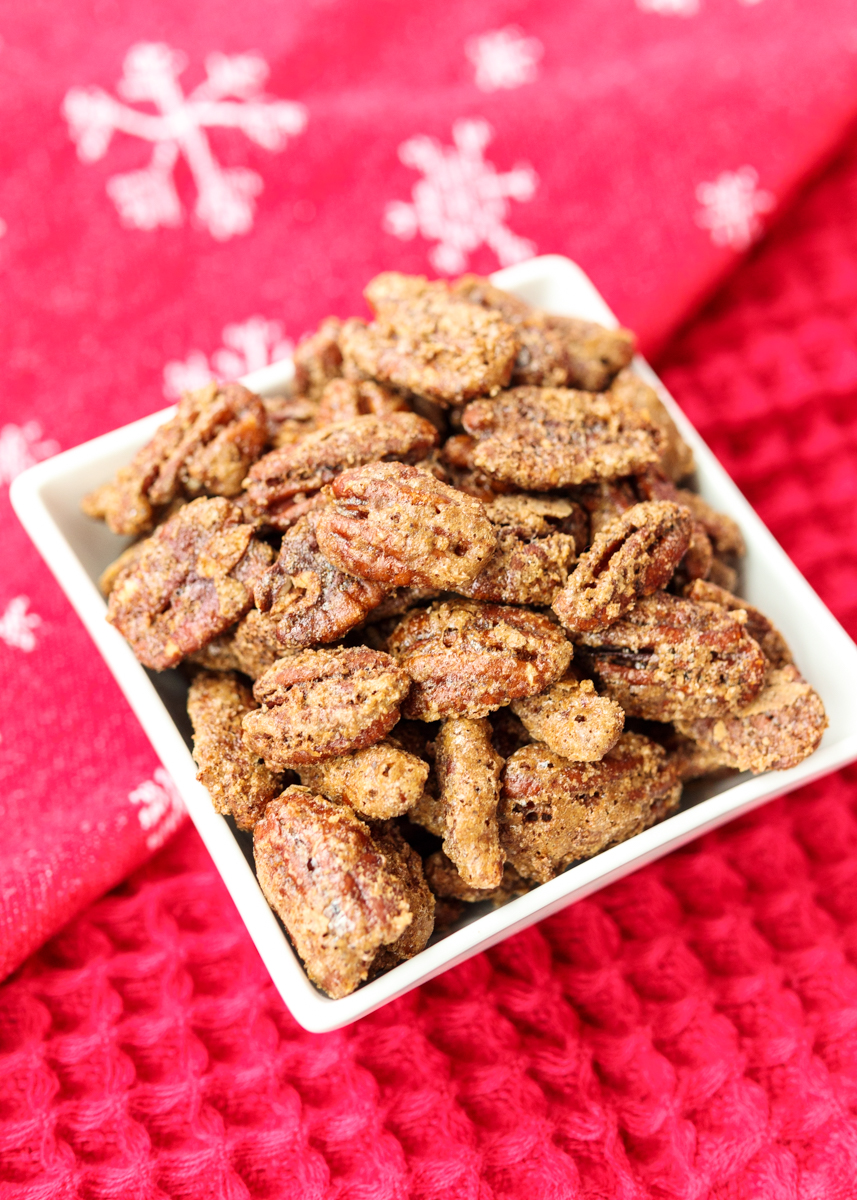
Candied Pecans  |  Lemon & Mocha

Candied Pecans
 
Yield: A little more than 2 cups
Ingredients
  • 2 tablespoons brown sugar
  • 2 tablespoons granulated sugar
  • 1 teaspoon ground cinnamon
  • ¼ teaspoon ground cloves
  • 1 egg white
  • 1 teaspoon vanilla extract
  • 8 ounces pecan halves
Directions
  1. Preheat the oven to 250 degrees F. Line a baking sheet with parchment paper.
  2. In a medium bowl, combine the brown sugar, granulated sugar, cinnamon and cloves.
  3. In a small bowl, beat the egg white and vanilla until frothy. Add the pecan halves then toss to completely coat. Spoon the coated pecans into the bowl with the sugars, trying to leave any excess egg white behind. Place on the prepared baking sheet and spread out the pecans. Bake for 1 hour, tossing the pecans on the pan every 15 minutes. I use a spatula to separate the pecans from the parchment paper then spread them back out in an even layer before putting back in the oven.


Healthy Gingerbread Muffins

Healthy Gingerbread Muffins  |  Lemon & Mocha

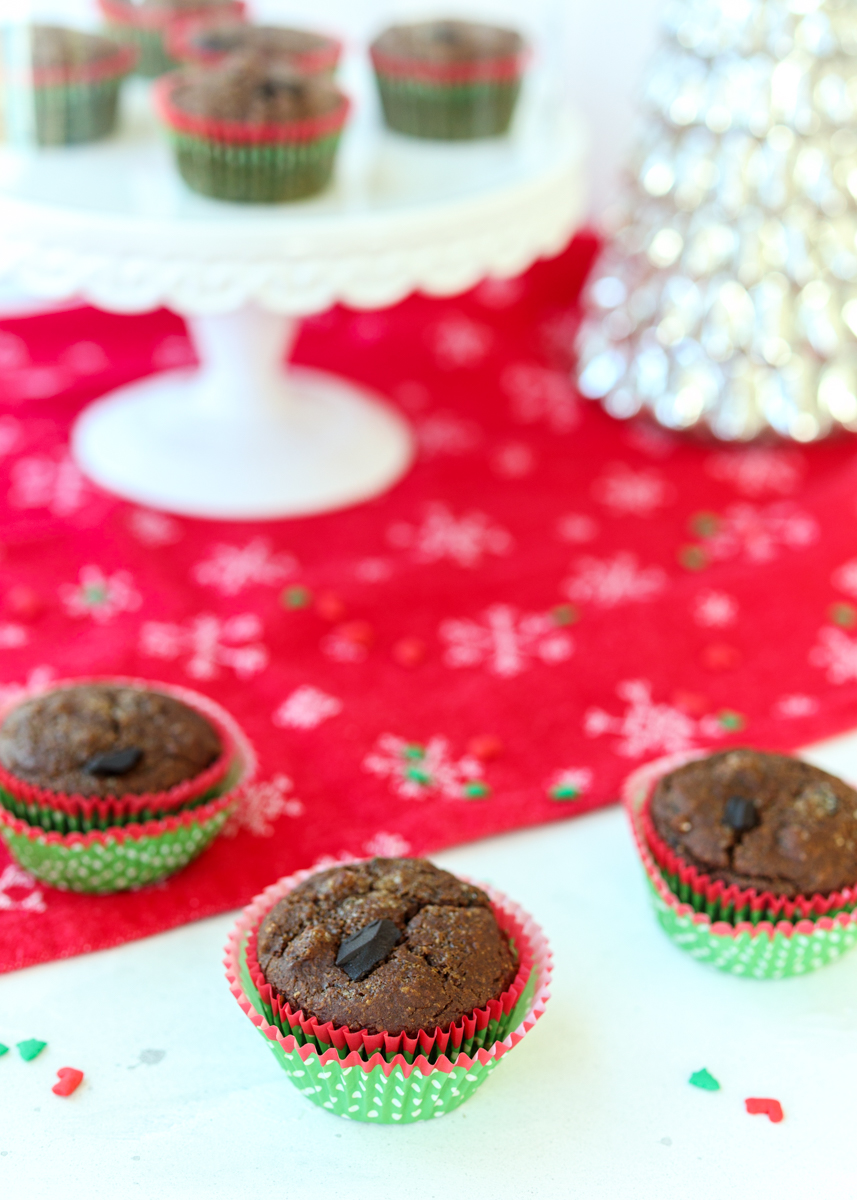
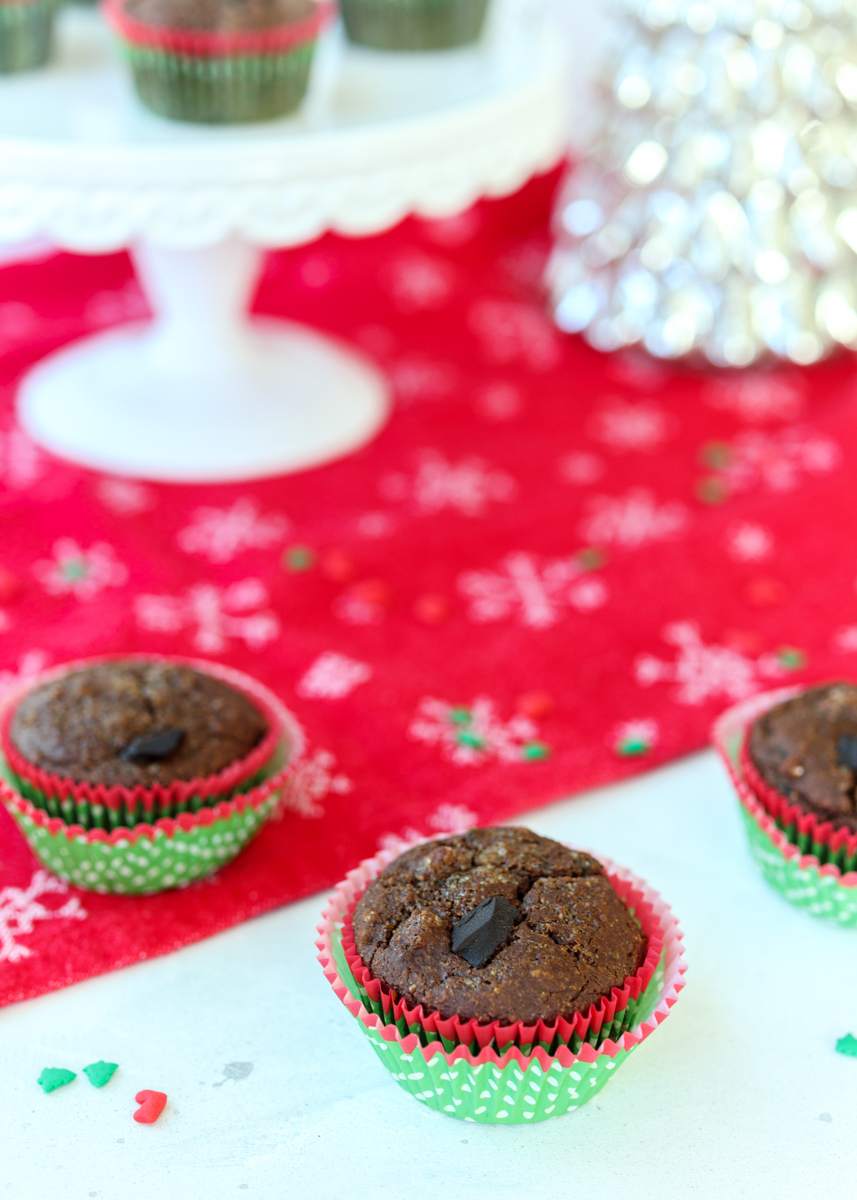
Does anyone else think this year flew by? Here we are, already looking at the December muffins! As I mentioned in my October Apple Pumpkin Muffins post I decided not to make the Food Network Magazine’s December muffins, which were candied cherry muffins. I might try those muffins at some point in the future because they sound good, but with all the cookies and fudge I was making this holiday season I wanted something a little lighter on the sugar. Instead, I decided to bake these Healthy Gingerbread Muffins from Ambitious Kitchen.

Healthy Gingerbread Muffins  |  Lemon & Mocha

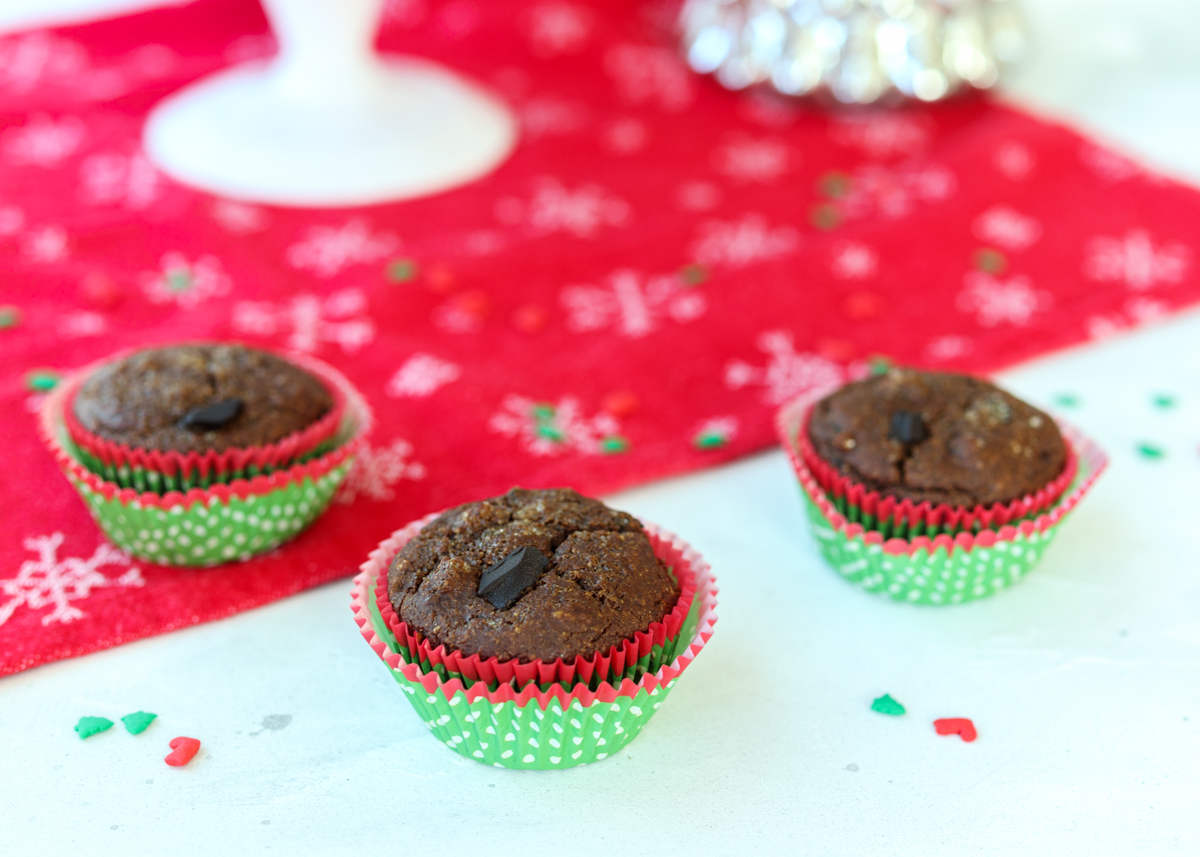
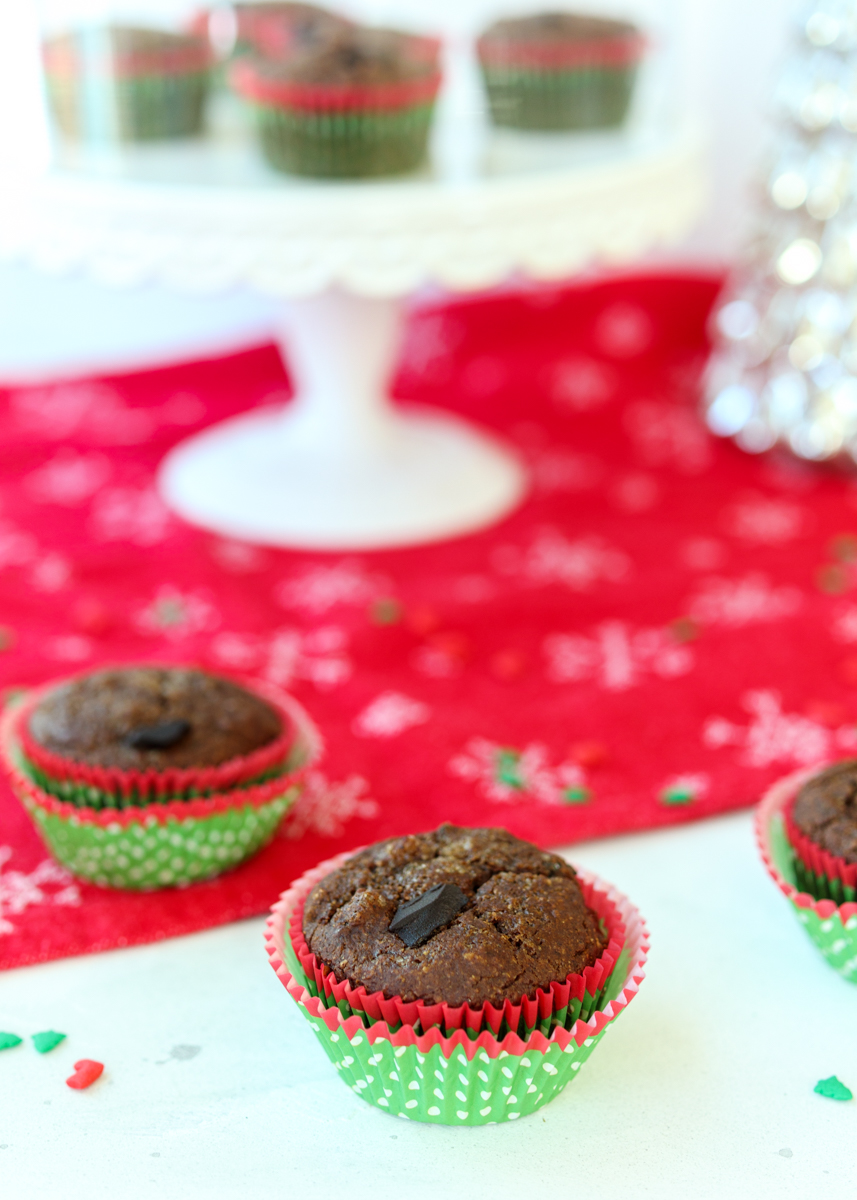
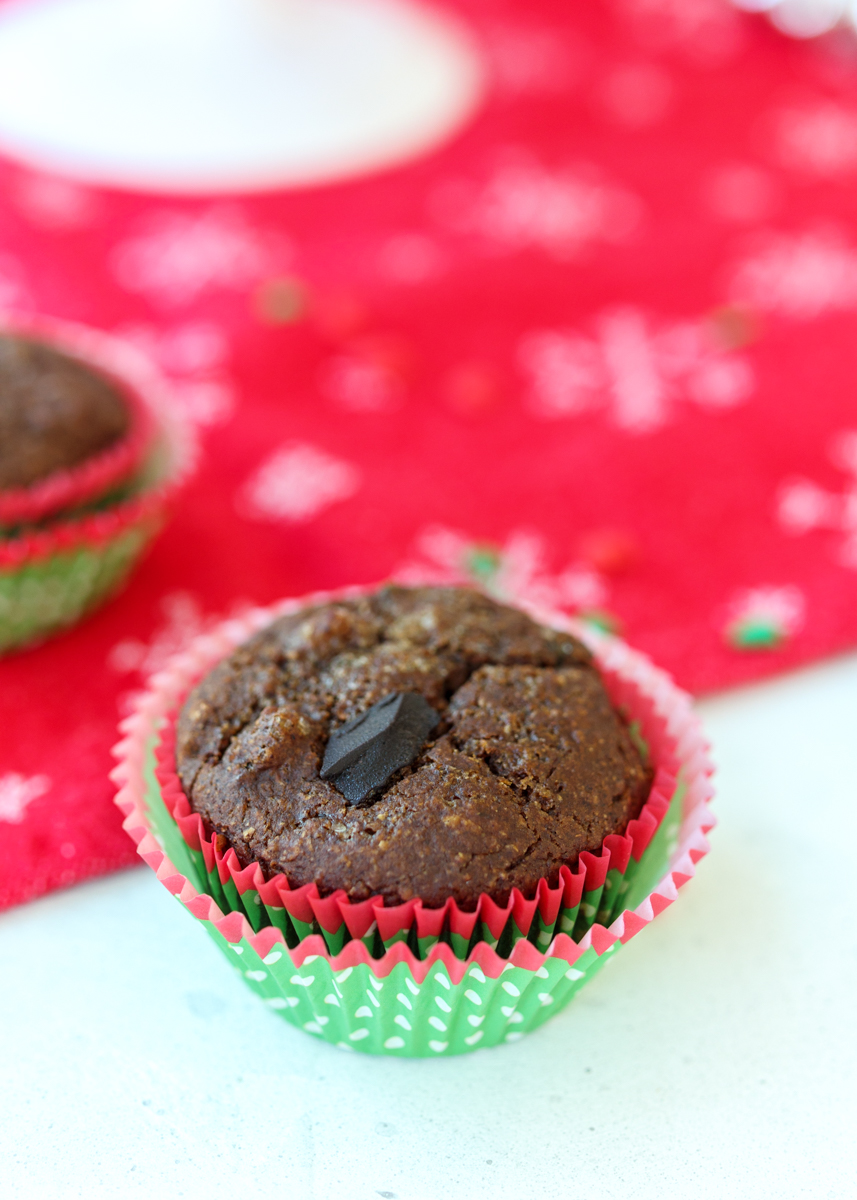
They are free of refined sugar and instead use maple syrup and molasses as the sweeteners. There’s a few other healthy swaps in this recipe, such as using whole wheat flour, nonfat plain Greek yogurt and olive oil instead of butter. These are a great breakfast muffin, especially since they’re studded with tasty chopped walnuts and chocolate chips. Matt and I enjoyed these muffins, but they are definitely “healthier” muffins.

Healthy Gingerbread Muffins  |  Lemon & Mocha

Without the refined sugar they are noticeably less sweet than muffins I’ve posted already this year and they have a less moist texture that you get from using whole wheat flour and minimal fat when baking. The best way I can describe them is that if you already don’t eat a lot of sugar or full fat foods then their “healthiness” won’t be that noticeable to you, but if you are in full Christmas cookie mood you could whip them up in January to jump-start your sugar detox. Like most of the muffins I posted this year, they freeze well, so for now ours are in the freezer to pop out whenever we need a quick and healthy breakfast.

Healthy Gingerbread Muffins  |  Lemon & Mocha

It definitely is interesting how your body adjusts to the sugars you are eating. Over the summer I was eating very little processed sugar. I made some “healthy” chocolate brownies and thought they tasted amazing. I froze a bunch of them and recently tried one, mid-holiday cookies-for-every-meal mode, and thought they tasted horrible! Do any of you have a refined sugar free lifestyle or have you ever “quit” sugar before?

Healthy Gingerbread Muffins  |  Lemon & Mocha

Healthy Gingerbread Muffins
 
Yield: 12 muffins
Ingredients
  • 1½ cups whole wheat pastry flour, see note
  • 1 teaspoon baking soda
  • 1½ teaspoons ground cinnamon
  • ¾ teaspoon ground ginger
  • ¼ teaspoon ground cloves
  • ¼ teaspoon salt
  • ½ cup milk (any fat percentage or almond milk)
  • ⅓ cup nonfat plain Greek yogurt
  • ¼ cup pure maple syrup
  • ¼ cup blackstrap molasses
  • 3 tablespoons olive oil
  • 1 teaspoon vanilla
  • 1 egg, beaten
  • ½ cup chocolate chips, optional
  • ⅓ cup chopped walnuts, optional
  • Coarse sugar, optional for sprinkling on top
Directions
  1. Preheat the oven to 350 degrees F. Line a 12-cup cupcake pan with paper liners and spray the inside of the liners with nonstick cooking spray. Set aside.
  2. In a large mixing bowl, sift together the flour, baking soda, cinnamon, ginger, cloves and salt. Add the milk, yogurt, maple syrup, molasses, olive oil, vanilla and beaten egg. Stir until just combined. Fold in the chocolate chips and chopped walnuts, if using.
  3. Evenly divide the batter among the prepared paper liners. The batter should fill each liner ½ way up. Sprinkle the tops of the muffins with coarse sugar. Bake the muffins for 18-22 minutes, until a toothpick inserted in the center comes out with just a couple crumbs. Cool the muffins in the pan for 5 minutes, them remove to a wire cooling rack to completely cool.
Notes
If you don’t have whole wheat pastry flour, take 1½ cups whole wheat flour then remove 1½ tablespoons of it. Add in 1½ tablespoons of cornstarch and sift together.

Recipe slightly adapted from Ambitious Kitchen.

Antipasto Puff Pastry Bites

Antipasto Puff Pastry Bites  |  Lemon & Mocha

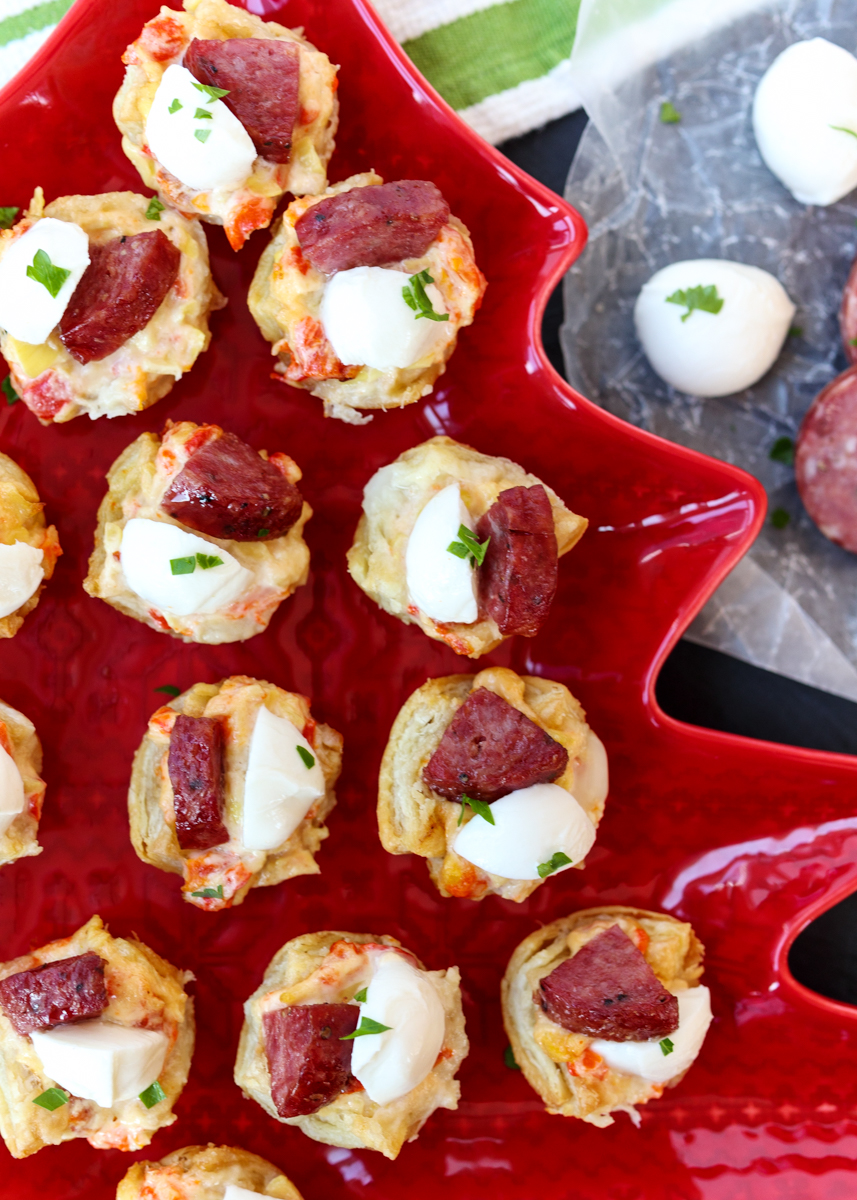
I know I say this all the time, but you need to try these Antipasto Puff Pastry Bites! This perfect party appetizer has all your favorite flavors of antipasto packed into one creamy bite. I love making appetizers with store-bought puff pastry because they look so fancy, but are actually incredibly easy. The puff pastry does all the work resulting in a buttery and flaky vessel for all the antipasto fixings.

Antipasto Puff Pastry Bites  |  Lemon & Mocha

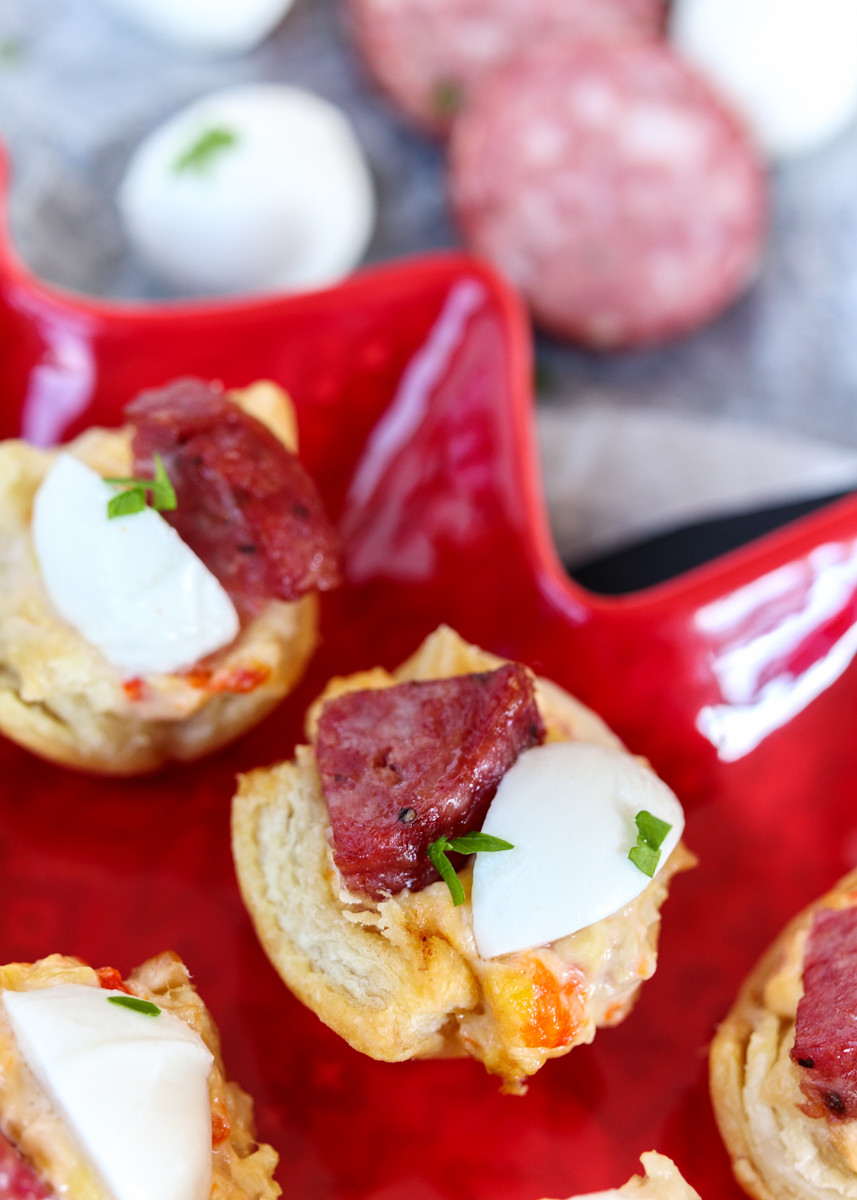
I’m not sure if you can tell from the photos, but these bites are made in a mini muffin pan so they’re really small, like a one bite deal. Since we are working with limited space inside these little flaky cups I decided to incorporate the artichokes and roasted red peppers by turning them into a simple artichoke dip. The artichoke hearts and roasted red peppers are chopped up then mixed with some fresh grated Parmesan cheese, garlic powder and a secret ingredient to make the easiest and creamiest artichoke and red pepper dip ever.

Antipasto Puff Pastry Bites  |  Lemon & Mocha

Then on top we have some salami and a mini mozzarella ball to round out our antipasto flavors. You can add in some olives if you like, but Matt and I aren’t olive fans so I left those out. Top with some fresh basil or Italian parsley and you’ve made a delicious twist on a classic antipasto!

Antipasto Puff Pastry Bites  |  Lemon & Mocha

Make sure you read the instructions through and do not put the mozzarella on until they are out of the oven. Mozzarella melts really easily so if you put it in the oven each bite will just be covered in a pool of melted mozzarella. Since we’re using fresh mozzarella balls you really want to be able to taste them so we’re adding them after the bites are all baked.
Antipasto Puff Pastry Bites  |  Lemon & Mocha

My Crab Dip Puffs recipe is working overtime around here because that, along with my love for antipasto platters, inspired this recipe, too! I hope you all enjoy this one!

Antipasto Puff Pastry Bites  |  Lemon & Mocha

Antipasto Puff Pastry Bites
 
Yield: 24
Ingredients
  • 1 sheet puff pastry, defrosted, but still cold
  • 3 artichoke hearts, rinsed, drained and chopped
  • ⅓ cup roasted red peppers, chopped
  • ⅓ cup Hellman’s real mayonnaise
  • ½ cup grated Parmesan cheese
  • ½ teaspoon garlic powder
  • Salt and pepper to taste
  • 5 ounces hard salami
  • 6 ciliegine size mini fresh mozzarella balls
  • Chopped fresh basil or parsley for serving, optional
Directions
  1. Preheat the oven to 400 degrees F. Lightly spray a mini muffin pan with cooking spray and set aside.
  2. On a lightly floured surface unfold the puff pastry sheet. Roll into a rectangle about 10” by 15”. Cut the rectangle of puff pastry into 24 squares. Press each square into a cup of the prepared mini muffin pan. Bake for 10 minutes then remove from the oven.
  3. While the puffy pastry bites are in the oven, mix together the chopped artichokes, chopped roasted red peppers, mayonnaise, Parmesan and garlic powder. Season with salt and pepper to taste. Cut the salami into 6 thick rounds then cut each round into quarters.
  4. When the puff pastry comes out of the oven, gently press a spoon into the middle of each bite to lightly deflate the middle and make room for the artichoke dip. Spoon the artichoke dip into the puff pastry bites, about a teaspoon per bite. Keep dividing the dip among the bites until all the dip has been used up. Add a piece of salami to the top of each bite, but off to the side to leave room for the mozzarella. Return to the oven for another 10 minutes.
  5. While the bites are in the oven, cut each mozzarella ball into quarters. When the bites come out of the oven let them cool slightly then use a spoon to help you remove them from the pan and place on a platter. Top each bite with a quartered mozzarella ball and the fresh basil or parsley, if using. Serve hot.
Notes
If you want to roast your own red peppers, preheat your oven to 400 degrees F. Spray a pan or line with nonstick aluminum foil and roast a whole red bell pepper for 20 minutes. Flip the pepper then roast for another 20 minutes. When it’s cool enough to handle, peel off the skin and discard along with the stem and seeds.


Shrimp Rangoon Wonton Bites

Shrimp Rangoon Wonton Bites  |  Lemon & Mocha

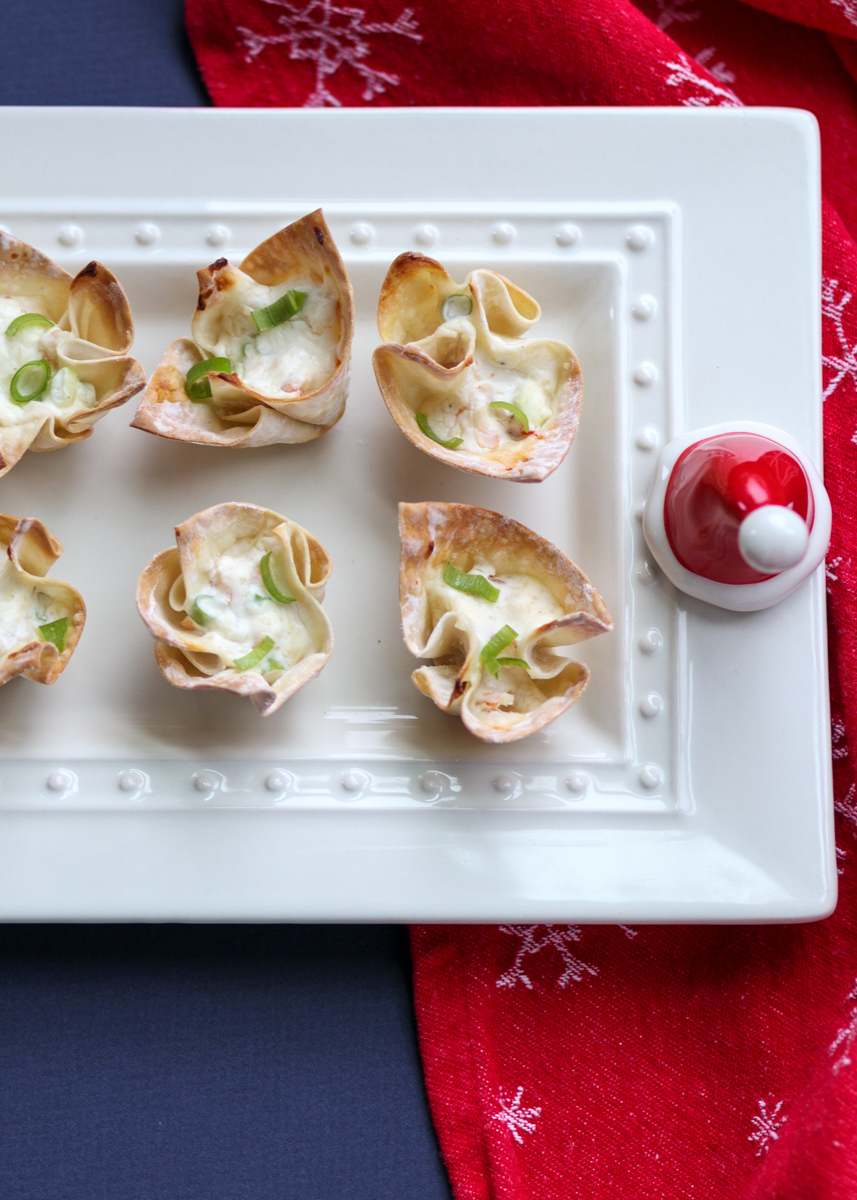
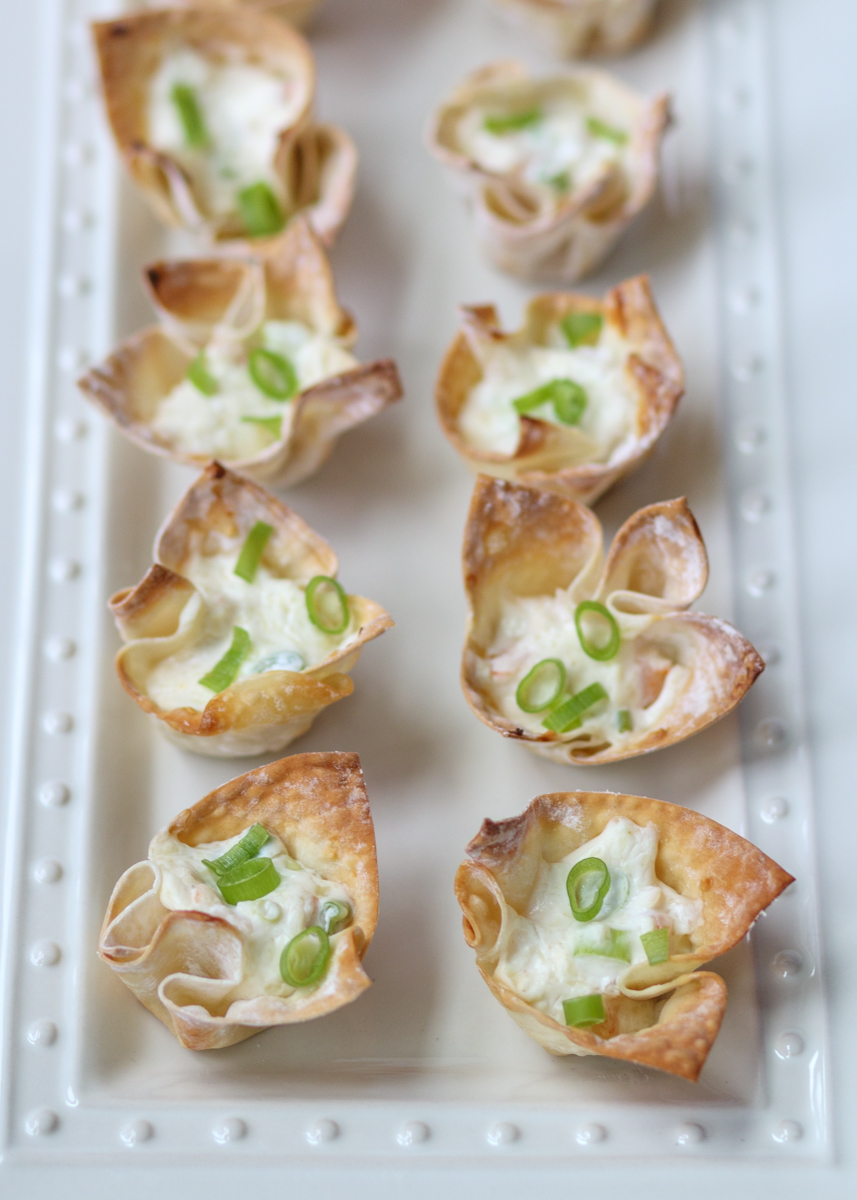
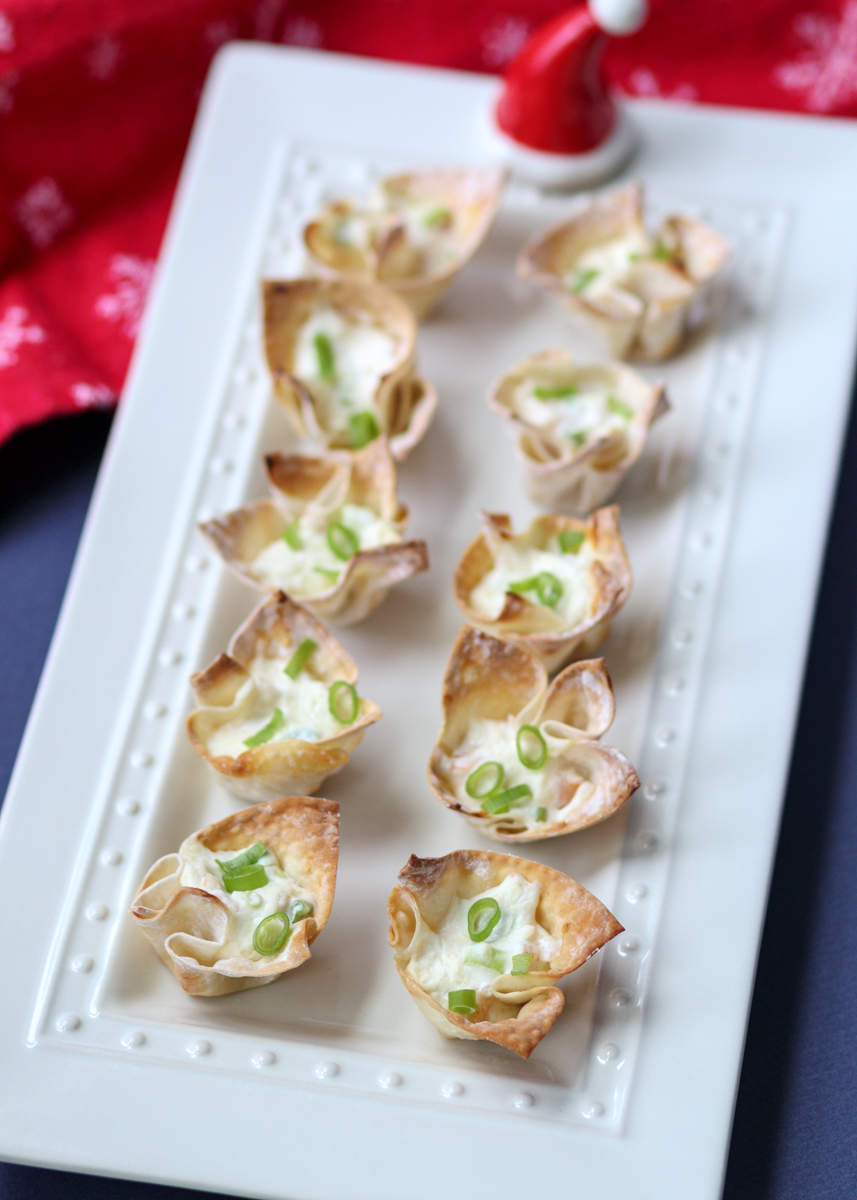
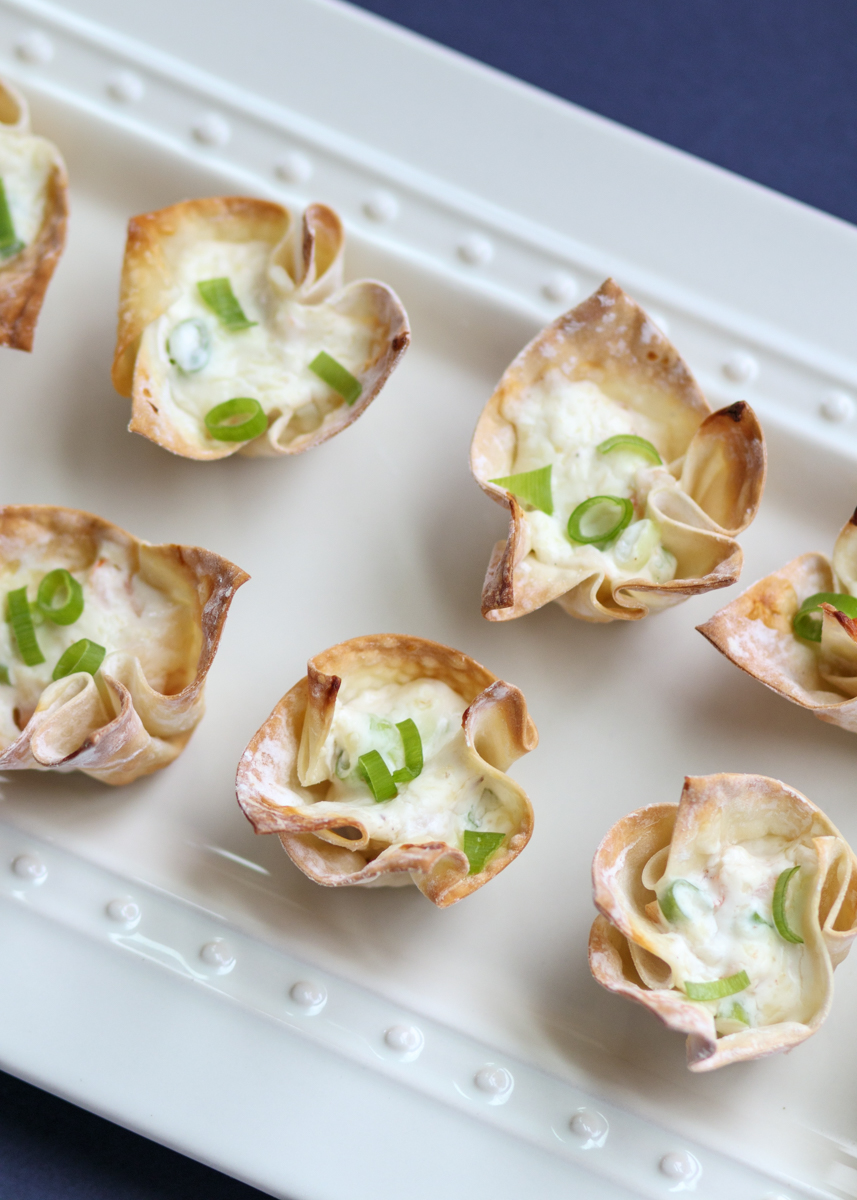
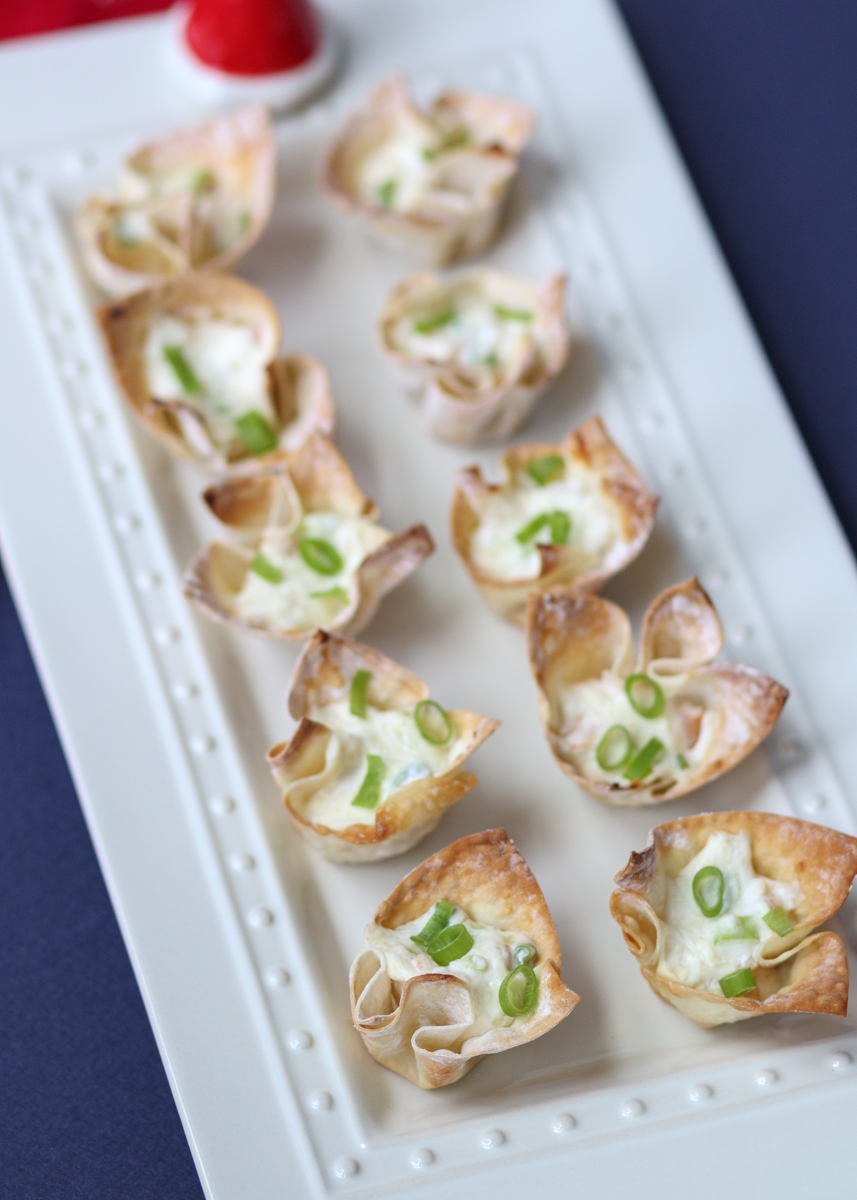
Today I am writing this post and I’m not hungry, but I have a feeling by the time I’m done talking about these Shrimp Rangoon Wonton Bites I’m going to be starving! I wanted to share a shrimp appetizer since firstly, shrimp is delicious, and secondly, I like having seafood as an appetizer especially if the main course is meat.

Shrimp Rangoon Wonton Bites  |  Lemon & Mocha

My inspiration for this recipe was the Crab Dip Puffs I posted forever ago. Also, can we briefly talk about those photos? I think I need to re-make and re-photograph them because that post is not doing the deliciousness of the Crab Dip Puffs justice! Anyways, I’m a sucker for crab rangoons and lately I’ve been seeing lobster rangoons on menus so I thought why couldn’t we just make shrimp rangoons?!

Shrimp Rangoon Wonton Bites  |  Lemon & Mocha

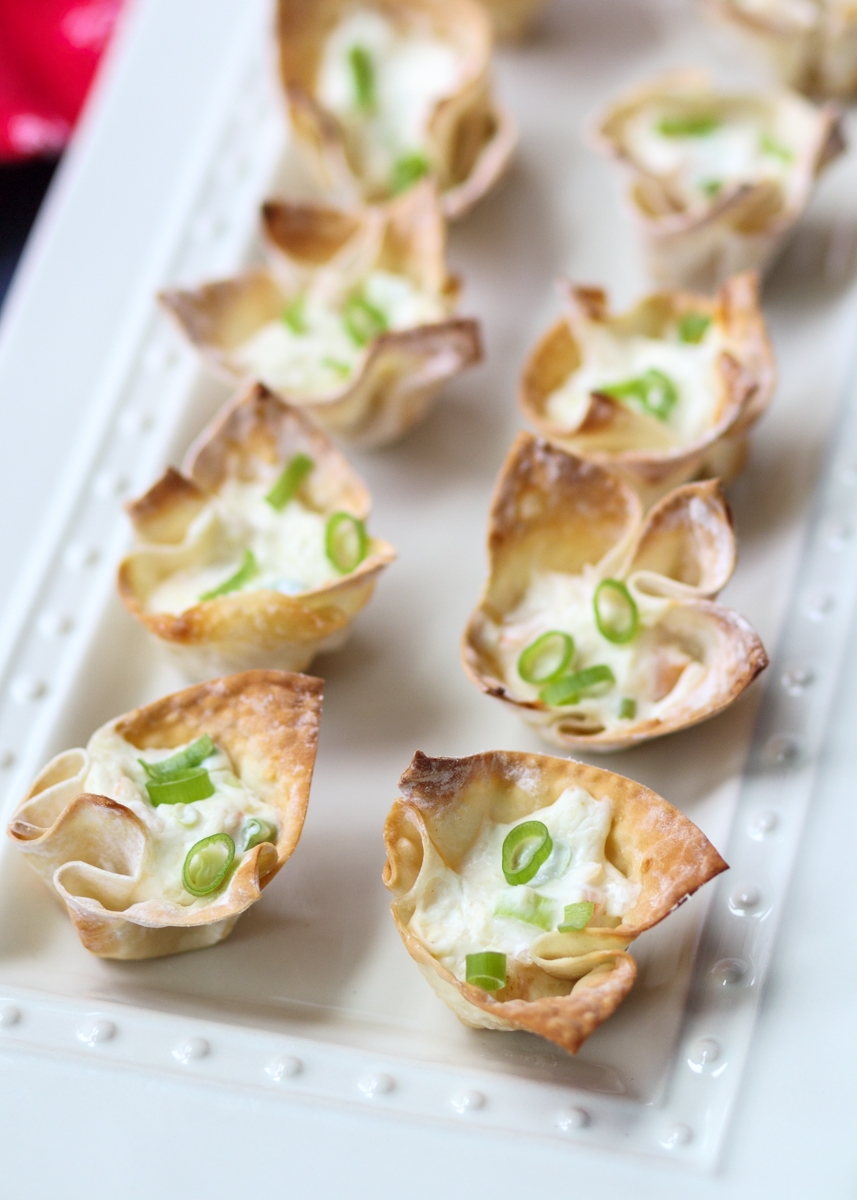
This recipe is so simple and the bites taste creamy and cheesy. Plus, they look extra fancy because of the little wonton cups. If you wanted to save time you could always bake the wonton cups the night before, but you don’t really need to save time because the whole recipe cooks in under fifteen minutes anyways.

Shrimp Rangoon Wonton Bites  |  Lemon & Mocha

We’re mixing up shrimp that we’ve cooked, cooled and chopped up, cream cheese, scallions, sour cream, shredded cheddar and garlic powder. I didn’t chop the shrimp too small because I wanted to get big bites of shrimp here and there. Feel free to use low fat cream cheese and sour cream if you would prefer.

Shrimp Rangoon Wonton Bites  |  Lemon & Mocha

Also, you can definitely use more shrimp if you would like. I only did four ounces because I was trying to keep it cost effective – cooking for a crowd can get expensive fast! If you aren’t concerned about that though feel free to pack in the shrimp. And like I thought, now I’m hungry! Happy Monday, everyone!

Shrimp Rangoon Wonton Bites  |  Lemon & Mocha

Shrimp Rangoon Wonton Bites
 
Yield: 24
Ingredients
  • 24 wonton wrappers
  • 4 ounces shrimp, cooked and chopped
  • 4 ounces cream cheese, softened
  • 2 scallions, thinly sliced
  • ¼ cup sour cream
  • ¼ cup shredded cheddar
  • ½ teaspoon garlic powder
Directions
  1. Preheat the oven to 350 degrees F.
  2. Spray a mini muffin pan then place the wrappers into the cavities so they create little wonton bowls. Lightly spray the wonton wrappers in the pan then bake for 5-7 minutes. Set aside.
  3. While the wrappers are in the oven, combine the rest of the ingredients in a medium mixing bowl, setting some of the sliced scallions aside for topping.
  4. After the wontons have baked on their own, spoon the mixture into the wontons in the mini muffin pan, evenly dividing between them. Bake for 6-8 more minutes. Top with the reserved sliced scallions then serve hot.


Nutella Stuffed Browned Butter Chocolate Chip Cookies

Nutella Stuffed Browned Butter Chocolate Chip Cookies  |  Lemon & Mocha

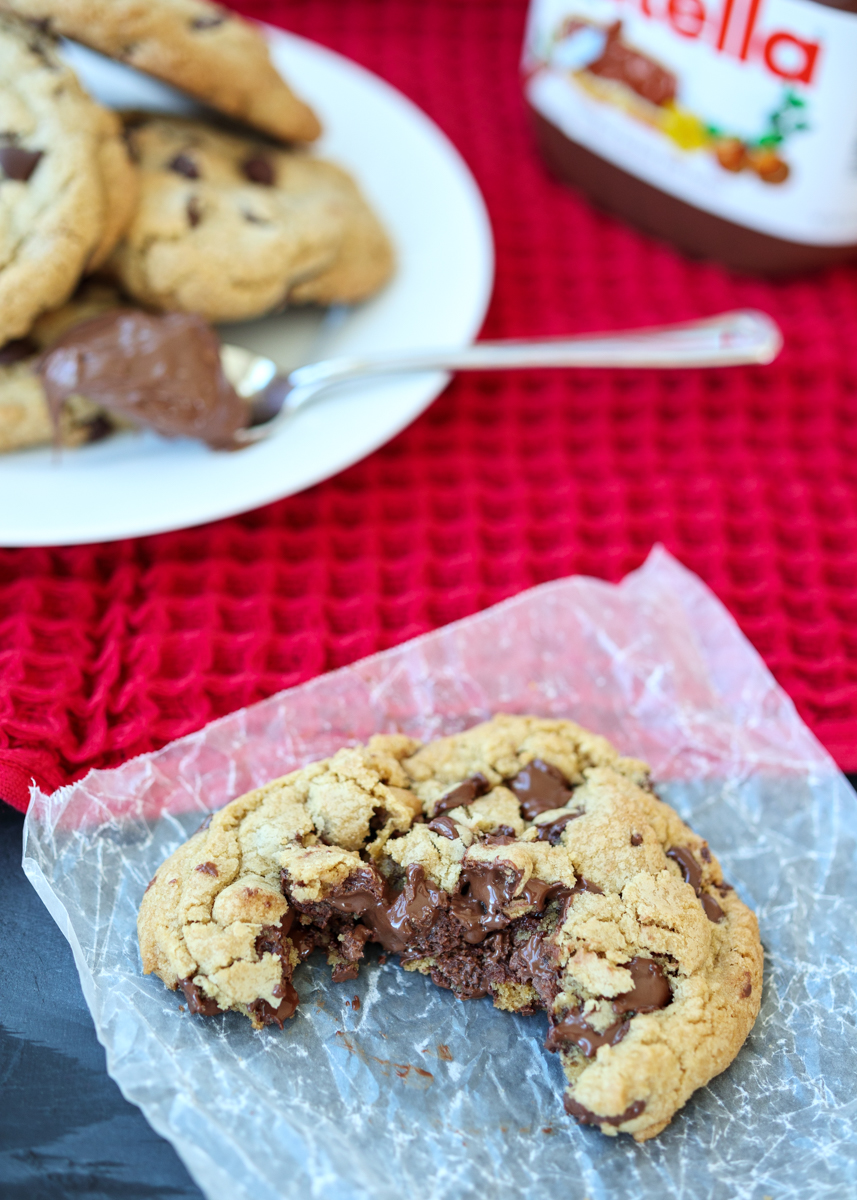
This morning I am writing to you all to ask for your forgiveness. I owe you the biggest of apologies. Like, the biggest ever. You see, I’ve been making these Nutella Stuffed Browned Butter Chocolate Chip Cookies for a few years now. I know, I’m sorry! They are the most amazing cookie I’ve ever eaten and in fact, my absolute favorite dessert, but this is the first you’re hearing about it. It’s just every time I make them I want to eat and share them immediately so I never got around to taking decent photos for Lemon & Mocha. I’m hoping once you make and eat these cookies all will be forgiven. Unless that will just make you more angry with me when you taste how crazy delicious they are and realize you could have been enjoying them years sooner. So, for what it’s worth, I apologize.

Nutella Stuffed Browned Butter Chocolate Chip Cookies  |  Lemon & Mocha

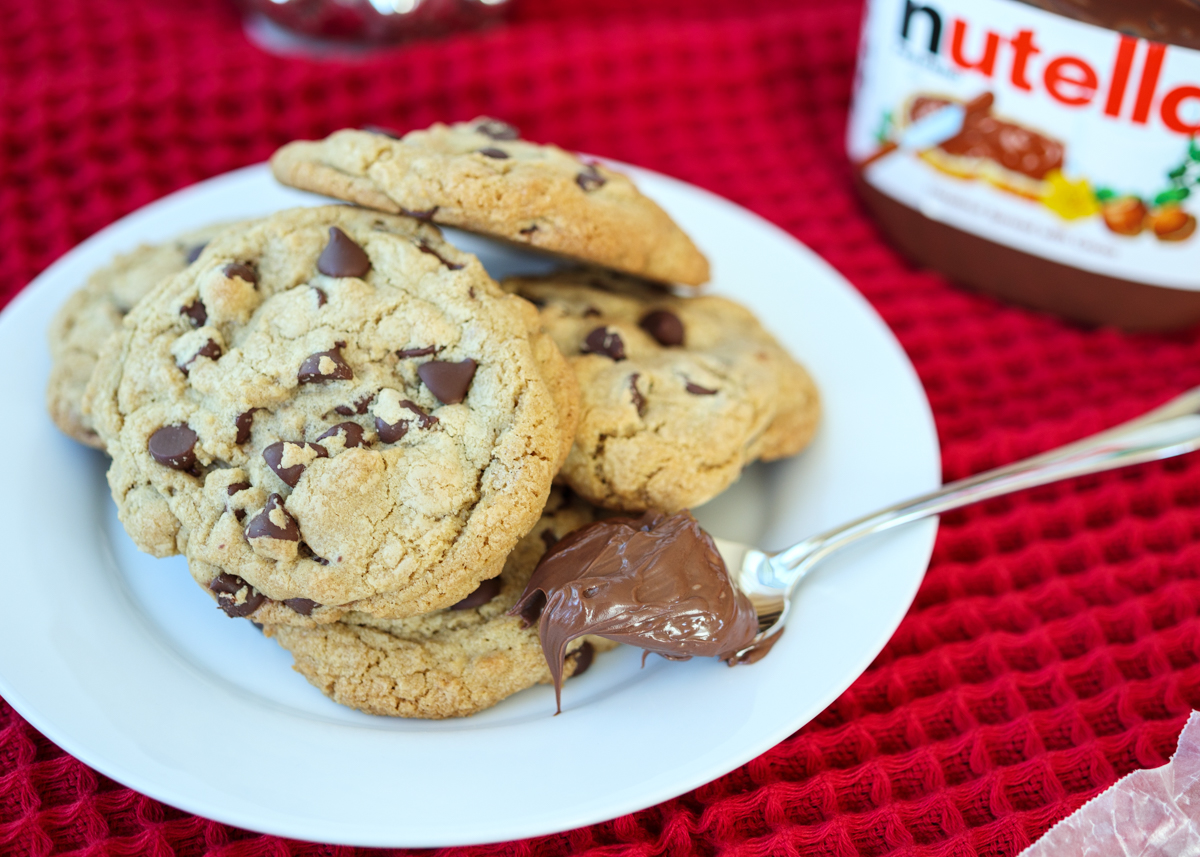
The base of these cookies is my Perfect Chocolate Chip Cookies. What makes them so perfect is that they have a rich flavor from the browned butter, a satisfying chewiness from the brown sugar and additional egg yolk and excellent chocolatey-ness from all the chocolate chips. When you’re dealing with such an exceptional cookie the only possible way to improve it is with Nutella.

Nutella Stuffed Browned Butter Chocolate Chip Cookies  |  Lemon & Mocha

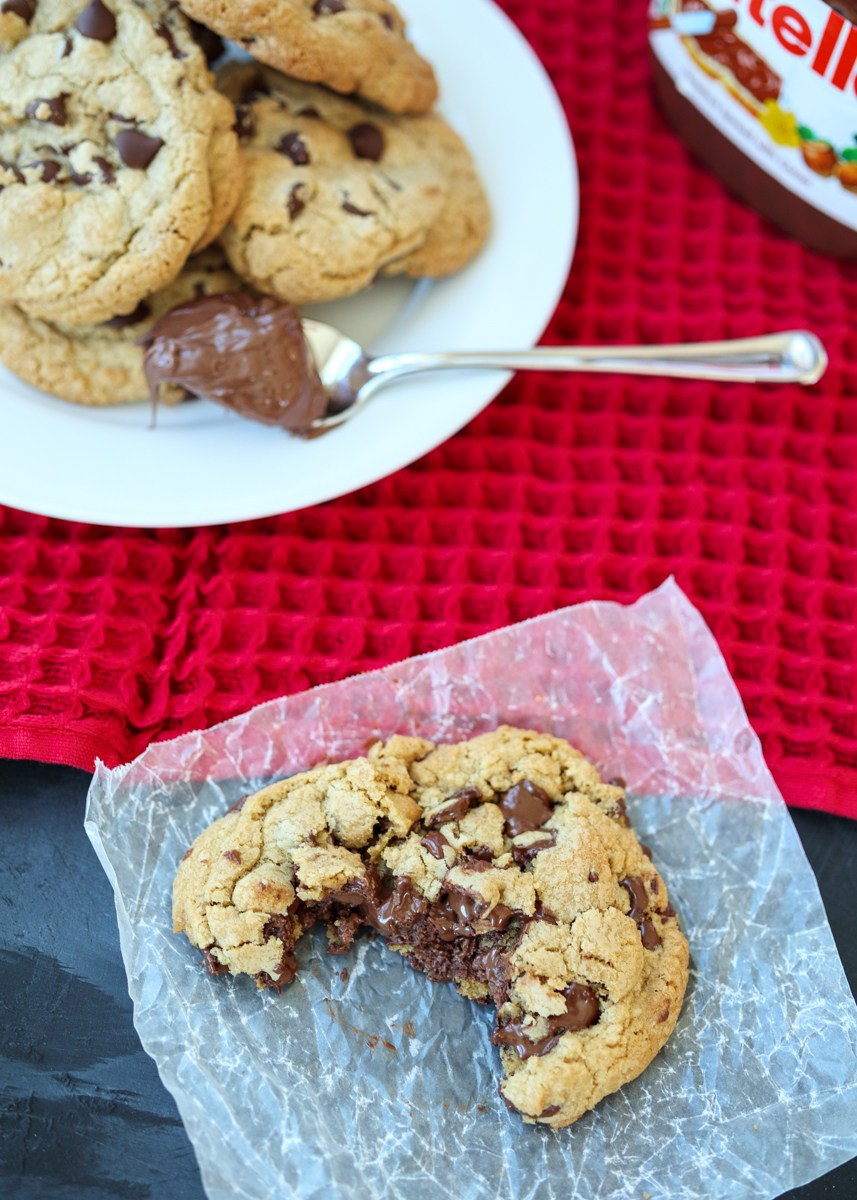
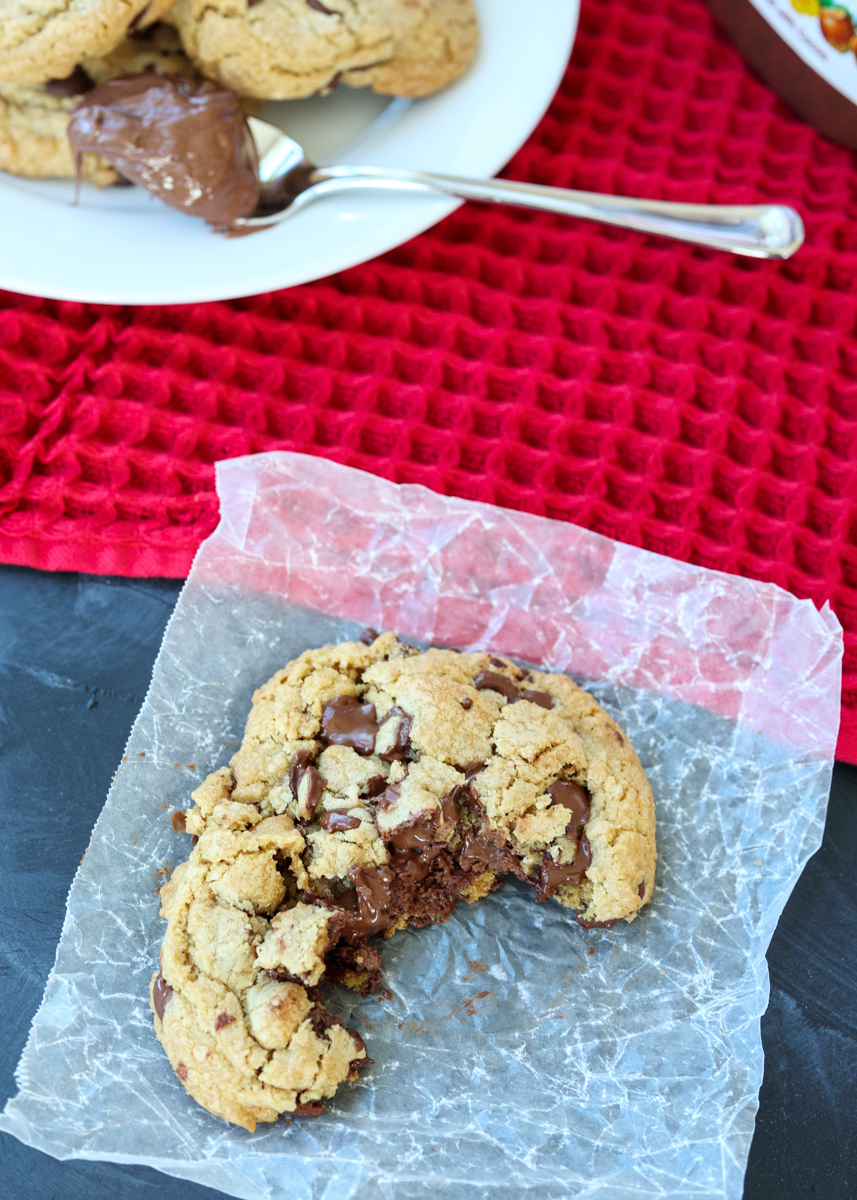
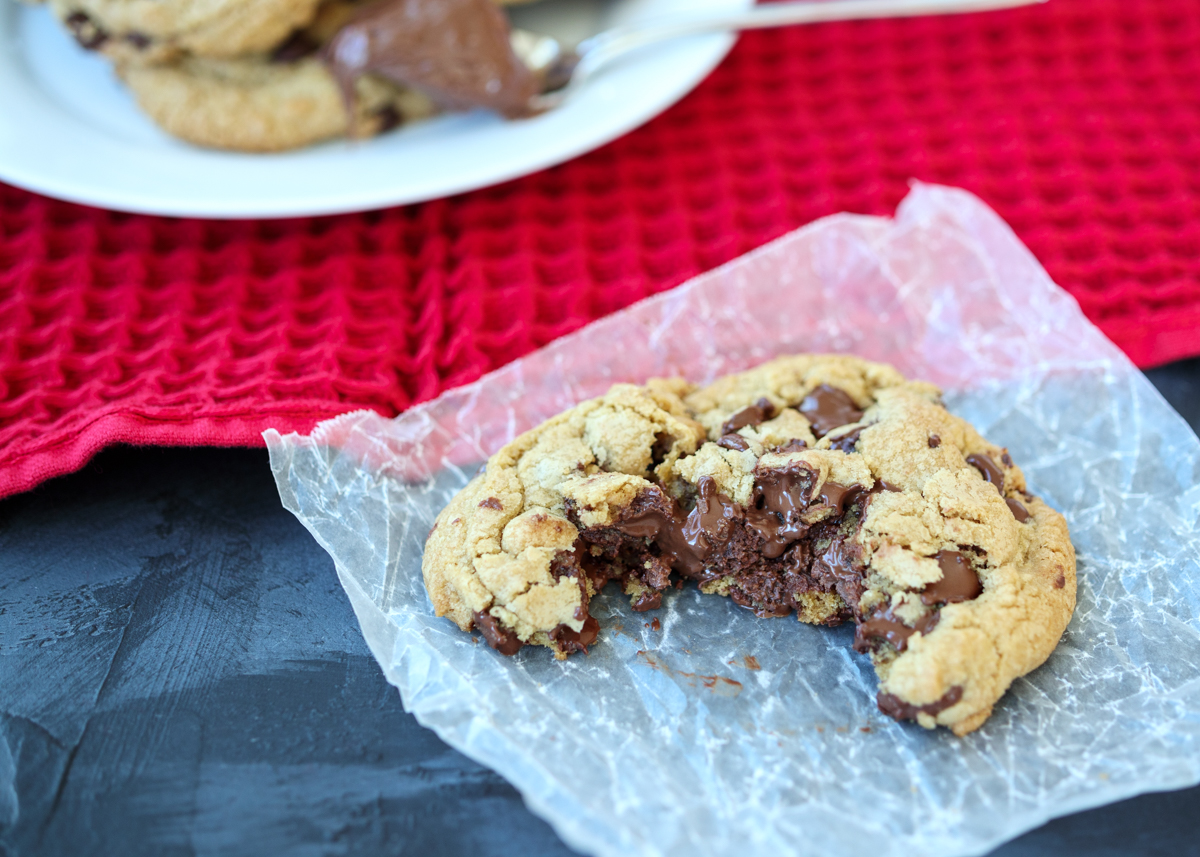
There’s a secret little pocket of Nutella inside these cookies so when you get into the center, creamy and nutty Nutella oozes out of the warm cookie. Or, if you’re like me and eat cookies cold out of the fridge, then you get an extra rich pocket of Nutella that’s softer than the chocolate chip bites providing a nice chocolate texture contrast. One of the biggest questions I get with these cookies is how to get the Nutella inside so I’m going to share my not-so-secret secret with you all. I find it super exciting, but that may just be because I find anything that helps me stuff Nutella into something super exciting.

Nutella Stuffed Browned Butter Chocolate Chip Cookies  |  Lemon & Mocha

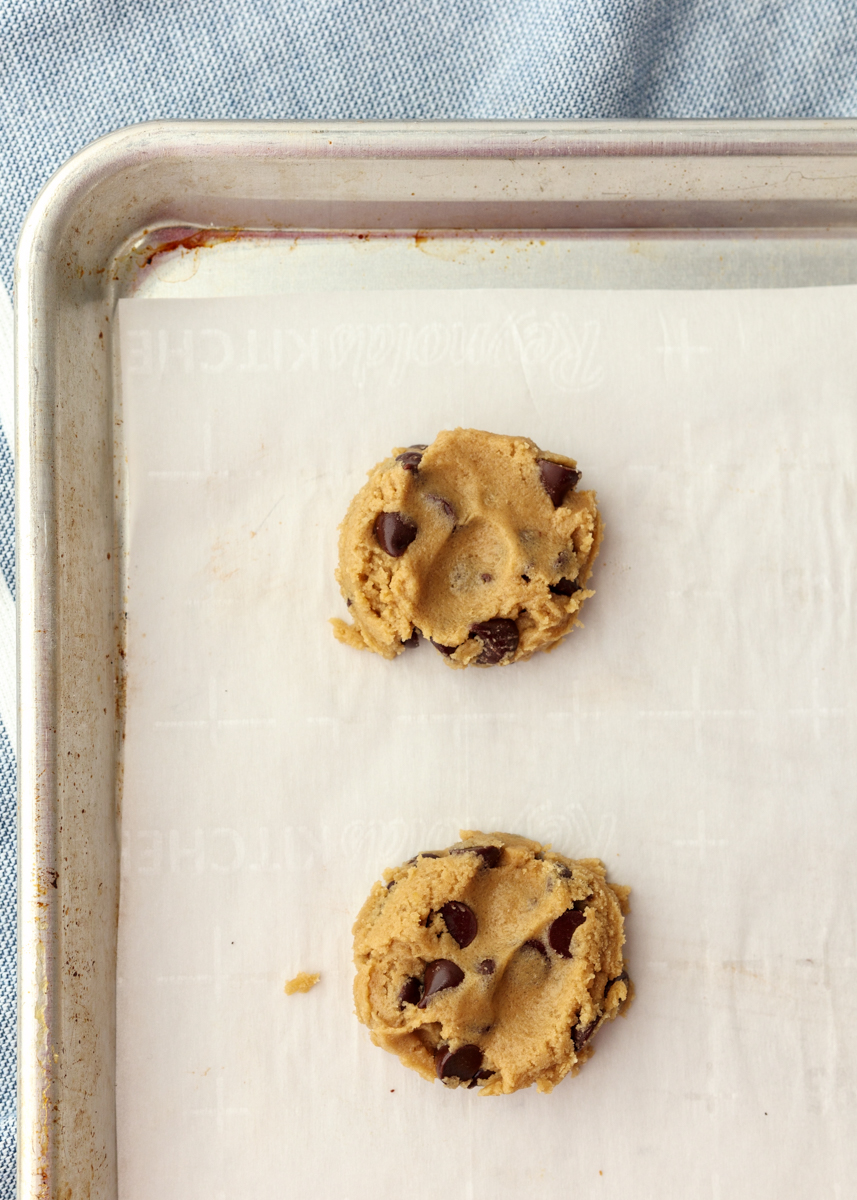
Take a baking sheet that will fit in your freezer and line it with wax or parchment paper. Then, use a spoon to scoop teaspoon size balls onto the baking sheet. It’s okay if they aren’t exactly the same size and it’s also okay if they aren’t well-formed balls since they definitely won’t be. Keep going, making sure they aren’t touching, until you have about seventeen Nutella balls. Pop the baking sheet in the freezer and let the Nutella balls firm up for at least twenty minutes. When your cookie dough is ready, scoop a tablespoon and a half of dough onto a parchment paper lined baking sheet, keeping the dough balls about two inches apart. Slightly flatten each dough ball with your index and middle finger.

Nutella Stuffed Browned Butter Chocolate Chip Cookies  |  Lemon & Mocha

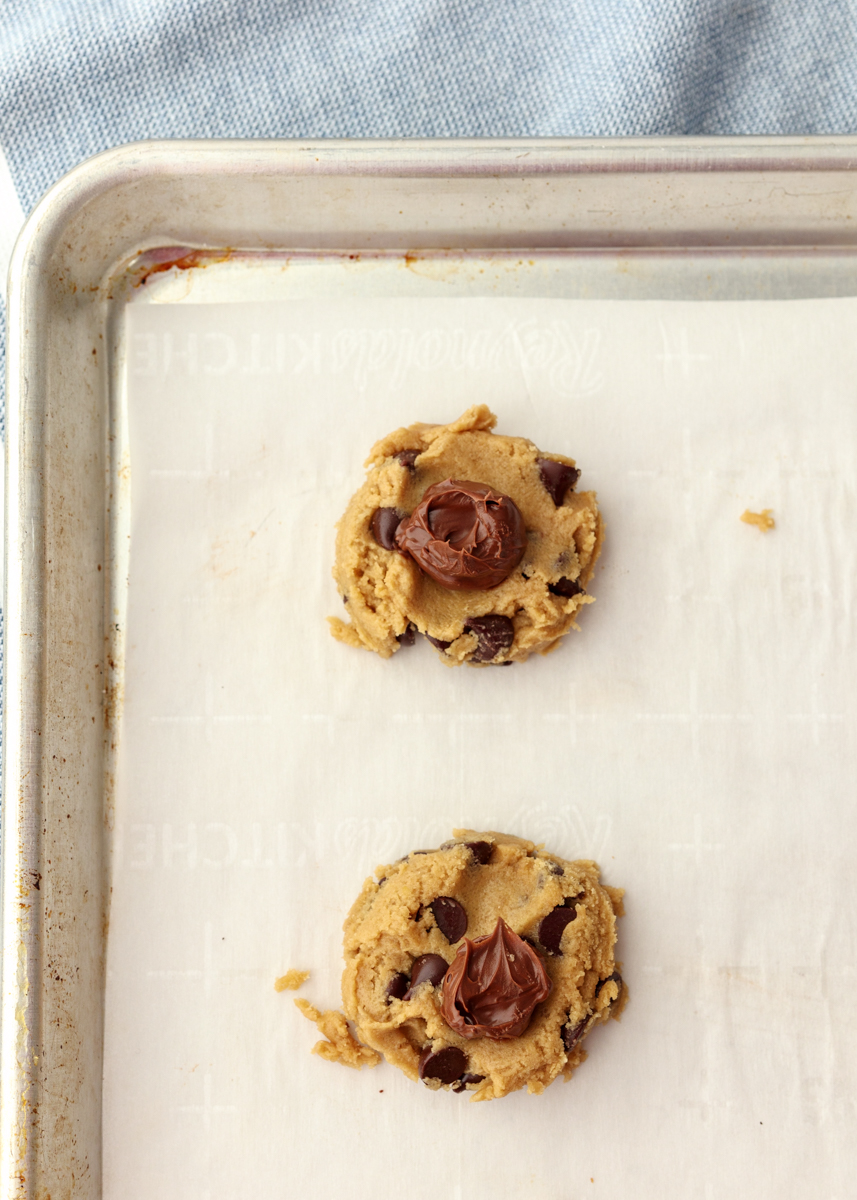
Now you’re ready for the firmed up Nutella blobs. Plop one onto each flattened cookie dough then scoop another tablespoon and a half of cookie dough on top of the Nutella balls.

Nutella Stuffed Browned Butter Chocolate Chip Cookies  |  Lemon & Mocha

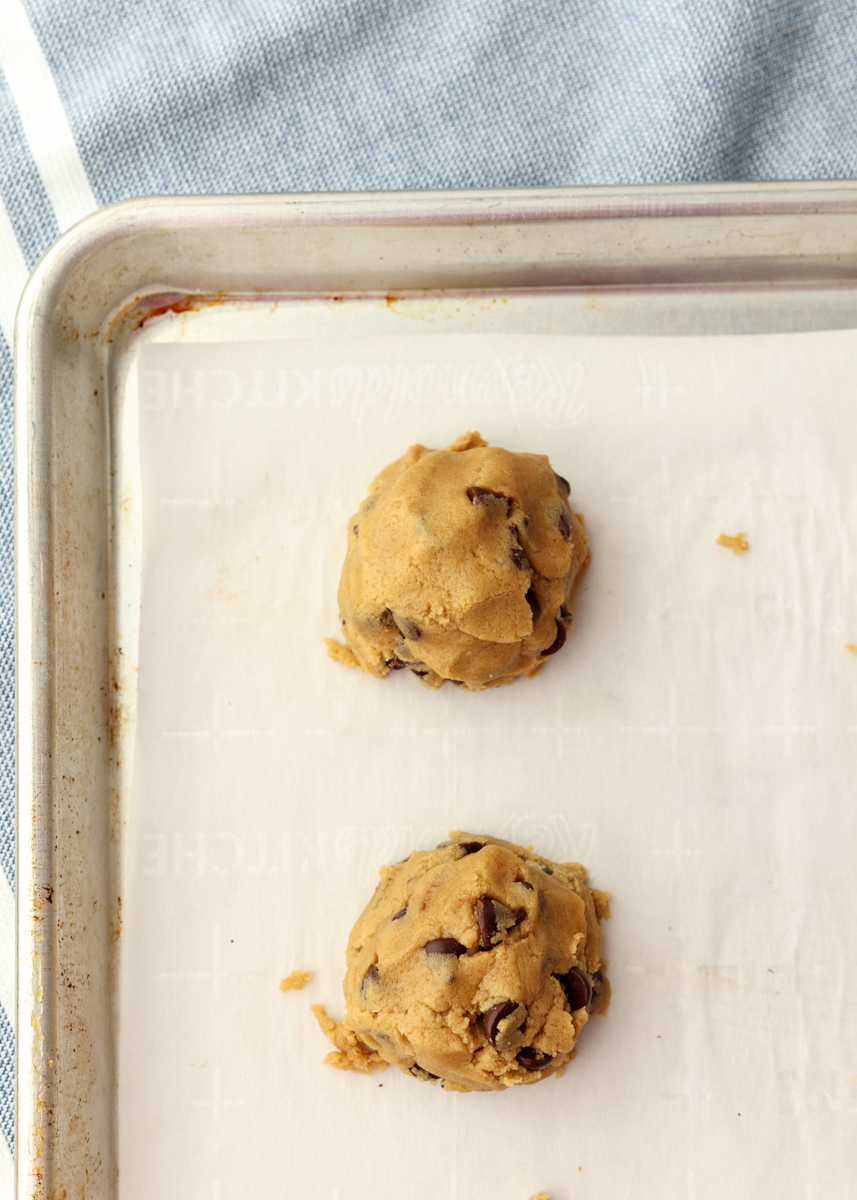
Quickly bring the two dough halves together around the Nutella to form a cookie dough ball. Try not to touch any one cookie ball too much or they will get too warm.

Nutella Stuffed Browned Butter Chocolate Chip Cookies  |  Lemon & Mocha

While the cookies are baking, the Nutella melts, but stays in the center of the cookie. It’s like magic! The most delicious magic I’ve ever seen or tasted. I cannot wait until you try these Nutella Stuffed Browned Butter Chocolate Chip Cookies! I know you will love them as much as we do!

Nutella Stuffed Browned Butter Chocolate Chip Cookies  |  Lemon & Mocha

Nutella Stuffed Browned Butter Chocolate Chip Cookies
 
Yield: 16-17 cookies
Ingredients
  • Roughly ⅓ cup Nutella
  • 1¾ cups all-purpose flour
  • ¾ teaspoon salt
  • ½ teaspoon baking soda
  • ¾ cup unsalted butter (1½ sticks)
  • ½ cup sugar
  • ¾ cup dark brown sugar
  • 2 teaspoons vanilla extract
  • 1 large egg, at room temperature
  • 1 large egg yolk, at room temperature
  • 2 cups semi-sweet Ghiradelli chocolate chips
Directions
  1. Line a baking sheet or sturdy cutting board that will fit in your freezer with wax or parchment paper. Use a spoon to scoop out scant teaspoon size blobs of Nutella onto the baking sheet. It’s okay if they aren’t exactly the same size or a completely round ball. Keep going, making sure the Nutella balls aren’t touching each other, until you have about 17. Put the baking sheet in the freezer and let the Nutella balls firm up, at least 20 minutes. Keep them in the freezer until you’re ready to use them.
  2. Preheat oven to 375 degrees F. Line 2 large baking sheets with parchment paper and set aside.
  3. In a medium bowl sift together the flour, salt and baking soda, then set aside.
  4. In a small skillet over medium-high heat melt 8 tablespoons of the butter. Keep cooking, making sure to continuously swirl the pan, until the butter is golden brown in color, about 3 minutes. Remove from the heat and pour the browned butter into a large heatproof bowl or the bowl of a stand mixer. Stir in the remaining 4 tablespoons of butter until melted. Let the butter cool slightly.
  5. Add the sugar, brown sugar and vanilla to the large bowl with the browned butter. Whisk for 2 minutes. Add the egg and egg yolk and whisk for 2 minutes. The dough should be smooth and shiny. Stir in the flour mixture until a few streaks remain. Stir in the chocolate chips. The dough will be thick at this point so mixing in the chips will be a little hard, but do the best you can without over mixing.
  6. Use a medium cookie scoop to scoop out a tablespoon and a half of dough onto the first prepared large baking sheet, keeping them about 2 inches apart. Lightly press with your index and middle finger to slightly flatten each dough ball then grab the Nutella baking sheet from the freezer and place one Nutella ball on top of each slightly flattened dough ball. Return the Nutella baking sheet to the freezer.
  7. Scoop another tablespoon and a half of cookie dough on top of the Nutella balls. Return the other half of the cookie dough to the fridge. Bring the two dough halves together around the Nutella to form a cookie dough ball with the Nutella in the center. Try not to touch any one cookie dough ball too much or it will get too warm.
  8. Bake the first cookie tray on the middle rack for 11-14 minutes. Cookies are done when they are golden brown and the edges have just started to set, but the centers are soft. Once removed from the oven let cool on the baking sheet for 1 minute, then carefully remove to a wire cooling rack. When the first batch of cookies is 3-5 minutes away from being done, repeat the above steps to make the remaining half of the cookies on the second prepared baking sheet. Bake according to the same instructions below when the first batch is out of the oven.