About Lauren

Posts by Lauren :

Browned Butter Rice Krispie Treats
Browned Butter Rice Krispie Treats  |  Lemon & Mocha

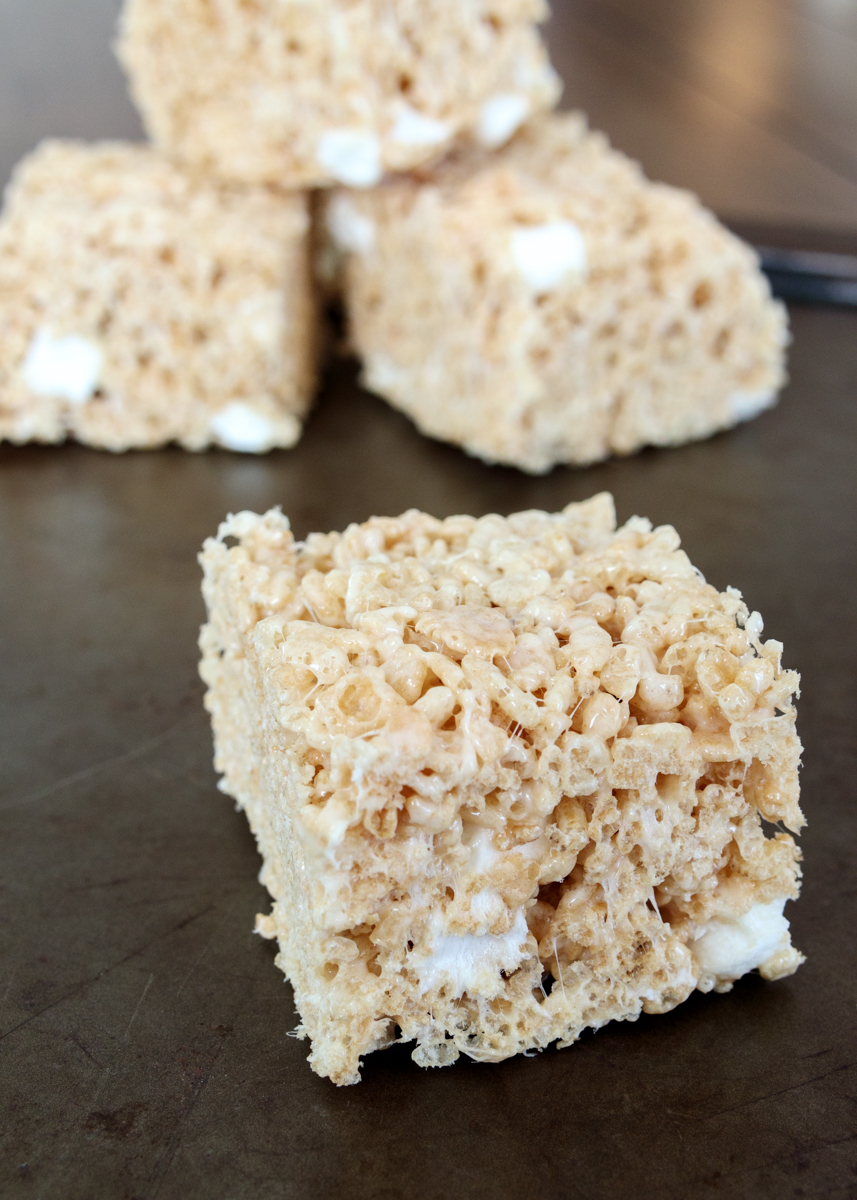
I’m all about the easy desserts these days. You will understand why when you see the March cookies! One of the best quick and no-bake desserts are rice krispie treats. Last February, I posted my Chocolate-Dipped Browned Butter Rice Krispie Treats, which are these same treats, but dipped in chocolate and covered in Valentine’s Day sprinkles. I decided that these treats are so crispy, gooey and full of flavor that they deserved their own post.
Browned Butter Rice Krispie Treats  |  Lemon & Mocha

I find normal rice krispie treats to be very bland. Good thing these aren’t normal rice krispie treats! If you’ve made my Perfect Chocolate Chip Cookies then you know how much rich depth of flavor browned butter can add to a baked good and these krispie treats are no exception. If you’ve never browned butter before it’s really simple. You melt butter on the stovetop and then continue to cook the melted butter over medium heat until it becomes golden brown in color, which takes about 4 or so minutes. You will be able to smell it as well; it will smell lightly caramelized and have you swooning. Rice krispie treats require melted butter anyways so it only makes sense to go that one step further and add some flavor to the butter.
Browned Butter Rice Krispie Treats  |  Lemon & Mocha

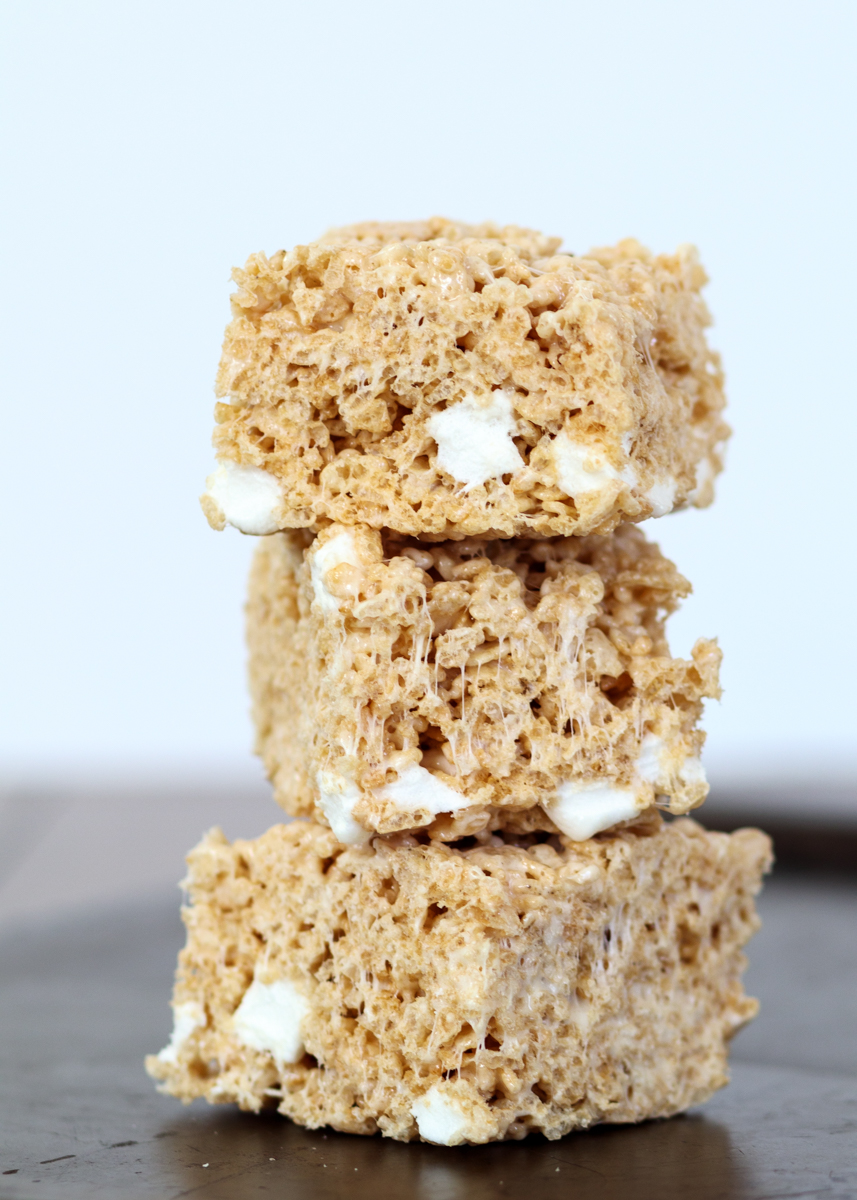
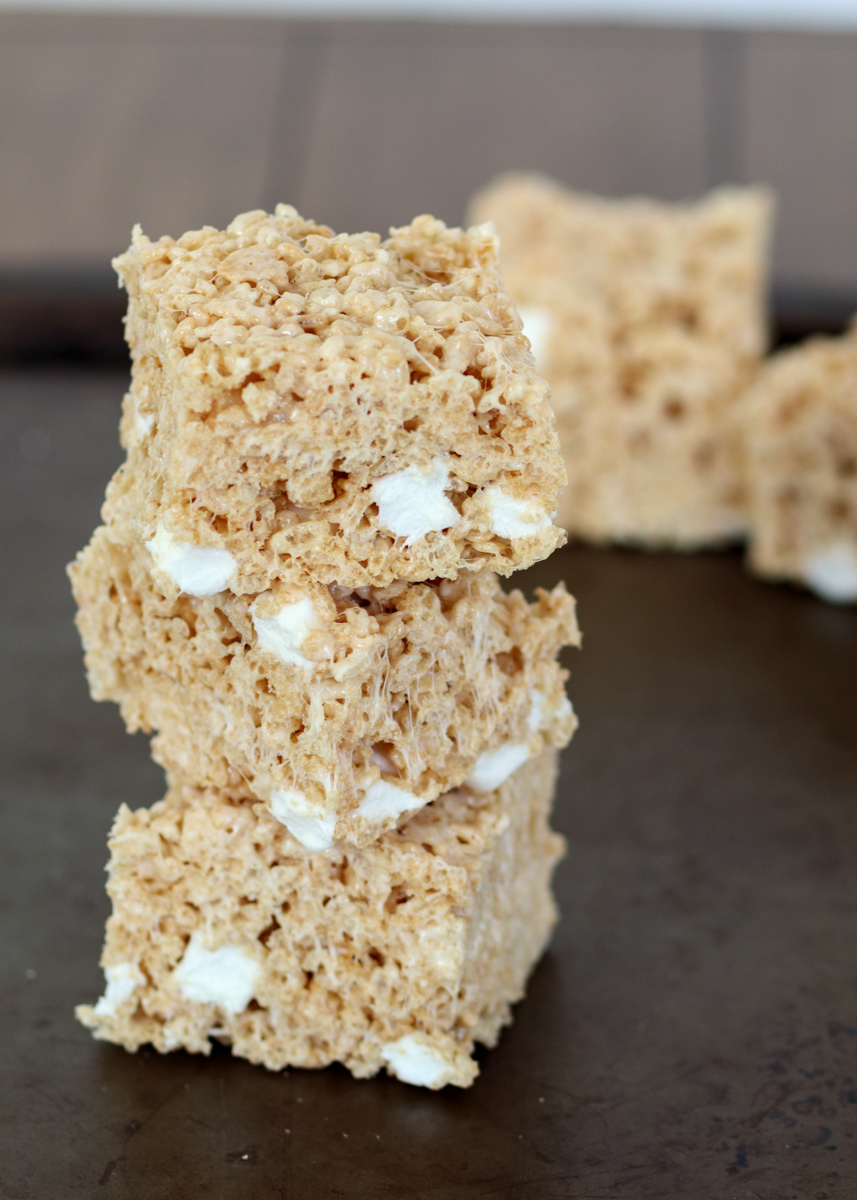
Typically when making rice krispie treats all the marshmallows get melted down, but I’ve left some mini marshmallows unmelted to create extra gooey pockets in the krispie treat. If we’re making a marshmallow treat we might as well go all out, right? Of course, if you really wanted to go extra all out you could take a cue from the Chocolate-Dipped Browned Butter Rice Krispie Treats. I’ll take either version, which is saying a lot about the flavor and texture of these Browned Butter Rice Krispie Treats since I’m so chocolate obsessed.
Browned Butter Rice Krispie Treats  |  Lemon & Mocha

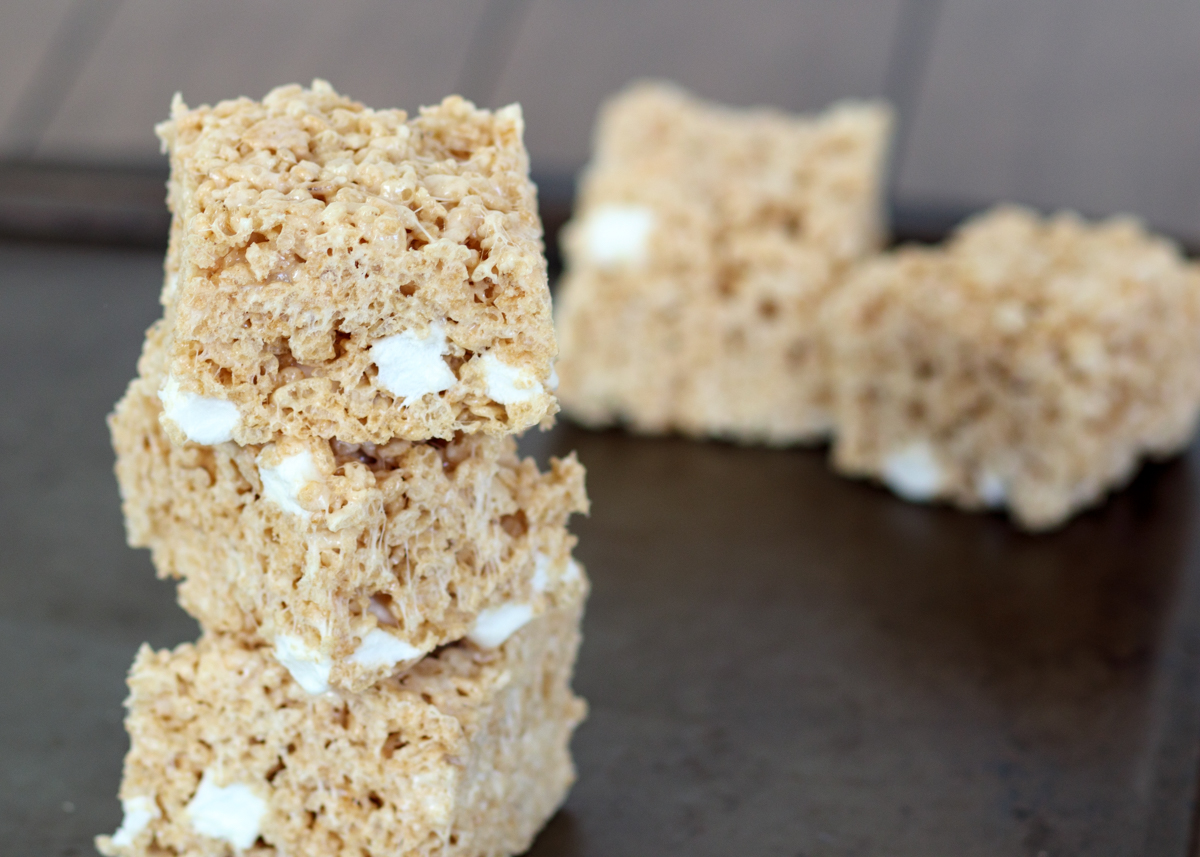
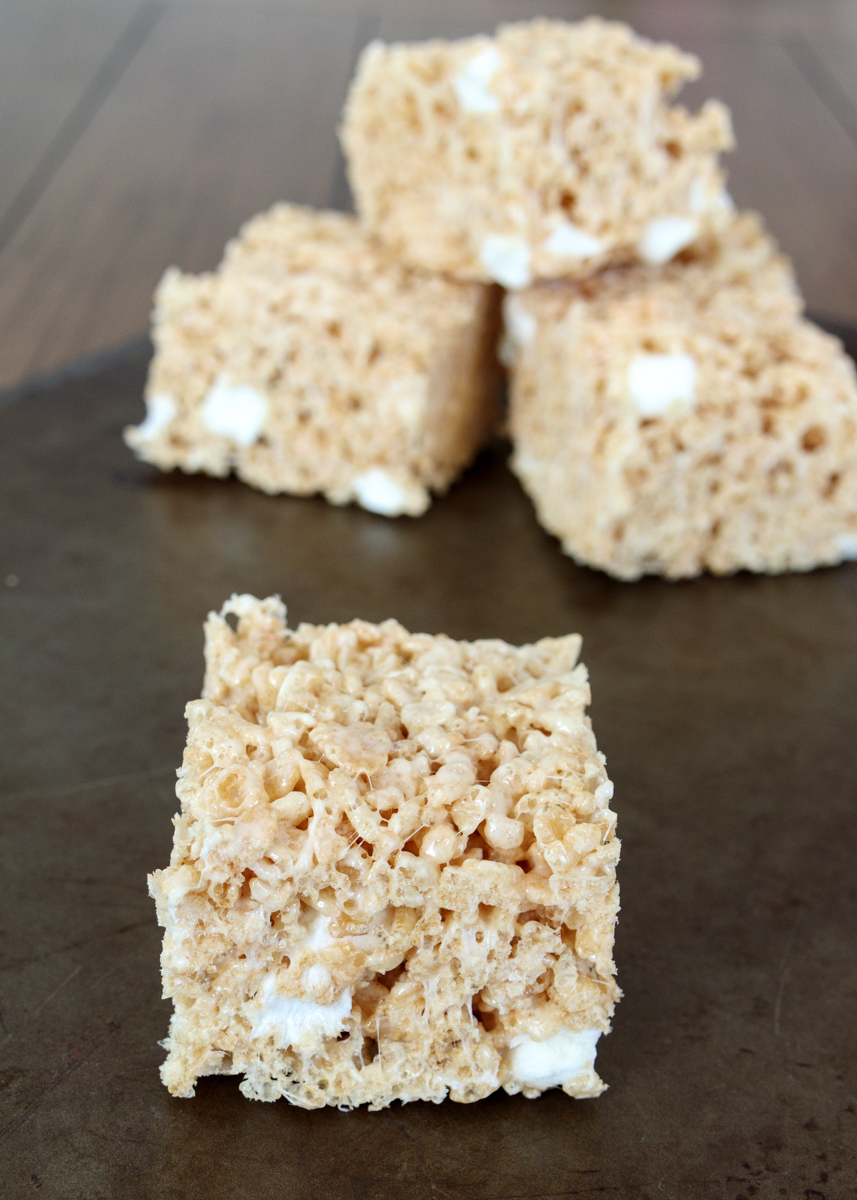
If you really want to make people’s mouths drop, follow the directions below for the jumbo-sized krispie treats! It makes a thick bakery style krispie treat like the ones pictured here that will have everyone thinking you bought them at your local bakery.
Browned Butter Rice Krispie Treats  |  Lemon & Mocha

Browned Butter Rice Krispie Treats
 
Yield: 12 regular or 9 jumbo krispie treats
Ingredients
  • 3 tablespoons butter
  • 4¾ cups mini marshmallows
  • 1 teaspoon vanilla extract
  • ¼ teaspoon salt
  • 6 cups Rice Krispies cereal
Directions
  1. Line a 13x9 pan or a 9x9 pan (see note) with nonstick aluminum foil and set aside.
  2. In a large pot big enough to fit all the cereal, melt the butter over medium heat. Continue to cook the butter, making sure to continuously swirl the pan, until the butter is golden brown in color, about 4 minutes. Lower the heat then add 4 cups of the marshmallows, stirring until melted. Remove from the heat and stir in the vanilla and salt.
  3. Add the cereal to the pot and gently stir until coated. Gently stir in the remaining ¾ cup of mini marshmallows. Pour the contents of the pot into the prepared pan and spread evenly. I used a small piece of wax paper to lightly press on the krispie treats in the pan to create an even-ish surface without pressing too hard (you don’t want the krispie treats to be dense). Let cool completely.
  4. Once cooled, remove the foil from the pan and cut the krispie treats with a sharp knife. Store at room temperature in an airtight container.
Notes
For 12 normal-sized krispie treats use a 13x9 pan. For 9 jumbo-sized krispie treats use a 9x9 pan.
The krispie treats stay for a few days, but they taste best the same day.


Mediterranean Salad with Roasted Red Pepper Vinaigrette

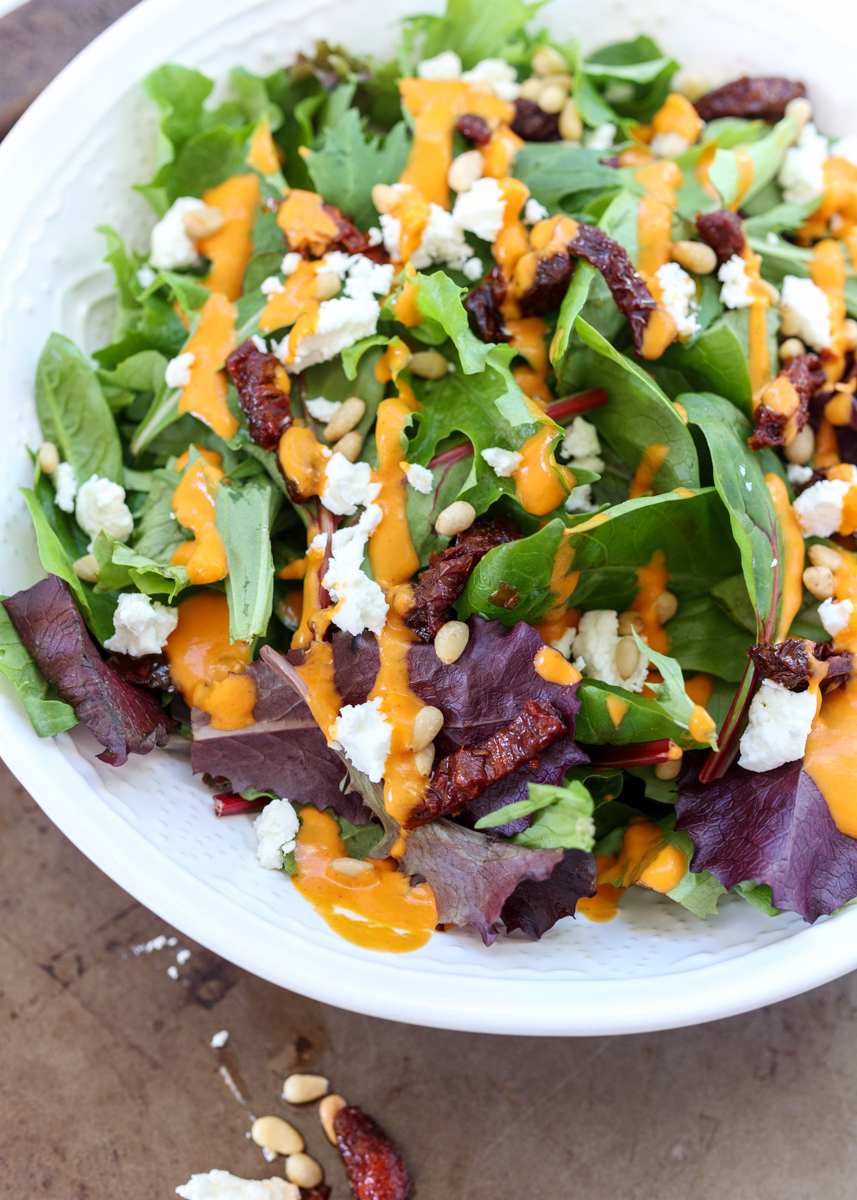
Mediterranean Salad with Roasted Red Pepper Vinaigrette  |  Lemon & Mocha

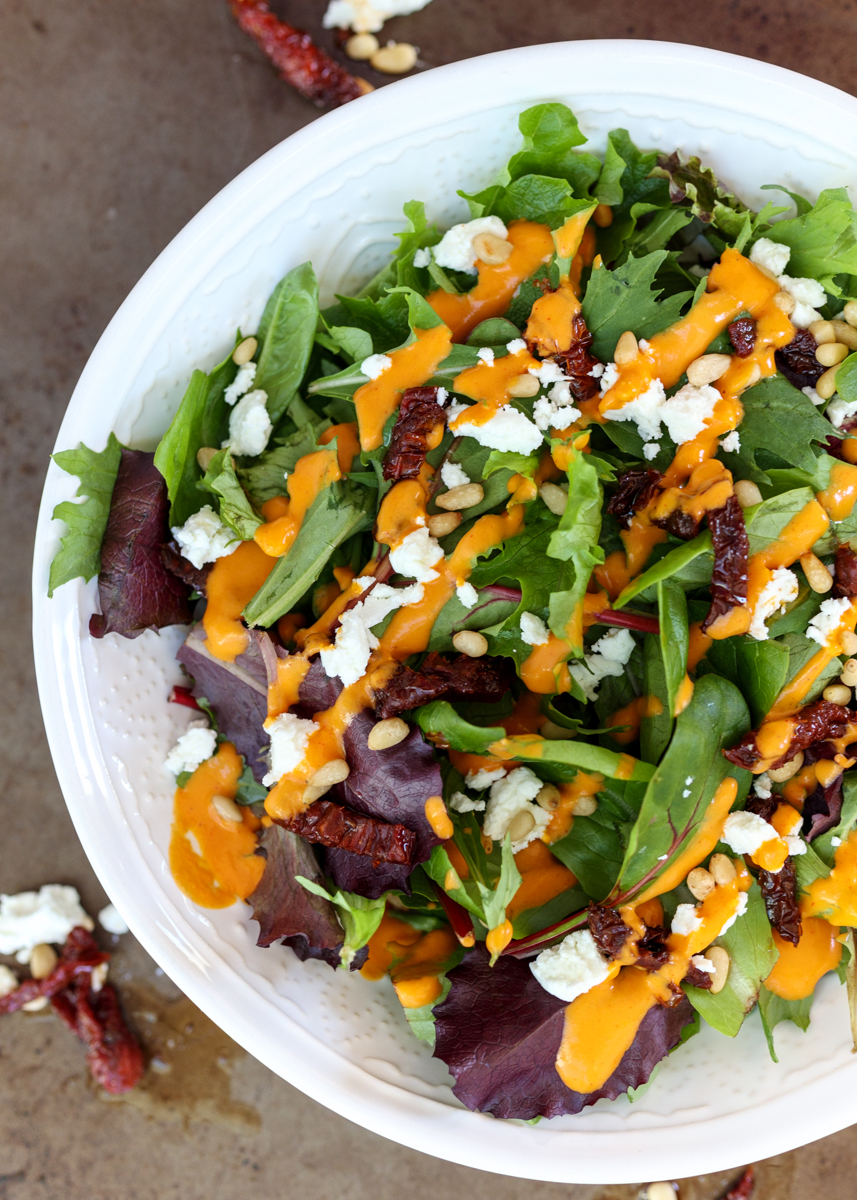
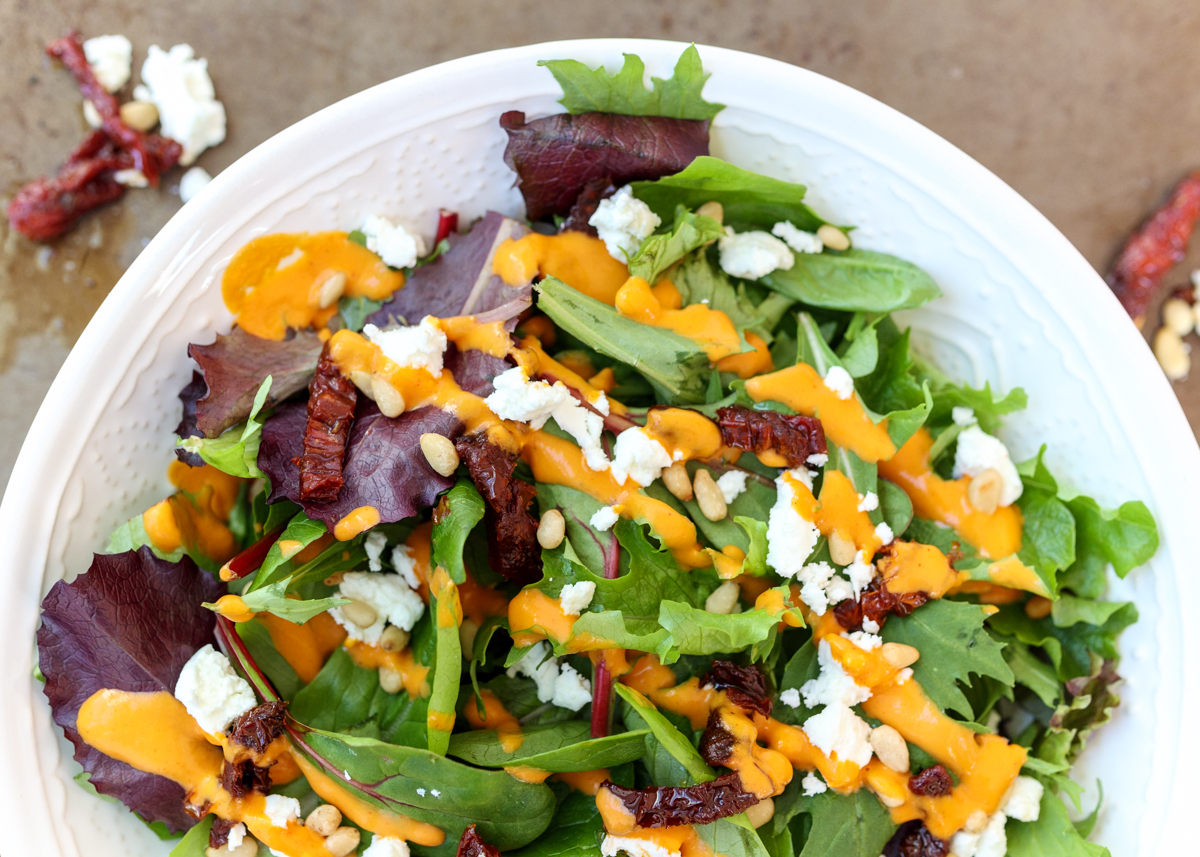
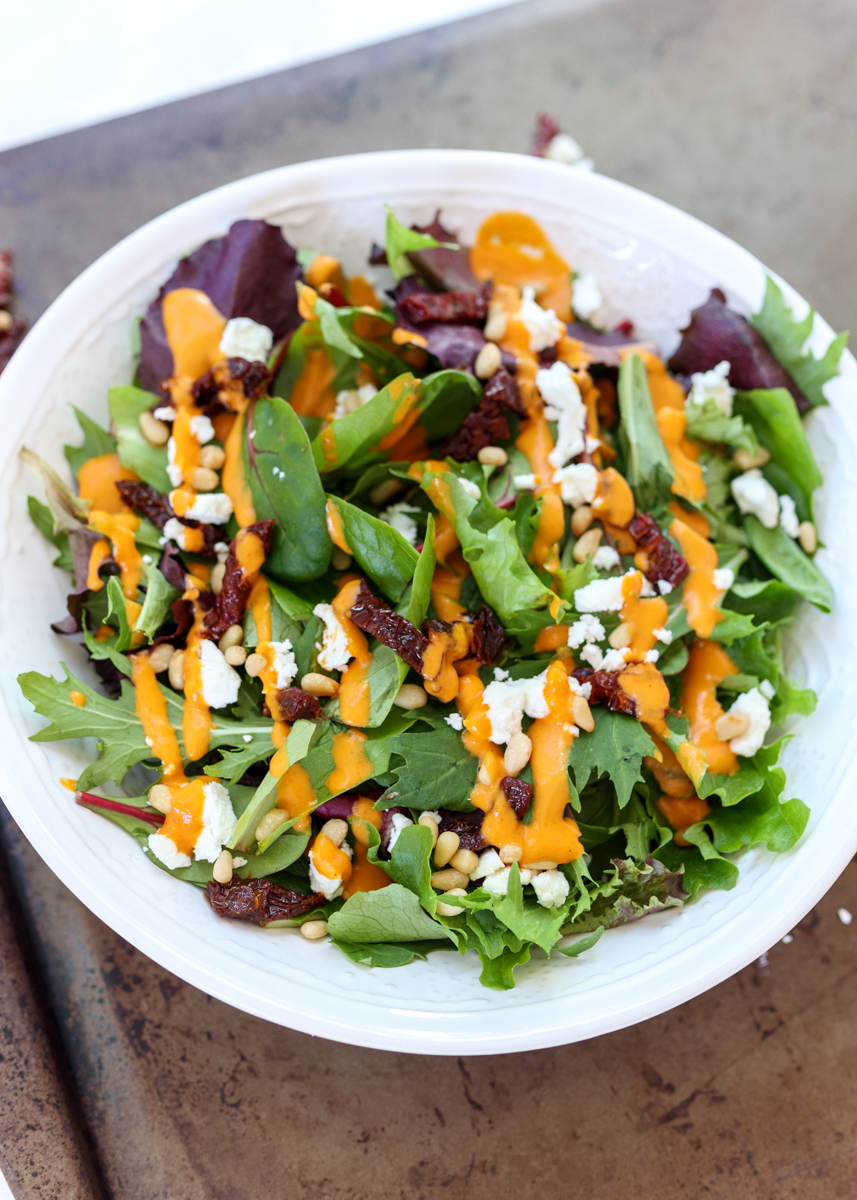
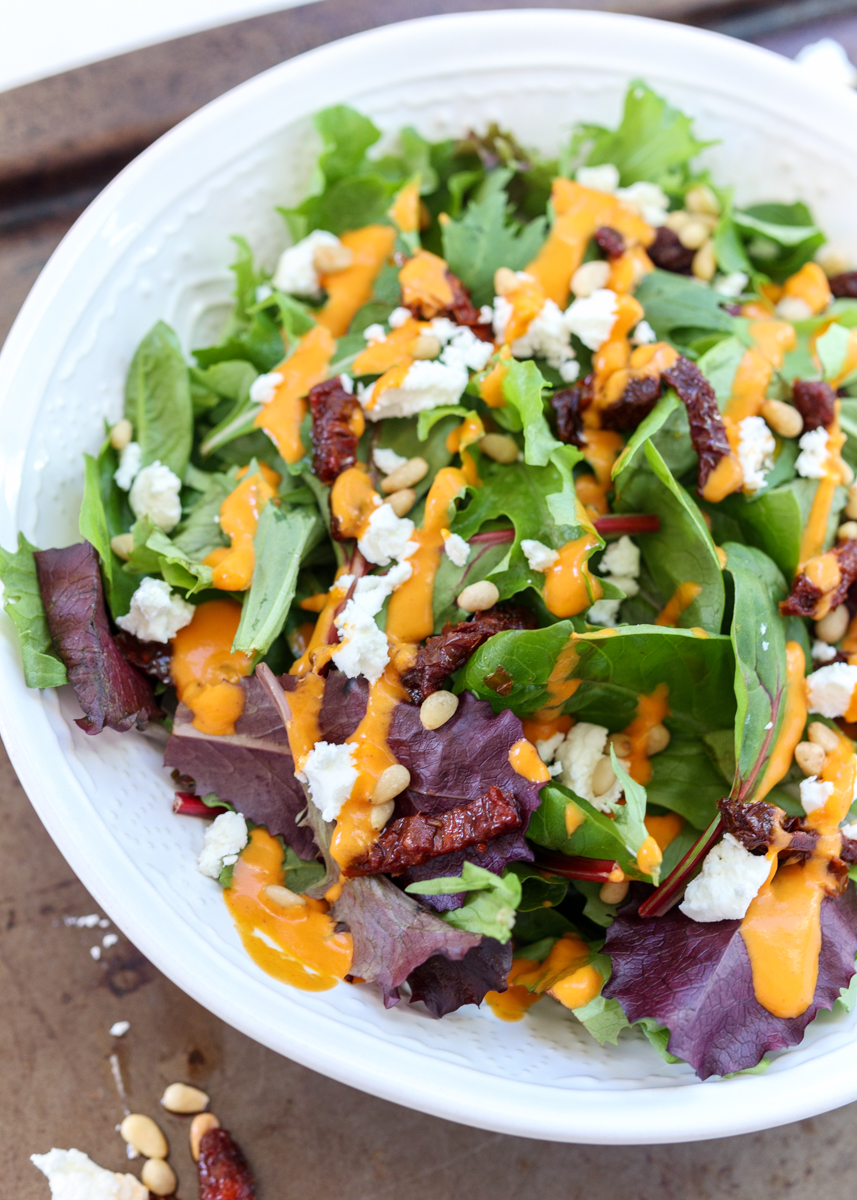
I only post salads when I’m obsessed and this is definitely one of those times. This Mediterranean salad has mixed greens, toasted pine nuts, goat cheese, sun-dried tomatoes and a creamy and tangy roasted red pepper vinaigrette. It sounds so simple, but the combination will make you start craving cold salad in the middle of February.

Mediterranean Salad with Roasted Red Pepper Vinaigrette  |  Lemon & Mocha

The inspiration for this salad came all the way from a restaurant in Colorado. Matt and I just got back from spending an awesome week skiing out in Colorado with my parents and brother! As I’ve mentioned before, my brother lives in Colorado so it’s the perfect place for a family reunion vacation during the wintertime. While we were out there we got a ton of fresh snow, raced each other down the mountain and of course ate plenty of good food. One of my favorite dishes from a restaurant we typically go to is this Mediterranean Salad with Roasted Red Pepper Vinaigrette.

Mediterranean Salad with Roasted Red Pepper Vinaigrette  |  Lemon & Mocha

I started thinking about it the weeks before our vacation was going to start and decided that since it’s so simple I should just try to recreate it myself. I’m not quite sure why I waited so many years to do this, but I’m so glad I did! There’s something magical about the crispy and nutty pine nuts with the creamy goat cheese and the rich sun-dried tomatoes. Side note: I wrote this in the recipe, but make sure you use the sun-dried tomatoes that come in a jar packed in oil, not the ones that come in a bag.

Mediterranean Salad with Roasted Red Pepper Vinaigrette  |  Lemon & Mocha

The roasted red pepper dressing is just five ingredients, but it takes the salad to a whole new delicious level. A roasted red pepper, olive oil, red wine vinegar, smoked paprika and salt to taste get pureed in a high-speed blender until smooth and creamy. The dressing adds to the tanginess of the sun-dried tomatoes and gives the whole salad a zing that balances the goat cheese. We actually didn’t go to that restaurant this past week as this salad is the only standout dish from there, but I don’t even mind because now I can make it for myself whenever I want! Yum!

Mediterranean Salad with Roasted Red Pepper Vinaigrette  |  Lemon & Mocha

Mediterranean Salad with Roasted Red Pepper Vinaigrette
 
Yield: 4 servings
Ingredients
  • 1 red pepper
  • ¼ cup olive oil
  • 1½ tablespoons red wine vinegar
  • ½ teaspoon smoked paprika
  • 8 cups spring mix salad greens
  • ¼ cup toasted pine nuts
  • ½ cup sun-dried tomatoes (from the jar/oil-packed), julienned
  • 2 ounces goat cheese, plus more if desired
  • Salt and ground black pepper
Directions
  1. Roast the red pepper. Preheat the oven to 400 degrees F. Spray a baking sheet or aluminum foil covered baking sheet with nonstick cooking spray. Wash and dry the red pepper then place on the baking sheet. Bake 20 minutes, flip the pepper over then bake for 20 more minutes. When the pepper is cool enough to handle, remove and discard the skin, stem and seeds.
  2. Make the dressing. Add the roasted red pepper, olive oil, red wine vinegar and smoked paprika to a high-speed blender. Blend until smooth then season with salt and pepper to taste.
  3. In a large mixing bowl or salad bowl, toss the salad greens with the pine nuts and the julienned sun-dried tomatoes. Add your preferred amount of the roasted red pepper dressing and toss. Crumble the goat cheese over top and serve.


Re-do of the 10 Minute Mini Breakfast Tacos

10 Minute Mini Breakfast Tacos  |  Lemon & Mocha

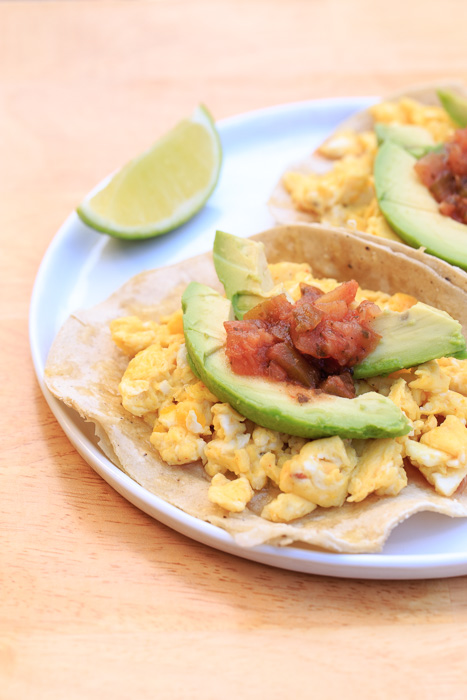
I’m back with another post re-do! This time I tackled my quick and delicious 10 Minute Mini Breakfast Tacos. I’ve updated the post with new photos, some new content and minor recipe adjustments. Check out the updated recipe here. Below is one of the original photos posted in August 2014. The old photos lack any sort of punch or contrast. Part of that was my editing at the time and part of that is that I put beige food on a white plate on a beige surface! I love the way the blue plate really livened up my new photos. I also loved having an excuse to make and eat these breakfast tacos – not that you need an excuse because they really are simple enough for a regular weekday meal!

10 Minute Mini Breakfast Tacos  |  Lemon & Mocha

Funfetti Peanut Butter White Chocolate Waffle Snack Mix

Funfetti Peanut Butter White Chocolate Waffle Snack Mix  |  Lemon & Mocha

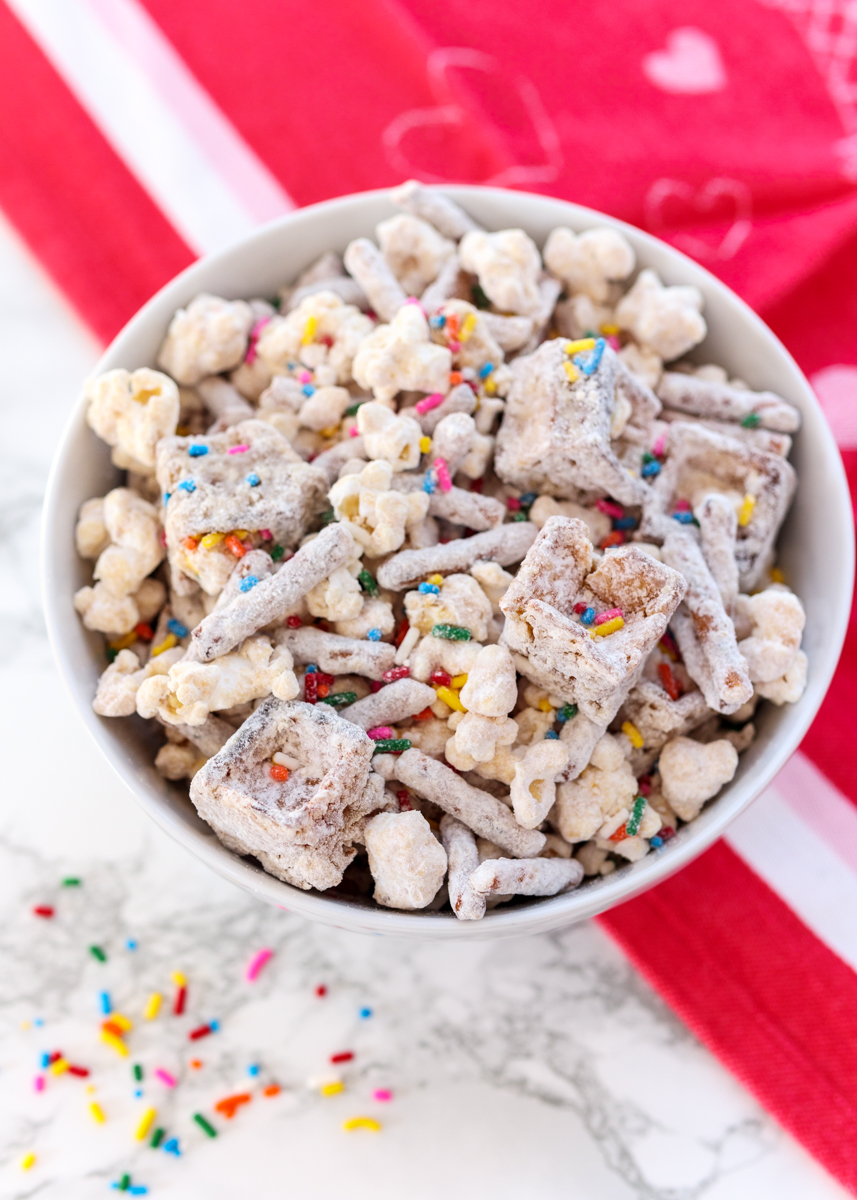
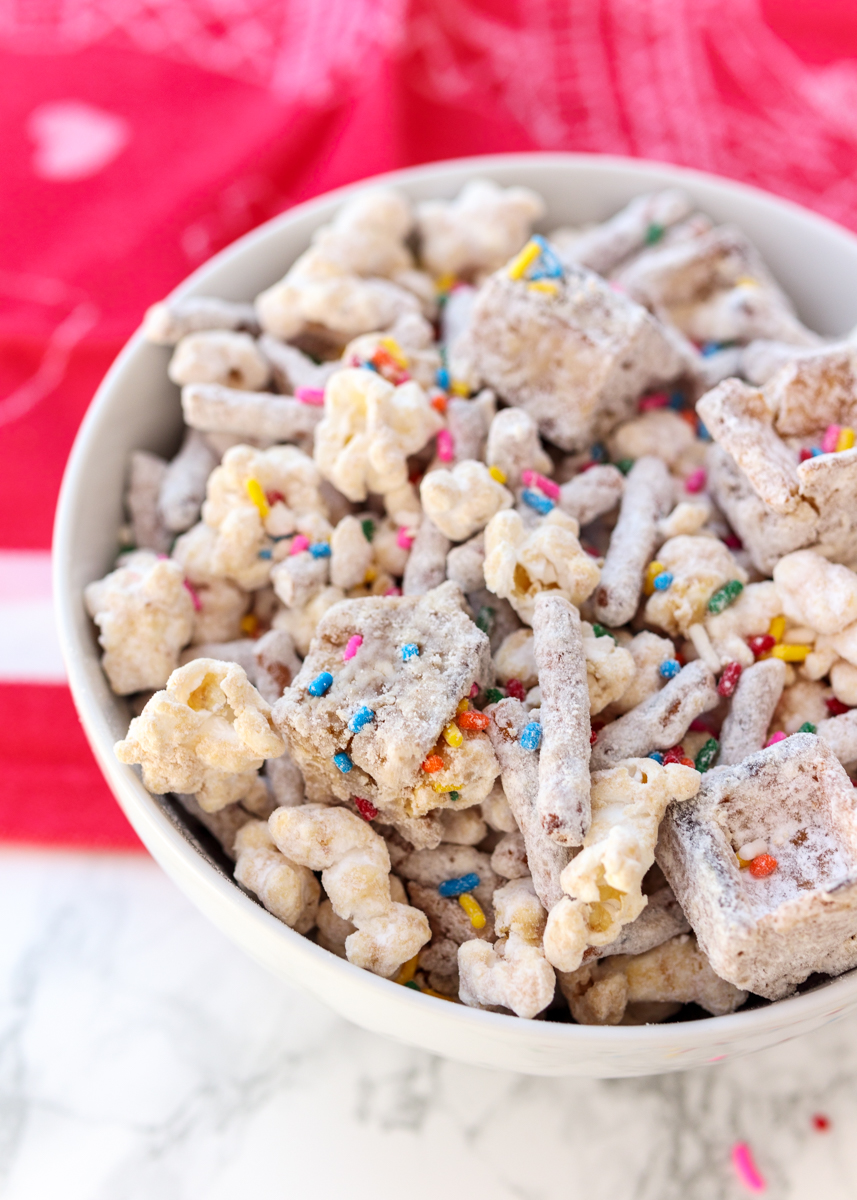
Funfetti Peanut Butter White Chocolate Waffle Snack Mix! Just writing the name of this post is getting me excited! Sometimes you want a dessert that’s easy and doesn’t require any baking. Sometimes you want a dessert that’s called a snack so you can eat it whenever you want. And sometimes you just want something you can cover in rainbow sprinkles. All of these scenarios are perfect reasons to make this sweet and salty treat.

Funfetti Peanut Butter White Chocolate Waffle Snack Mix  |  Lemon & Mocha

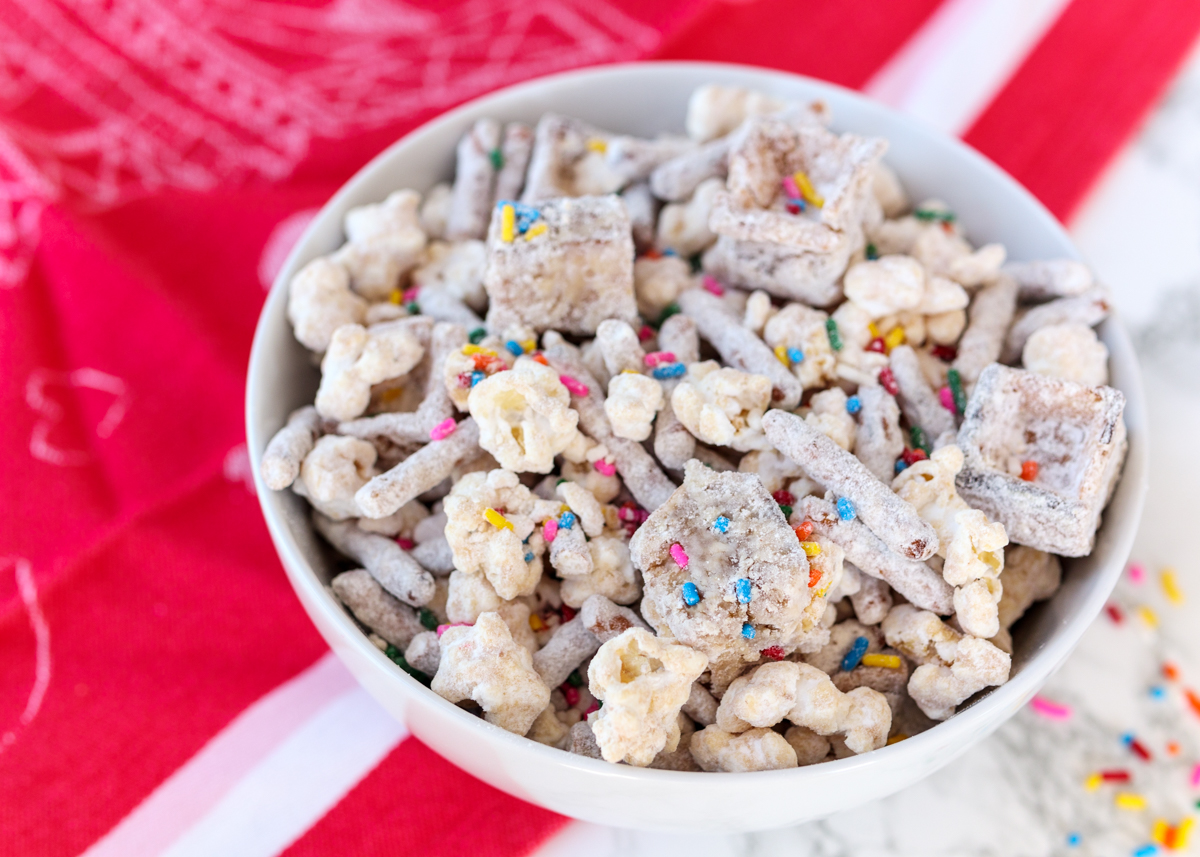
This snack mix is a slight twist on normal muddy buddies. Muddy buddies, or puppy chow, is rice cereal that’s been tossed in a peanut butter chocolate mixture before being coated in powdered sugar. Today we’re swapping the chocolate for white chocolate and there’s no rice cereal in sight. That’s because instead we’re using pretzel sticks, popcorn and buttered Belgian waffles! Yes, I said waffles. Pretzel sticks help bring in a little saltiness to the snack, which is great since white chocolate is pretty sweet. You could always use mini pretzels instead of pretzel sticks, but I still had some in our snack drawer from the Game Day Cookies.

Funfetti Peanut Butter White Chocolate Waffle Snack Mix  |  Lemon & Mocha

Have you ever had chocolate coated popcorn? It’s one of my favorite treats so I love having the popcorn in this snack mix. There are three ways you can make the popcorn in the microwave and I have them all listed in the recipe. My ideal method is to use this collapsible silicone popcorn microwave popper. I got it for Matt as part of his Christmas gift a few years ago and it has been a big hit in our house. Since it collapses it takes up minimal space (kitchen cabinet space is precious!) and you can pop popcorn kernels in it without any oil. Sur La Table doesn’t sell the one I bought anymore, but I found it on Amazon. If you don’t want to go that route, you can always use a paper lunch bag or a microwave safe bowl with a microwave safe plate fit on top. I haven’t tried that last method, but I’ve seen a lot of people mentioning it as a way to microwave popcorn without a bag.

Funfetti Peanut Butter White Chocolate Waffle Snack Mix  |  Lemon & Mocha

Anyways, moving on to the star of this snack mix – the buttered waffle pieces! I think every snack mix in my future needs to include chunks of Belgian waffle covered in powdered sugar because it is seriously addictive. I used frozen cinnamon Belgian waffles from Wegmans and that extra cinnamon flavor sent them over the top.

Funfetti Peanut Butter White Chocolate Waffle Snack Mix  |  Lemon & Mocha

Also, I don’t know how I’ve gone this whole post so far without drooling over the peanut butter in this since I’m peanut butter obsessed. The peanut butter flavor mixed with the white chocolate is absolute perfection. I hope you enjoy this tasty treat and happy early Valentine’s Day to you all!

Funfetti Peanut Butter White Chocolate Waffle Snack Mix  |  Lemon & Mocha

Funfetti Peanut Butter White Chocolate Waffle Snack Mix
 
Ingredients
  • 3 tablespoons popcorn kernels
  • 2 frozen Belgian waffles
  • 1 tablespoon butter
  • 1½ cups broken in half pretzel sticks
  • 6 ounces white chocolate
  • ¼ cup creamy peanut butter
  • ½ cup sprinkles
  • ¾ cup powdered sugar, plus more if needed
Directions
  1. Place the popcorn kernels in either a brown paper bag with the top folded closed a couple times, a silicone microwave popper with the lid on, or in a medium microwave safe bowl with a microwave safe plate snugly fitted on top. Heat the kernels starting with 3 minutes and stopping the microwave as soon as the popping becomes infrequent. Carefully remove from the microwave and place in a large mixing bowl. If there are any un-popped kernels save them for the next time you make popcorn.
  2. Toast the Belgian waffles in your toaster or toaster oven. When they’re toasted, divide the butter between the waffles and it on both sides. Cut the waffles into bite-sized pieces. Add the waffle pieces and broken pretzel sticks to the mixing bowl with the popcorn.
  3. Melt the white chocolate in a small microwave safe bowl. Start with 30 seconds, carefully remove and stir, then continue in 15 second increments, stirring after each increment, until it is melted. White chocolate seizes up easily so be sure not to over-heat. Add the peanut butter and stir until smooth. Pour the peanut butter white chocolate mixture over the bowl of snack mix. Gently toss to coat completely. Add the sprinkles and toss to coat. Sprinkle on the powdered sugar and toss to coat. Add more if needed. Snack mix can be stored in an airtight container, but tastes best eaten right away.
Notes
These recipe can easily be halved or doubled.

Some of the links above are affiliate links, which means I may receive a small commission for my referral if you purchase something. This does not affect the retail cost of the item. Thank you for supporting Lemon & Mocha!

Recipe slightly adapted from Averie Cooks.

Winter Pesto Pasta

Winter Pesto Pasta  |  Lemon & Mocha

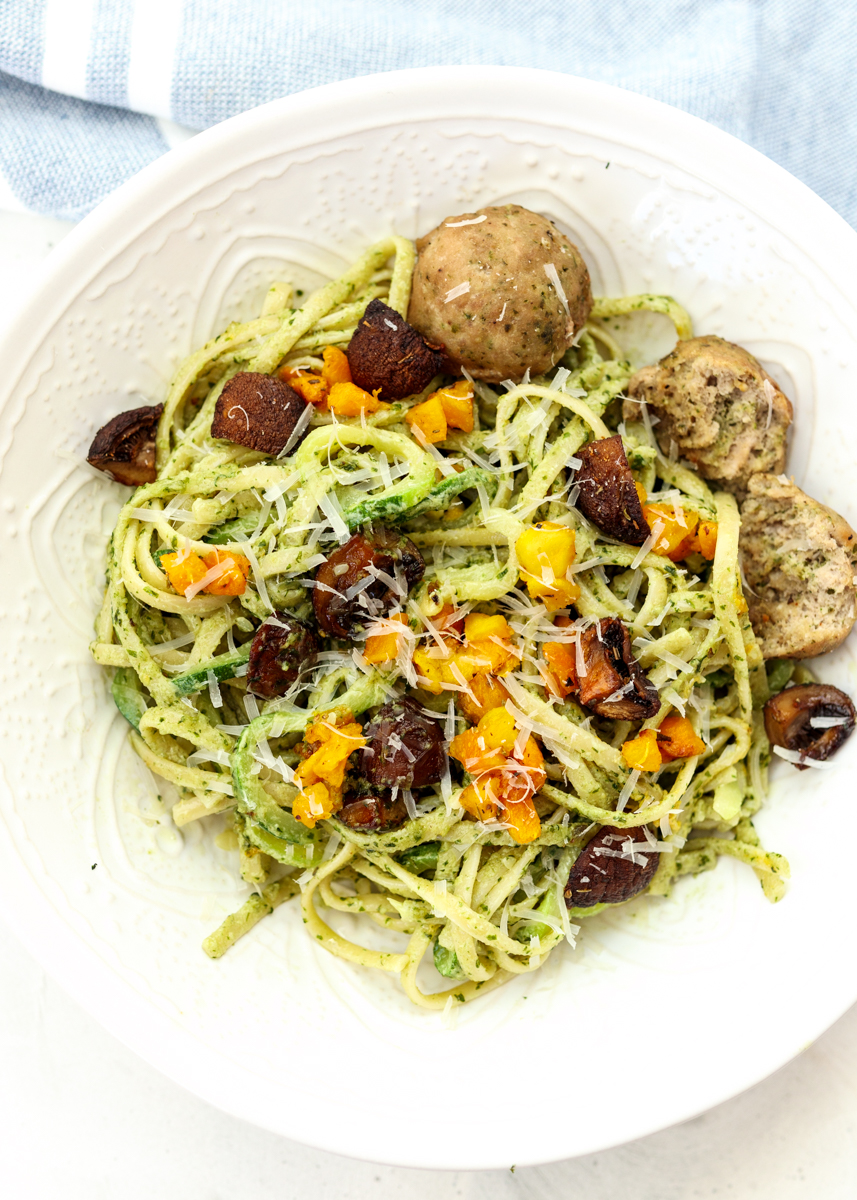
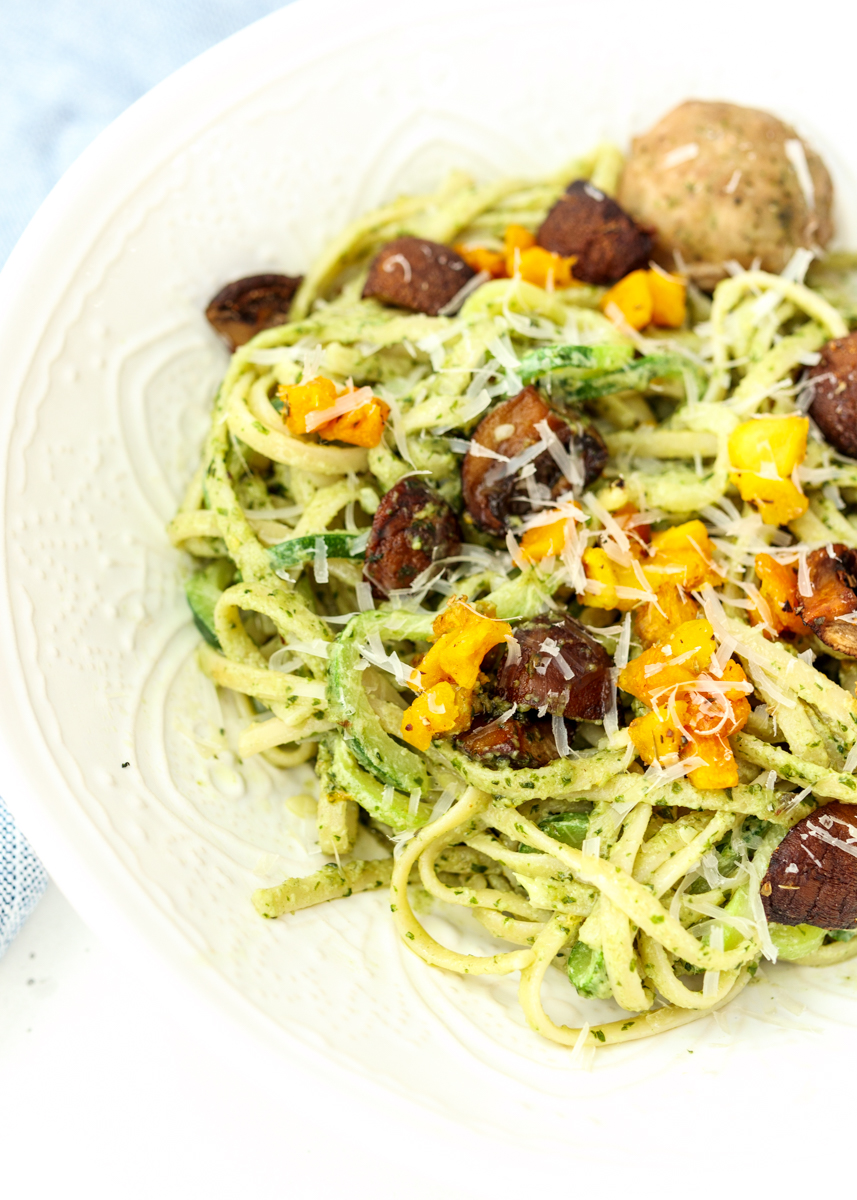
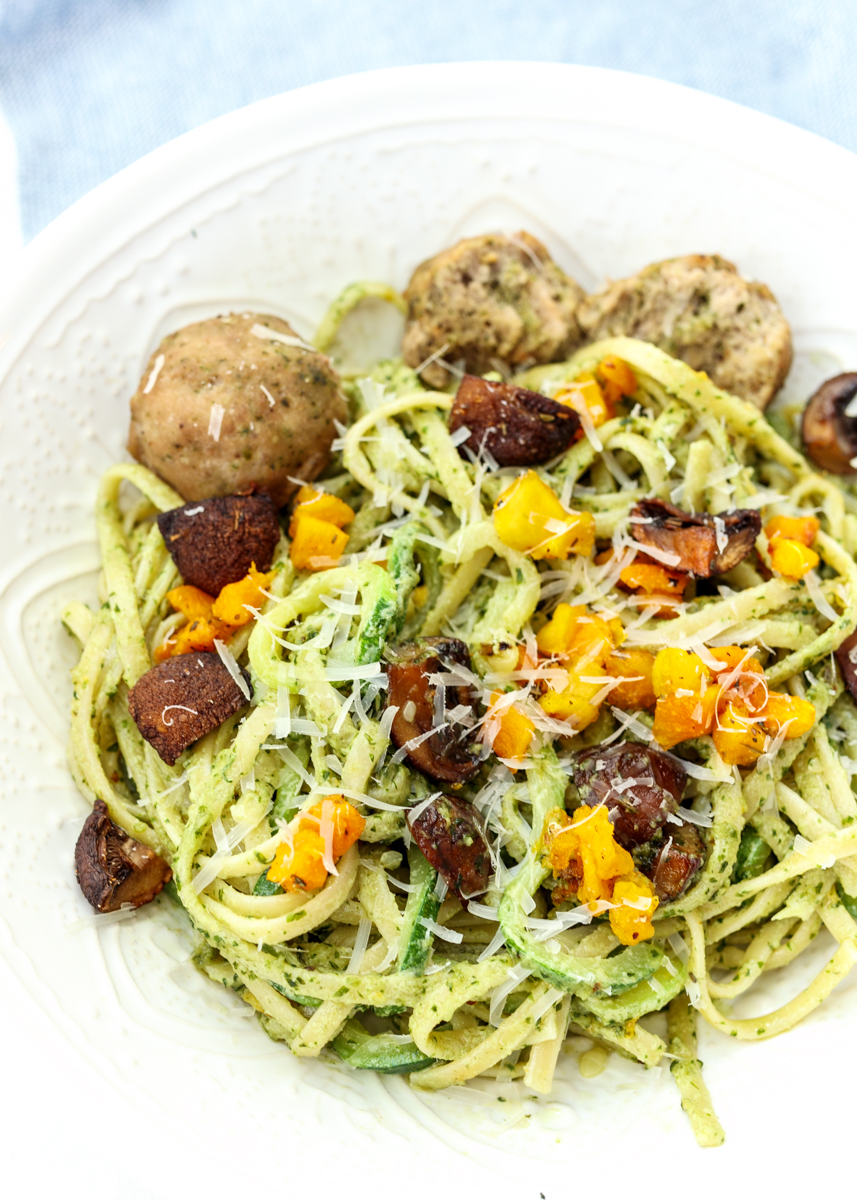
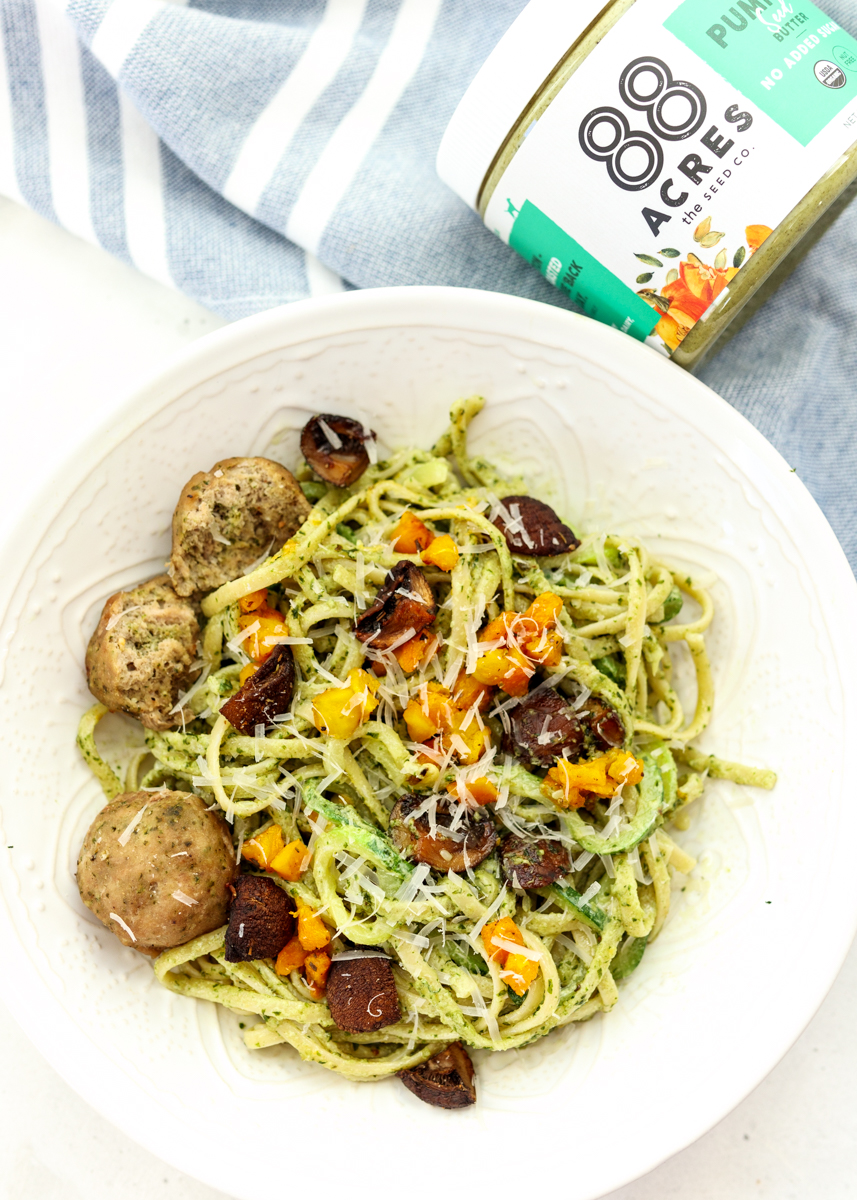
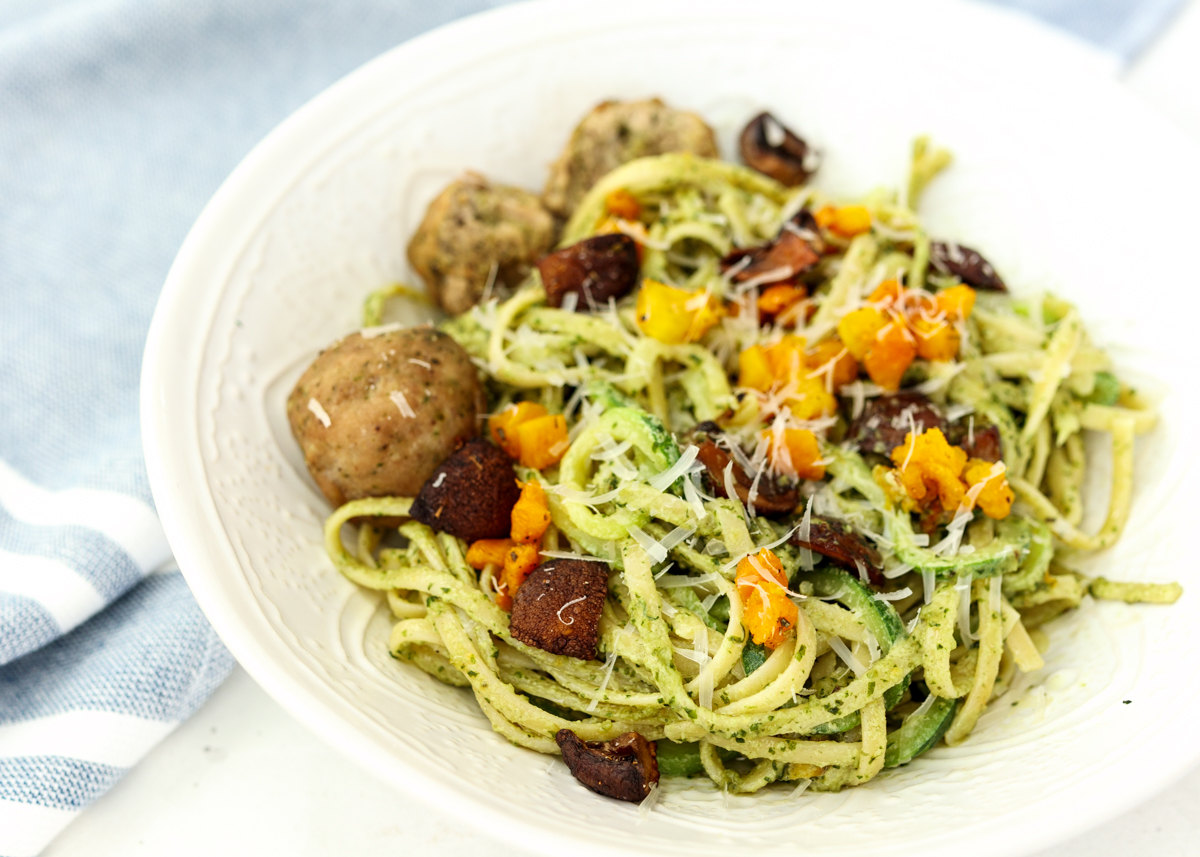
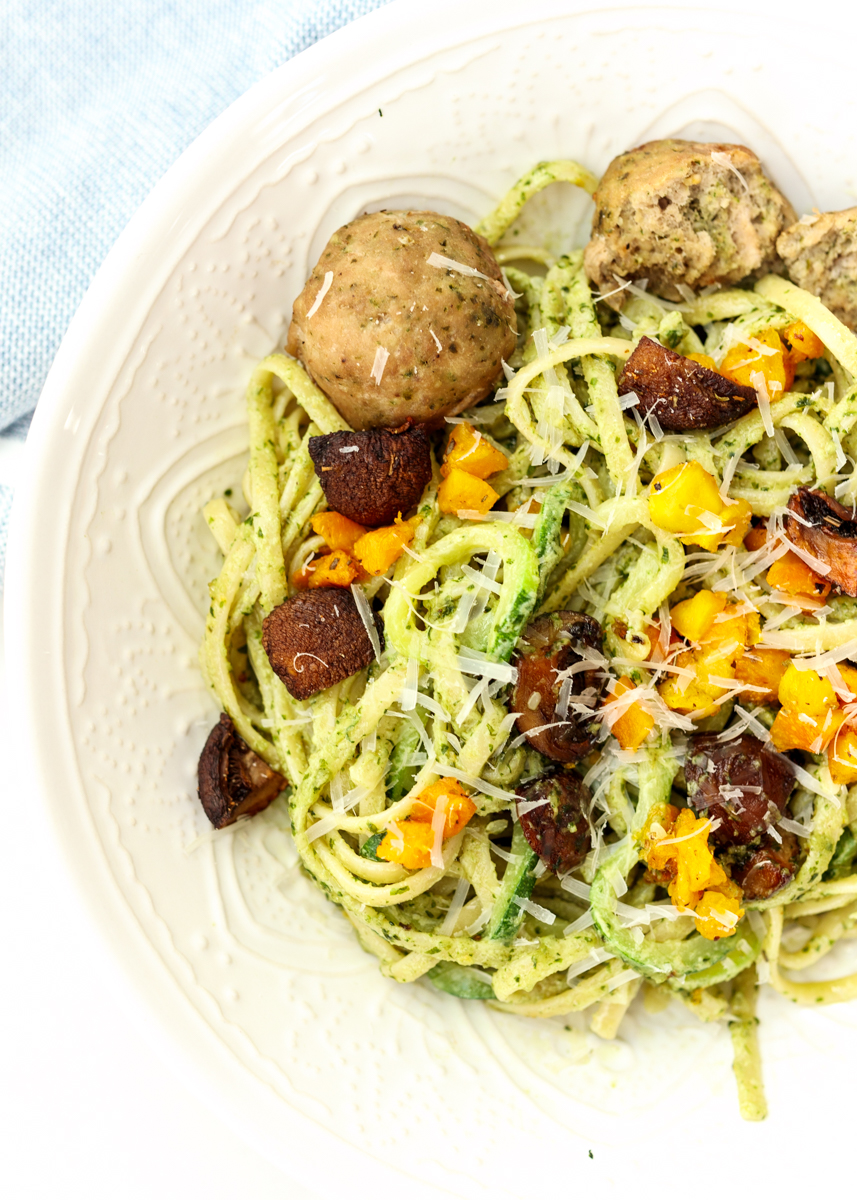
Winter Pesto Pasta is a cozy dish loaded with roasted butternut squash and mushrooms that is sure to warm you up during these chilly winter days. Whenever Matt and I are craving pasta I like to load it up with lots of veggies and I love the ease and the taste of roasted vegetables, especially in the wintertime.

Winter Pesto Pasta  |  Lemon & Mocha

I also used a mix of spaghetti and zucchini noodles to sneak in even more vegetables. You can spiralize the zucchini yourself or pretty much every grocery store now sells spiralized vegetable noodles. The best part is that you just throw them into the water when the pasta is almost done cooking so it could not be easier to add zucchini noodles into your pasta dishes. You could keep the meal vegetarian, but I served it alongside my Baked Pesto Turkey Meatballs – love those!

Winter Pesto Pasta  |  Lemon & Mocha

The star of the whole dish, though, is the quick and easy homemade pesto. I love tomato sauce, but we are both way more into pesto around here. My favorite seed butter company, 88 Acres, which is a local Massachusetts company, sent me some of their new products to try in exchange for sharing them on Instagram. The exchange didn’t involve my blog at all; I’m purely sharing this here because their new product prompted me to discover my new favorite homemade pesto hack.

Winter Pesto Pasta  |  Lemon & Mocha

Instead of grinding down seeds or nuts to use in the pesto, I just used some of their new no-sugar added pumpkin seed butter. I combined the pumpkin seed butter, basil, Parmesan, garlic powder, a little olive oil and some salt to taste. It was creamy, flavor-packed and saved me from having to buy pricey pine nuts.

Winter Pesto Pasta  |  Lemon & Mocha

I’m excited to try this new hack with other seed butters! I would recommend using one that has no-sugar added though to avoid adding sugar to your pesto. You could also try making this pesto with roasted pumpkin seeds and adding more olive oil, which I’m sure would be really good, too. Do you like experimenting with different types of pesto or do you have a go-to one you make all the time?

Winter Pesto Pasta  |  Lemon & Mocha

Winter Pesto Pasta
 
Yield: 2 servings
Ingredients
  • 1 cup small diced butternut squash
  • 6 medium whole cremini mushrooms, stems removed and quartered
  • 2½ tablespoons olive oil, divided
  • ¼ teaspoon dried oregano
  • ¼ teaspoon garlic powder, divided
  • ⅛ teaspoon salt
  • 4 ounces spaghetti
  • 1 cup fresh basil
  • 2 tablespoons no-sugar added pumpkin seed butter
  • 2 tablespoons fresh grated Parmesan, plus more for topping
  • 1 zucchini, zoodled
  • Baked Pesto Turkey Meatballs, optional
Directions
  1. Preheat the oven to 400 degrees F. Line a baking sheet with nonstick aluminum foil or parchment paper and place the butternut squash cubes and quartered mushrooms in a single layer. Toss the veggies with ½ tablespoon of olive oil then sprinkle with ¼ teaspoon dried oregano, ⅛ teaspoon garlic powder, ⅛ teaspoon salt and some fresh ground black pepper. Roast the veggies for 25 minutes, or until tender and slightly caramelized, tossing once halfway through baking.
  2. Cook the spaghetti according to the package instructions. When the spaghetti is 2 minutes away from being done, toss in the zucchini noodles. Drain the spaghetti and the zucchini noodles together once tender in a colander.
  3. While the water is coming to a boil for the pasta, make the pesto. Combine the basil, Parmesan, pumpkin seed butter, the remaining 2 tablespoons of olive oil, ⅛ teaspoon garlic powder and salt to taste in a food processor. Add more olive oil if needed, about 1 tablespoon more. Pulse until smooth.
  4. When the spaghetti and zucchini noodles have been drained, add them back to the pot along with the pesto, butternut squash and mushrooms. Toss to combine. Serve with fresh grated Parmesan on top and baked pesto turkey meatballs, if desired.