About Lauren

Posts by Lauren :

Broccoli, Grape and Pecan Pasta Salad
Broccoli, Grape and Pecan Pasta Salad  |  Lemon & Mocha

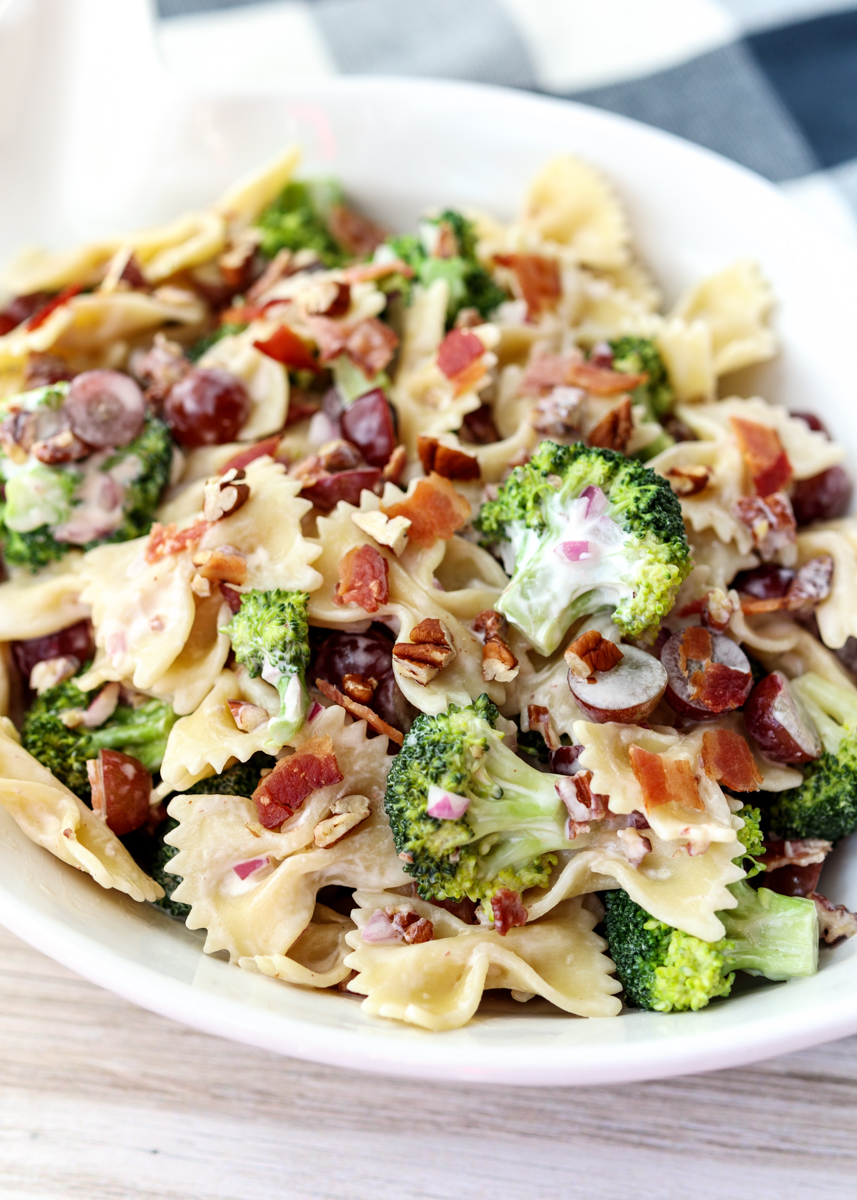
Happy Friday! We’re only two weeks away from 4th of July, which is like the king of barbecue holidays, so I figured it was only fitting to share a backyard barbecue side dish. My pasta obsession I wrote about the other week also extends to pasta salad and it is an essentially part of a barbecue in my opinion. I have quite a few other pasta salad recipes posted on Lemon & Mocha and I will link to those at the bottom of the post.
Broccoli, Grape and Pecan Pasta Salad  |  Lemon & Mocha

I don’t know if I’ve discussed it here on the blog before, but I also love mayonnaise. Those of you who know me are probably nodding and rolling your eyes at that understatement since I actually more than love mayonnaise, but I won’t get into that right now. The important thing to know is that Matt doesn’t like mayonnaise so I’m always looking for ways to make dishes that are traditionally made with all mayo taste less mayo-y.
Broccoli, Grape and Pecan Pasta Salad  |  Lemon & Mocha

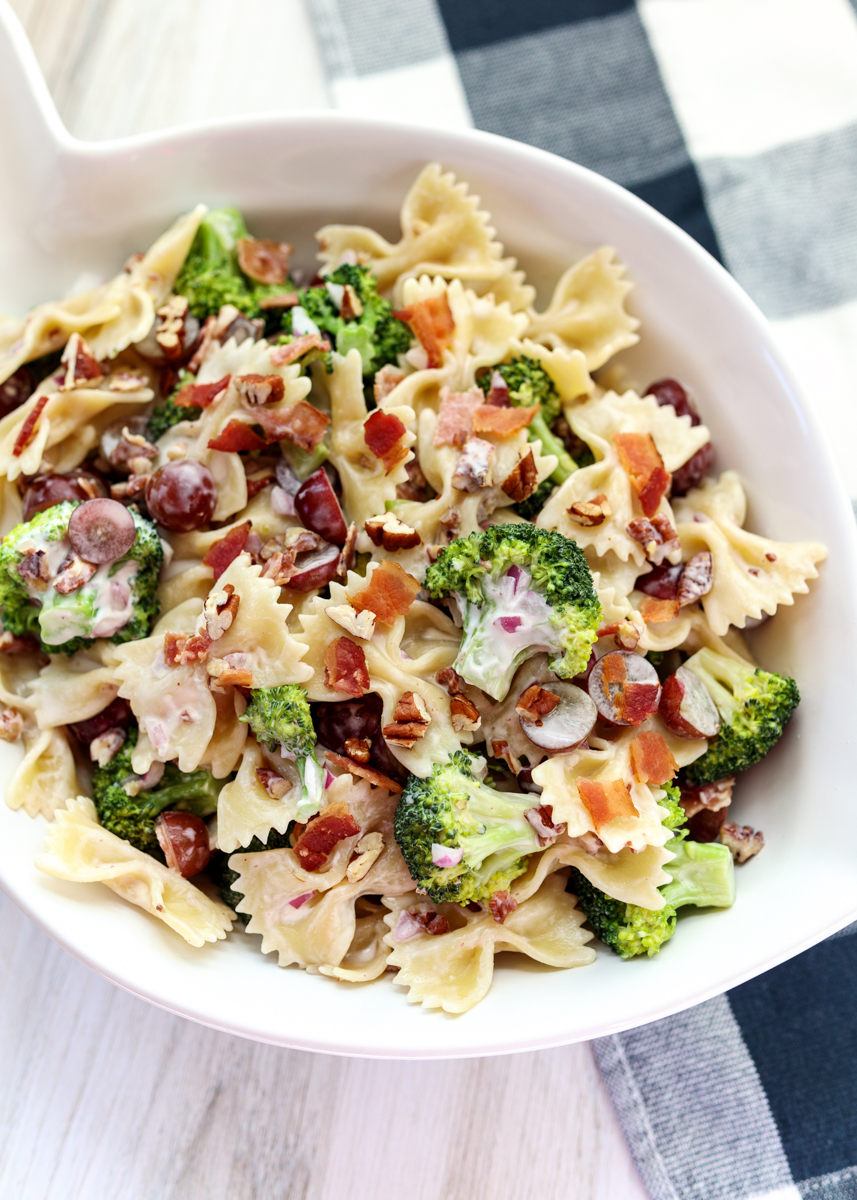
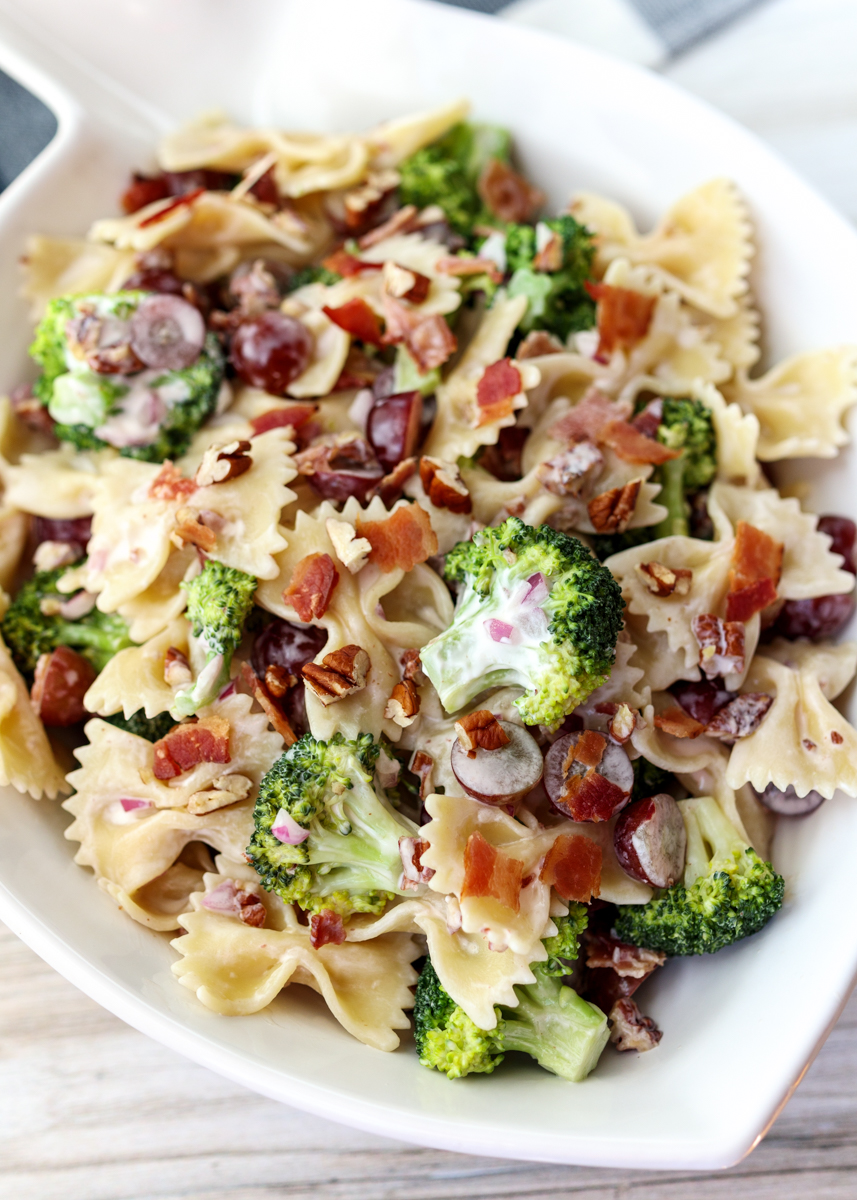
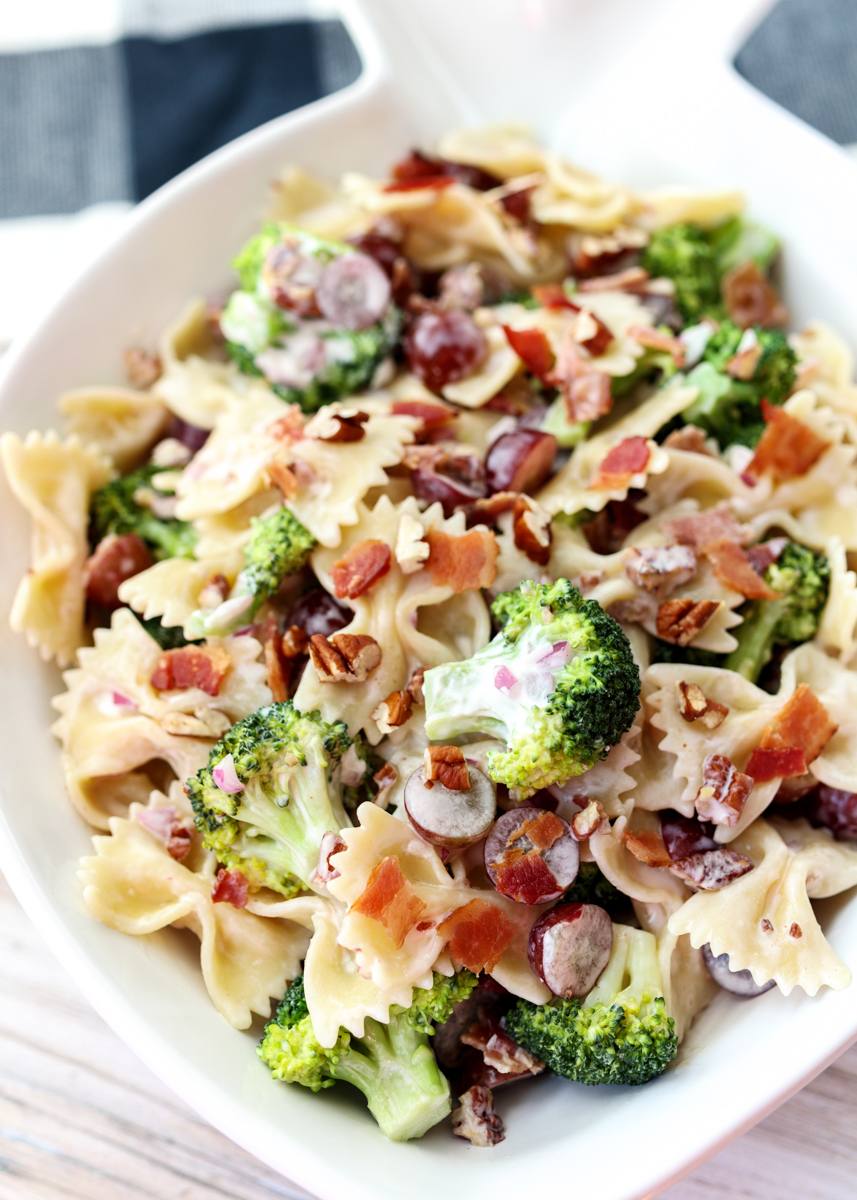
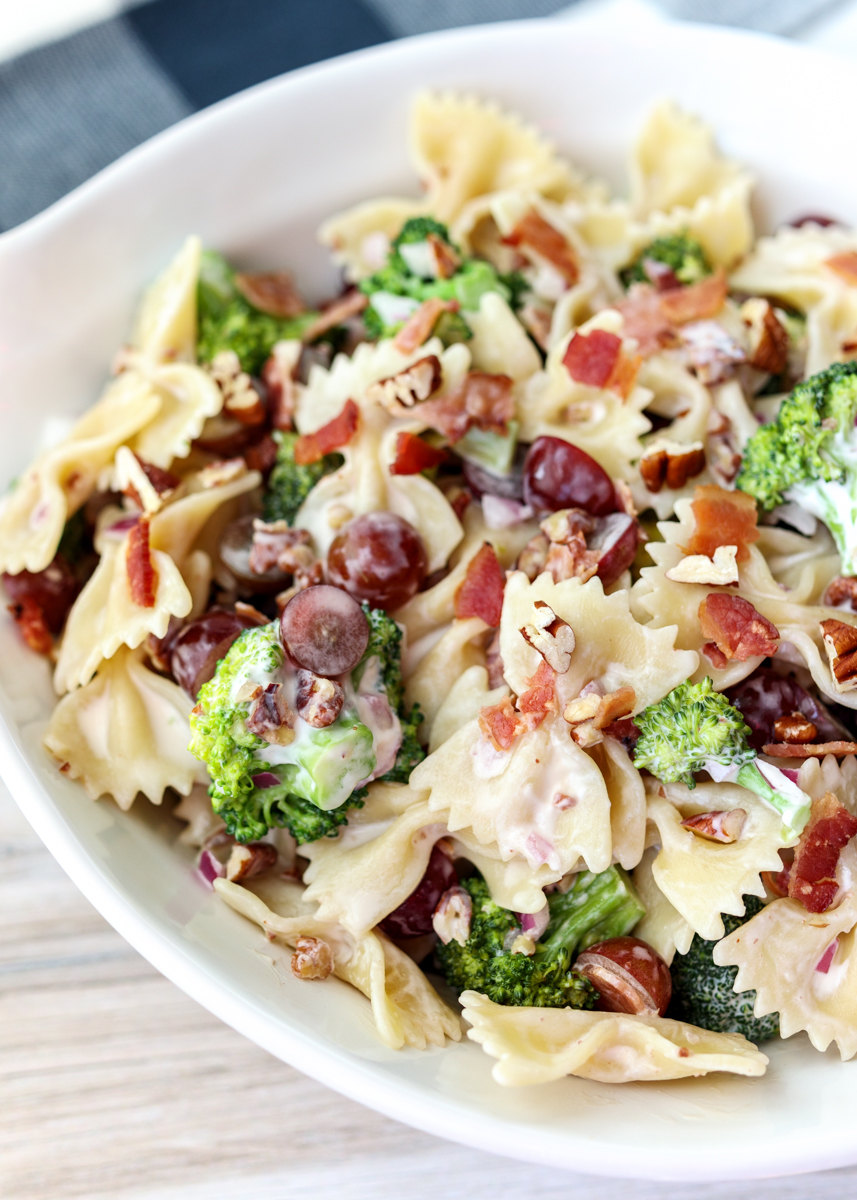
One of my favorite substitutions is to use nonfat plain Greek yogurt. It’s still creamy and rich without the mayo flavor. For this Broccoli, Grape and Pecan Pasta Salad, I have a 50/50 combination of mayonnaise and plain Greek yogurt. It keeps the pasta salad from tasting too heavy, which means you will want to go in for seconds! This pasta salad variation with crisp broccoli, sweet grapes, toasted pecans and salty bacon is actually a very popular one, but if you’ve never had it before I could definitely see how it could seem like an odd pairing. However, it all just works!
Broccoli, Grape and Pecan Pasta Salad  |  Lemon & Mocha

There’s a great balance of creamy, salty, sweetness and acidity, also due to the red wine vinegar and agave in the recipe. Most recipes call for sugar, but I used agave instead, mostly because I like the taste and how the liquid form blends well with the other ingredients in the pasta salad.
Broccoli, Grape and Pecan Pasta Salad  |  Lemon & Mocha

If you like broccoli salads I would recommend reducing the amount of farfalle pasta and increasing the amount of broccoli florets. That is how I’m going to make it next time; there’s something about those tender-crisp broccoli florets covered in bacon crumbles and pecans that I can’t get enough of! Enjoy your weekend, everyone!

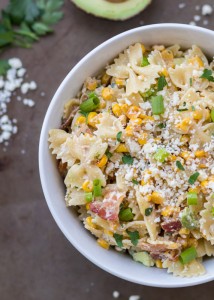
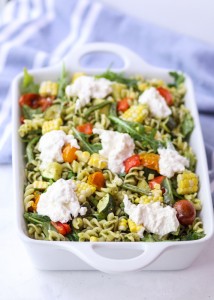
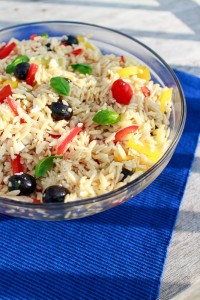
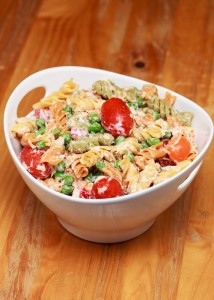
Mexican Street Corn Pasta Salad  |  Lemon & MochaSummer Roasted Veggie Pesto Pasta Salad with Burrata  |  Lemon & MochaDiane's Orzo Pasta Salad  |  Lemon & MochaPasta Tuna Salad  |  Lemon & Mocha

Broccoli, Grape and Pecan Pasta Salad
 
Yield: 8 servings
Ingredients
  • 1 cup chopped pecans
  • 1 pound fresh broccoli florets
  • 8 ounces farfalle pasta
  • ½ cup mayonnaise
  • ½ cup nonfat plain Greek yogurt
  • ¼ cup agave (or sugar), see note
  • ⅓ cup diced red onion
  • ⅓ cup red wine vinegar
  • 1 teaspoon salt
  • 2 cups red grapes, halved
  • 8 slices cooked bacon, crumbled
Directions
  1. Preheat the oven to 350 degrees F. Toast the pecans by baking for 5 minutes, shaking the pan once while baking. Set aside to cool.
  2. Bring a large pot of water to a boil. Meanwhile, fill a large mixing bowl with cold water and ice. Blanche the broccoli florets by boiling them for 30 seconds, removing the florets with a slotted spoon to the ice bath, then drain until completely dry. After removing the broccoli florets from the boiling water, add the farfalle pasta and cook until al dente. Drain until completely dry.
  3. In a large mixing bowl or serving dish, combine the blanched and dry broccoli florets, the cooked and dry farfalle pasta, mayonnaise, Greek yogurt, sugar, red onion, red wine vinegar and salt. Let chill for at least 3 hours. When ready to serve, toss with the toasted pecans, grapes and crumbled bacon.
Notes
Start with ¼ cup then increase up to ⅓ cup depending on taste preference.


Strawberry Caprese Bites with Basil Vinaigrette

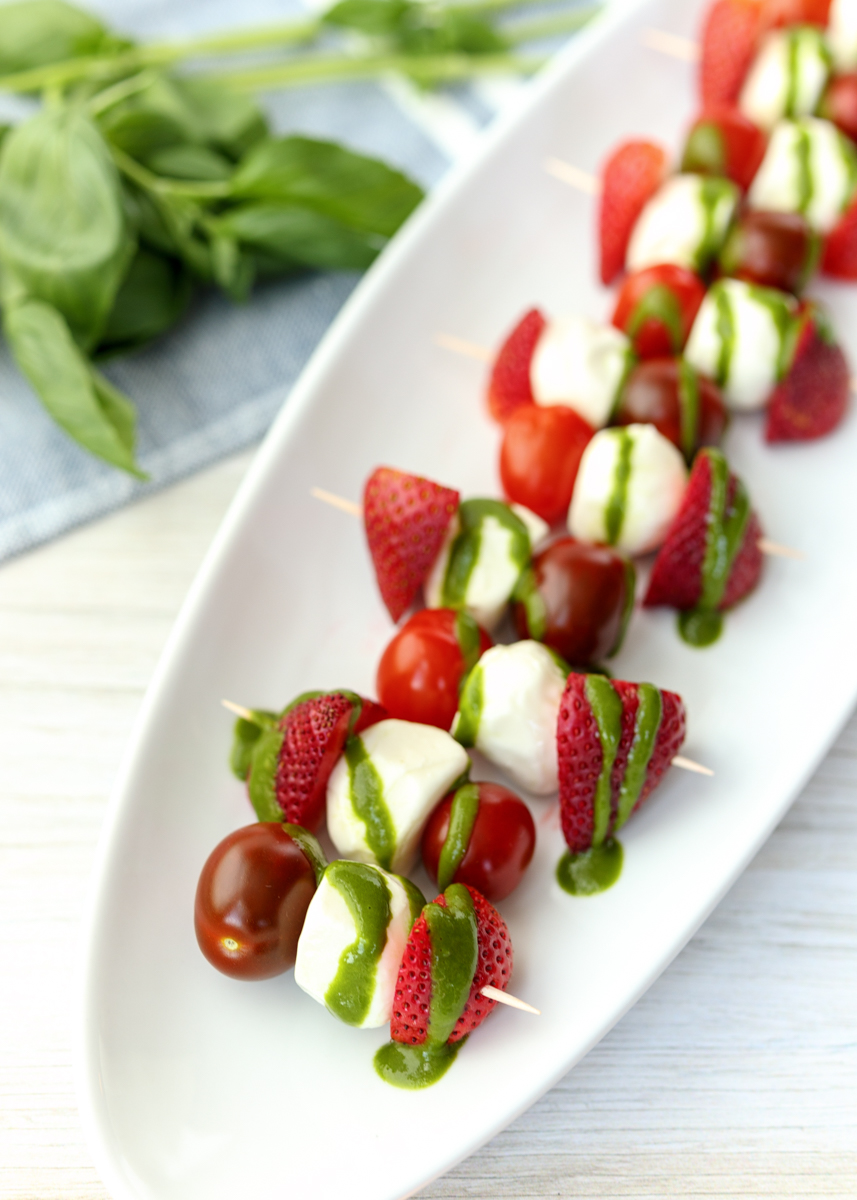
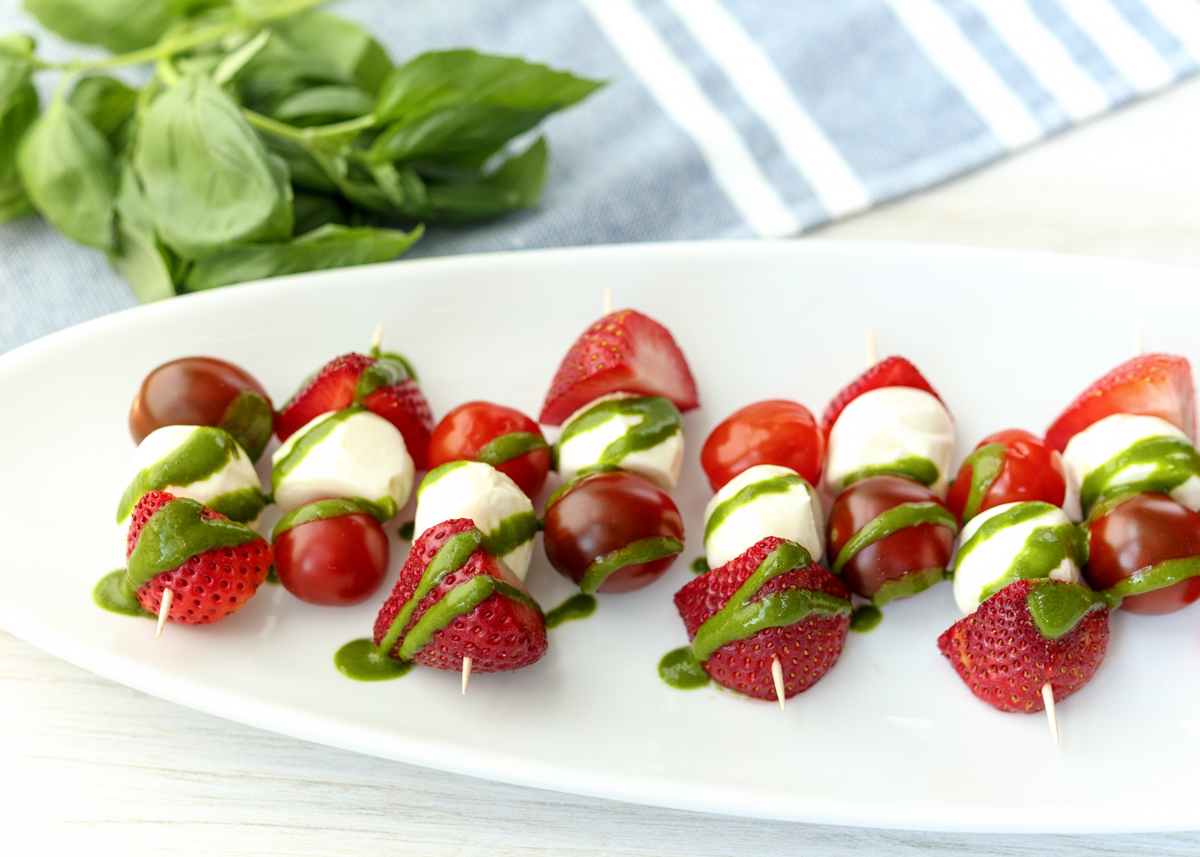
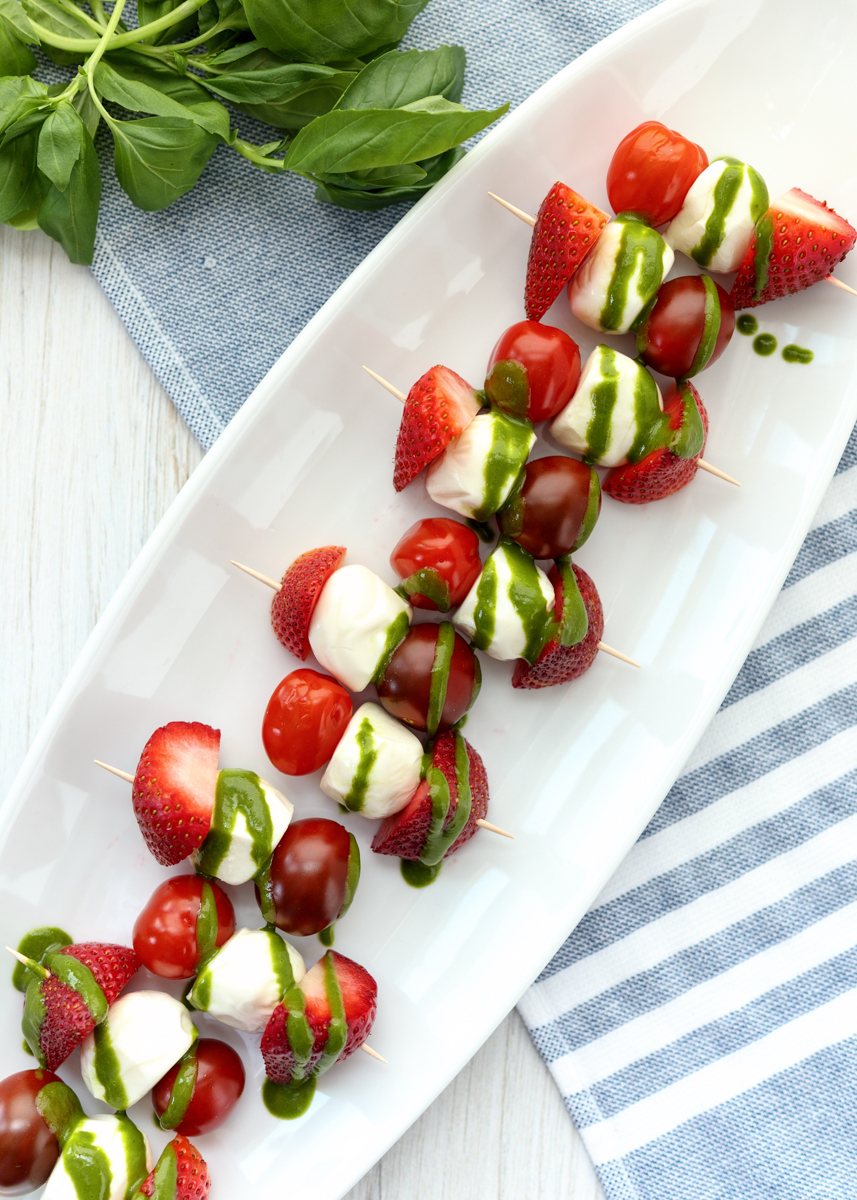
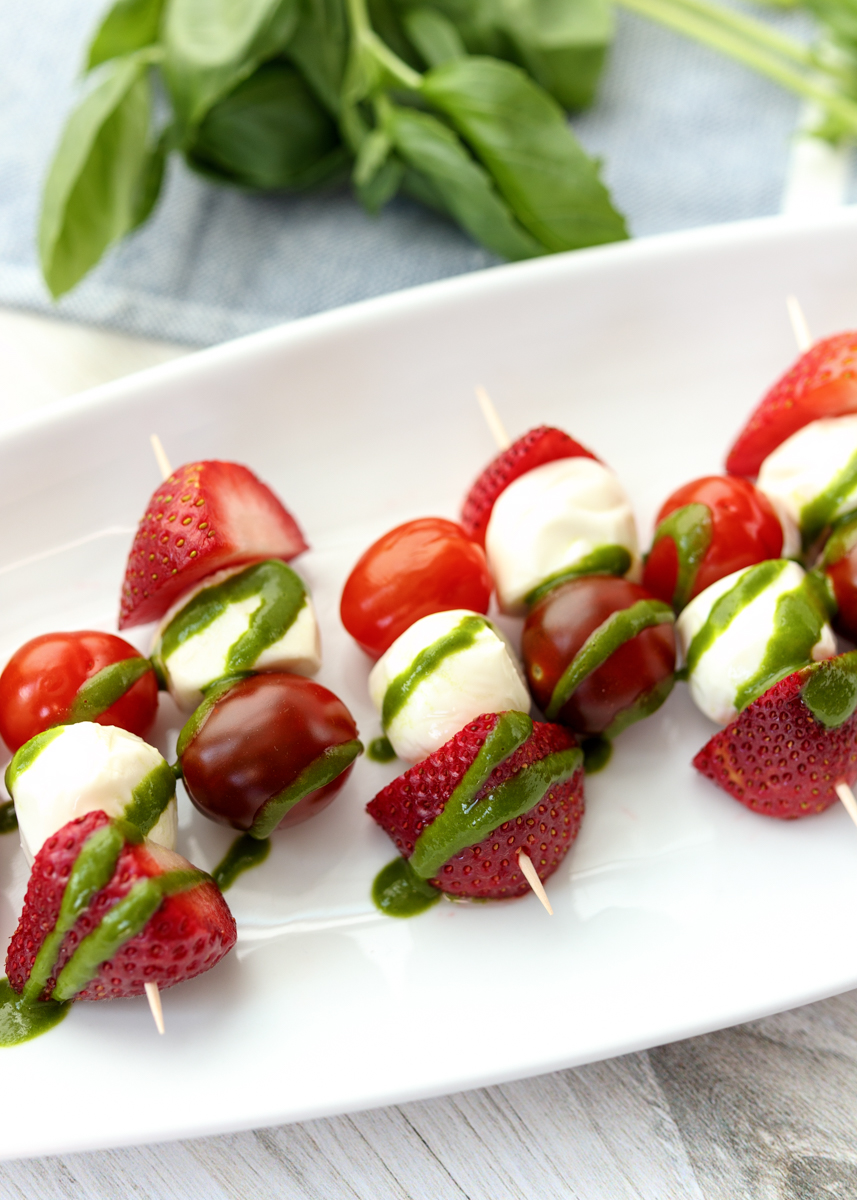
Strawberry Caprese Bites with Basil Vinaigrette  |  Lemon & Mocha

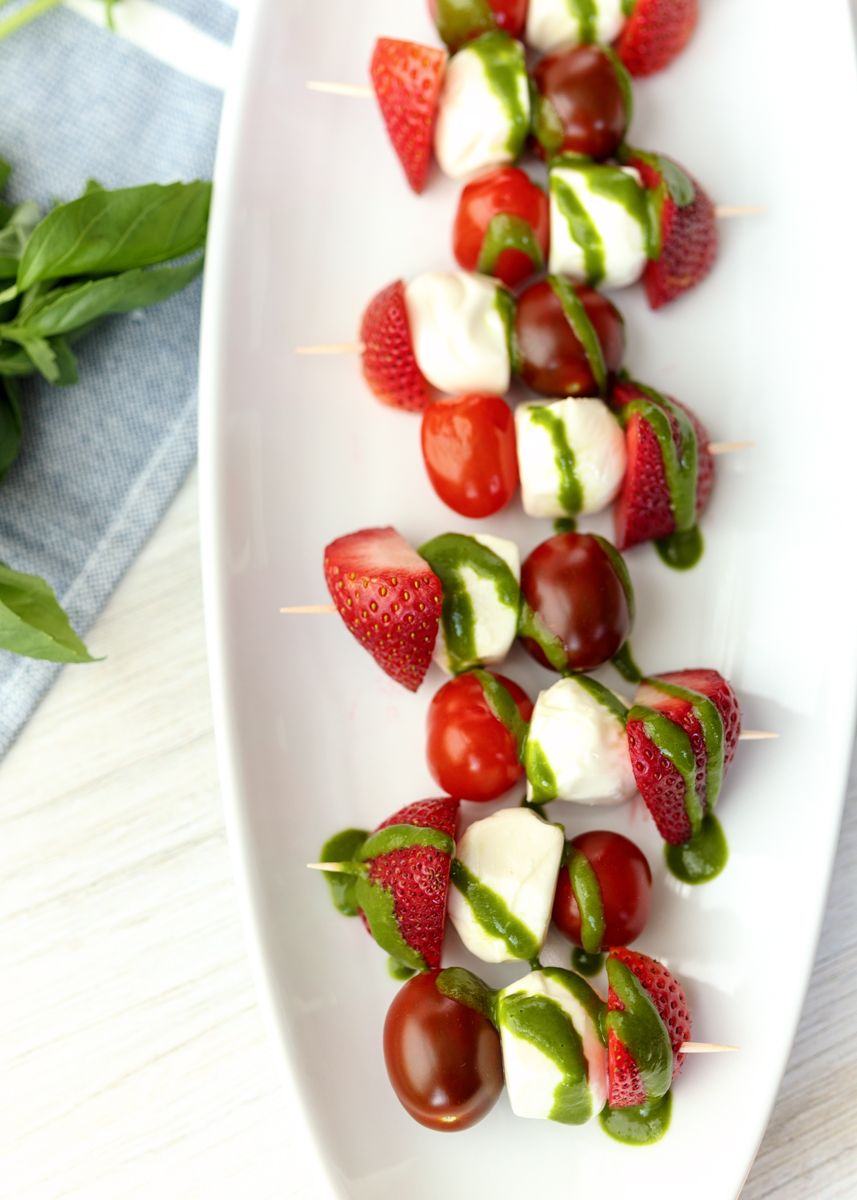
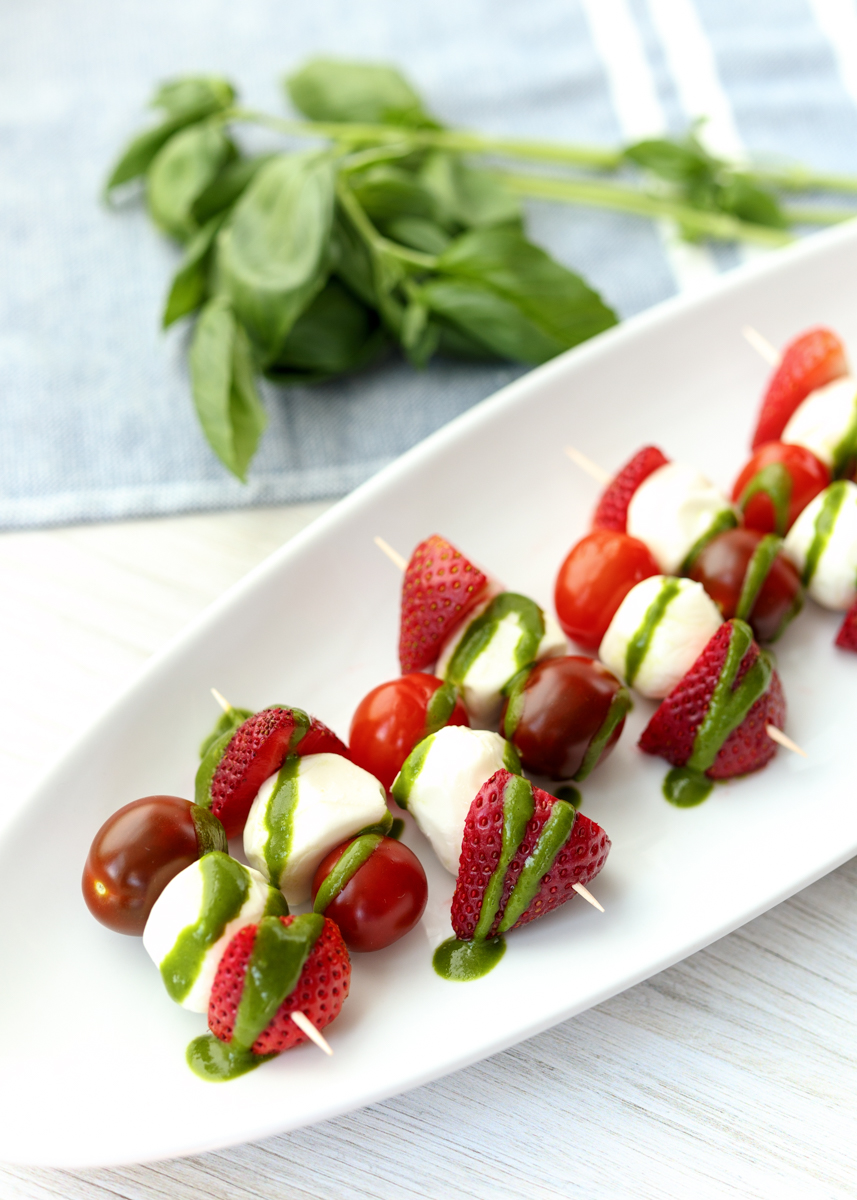
I know, another appetizer bite! I told you I’m all about them so here we are with another one that’s just right for both caprese and strawberry season. There’s nothing like a classic caprese salad with ripe tomatoes, fresh mozzarella, basil, a drizzle of olive oil and some salt.
Strawberry Caprese Bites with Basil Vinaigrette  |  Lemon & Mocha

Sometimes, though, I like switching it up and one of my favorite ways is by adding fruit. The sweetness of fruit pairs so well with the saltiness of the cheese and the acidity of the tomatoes. Last summer I posted my Melon Prosciutto Mozzarella Skewers and the Watermelon Caprese Salad. These bites are simple recipes like those except we have mozzarella, cherry tomatoes and strawberries.

Strawberry Caprese Bites with Basil Vinaigrette  |  Lemon & Mocha

This was my first time having strawberries as part of a caprese salad. Unlike the cantaloupe and the watermelon, which I’ve had before at restaurants, I’ve never ordered a caprese salad with strawberries, although I’m sure there’s some places out there with it on their menus. I wasn’t sure how the flavors would all work together, but I was hooked after one bite. In fact, Matt and I downed this whole platter in about ten minutes immediately after I took these photos.

Strawberry Caprese Bites with Basil Vinaigrette  |  Lemon & Mocha

The sweetness of the ripe strawberries was exactly what I wanted with the mozzarella and tomato. What really ties it all together is the fresh and bright basil vinaigrette. I love basil in dishes, but sometimes I find myself wishing I could have the flavor of basil without all the big hunks of basil leaves. This easy vinaigrette can be whipped together in your blender or food processor and is concentrated with so much delicious basil flavor.

Strawberry Caprese Bites with Basil Vinaigrette  |  Lemon & Mocha

You will have leftover vinaigrette, unless you make more Strawberry Caprese Skewers, which is perfect for drizzling over chicken or topping salads. Or you could be like Matt and just dip some toasty bread in it – yum! Enjoy!

Strawberry Caprese Bites with Basil Vinaigrette  |  Lemon & Mocha

Strawberry Caprese Bites with Basil Vinaigrette
 
Yield: 24 bites
Ingredients
  • 12 strawberries, hulled and halved
  • 24 bocconcini mozzarella balls
  • 24 grape or small cherry tomatoes
  • ¼ cup olive oil
  • 2 tablespoons red wine vinegar
  • 3 cups fresh basil leaves
  • ½ small shallot
  • 1 clove garlic
  • ¼ teaspoon salt
  • 24 toothpicks
Directions
  1. Make the caprese bites by first skewering a strawberry halve, a mozzarella ball then a tomato with a toothpick. Repeat for the remaining caprese bites.
  2. In a high-speed blender, add the olive oil, red wine vinegar, basil leaves, shallot, garlic and salt. Blend until smooth. Drizzle over the caprese bites.


Elote Wonton Bites

Elote Wonton Bites  |  Lemon & Mocha

There’s something so fun about bite-sized appetizer food. They’re great for parties and big crowds, but don’t discount appetizers for everyday either. When I have a few friends over I love serving just a bunch of appetizers we can all pick at until we’re bursting at the seams – of course always with leaving room for dessert. Sometimes they’re a nice casual dinner for Matt and I, too.

Elote Wonton Bites  |  Lemon & Mocha

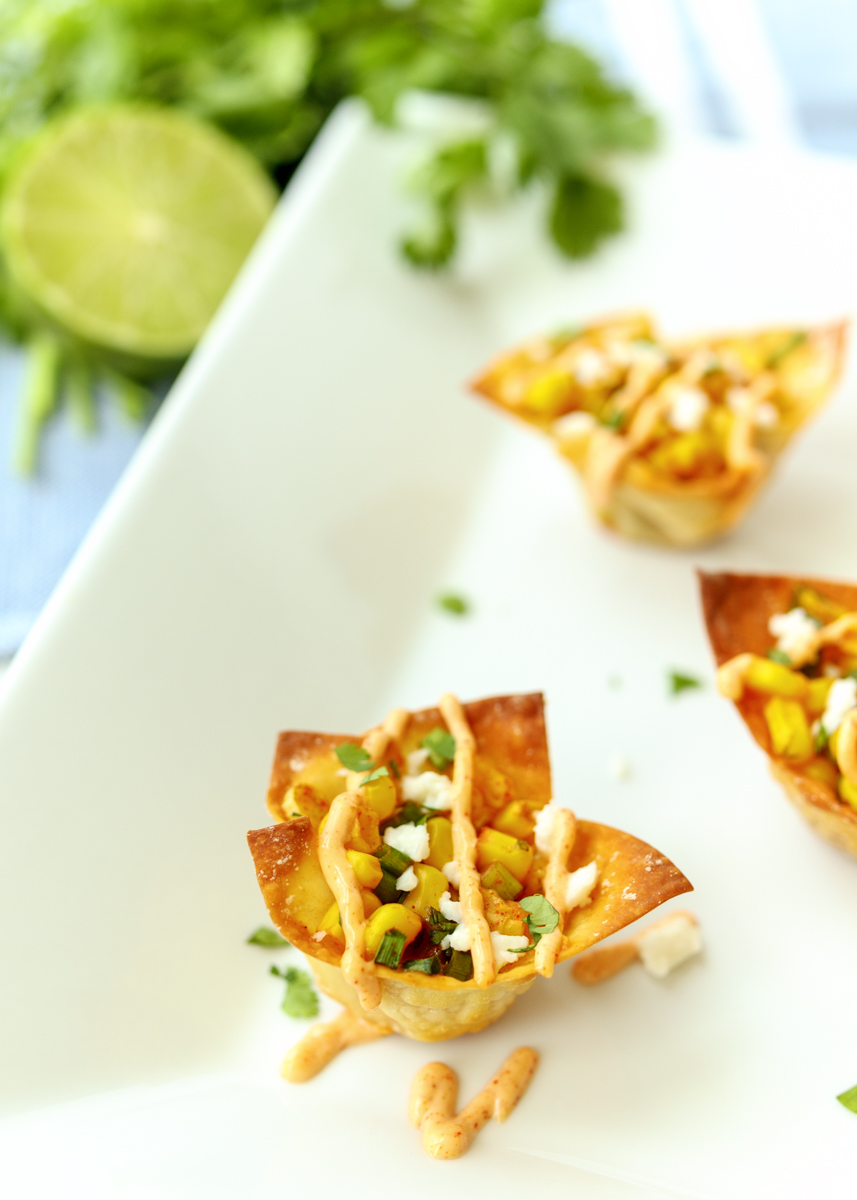
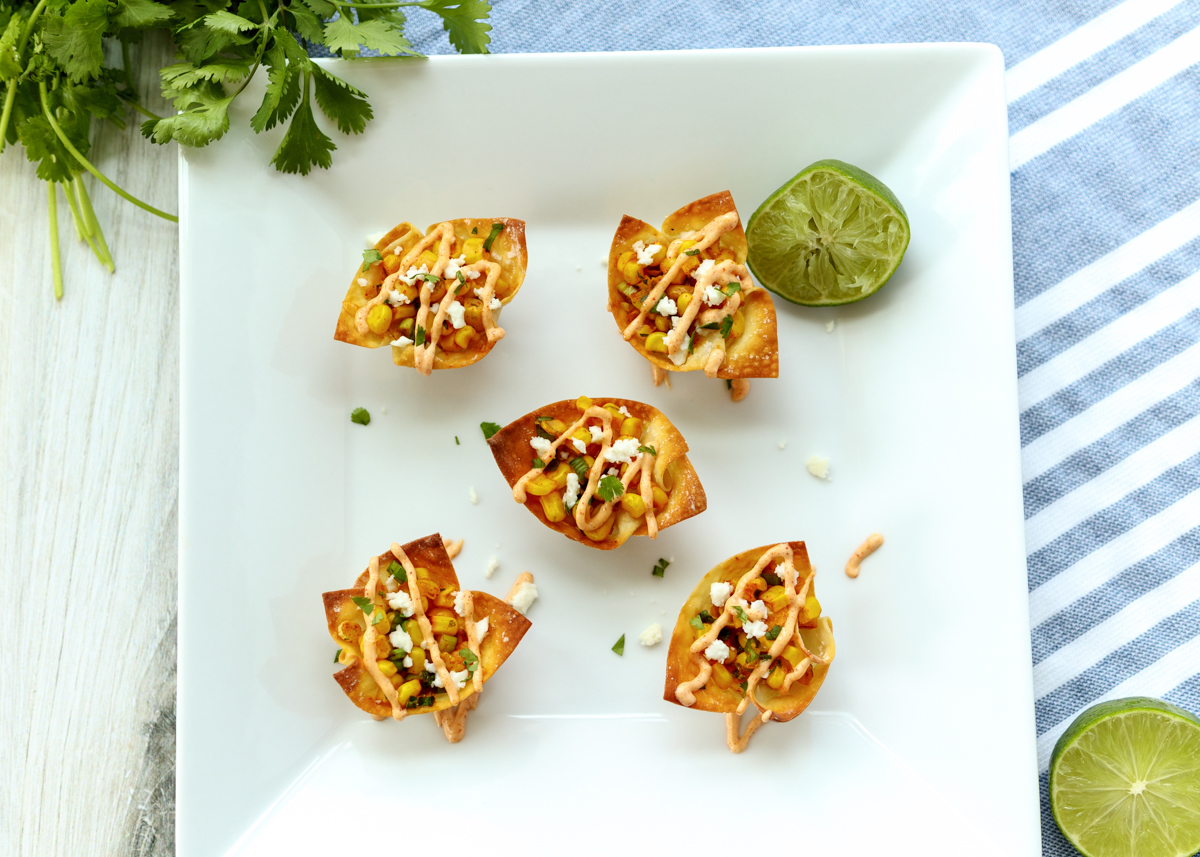
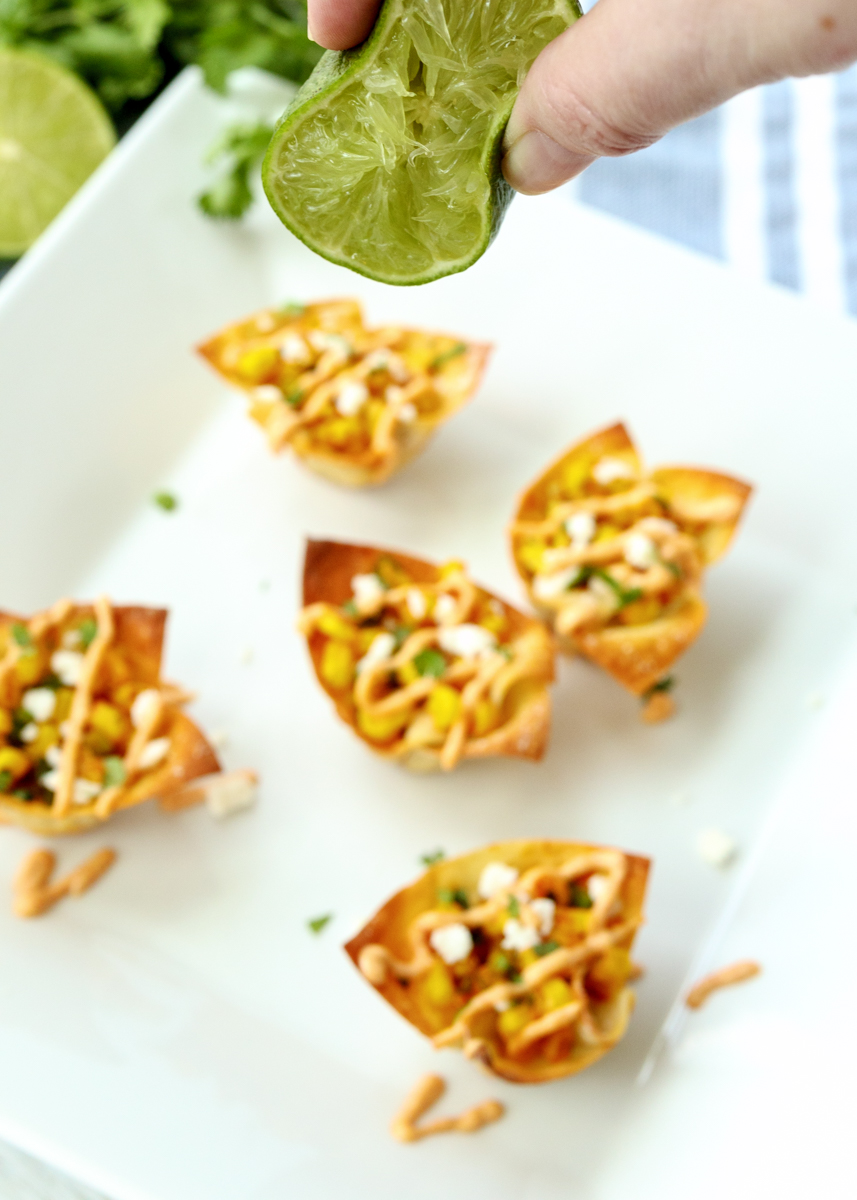
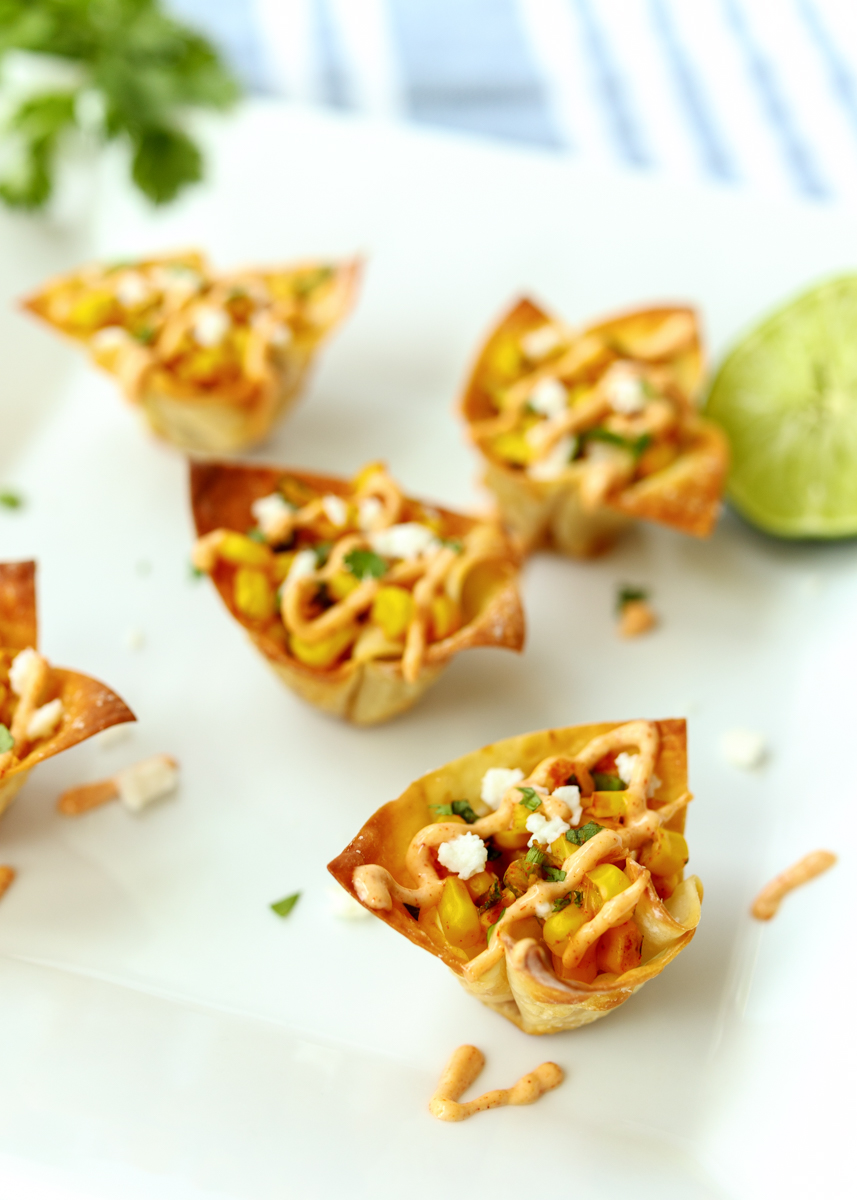
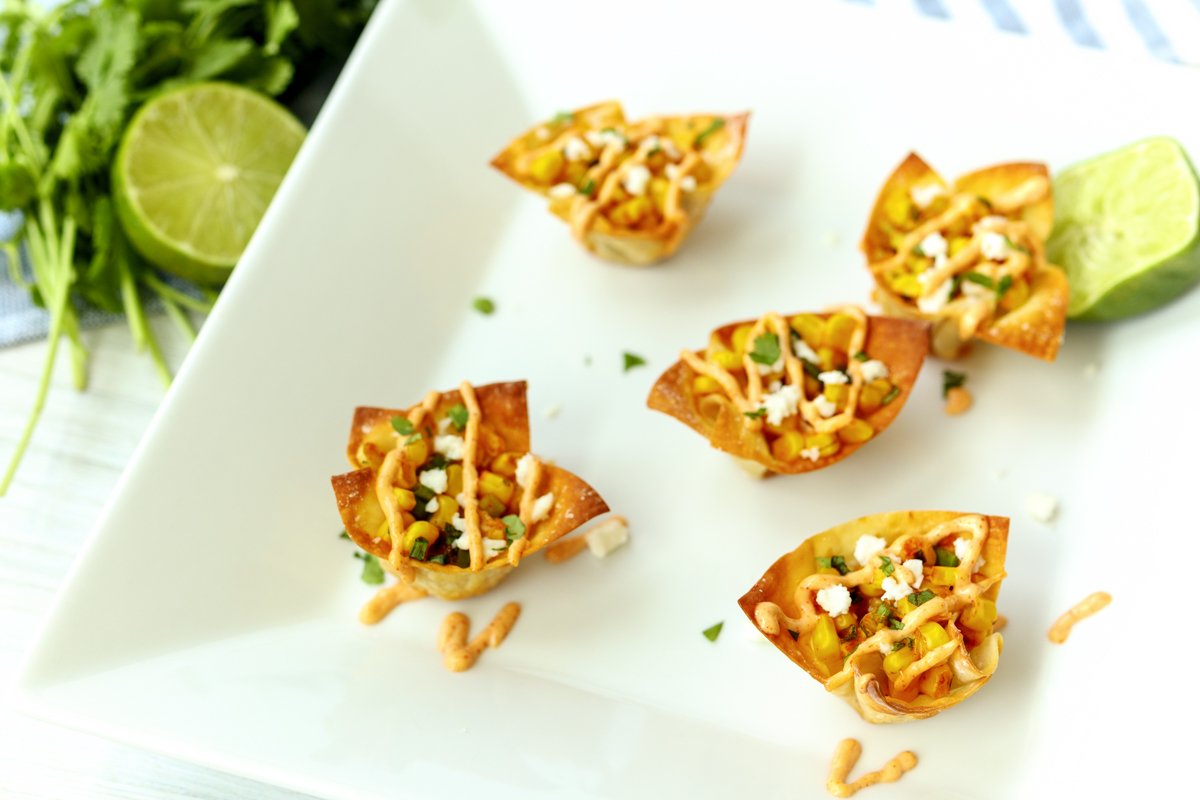
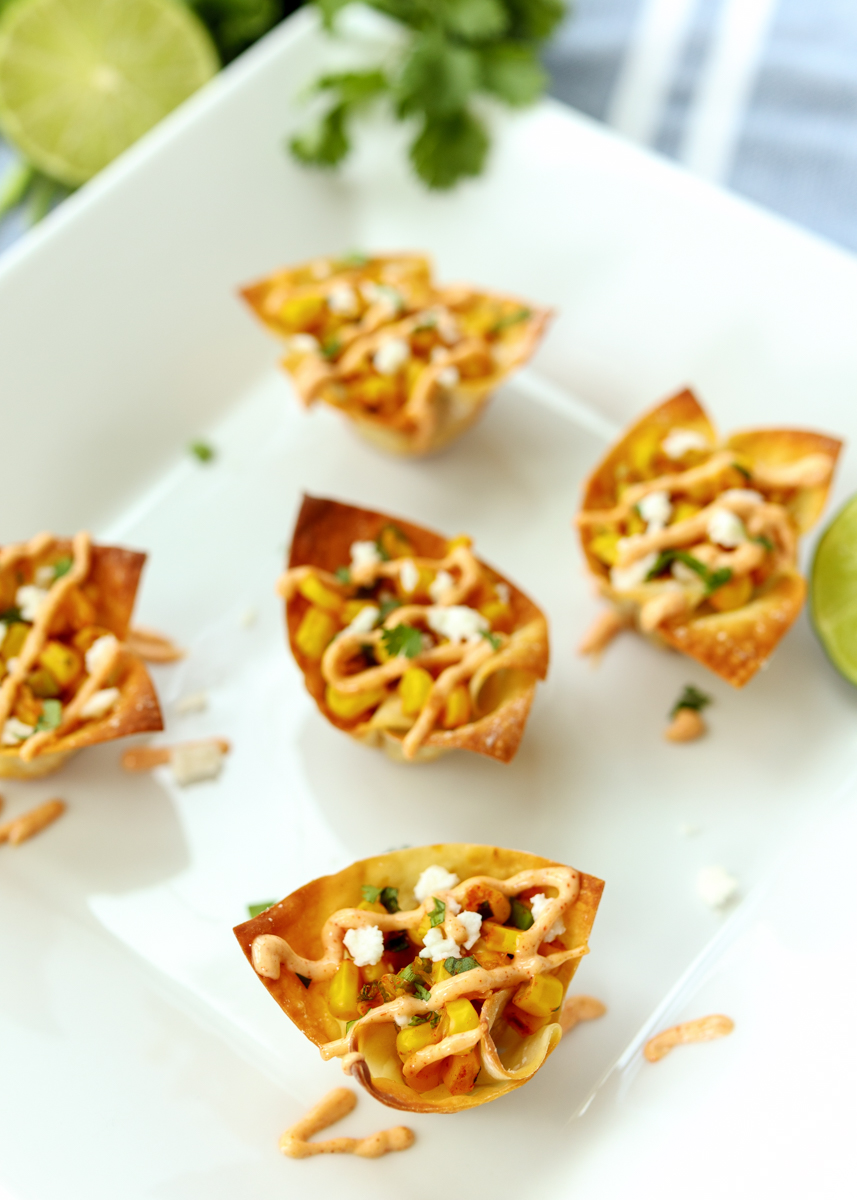
These Elote Wonton Bites would be perfect for a big outdoor bash or to just feel those summer Friday vibes. If you aren’t familiar with my elote obsession, elote is also known as Mexican street corn. Usually served grilled on the cob, it’s slathered with lime, salt, chili powder, cotija cheese (a crumbly Mexican cheese) and mayo or crema fresca. Elote instantly makes me feel like it’s summer and last year I turned it into a bunch of fun dishes, including Elote Hot Dogs, Mexican Street Corn Pasta Salad and Elote Pizza.

Elote Wonton Bites  |  Lemon & Mocha

Of course this summer I had to keep it going with some more exciting ways to get your cheesy, creamy corn fix. Crispy wonton cups are filled with corn, scallions and all the elote flavorings then topped with salty cotija cheese and a lime mayo drizzle. Make sure you don’t skimp on the cotija cheese or the mayo! Both are what help transport you to a beach-side happy hour sipping on a margarita.

Elote Wonton Bites  |  Lemon & Mocha

I have been able to find cotija cheese in every grocery store I go to near me, but if you can’t find it you can substitute queso fresco, which is another crumbly Mexican cheese. If you can’t find either of those then you can use feta cheese, although the taste won’t be quite the same. As many of you know, I do not like spicy foods so I use smoked paprika in these to get the smokiness without the heat, but if you like spice then season with chili powder to your preference.

Elote Wonton Bites  |  Lemon & Mocha

The one thing I didn’t do was char the corn because I wanted to keep things a little more simple, but next time I might go the extra step and sear the corn in a sauté pan or grill some ears of corn to fully get the Mexican street corn experience. I hope you like these little bites and get excited for another Elote twist dish I have coming up later this summer!

Elote Wonton Bites  |  Lemon & Mocha

Elote Wonton Bites
 
Yield: 24 bites
Ingredients
  • 24 wonton wrappers
  • 1 15-ounce can corn, no salt added (about 1½ cups corn kernels), drained
  • 2 scallions, trimmed and sliced
  • ½ cup shredded mozzarella
  • 1 tablespoon finely chopped cilantro
  • Zest from 1 lime
  • ¾ teaspoon smoked paprika, divided
  • ¼ teaspoon salt
  • ¼ cup mayonnaise
  • 1 teaspoon lime juice
  • ⅛ teaspoon ground cumin
  • Pinch chili powder
  • Cotija cheese, for topping
  • Cooking spray
Directions
  1. Preheat the oven to 350 degrees F.
  2. Spray a mini muffin pan then place the wrappers into the cavities so they create little wonton bowls. Lightly spray the wonton wrappers in the pan then bake for 6 minutes. Set aside.
  3. While the wrappers are in the oven, combine the corn, scallions, mozzarella, cilantro, lime zest, ½ teaspoon of the smoked paprika and salt in a mixing bowl.
  4. After the wontons have baked on their own, spoon the corn mixture into the wontons in the mini muffin pan, evenly dividing between them. Bake for 5 more minutes. While the wontons are finishing baking, make the lime mayo by combining the mayonnaise, lime juice, remaining ¼ teaspoon of smoked paprika, ground cumin and chili powder in a small bowl. Pour into a squeeze bottle if you have one. When the wontons come out of the oven, serve them hot topped with plenty of crumbled cotija cheese and a generous drizzle of the lime mayo.
Notes
If you can’t find cotija cheese, you can substitute queso fresco. If you can’t find either of those Mexican cheeses you can use feta cheese, but the taste won’t quite be the same.


Chicken and Strawberry Quesadillas

Chicken and Strawberry Quesadillas  |  Lemon & Mocha

It finally has been feeling like summer and it’s still strawberry season – life is good! Strawberries peak in May and June so when I was planning my calendar for the year I had come up with a bunch of recipes utilizing strawberries in June.

Chicken and Strawberry Quesadillas  |  Lemon & Mocha

Strawberries are one of my favorite fruits, although I have a lot of favorite fruits, and I love using them in both sweet and savory dishes. It is hard to beat a peak fresh strawberry bursting with sweetness!

Chicken and Strawberry Quesadillas  |  Lemon & Mocha

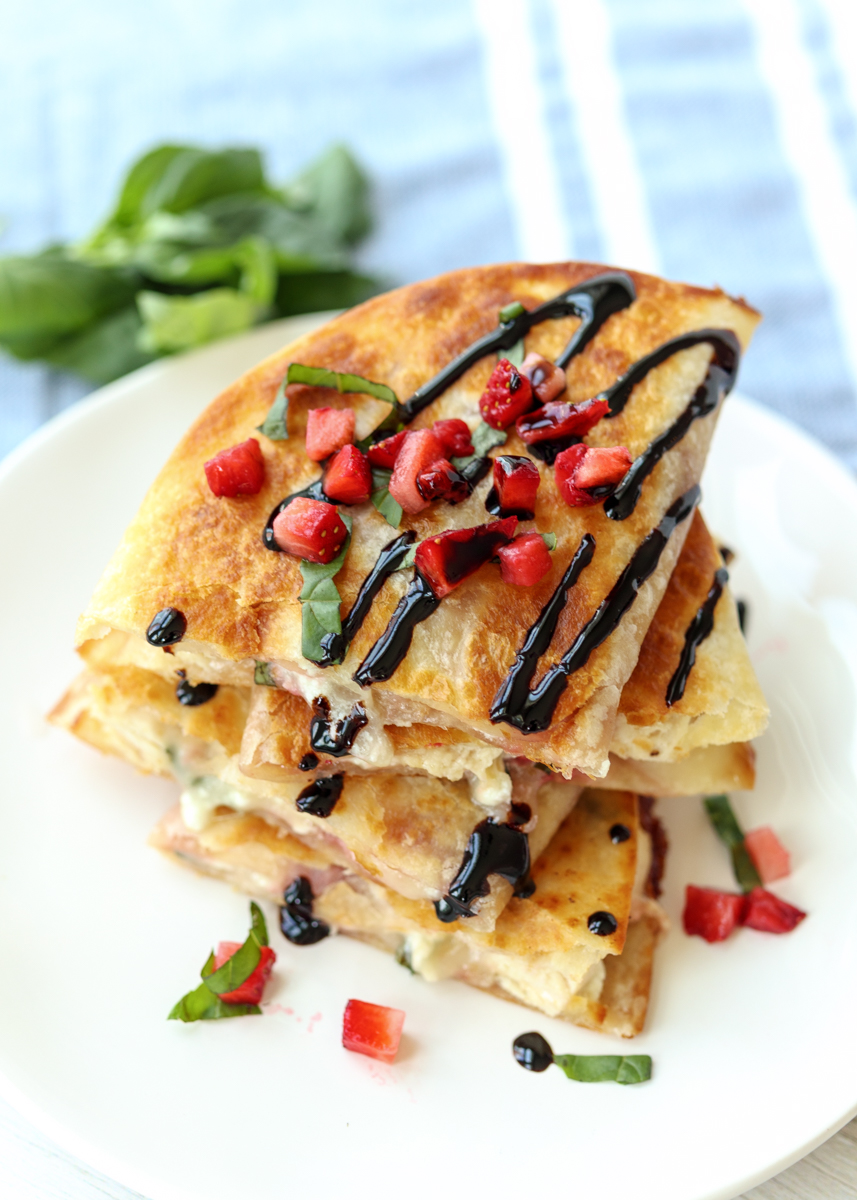
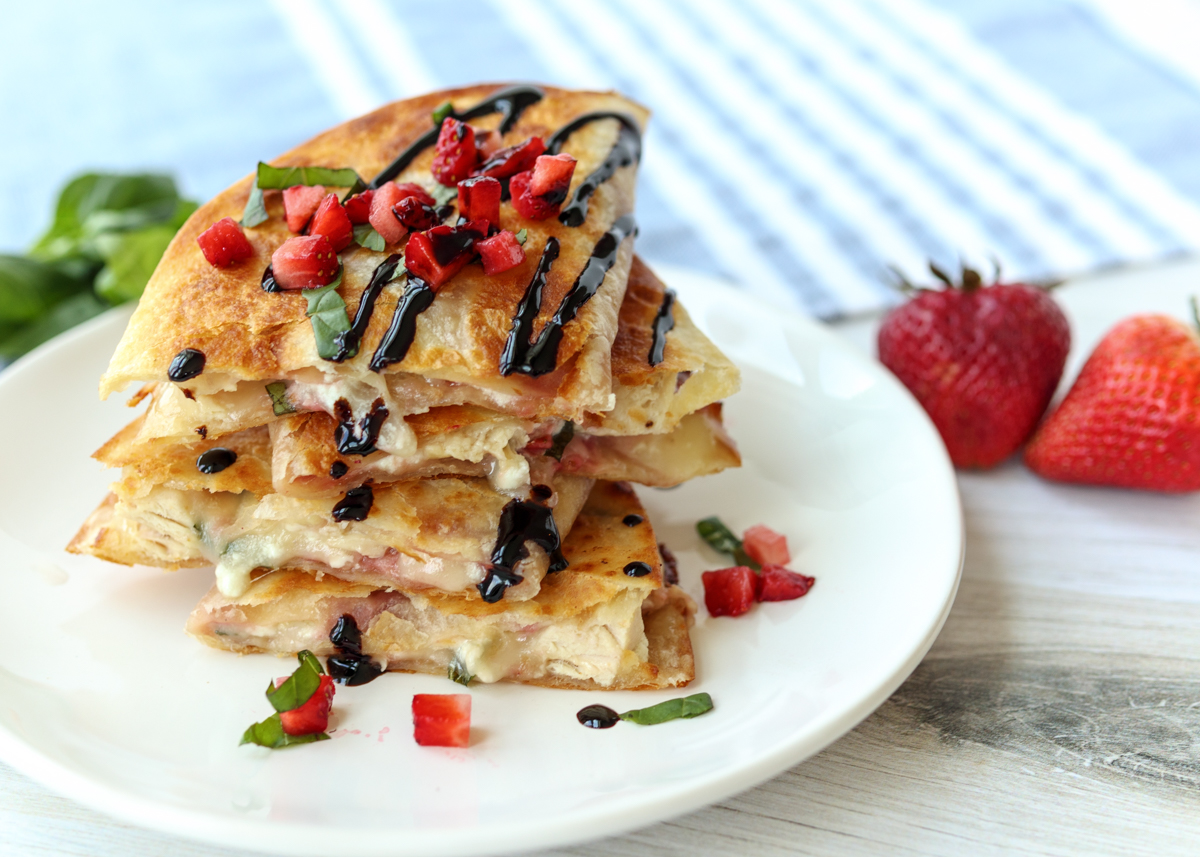
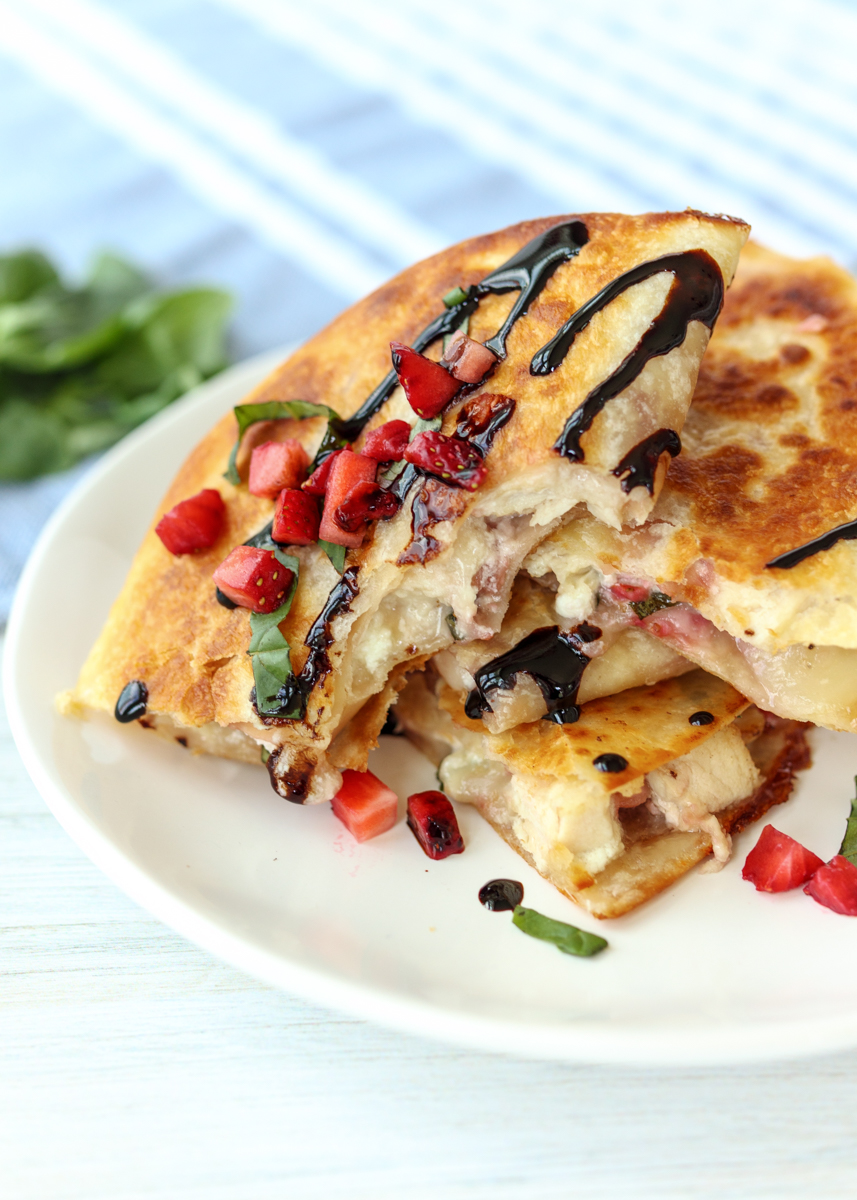
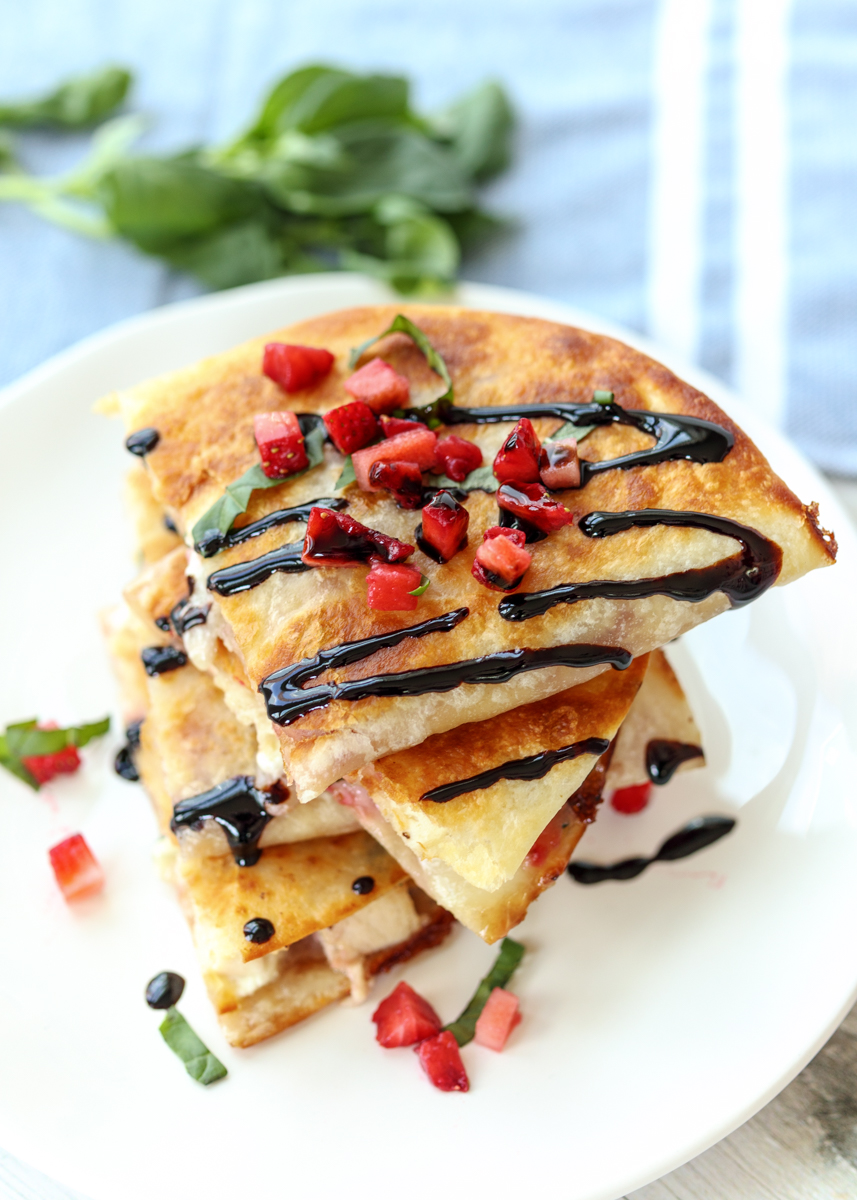
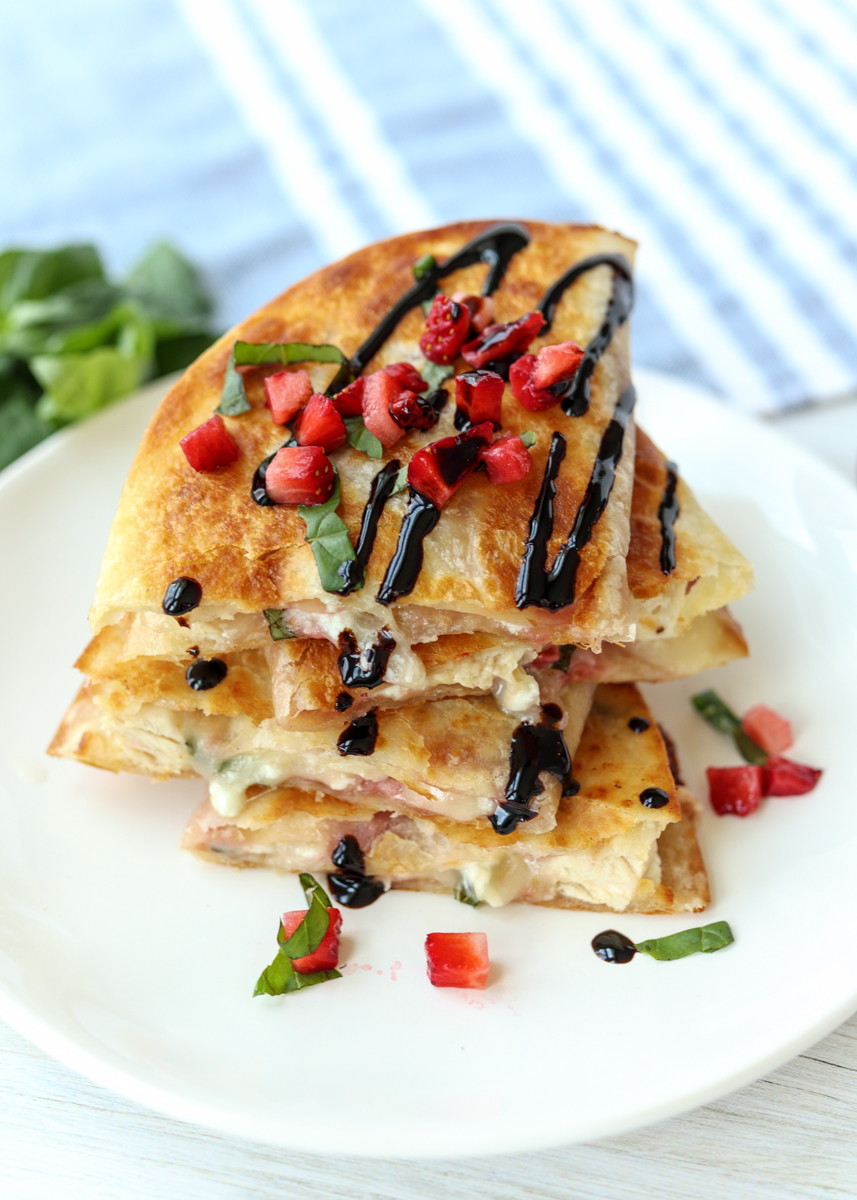
The inspiration for this recipe came from last year’s Mini Strawberry Balsamic Pizzas with Chicken and Sweet Onions. I was am still so obsessed with the flavor combination that I decided they needed a reappearance this summer, this time in quesadilla form. The first component of these Chicken and Strawberry Quesadillas is the simple no-cook strawberry spread made with fresh strawberries. There is balsamic vinegar in the strawberry spread that helps balance the sweetness.

Chicken and Strawberry Quesadillas  |  Lemon & Mocha

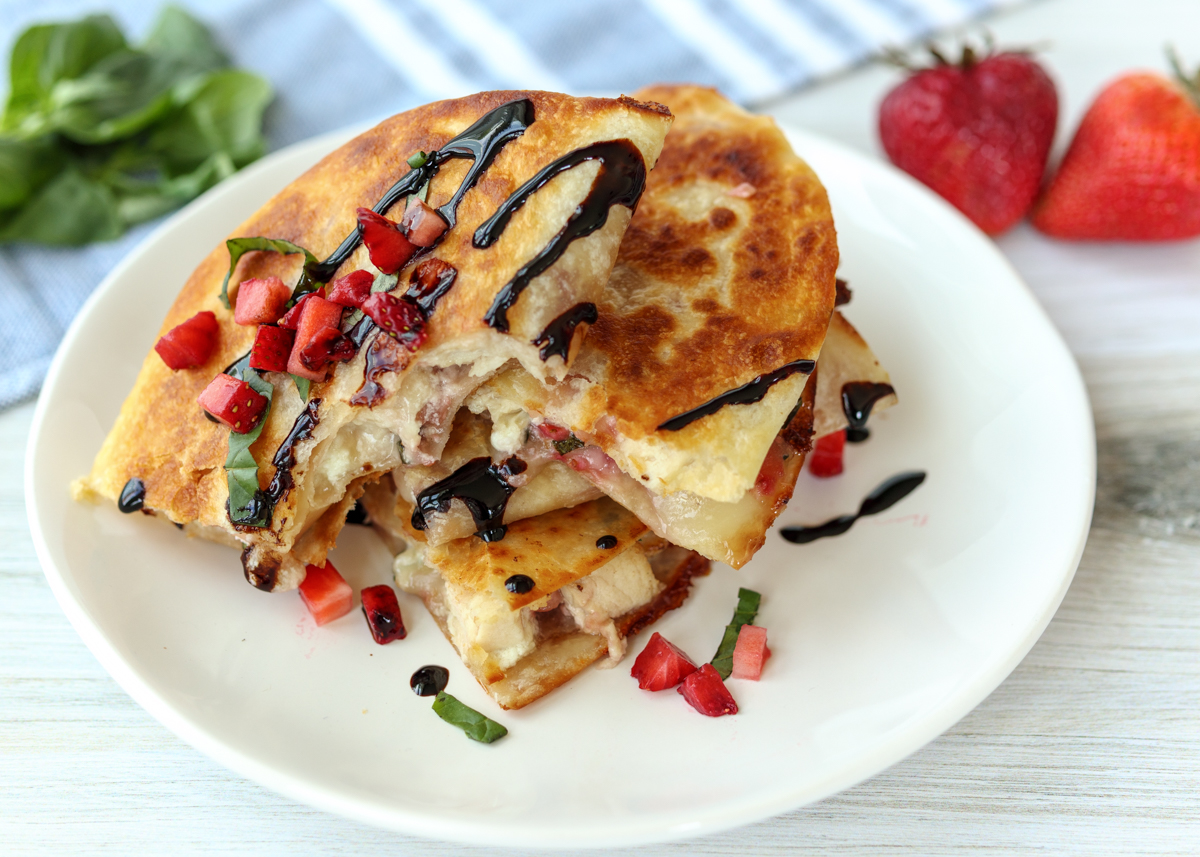
Next, the quesadillas have chicken and fresh basil. Finally, they are loaded up with melted, gooey mozzarella cheese and goat cheese. You can do all mozzarella cheese if you prefer, but I love the extra flavor the little pockets of goat cheese bring to the quesadillas and goat cheese and strawberries are a classic pairing.

Chicken and Strawberry Quesadillas  |  Lemon & Mocha

I topped my quesadilla wedges with a drizzle of balsamic glaze, some fresh strawberry chunks and a little fresh basil for some added strawberry flavor and because it makes them look extra fancy. The additional strawberries on top make the quesadillas more sweet so if you like your meals more savory than I would skip them, but I am all about that sweet and savory combo!

Chicken and Strawberry Quesadillas  |  Lemon & Mocha

I have a ton of recipes on Lemon & Mocha that highlight fresh strawberries so I’m linking to a few of them below so you can get the most out of your strawberries this month. Enjoy!

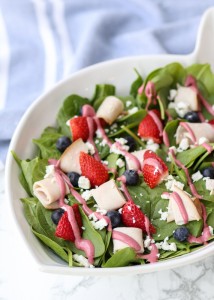
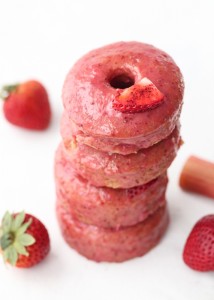
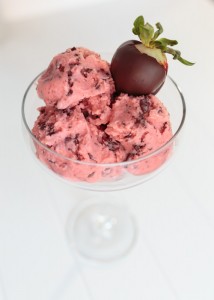
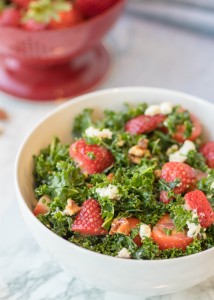
Strawberry Peanut Butter Wraps  |  Lemon & MochaTriple Berry Waffles  |  Lemon & MochaRed, White & Blue Spinach Salad  |  Lemon & MochaBeet Donuts with a Brown Butter Strawberry Rhubarb Glaze  |  Lemon & MochaStrawberry Rhubarb Crumble Muffins  |  Lemon & MochaChocolate Covered Strawberry Frozen Yogurt  |  Lemon & MochaStrawberry Kale Salad with Goat Cheese & Pecans  |  Lemon & MochaTriple Berry Naked Angel Food Cake  |  Lemon & MochaStrawberry Dutch Baby  |  Lemon & Mocha

Chicken and Strawberry Quesadillas
 
Yield: 2 quesadillas
Ingredients
  • ¼ cup finely chopped strawberries (about 2 large strawberries), plus more for topping
  • 1 teaspoon honey
  • ½ teaspoon balsamic vinegar
  • 2 teaspoons vegetable oil, divided
  • 2 flour tortillas
  • ⅔ cup shredded mozzarella, divided
  • ¼ cup crumbled goat cheese, divided
  • ⅔ cup chopped cooked chicken (about ½ chicken breast)
  • 2 tablespoons chopped fresh basil, plus more for topping
  • Balsamic glaze, for topping
Directions
  1. Combine the strawberries, honey and balsamic vinegar in a small bowl. Let sit for 15 to 20 minutes then mash well with a fork or potato masher. Place the tortillas on a clean surface then divide the strawberry spread between them. Spread it around to coat the tortilla.
  2. Heat 1 teaspoon of the vegetable oil in a frying pan over medium-low heat. Once hot, put in the tortilla with the strawberry spread side up. Sprinkle ⅓ cup of the shredded mozzarella all over the strawberry spread followed by 2 tablespoons of the goat cheese. Once the cheese has melted, put ⅓ cup of the chopped chicken and 1 tablespoon of the basil on one half of the tortilla. Carefully fold over the tortilla to cover the half with the chicken and increase the heat to medium-high. Watch the quesadilla carefully as it browns quickly; once browned carefully flip to the other side and let the other side brown. Once done, remove from the pan to a clean cutting surface. Let the pan cool slightly then lightly wipe out with the paper towel, heat the remaining teaspoon of vegetable oil and repeat the steps for the second quesadilla.
  3. To serve, cut quesadillas then top with additional chopped strawberries, basil and balsamic glaze.


Lemonade Pinwheel Cookies

Lemonade Pinwheel Cookies  |  Lemon & Mocha

I have a confession that you may or may not have noticed. I skipped the May Food Network Magazine cookies. The May cookies are strawberry french macarons and at first I was intimidated, but excited. French macarons have been on my kitchen bucket list for years now. I bought all the ingredients to make them, read through the recipe (which was my ultimate mistake – always fully read through a recipe before committing to it!)… and just couldn’t get psyched up to make them.

Lemonade Pinwheel Cookies  |  Lemon & Mocha

The Food Network Magazine recipe did a few things differently from other recipes I’ve read and I’ll be honest, sometimes the magazine recipes can be really hit or miss. When it came down to it, if I was finally going to make french macarons, something I’ve been excited about for years, but have never gotten around to, should I really be using a Food Network Magazine recipe with no reviews instead of my trusted cookbook or blogger sources? So, I put everything aside, ate a bunch of strawberries, and decided to move right along to the June cookies.

Lemonade Pinwheel Cookies  |  Lemon & Mocha

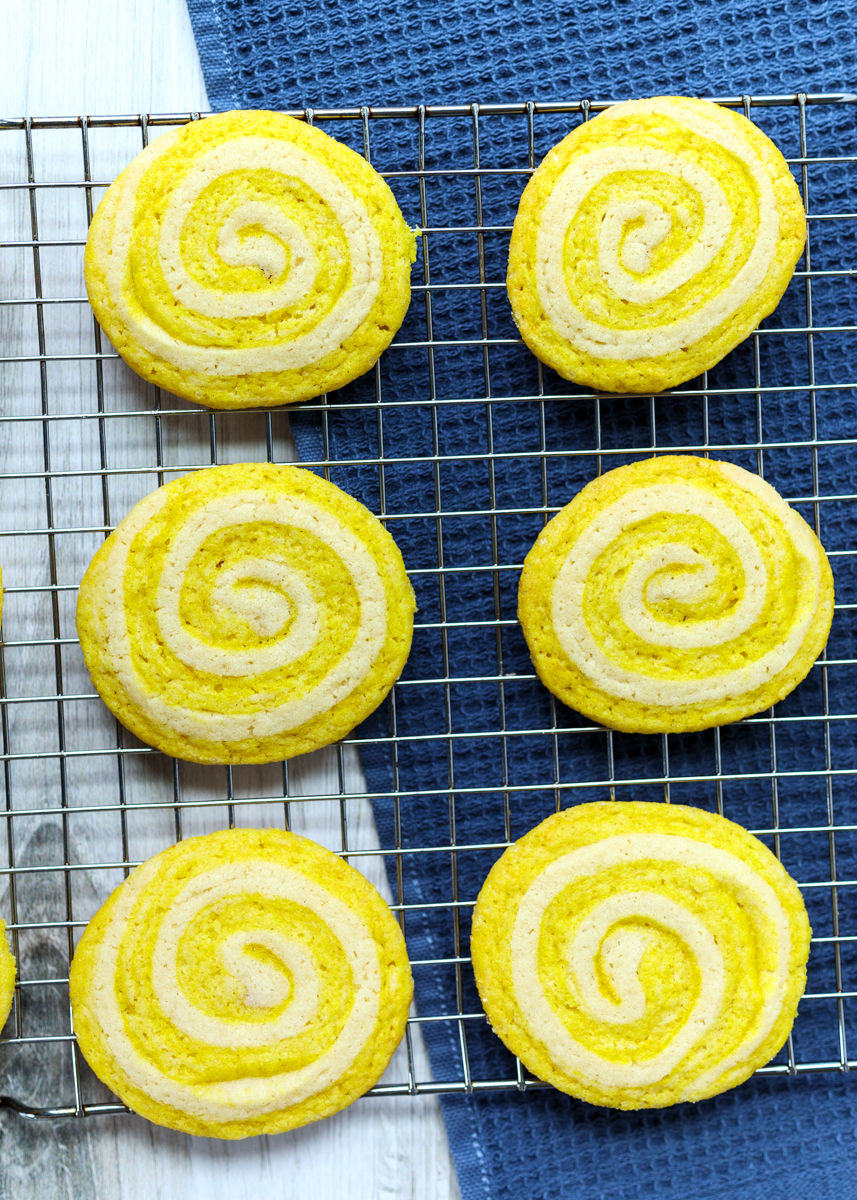
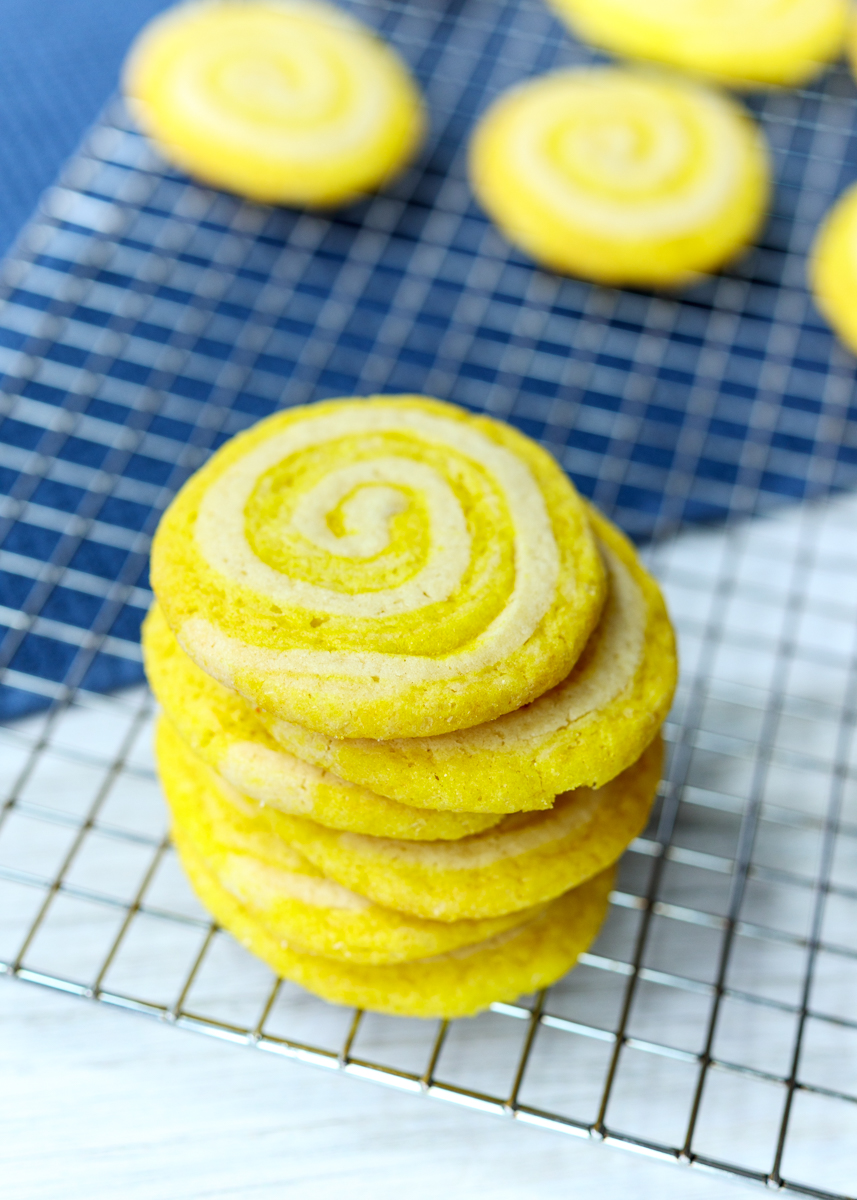
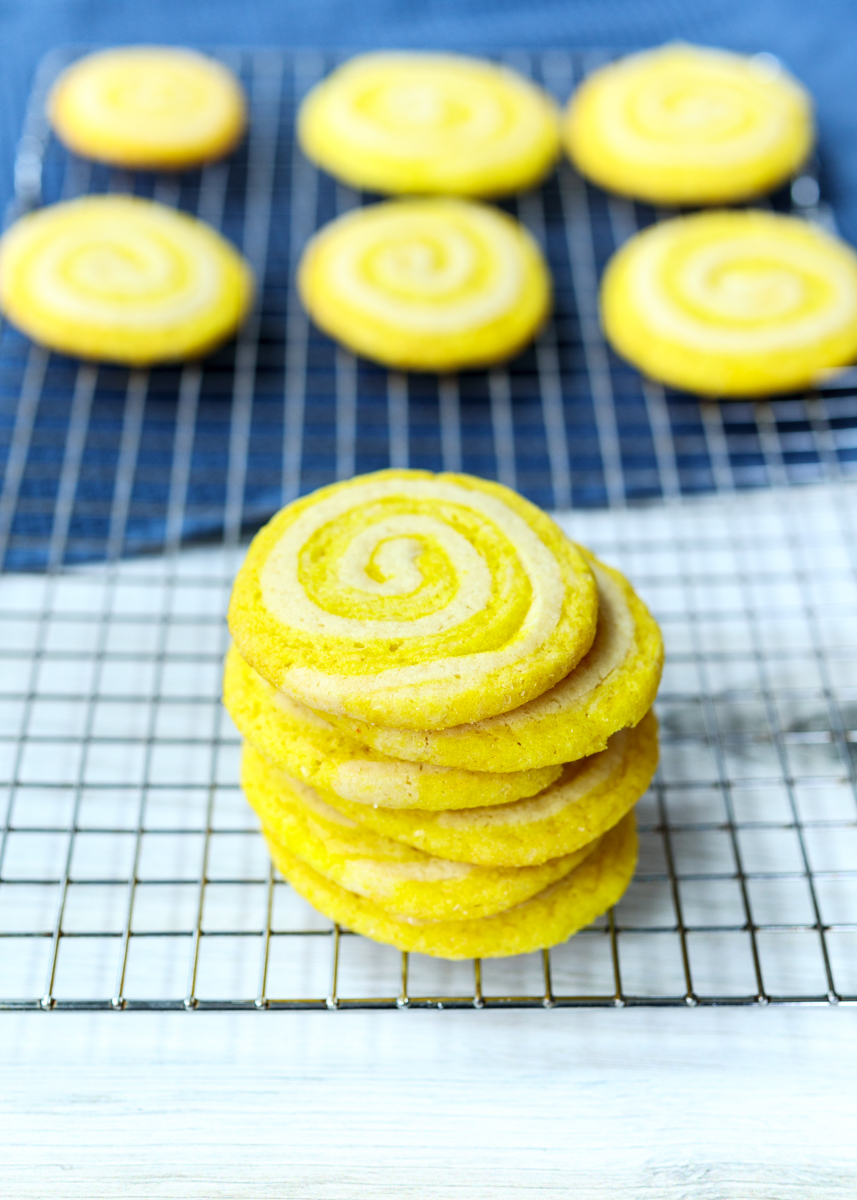
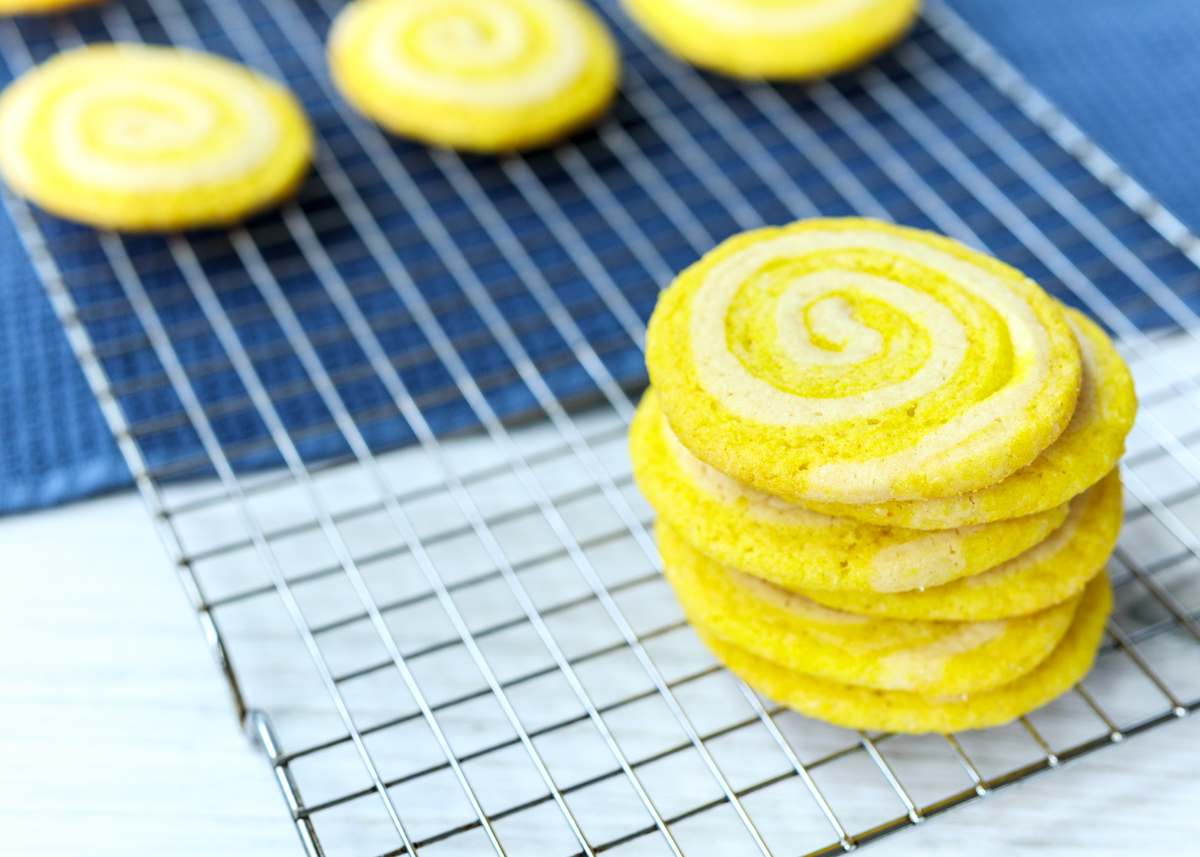
These Lemonade Pinwheel Cookies are definitely not to be skipped! They are chewy and bursting with lemon flavor. A couple weekends ago we had an awesome long family weekend with Matt’s parents and brother, Nick, in the Catskills. Nick is a lemon and lime fan so I brought some of these cookies along. They were a definite hit; my mother-in-law, Theresa, even ate some, which is a big deal since she is not usually a dessert person!

Lemonade Pinwheel Cookies  |  Lemon & Mocha

The way you get the pinwheel effect is by laying two sheets of cookie dough on top of one another, rolling them up, then slicing and baking the cookies. The lighter dough is a sugar cookie dough with lemon extract. The yellow layer is that same lemon sugar cookie dough, but with lemon juice, lemon zest and lemon gelatin powder amping up the lemon flavor. There’s also a little yellow gel food coloring.

Lemonade Pinwheel Cookies  |  Lemon & Mocha

If you like lemon then I promise you will love these cookies! Make sure you read the recipe thoroughly well in advance because there’s two separate chilling steps so you most likely will want to give yourself at least two days to make them. Enjoy!

Lemonade Pinwheel Cookies  |  Lemon & Mocha

Lemonade Pinwheel Cookies
 
Yield: 24 cookies
Ingredients
  • 2 cups all-purpose flour, plus more for dusting
  • ½ teaspoon salt
  • ½ teaspoon baking powder
  • ¼ teaspoon baking soda
  • 12 tablespoons unsalted butter (1½ sticks), room temperature
  • ⅔ cup granulated sugar
  • 1 large egg
  • ½ teaspoon pure vanilla extract
  • ¼ teaspoon pure lemon extract
  • ¼ cup lemon gelatin powder (from one 3-ounce box), divided
  • Lemon zest from 2 lemons
  • 1 teaspoon lemon juice
  • ½ teaspoon yellow gel food coloring
  • 2 tablespoons yellow sanding sugar, divided
  • 1 tablespoon coarse white sugar
Directions
  1. In a medium bowl, sift together the flour, salt, baking powder and baking soda. In a large bowl with a hand mixer or in the bowl of a stand mixer, beat the butter and sugar on medium-high speed for 3 minutes, or until fluffy. Add the egg, beat, then add the vanilla and lemon extracts and beat, scraping down the sides as needed. Add the flour mixture on a reduced low speed until just combined.
  2. Place half the dough on a large sheet of plastic wrap, flattening the dough into a disk as you wrap it. To the remaining dough, add 2 tablespoons of the gelatin powder, the lemon zest, lemon juice and the gel food coloring. Beat until just combined then wrap that half of the dough in plastic wrap, also shaping into a disk. Refrigerate both disks of dough until firm for at least 2 hours or overnight.
  3. Remove the plain colored dough from the fridge and roll it out into a 10-inch by 11-inch rectangle on a lightly floured. I found it easier to move the dough if I rolled it out on a floured piece of wax paper or plastic wrap. Put aside. Remove the yellow dough from the fridge and repeat the rolling process. Place the yellow dough rectangle on top of the plain colored dough rectangle. Trim the edges then sprinkle 1 tablespoon of the yellow sanding sugar over top. Starting with the long end, tightly roll up the dough to form a log. Wrap the log in plastic wrap then refrigerate until firm for at least 3 hours or overnight.
  4. Preheat the oven to 350 degrees F with the oven racks in the upper and lower thirds of the oven. Line 2 baking sheets with parchment paper and set aside. In a small bowl, combine the remaining 2 tablespoons of gelatin powder, 1 tablespoon yellow sanding sugar and the coarse white sugar. Remove the dough log from the fridge and roll it in the sugar mixture, pressing to help stick. Use a sharp knife to cut the log into ⅜-inch thick slices. Arrange the cookies on the prepared baking sheets. Bake for 15 minutes, or until the cookies are set around the edges, switching the pans halfway though. Let the cookies cool for 5 minutes on the pan then transfer to a wire cooling rack to cool completely.
Notes
Make sure your dough sheets are equal sizes and wrap the dough together tightly when you roll it. The ends of my dough log were all uneven and not very tightly wrapped so I got about 14 or so perfect looking cookies and the rest of my cookies were kind of odd shaped because they were closer to the ends of the dough log.

 Recipe from January/February 2019 issue of Food Network Magazine.

Some of the links above are affiliate links, which means I may receive a small commission for my referral. This does not affect the retail cost of the item. Thank you for supporting Lemon & Mocha!